- Sergio Rey - University of California, Riverside
- Eli Knaap - University of California, Riverside
This repository contains the materials and instructions for the PySAL workshop at SciPy 2020.
Proposed Schedule:
-
Fundamentals of Spatial Analysis
- PySAL Overview
- Spatial data processing
- Choropleth mapping and geovisualization
- Spatial weights
- Global & Local spatial autocorrelation
- Break
-
Applied Spatial Analysis: Neighborhoods
- Clustering/Geodemographic Analysis
- Segregation Analysis
Brief introduction to the PySAL ecosystem of packages for spatial data science
Reading and writing GIS file formats, spatial data wrangling, changing coordinate transformation systems.
Introduction to choropleth map classification using mapclassify. Basic visualization with GeoPandas, and matplotlib as well as interactive visualization via folium, leaflet and geoviews/hvplot,
Introduction to the spatial weights matrix for formally encoding geographic relationships.
Exploratory spatial data analysis and overview of measures of spatial autocorrelation such as Moran's I and the join-count statistic.
Introduction to classic and spatially-constrained geodemographics (regionalization). This module provides an overview of integrating scikit-learn and pysal to develop socio-demographic cluster models that optionally include a spatial constraint.
Applied segregation analysis including the calculation of classic, multigroup, and spatial indices. This module also includes analysis of spatial segregation dynamics, comparative inference, and index decomposition
To get started immediately without installing or downloading anything, click the "Launch Binder" button at the top of this page
If you are familiar with GitHub, you should clone or fork this GitHub repository to a specific directory. Cloning can be done by:
git clone https://github.com/knaaptime/pysal-scipy20.gitIf you are not using git, you can grab the workshop materials as a zip file by pointing your browser to (https://github.com/knaaptime/pysal-scipy20.git) and clicking on the green Clone or download button in the upper right.
Extract the downloaded zip file to a working directory.
We will be using a number of Python packages for geospatial analysis.
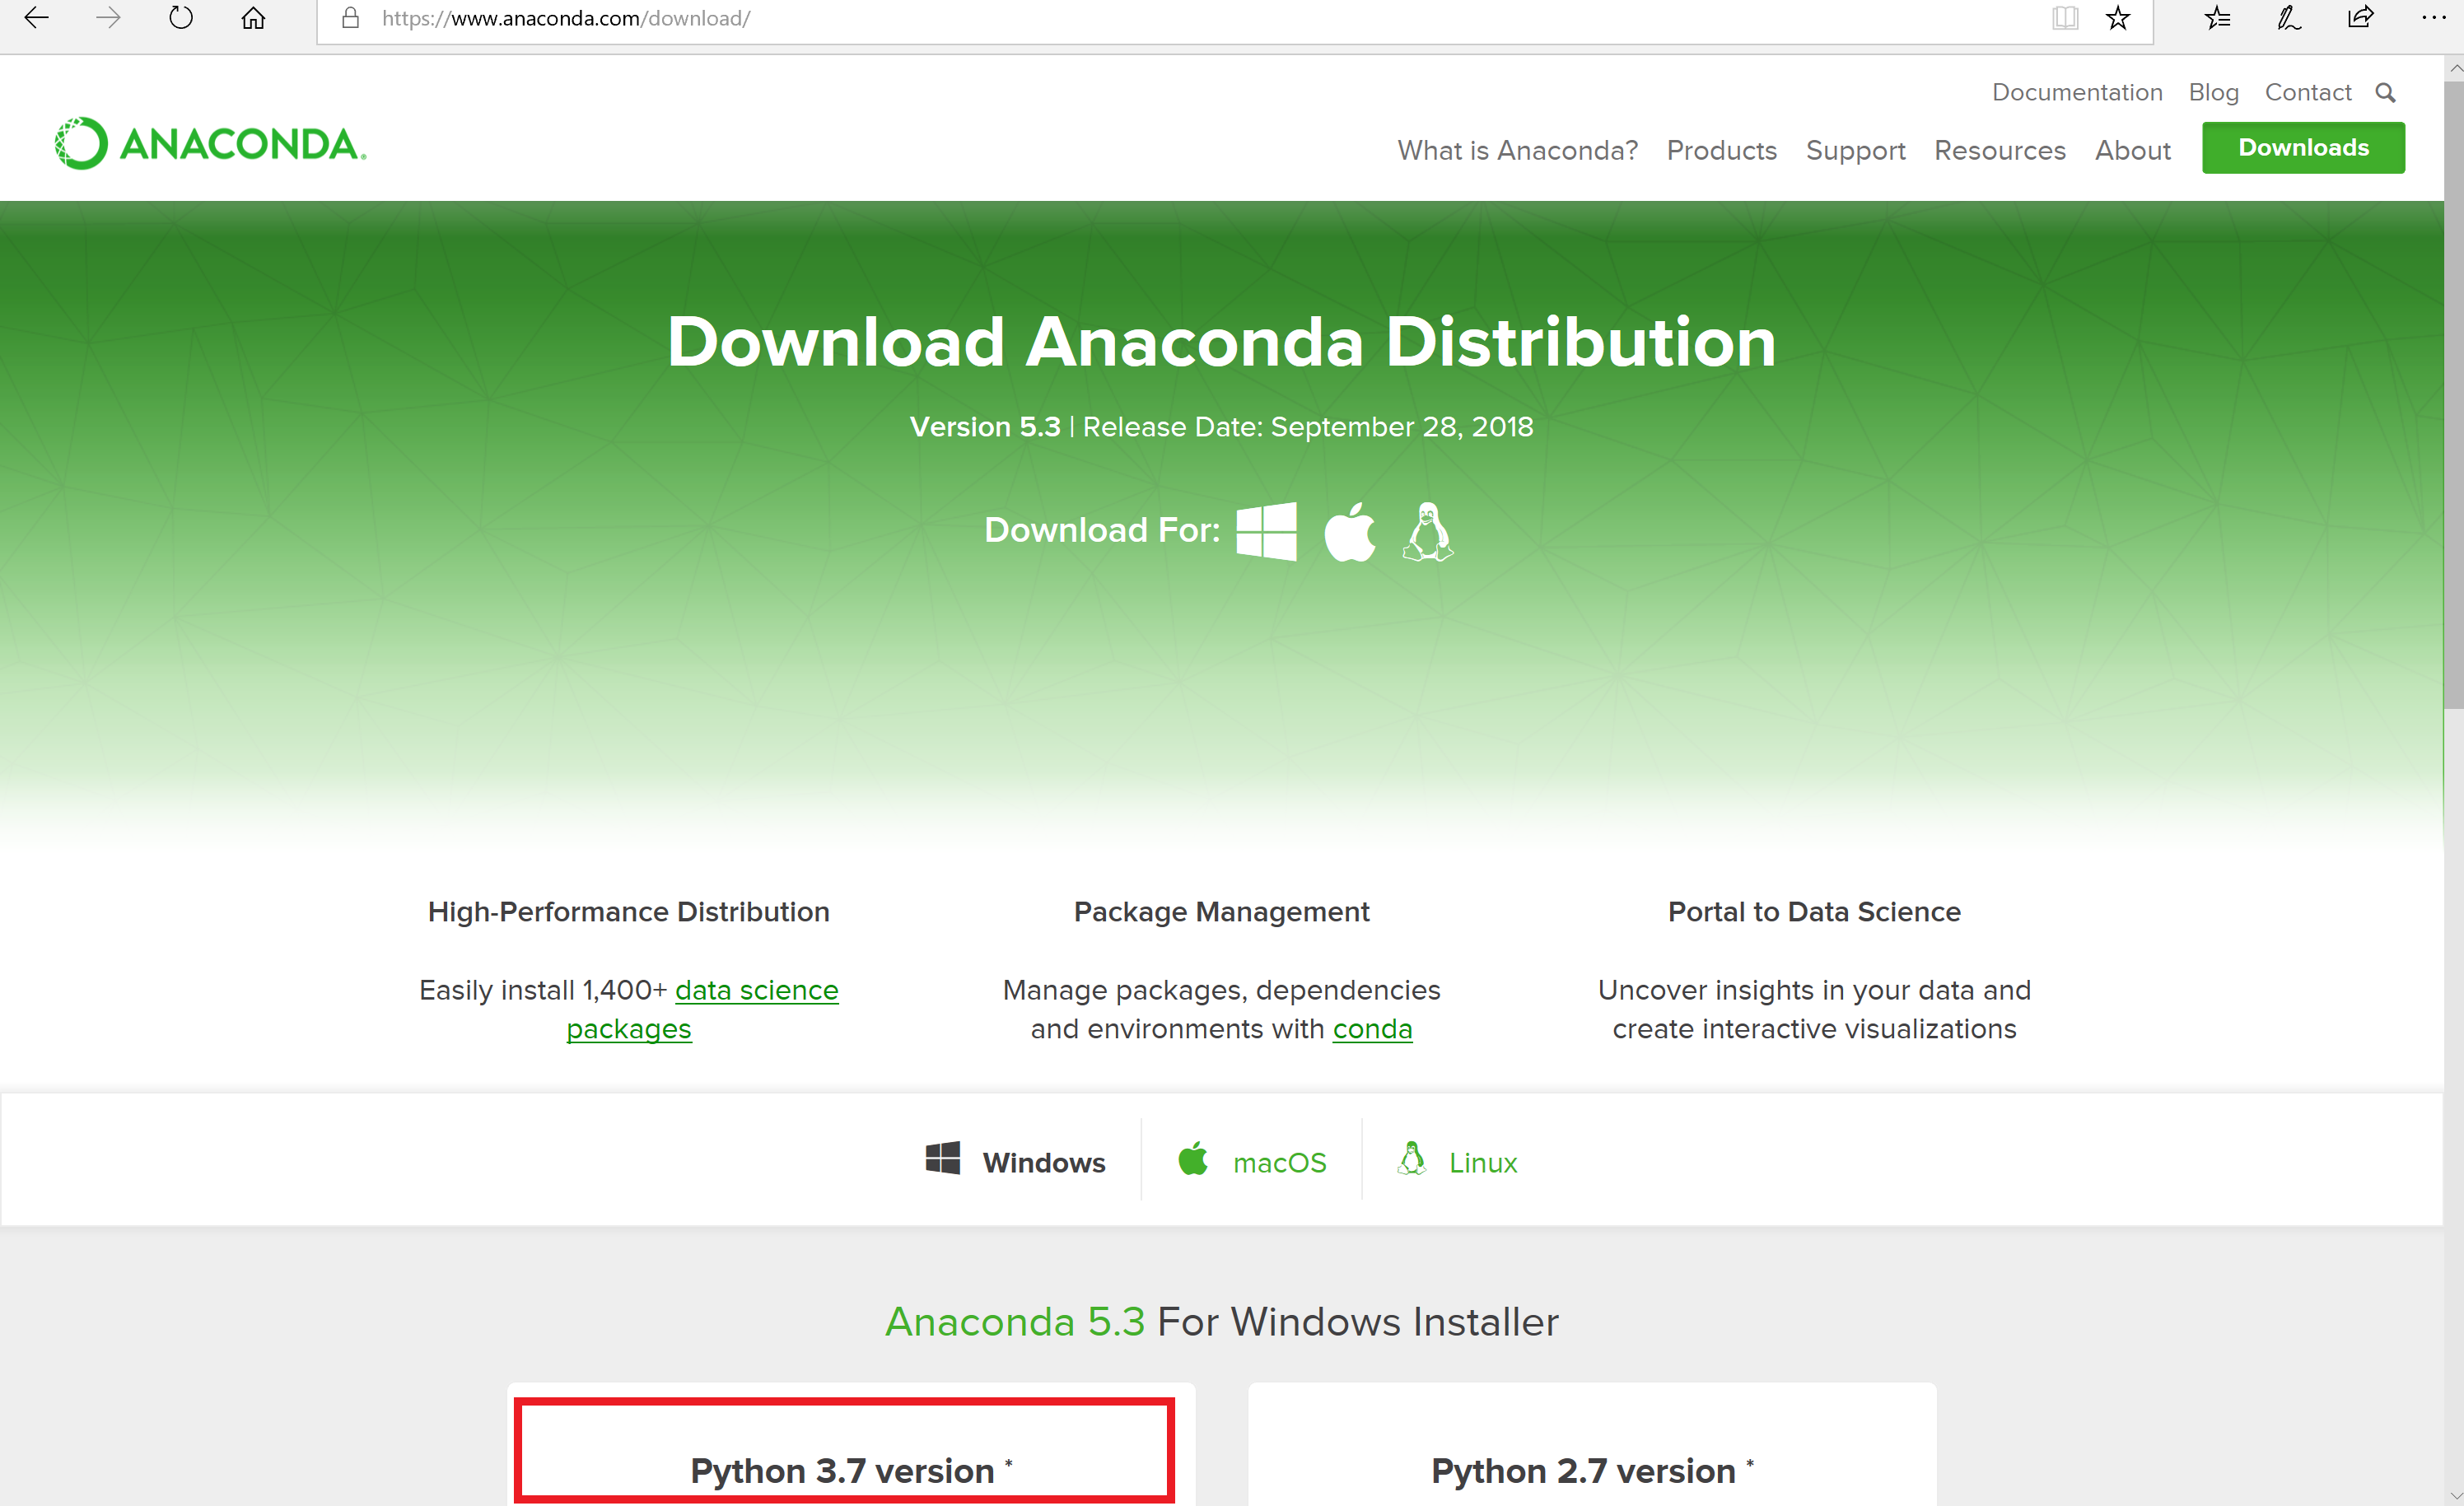
An easy way to install all of these packages is to use a Python distribution such as Anaconda. In this workshop we will use anaconda to build an environment for Python 3.6. It does not matter which version of anaconda is downloaded. We recommend installing Anaconda 3.7.
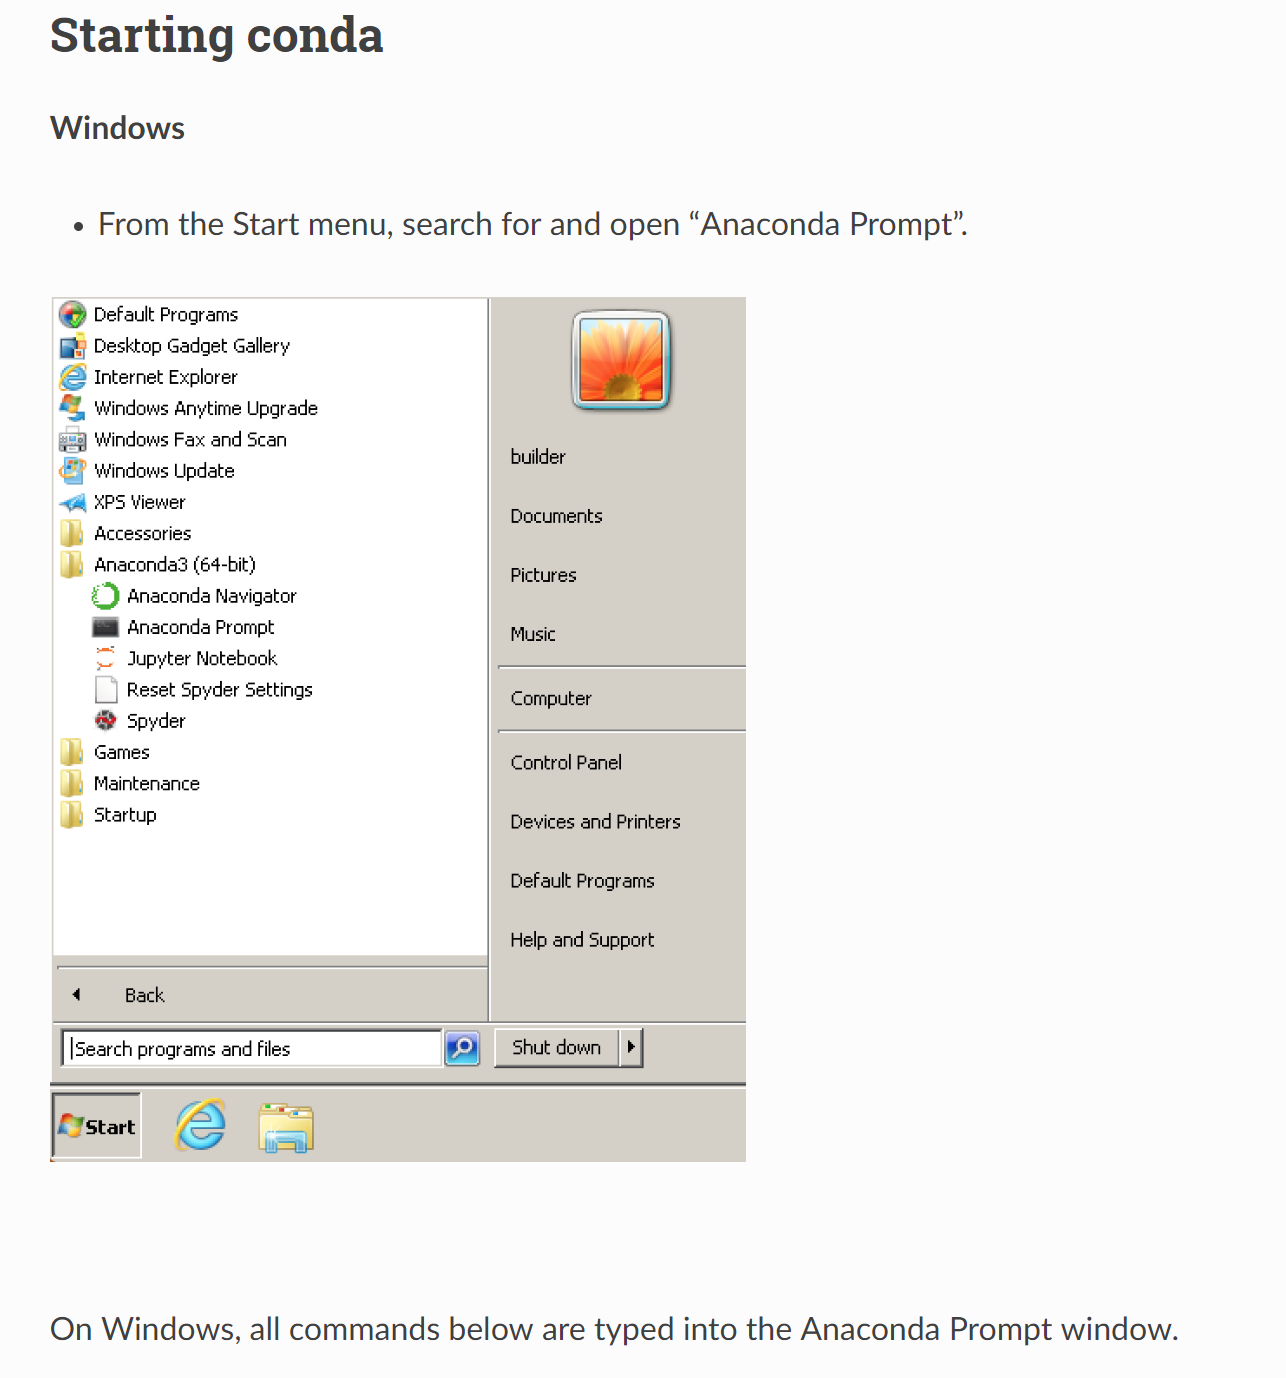
On windows, all our work will begin from an anaconda prompt, which you can start as follows:
Start a terminal and navigate to the directory of the downloaded/ cloned materials. For example, if the materials now live in the directory /Users/knaaptime/Downloads/pysal-scipy20 , you need to navigate to that directory from the terminal (using command cd ):
Once we have done that, run:
conda-env create -f environment.ymlThis will build a conda python 3.7 environment that sandboxes the installation of the required packages for this workshop so we don't break anything in your computer's system Python (if it has one).
This may take 10-15 minutes to complete depending on the speed of your network connection.
Once this completes, you can activate the workshop environment with:
conda activate pysal-workshopYou're now all setup for the tutorial!
If you encounter the following error when starting jupyterlab:
FileNotFoundError: [WinError 2] The system cannot find the file specifiedA solution is to issue the following command in the anaconda prompt:
python -m ipykernel install --user


