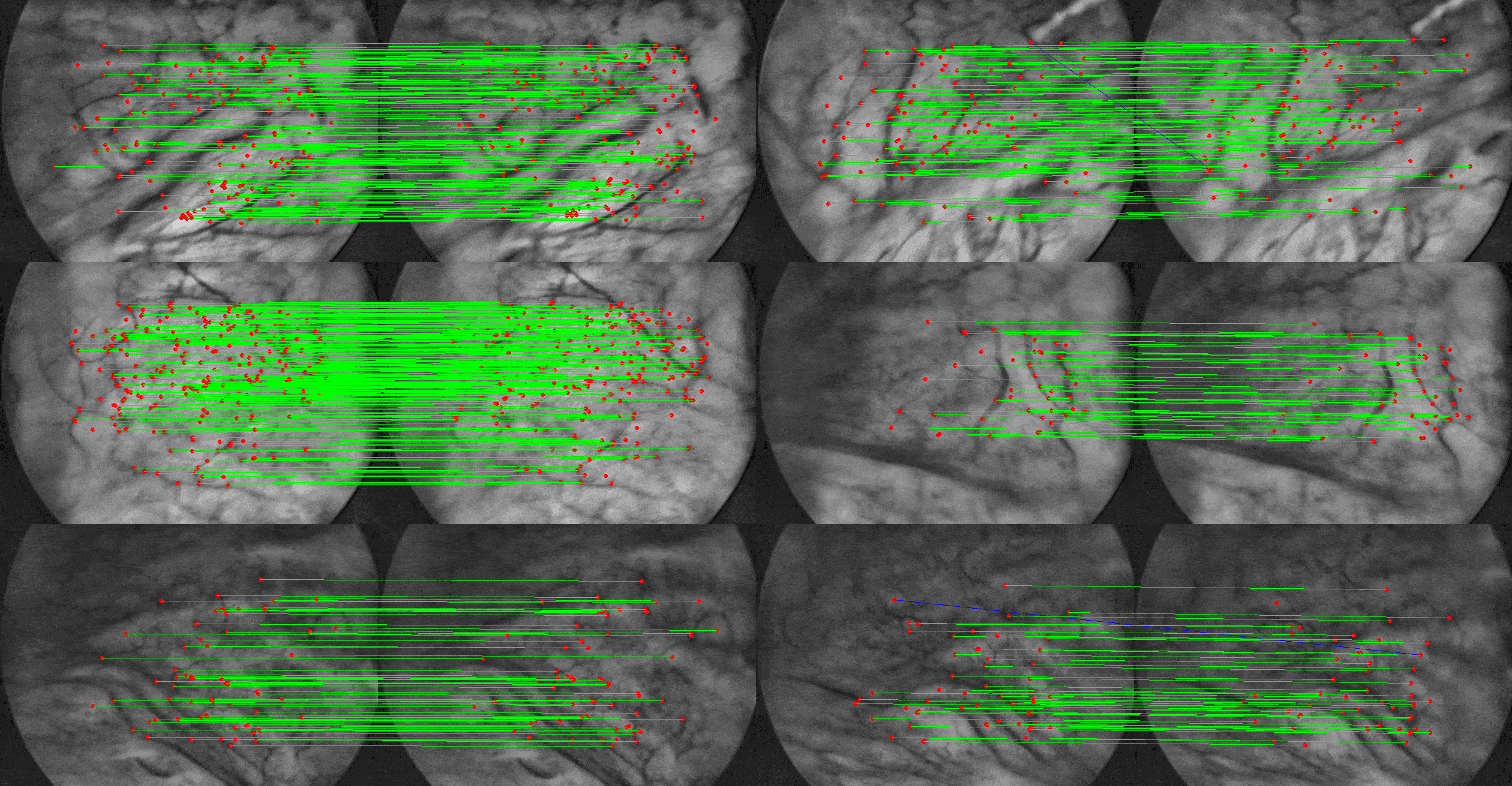
@article{farhat2023self,
    title={Self-supervised endoscopic image key-points matching},
    author={Farhat, Manel and Chaabouni-Chouayakh, Houda and Ben-Hamadou, Achraf},
    journal={Expert Systems with Applications},
    volume={213},
    pages={118696},
    year={2023},
    publisher={Elsevier}
}
Pre-trained models can be downloaded following the link. You may save the models to ./models folder
unzip the two zip files in the ./data folder and then update your configuration yaml files accordingly (see blow)
- "run_trainning.py", configuration yaml file in "config/config_train.yaml"
- "run_validation.py", configuration yaml file in "config/config_validation.yaml"
- "run_generate_triplet_dataset.py", configuration yaml file in "config/config_triplet_generation.yaml"
- "run_matching_demo.py", configuration yaml file in "config/matching_demo.yaml"
This code base is tested only on Ubuntu 20.04 LTS, TitanV and RTX2080-ti NVIDIA GPUs.
- Install local environment and requirements First install Anaconda3 then install the requirements as follows:
conda create -n crns---self-sup-image-matching python=3.8
- a new virtual environment is now created in ~/anaconda3/envs/crns---self-sup-image-matching Now activate the virtual environment by running:
source activate crns---self-sup-image-matching
-
In case you would like stop your venv
conda deactivate -
To install dependencies, cd to the directory where requirements.txt is located and run the following command in your shell:
cat requirements.txt | xargs -n 1 -L 1 pip3 install
Install
dockerandnvidia-dockerand then run these commands:
nvidia-docker build -t <YOUR_DOCKER_IMAGE_NAME>:<YOUR_IMAGE_VERSION> .
sudo NV_GPU='0' nvidia-docker run -i -t --entrypoint=/bin/bash --runtime=nvidia <YOUR_DOCKER_IMAGE_NAME>:<YOUR_IMAGE_VERSION>
- How to use Facial Process on local machine:
To test photos from local folder: run this command
python local_processing.pyTo process photos coming from the front on your machine: run this commandpython main.py
if not already installed from the requirements.txt then first install pre-commit and black using these commands:
pip3 install pre-commitandpip3 install black
run
pre-commit installto set up the git hook scriptsYou can also
flake8 <YOURSCRIPT>.pyto check if your python script is compliant with the projector directly fix your script using
black <YOURSCRIPT>.py
- [comming soon]


