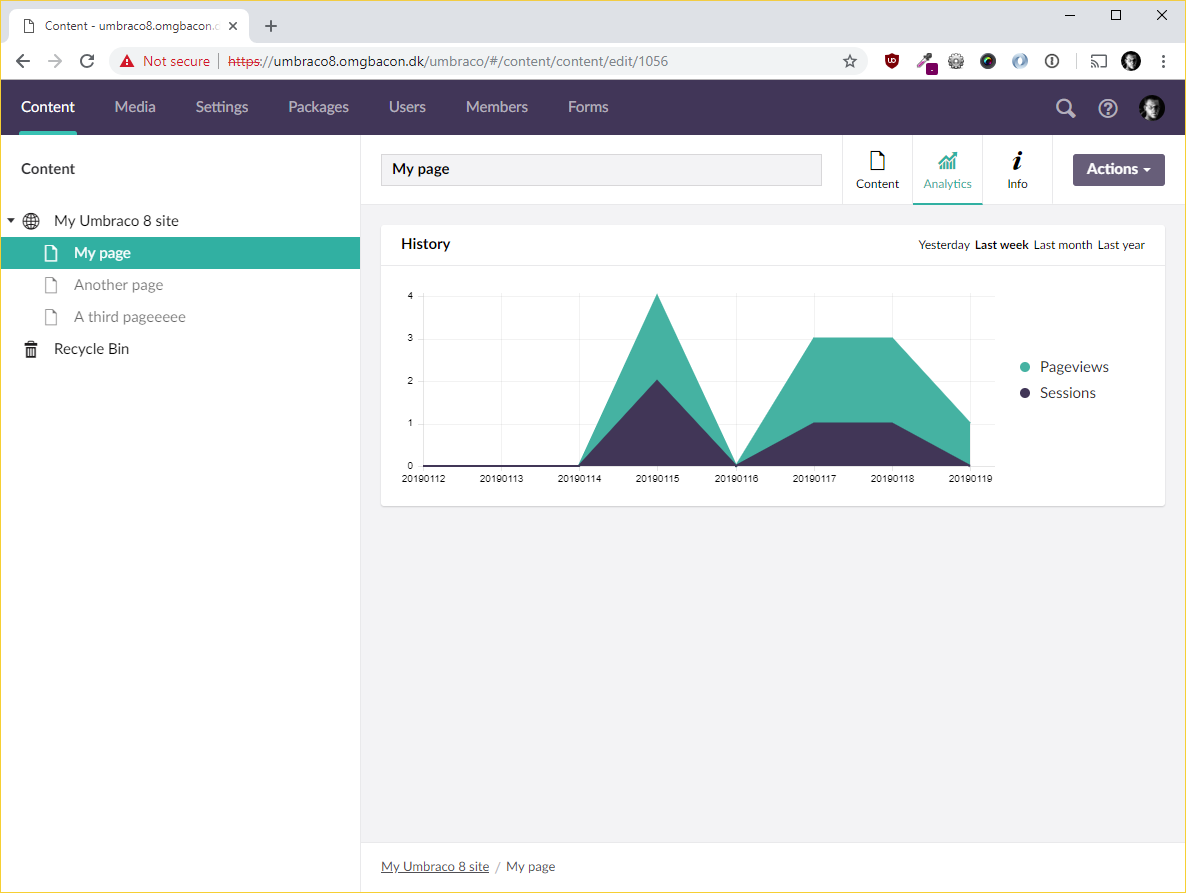
The content app shows data from Google Analytics - at either the site level or the page level depending on the content item being viewed.
Besides the content app, the package also lets you setup everything needed to authenticate with Google and get statistics from Google Analytics - either configured via app settings in Web.config or via a new tree that is added to the Settings section.
The package lets you add multiple Google users, which then lets you configure 100s of individual sites in the same Umbraco installation (if you actually have that many sites - some of our clients do).
- Install Umbraco 8
- Install the package via NuGet
The package can be configured in two different ways - both requiring credentials (OAuth information) from a Google project.
Assuming your Umbraco installation will only have a single site, you can configure it via the app settings of your Web.config file.
You can create a new project using Google Developer Console. Once created, select Credentials to the left, and then add a new OAuth client ID. Google will automatically generate the ID og secret, but you'll have to specify a redirect URI that matches your site. For my test site, the redirect URI is:
https://umbraco8.omgbacon.dk/App_Plugins/Skybrud.Analytics/Dialogs/GoogleOAuth.aspx
The domain should of course reflect your own solutions, but the path should be the same. Also notice that Google requires you to use HTTPS.
Your must make sure that your project has access to the Analytics API. You can find all available Google APIs under Library in the main menu.
Assuming your Umbraco installation will only have a single site, you can configure it via the app settings of your Web.config file.
Besides obtaining the OAuth credentials as described above, you'll also need to get a refresh token for your Google user, as well as the ID of the Analytics profile matching your site. As this package is still under development, it currently won't help you with obtaining these (see Multi-site solution instead).
When you have obtained the information, you can add the following keys to your app settings:
<add key="SkybrudAnalytics.GoogleClientId" value="Your client ID" />
<add key="SkybrudAnalytics.GoogleClientSecret" value="Your client secret" />
<add key="SkybrudAnalytics.GoogleRefreshToken" value="Your refresh token" />
<add key="SkybrudAnalytics.AnalyticsProfileId" value="Your Analytics profile ID" />
Multi-site solutions are a bit more complex, as you can have more than just a few sites. This package supports that scenario - it will even support multiple Google user accounts
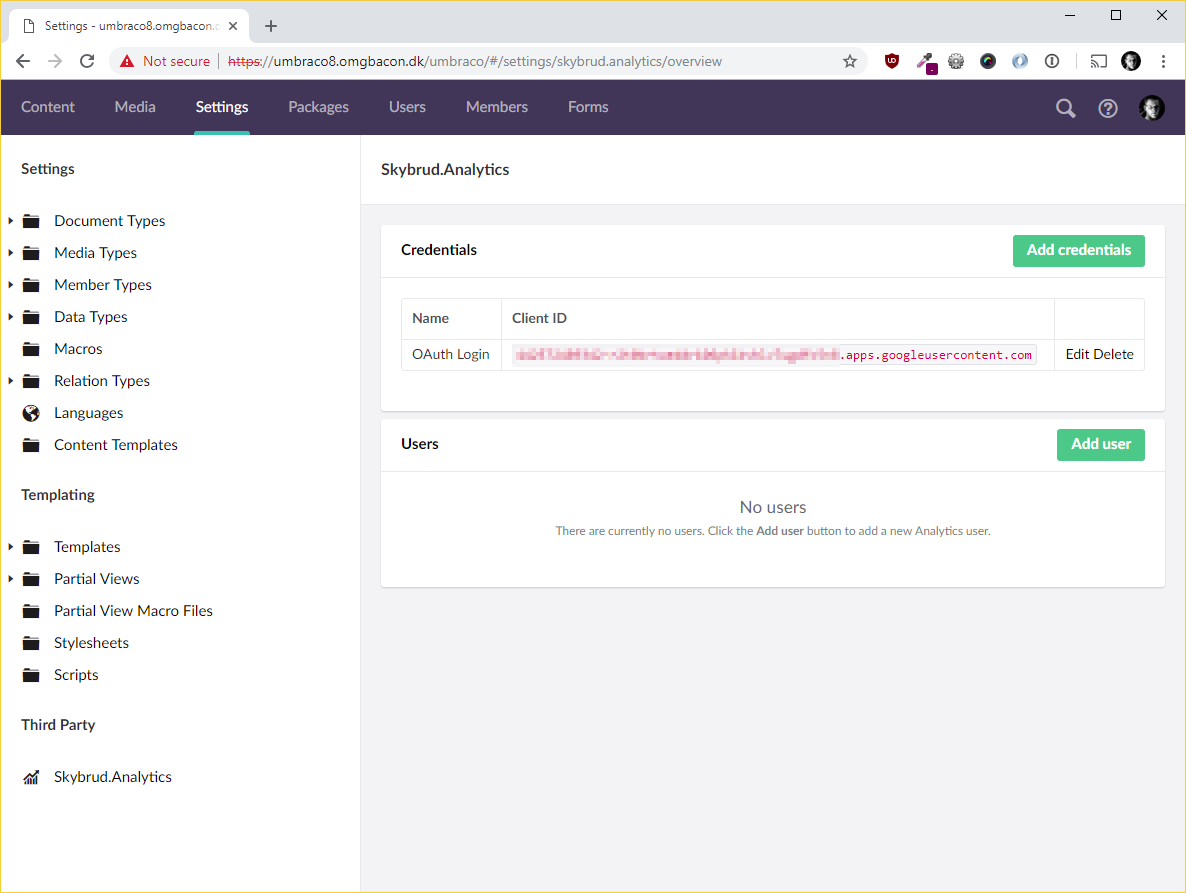
The follow this approach, go to the Settings section in Umbraco, and click on Skybrud.Analytics in the tree to the left. You should now see something like this:
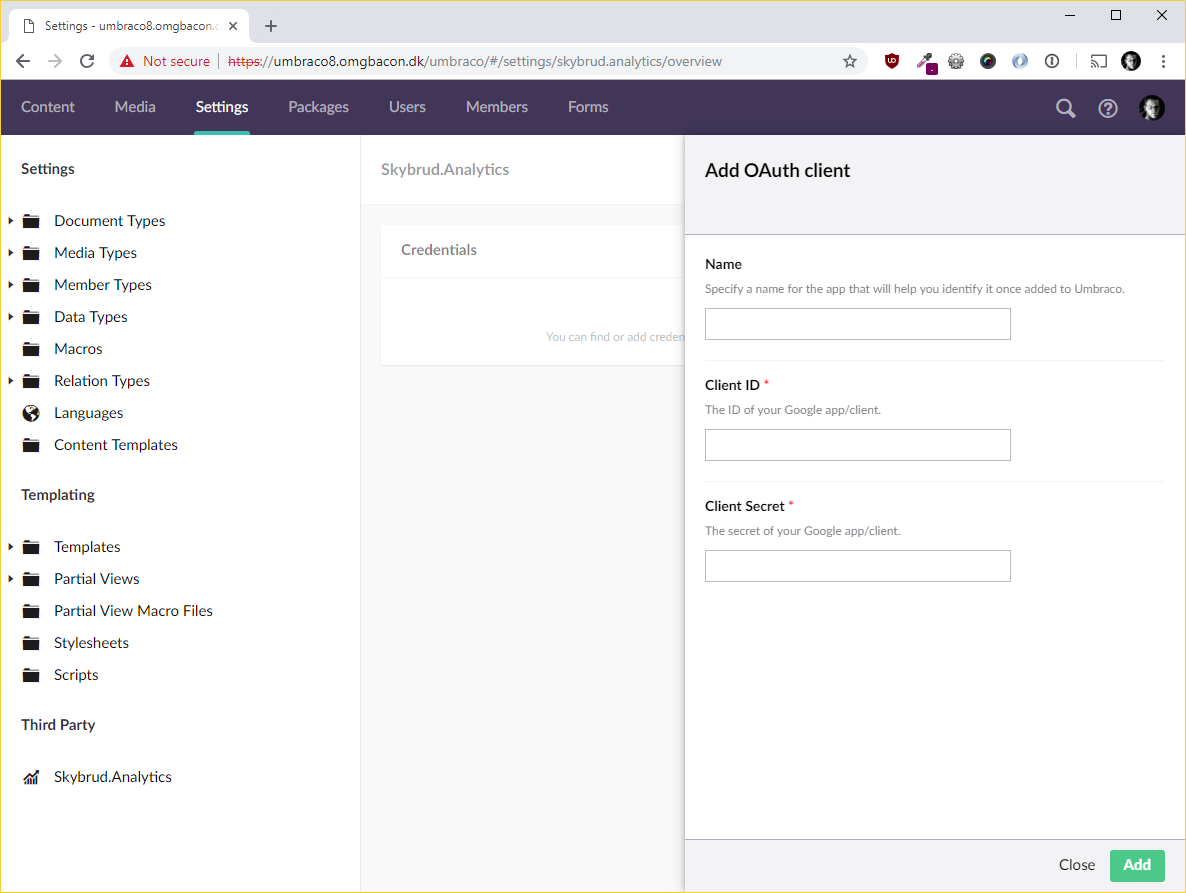
From this view, you can enter a name of your choosing along, and your Google credentials - the client ID, client secret and that is:
Typically you would only need to add a single set of credentials, but you can add more if you should need to.
With the credentials added, you can now add a Google user. The user has access to one or more Analytics accounts, which again contains web properties and profiles.
You'll now have a (empty) list of users. Once you click the Add user button, a new dialog will prompt you to grant the app access to your Analytics data. It should look something like this:
Go through the following steps, and you'll now have most of the configuration in place:
To tell this package what Analytics profile belongs to a given site, you can add a Profile Selector property to the site node. The package adds a new property editor that can be used for this. You can add a new data type using this property editor by going to the Settings:
With the data type created, you should add a property to the content type for your site node. Make sure the property alias is analyticsProfile.
When this is done, you can go to the site node in the Content section, and select the matching Analytics profile:
You may have to reload the page (still in beta), but then you should be seeing a graph with pageviews and sessions from Analytics ;)


