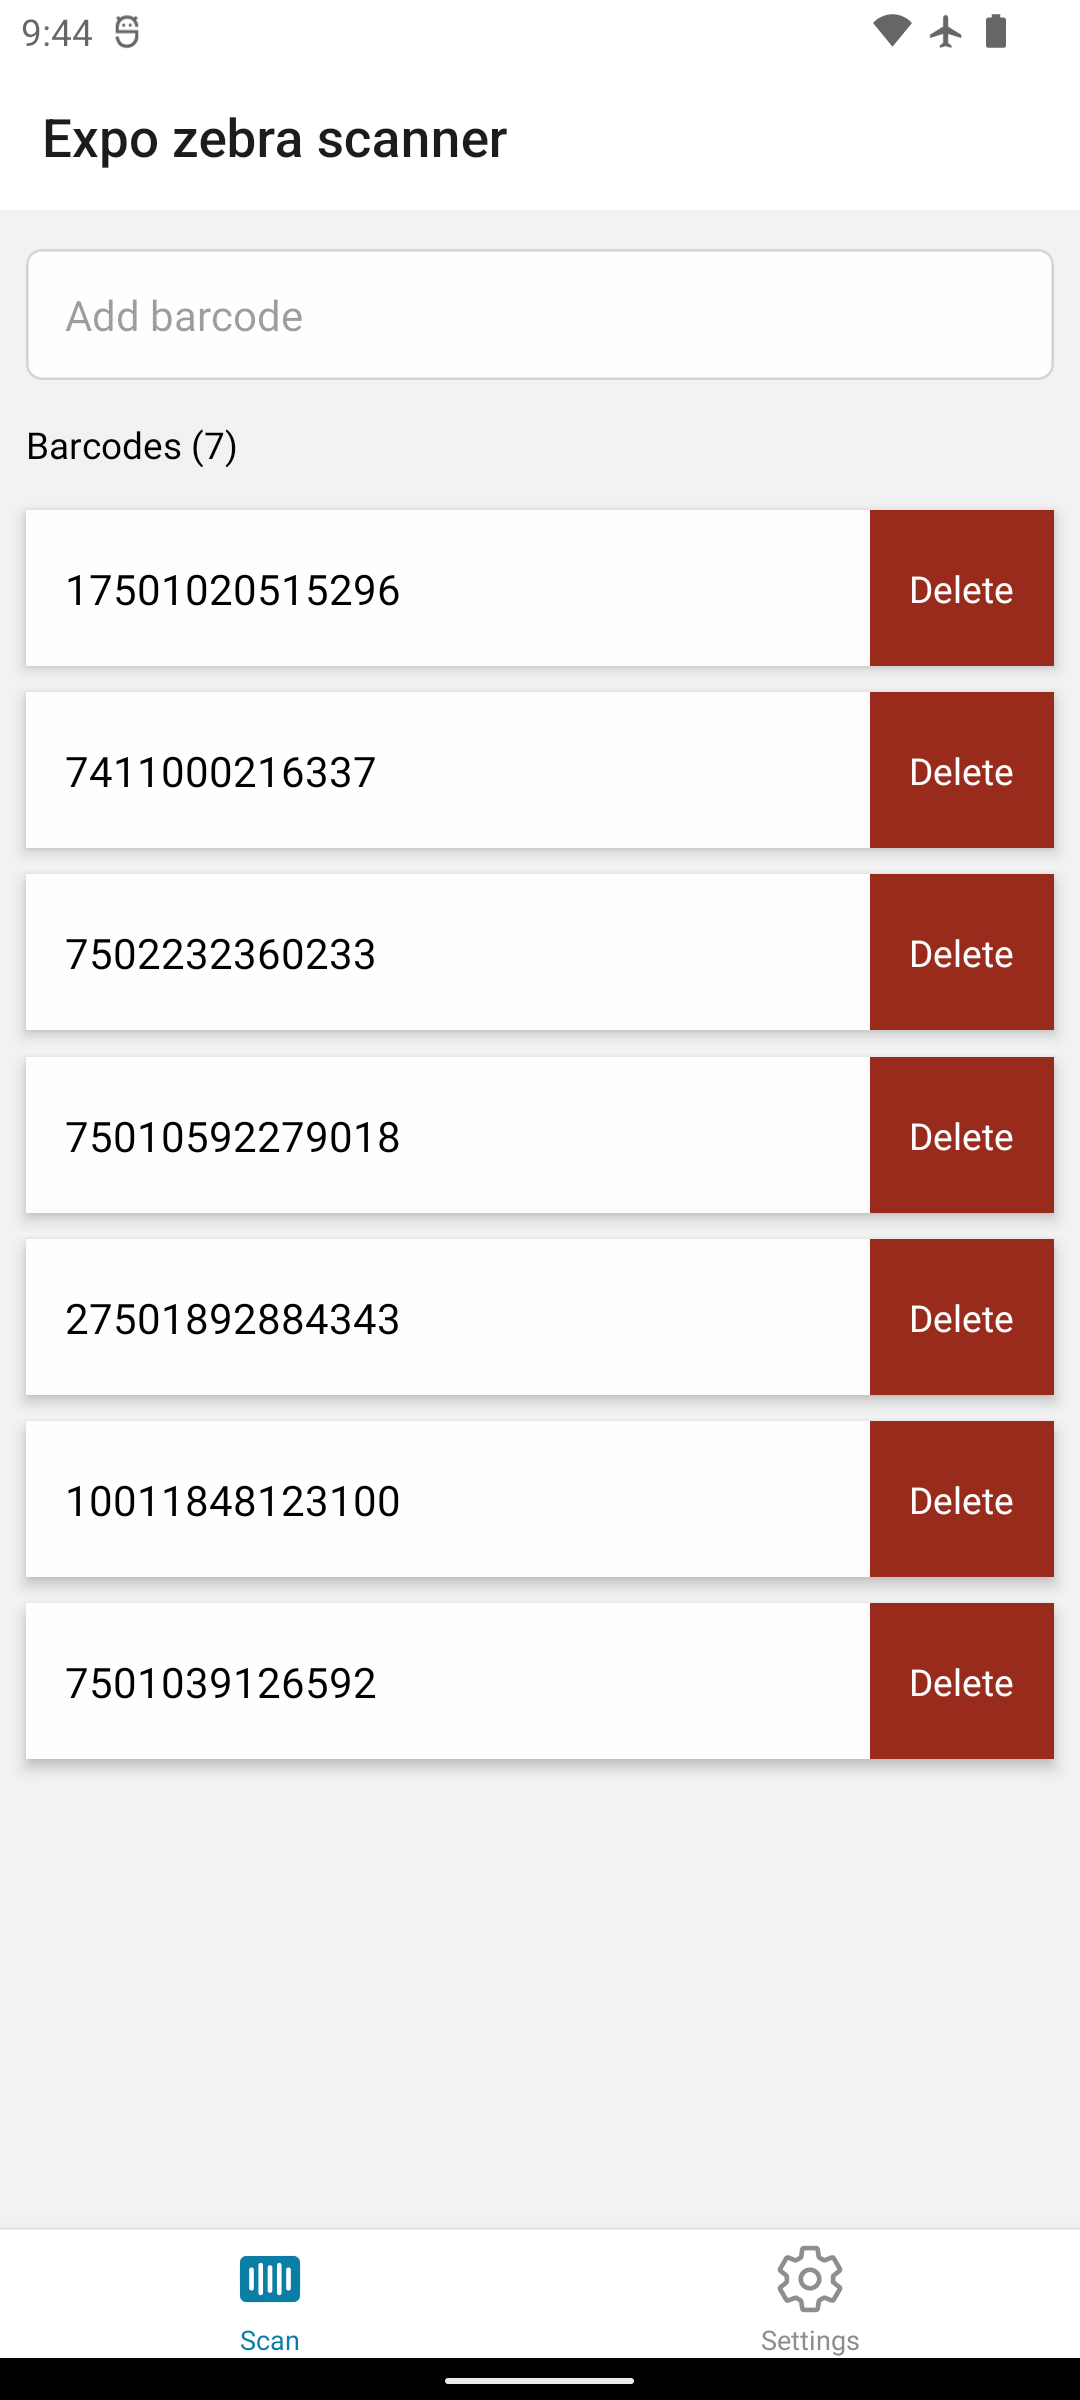
Basic package to read barcodes on Zebra devices with Datawedge.
- Supports SDK 52
- Use Hermes Engine
- Requires expo dev build to use in development
yarn add expo-zebra-scanner
npm install expo-zebra-scannerTo configure DataWedge, you need to use the native app of zebra: https://techdocs.zebra.com/datawedge/latest/guide/settings/
- Disable default profile
- Create a new profile and allow your app (com.example.app)
- Enable Barcode
- Enable Intent (with configuration below & screenshots in dataWedge directory)
Intent => Broadcast Diffusion
ACTION => com.symbol.datawedge.ACTION_BARCODE_SCANNEDYou can create and configure a custom DataWedge profile with sendBroadcast() or sendActionCommand() or you can opt for a basic intent output profile provided by this package.
With createIntentDatawedgeProfile() you can create a preconfigured profile with intent output enabled. The parameters are the name of the profile (can be anything) and the package of your app:
const createBasicProfile = () => {
    ExpoZebraScanner.createIntentDatawedgeProfile({
        PROFILE_NAME: 'ExpoDatawedgeExample',
        PACKAGE_NAME: 'expo.modules.zebrascanner.example',
    });
};
You can optionally create a profile with custom decoders with PARAM_LIST:
const createBasicProfile = () => {
    ExpoZebraScanner.createIntentDatawedgeProfile({
        PROFILE_NAME: 'ExpoDatawedgeExample',
        PACKAGE_NAME: 'expo.modules.zebrascanner.example',
	PARAM_LIST: {
            decoder_i2of5: 'true',
	    decoder_ean8: 'true',
	    decoder_qrcode: 'true',
	    decoder_code128: 'true',
        }
    });
};With sendActionCommand() you can create a profile with the configuration you want:
const createProfile = () => {
    ExpoZebraScanner.sendActionCommand('com.symbol.datawedge.api.CREATE_PROFILE', PROFILE_NAME);
    ExpoZebraScanner.sendActionCommand('com.symbol.datawedge.api.SET_CONFIG', CONFIGURE_BARCODES);
    ExpoZebraScanner.sendActionCommand('com.symbol.datawedge.api.SET_CONFIG', CONFIGURE_INTENT);
    ExpoZebraScanner.sendActionCommand('com.symbol.datawedge.api.SET_CONFIG', CONFIGURE_KEYSTROKE);
};
You can pass any parameters you want to sendActionCommand(). See available parameters at Zebra docs.
Parameters from above example:
const PROFILE_NAME = "ExpoDatawedgeExample"; // Name of the profile to create

// Configure datawedge to read ean11, interleaved2of5 and link our app to the profile
const CONFIGURE_BARCODES = {
    PROFILE_NAME,
    PROFILE_ENABLED: 'true',
    CONFIG_MODE: 'UPDATE',
    PLUGIN_CONFIG: {
        PLUGIN_NAME: 'BARCODE',
        RESET_CONFIG: 'true',
        PARAM_LIST: {
            scanner_selection: 'auto',
            decoder_code11: 'true',
            decoder_i2of5: 'true',
        },
    },
    APP_LIST: [
        {
            PACKAGE_NAME: 'expo.modules.zebrascanner.example', // Your app package
            ACTIVITY_LIST: ['*'],
        },
    ],
};

// Setup the intent action. The action is static and need to be as declared on ExpoZebraScannerModule.kt
// Maybe a future enhancement of the package will allow you to change the action
const CONFIGURE_INTENT = {
    PROFILE_NAME,
    PROFILE_ENABLED: 'true',
    CONFIG_MODE: 'UPDATE',
    PLUGIN_CONFIG: {
        PLUGIN_NAME: 'INTENT',
        RESET_CONFIG: 'true',
        PARAM_LIST: {
            intent_output_enabled: 'true',
            intent_action: "com.symbol.datawedge.ACTION_BARCODE_SCANNED", // The action specified in ExpoZebraScannerModule.kt
            intent_delivery: '2', // Broadcast
        },
    },
};

// Tell datawedge we don't want keystroke
const CONFIGURE_KEYSTROKE = {
    PROFILE_NAME,
    PROFILE_ENABLED: 'true',
    CONFIG_MODE: 'UPDATE',
    PLUGIN_CONFIG: {
        PLUGIN_NAME: 'KEYSTROKE',
        RESET_CONFIG: 'true',
        PARAM_LIST: {
            keystroke_output_enabled: 'false', // Disable keystroke
        },
    },
};Basic usage consists on adding a listener to the module as shown below:
import React, { useEffect } from 'react';
import * as ExpoZebraScanner from 'expo-zebra-scanner';

export default function MyComponent() {
  useEffect(() => {
    const listener = ExpoZebraScanner.addListener(event => {
      const { scanData, scanLabelType } = event;
      // Do something with scanData
    });

    ExpoZebraScanner.startScan();

    return () => {
      ExpoZebraScanner.stopScan();
      listener?.remove();
    };
  }, []);

  return (
    <View>
      <Text>Zebra Barcode Scanner</Text>
    </View>
  );
}
Also take a look at the example for a slightly more complete use case with profile creation and keystroke output setup.
