Acoustic Content Powerpoint Add-In
This sample shows how you can leverage the Acoustic Content (formerly Watson Content Hub) Asset Palette within Microsoft PowerPoint to add images from the Acoustic Content to a presentation. The sample has been validated on PowerPoint on Mac and PowerPoint Online.
Building / working with the add-in
See the following for how to build a Microsoft PowerPoint add-in: https://docs.microsoft.com/en-us/office/dev/add-ins/powerpoint/powerpoint-add-ins-get-started?tabs=visual-studio-code#tabpanel_GtienwYleG_visual-studio-code
When creating the add-in project using the Yeoman generator, use the following responses:
- Choose a project type: Office Add-in project using Jquery framework
- Choose a script type: Javascript
- What do you want to name your add-in?: WCHOfficeAdd-in
- Which Office client application would you like to support?: Powerpoint
Once the add-in project is created, replace the default index.html, src\index.js and app.css with the files provided in this repository prior to running 'npm start'.
Installing the add-in
After your Acoustic Content Powerpoint Add-In is built, see the following on how to Sideload the Add-In manifest.xml in order to try it with Microsoft PowerPoint: https://docs.microsoft.com/en-us/office/dev/add-ins/testing/test-debug-office-add-ins\
Running the add-in
To run the add-in, lauch Microsoft Powerpoint and navigate to to the Insert tab. From there, select the 'My Add-ins' dropbox and click on your Add-in:
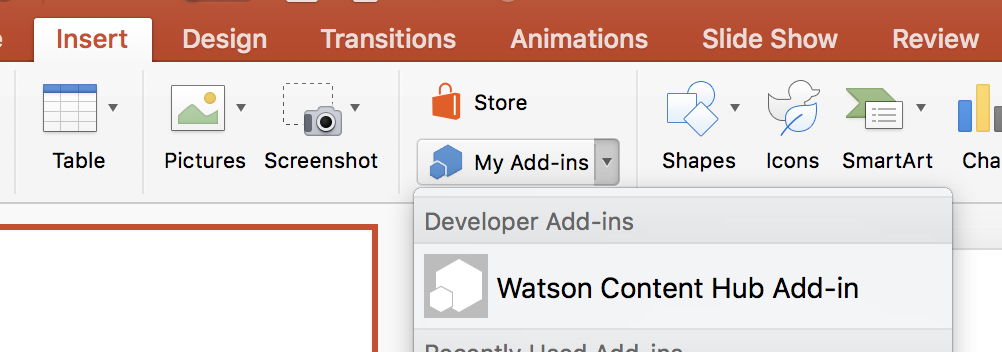
This will add the 'Acoustic Content Add-in' taskpane to your Powerpoint instance. Return to the Home tab and click 'Show Taskpane' to launch the WCH Add-in Taskpane:
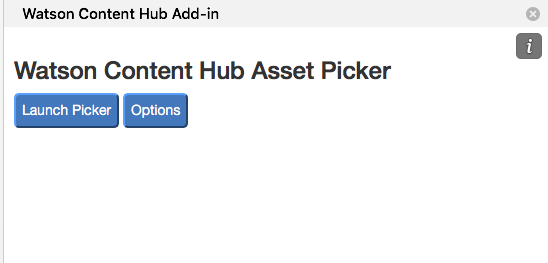
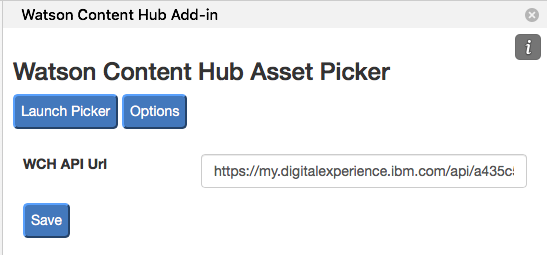
The first time the Add-in is used, click the 'Options' button to configure the Add-in to point to the API URL of your Acoustic Content instance. You can use the 'Save' button to retain this configuration for future use:
Once configured you can use the 'Launch Picker' button to launch the Acoustic Content Asset Picker. Here you can filter the assets returned from the Acoustic Content using criteria such as cognitive tags, image type, date created and similar images. Note: You may need to resize the taskpane to fit the whole asset picker:
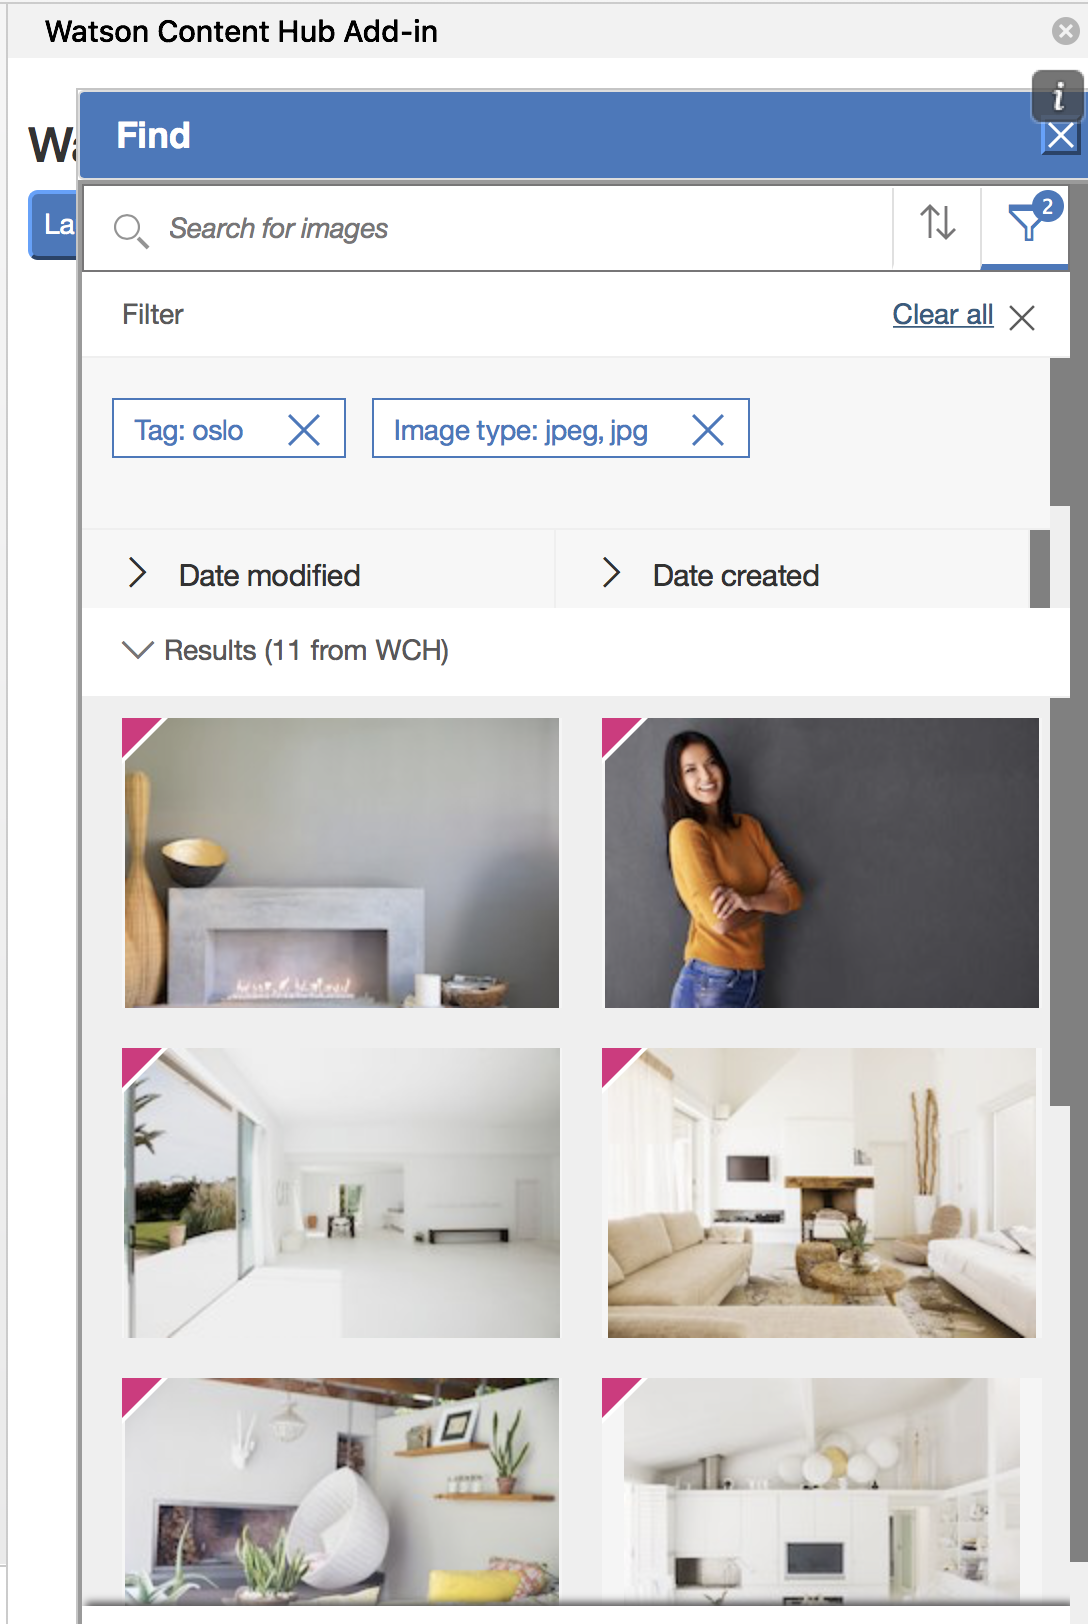
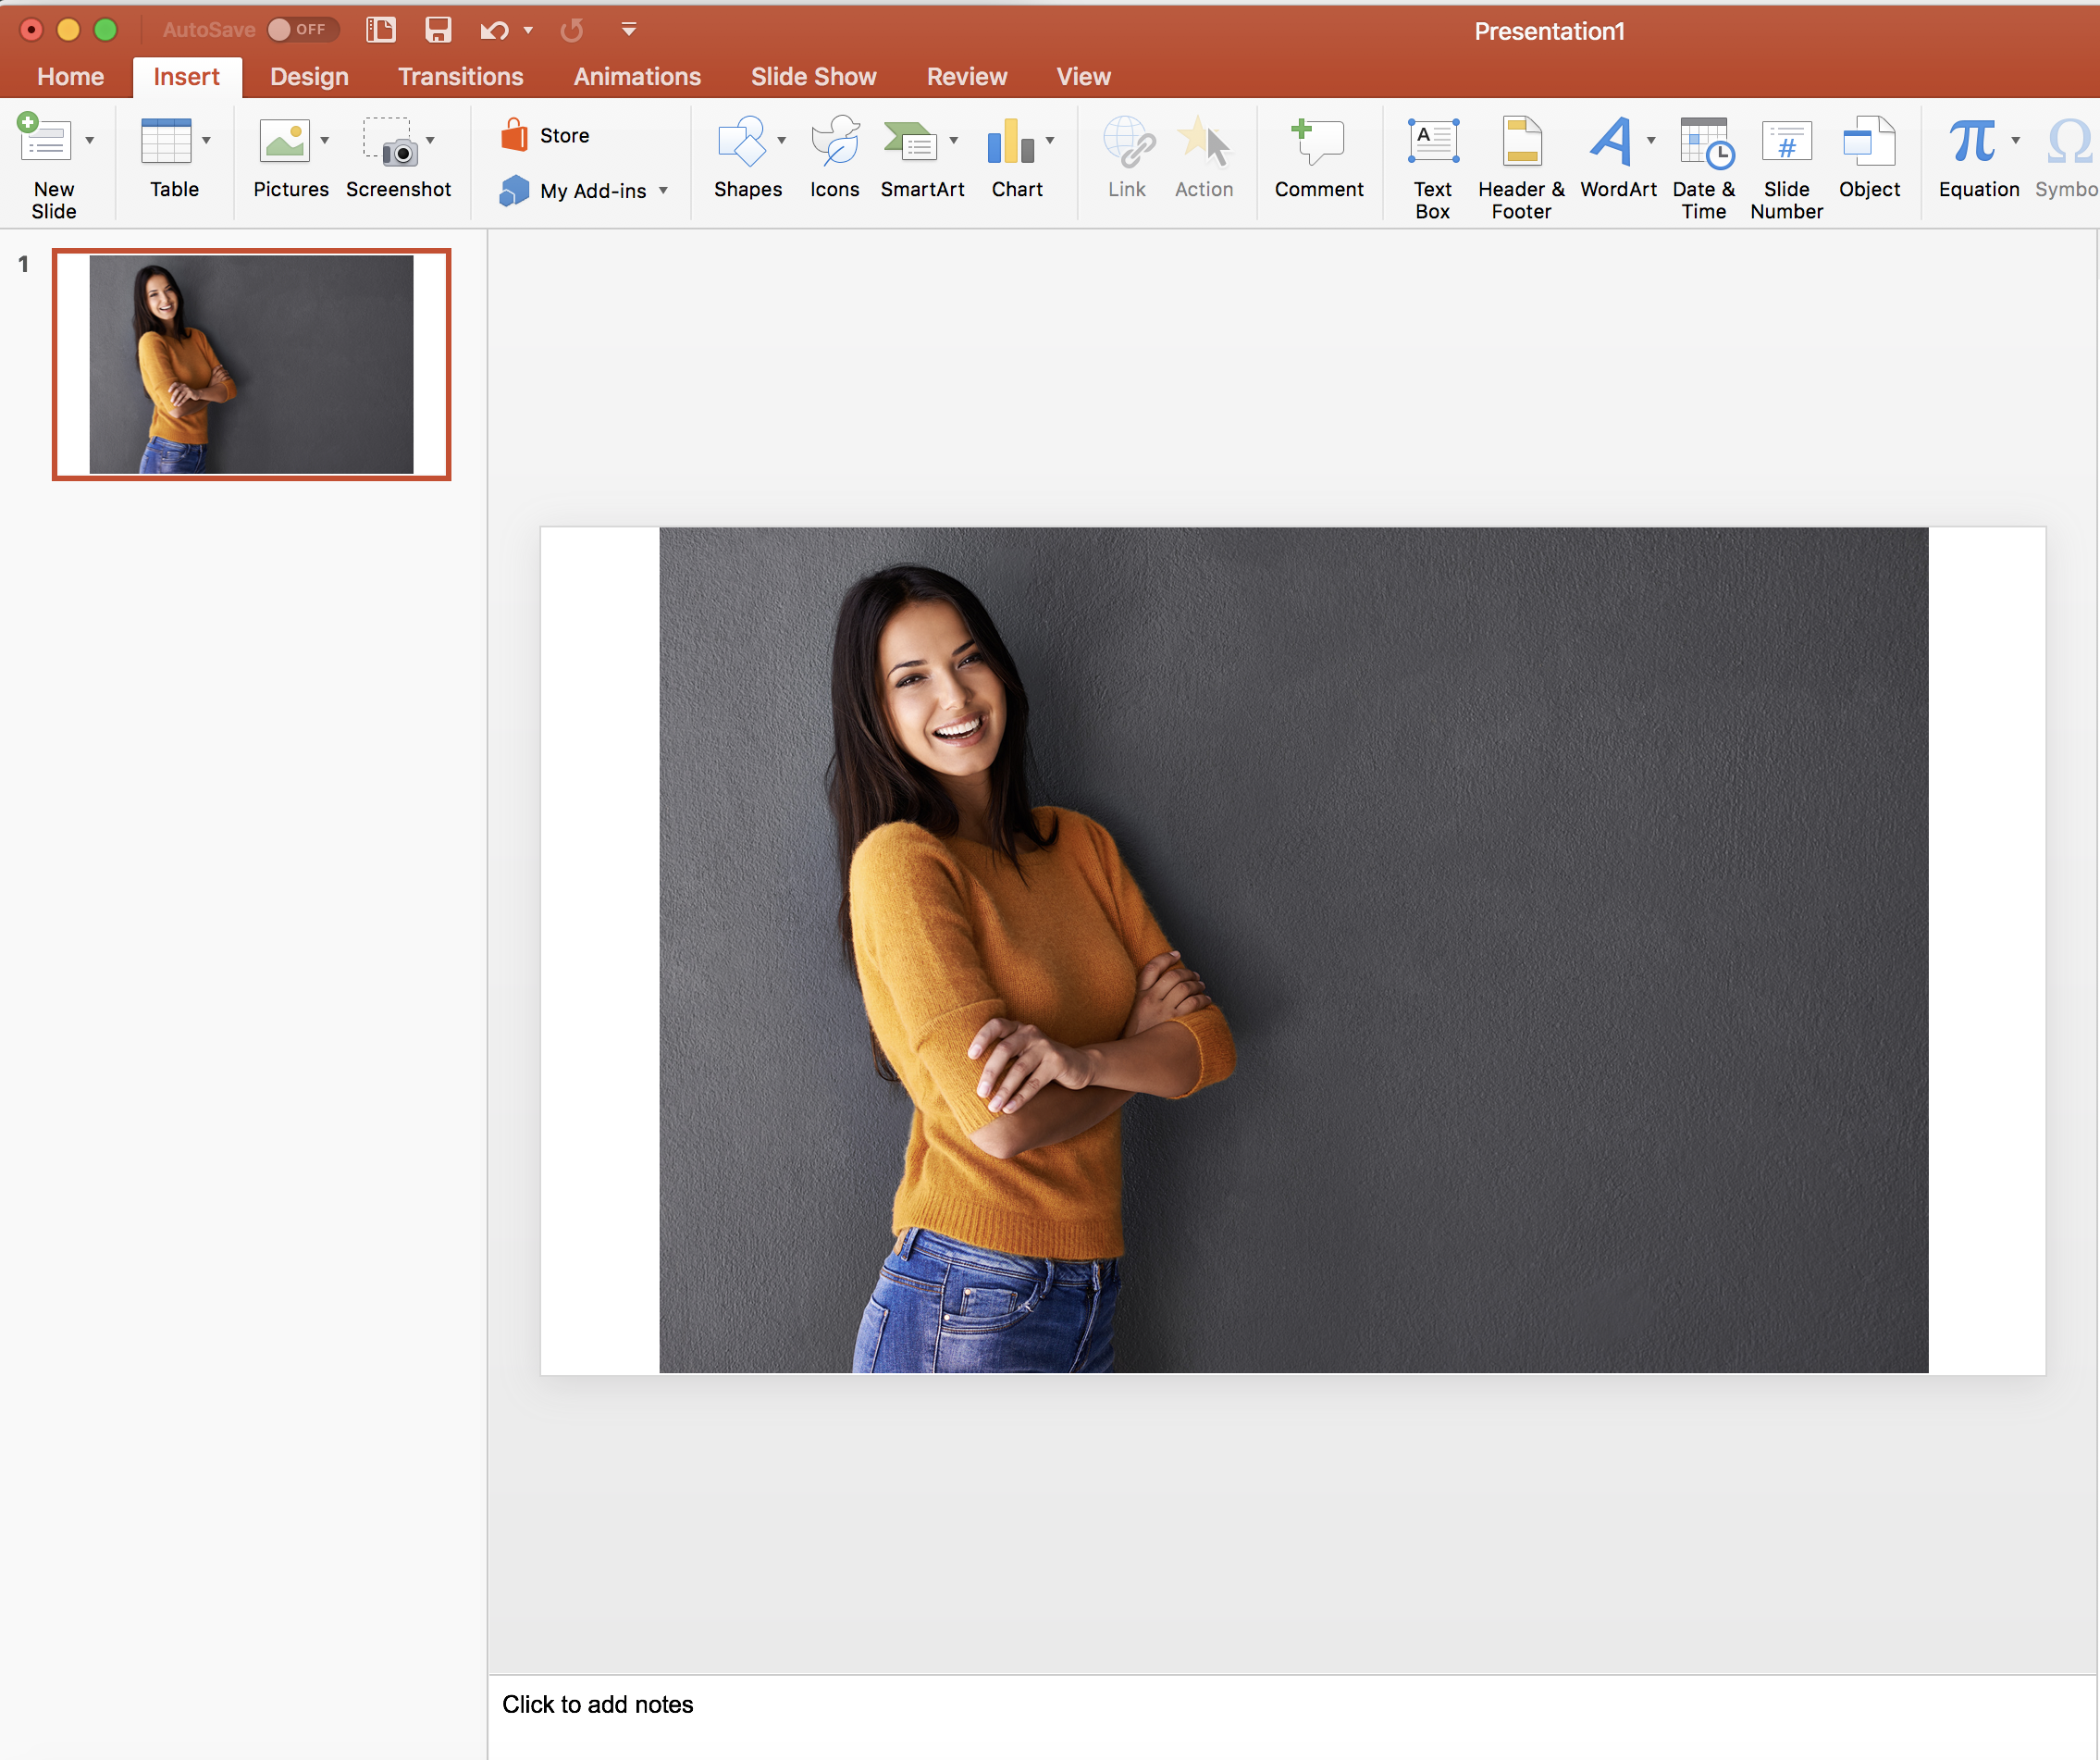
When you find the desired image for your presentation, click the checkmark underneath the image to copy it into the presentation:
Hosting the add-in
By default, the manifest.xml created by the Yeoman generator will point to a localhost SourceLocation when looking for the add-in:
<SourceLocation DefaultValue="https://localhost:3000/index.html" />
Optionally, you could host the Add-in in your Acoustic Content instance to allow others to try it using just your manifest.xml. To do so, you will need to use the wchtools (https://github.com/ibm-wch/wchtools-cli) to push your Add-in to your Acoustic Content instance.
The wchtools CLI utility operates against a working directory, and requires specific folders as direct children of that working directory. Each child folder of the working directory separates artifacts based on the Acoustic Content service that manages those artifacts.
The working directory for the root of this filesystem layout is either the current directory where the wchtools CLI is run, or the path that is specified by the specified by the --dir argument.
The actual authoring or web resource artifacts are stored in the following subfolders under the working directory.
<working dir>
   assets/...          ( Non-managed (web resource) assets, such as html, js, css, managed with wchtools, not authoring UI )
   assets/dxdam/...    ( Managed Authoring Assets, uploaded via Authoring UI and tagged with additional metadata )
   assets/dxconfig/... ( configuration storage area, including manifests )
   categories/         ( authoring categories and taxonomies )
   content/            ( authoring content items )
   image-profiles/     ( authoring image profiles )
   renditions/         ( authoring renditions )
   sites/{site-id}/{pages}  site metadata and page node hierarhy for the site
   resources/          ( image resources no longer referenced by asset metadata, when images updated on assets )
   types/              ( authoring content types )
Copy your entire Add-In folder (ie, WCHOfficeAdd-in) to the assets folder within your working directory.
Then, to push the Add-in to your Acoustic Content instance, run the following command:
wchtools push -A --dir <path-to-working-directory>
Once uploaded you can either wait for the global publish schedule to run and publish your updates, or optionally you can run the command with the --publish-now argument to publish immediately when pushed.
wchtools push -A --dir <path-to-working-directory> --publish-now
After your Add-in has been published, you can update your manifest.xml to point to the index.html running in your Acoustic Content instance. ie:
<SourceLocation DefaultValue="{Insert Your WCH Delivery URL Here}/WCHOfficeAdd-in/index.html" />