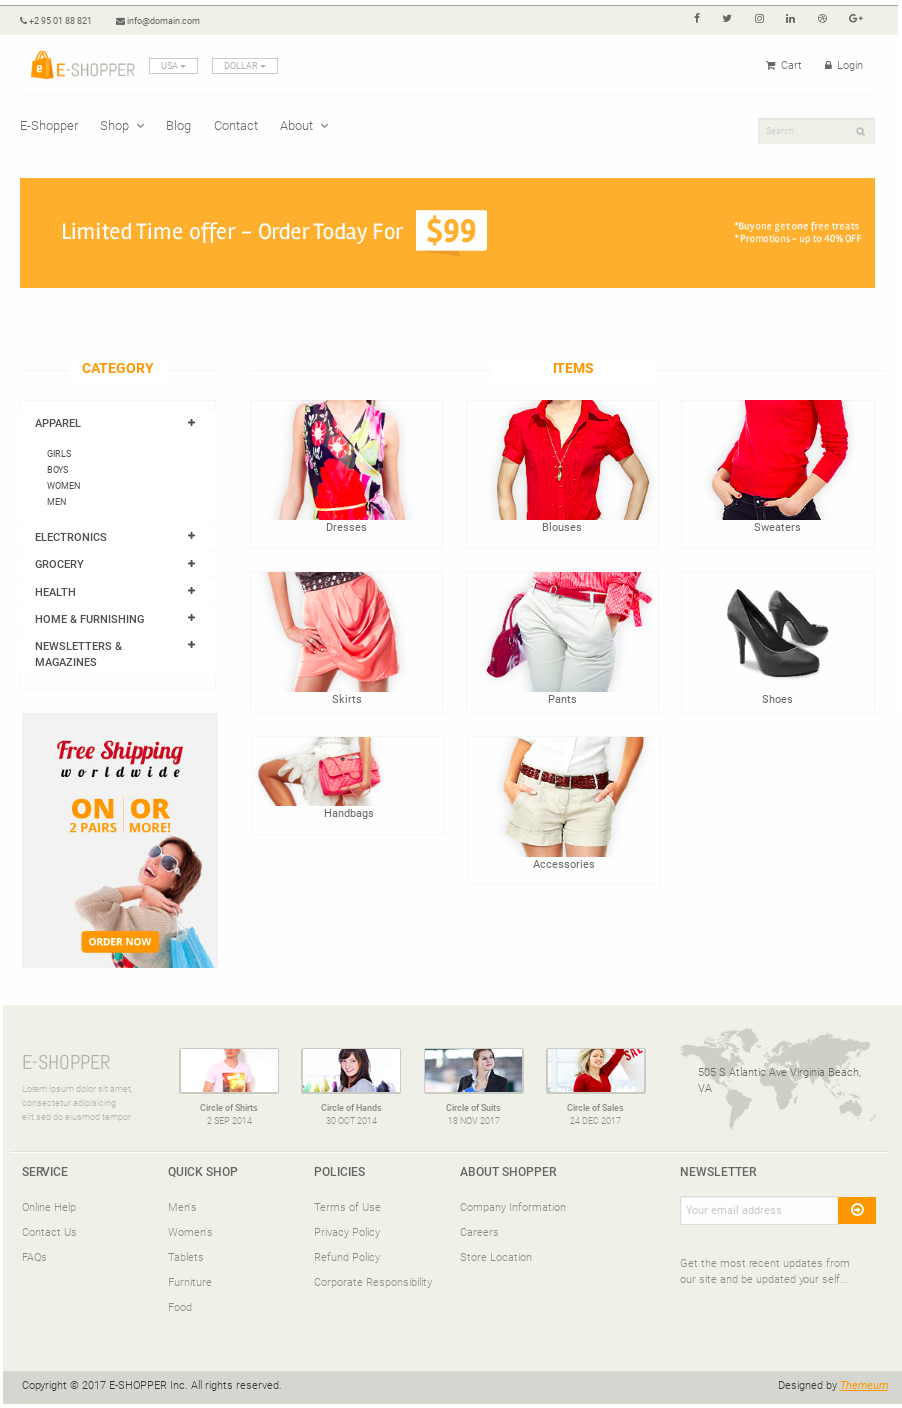
An E-Shopper storefront sample which uses Acoustic Content (formerly Watson Content Hub or WCH) sites.
- An Acoustic Content tenant in Trial or Standard Tier
- wchtools-cli v2.1.3 or above
- Node.js v6.11.1 or above
The deployment step of this repository pushes the Single Page Application (SPA) files into the WCH tenant, overlaying existing files. It will overlay any existing files in the web asset folder. We recommend to first do a pull with wchtools in case you want to keep artifacts that you still need. If you use the Sites SPA, it will get overlayed and existing pages will no longer render.
Limitations: Inline editing will not work with this sample at this time.
- Install dependencies with
npm install - Add your WCH and Commerce configuration in
src/app/commerce/dxconfig/serverConfig.json, replace each empty string with a string containing the correct value for the according key for your environment:
	can be found in Homepange of WCH-> Profile Tab with username-> Hub information -> Content hub ID
	"contentHubID": "YOUR WATSON CONTENT HUB ID",

	--can be found in Homepange of WCH-> Profile Tab with username-> Hub information -> Domain name
	"contentHubDomainName": "YOUR WCH DOMAIN NAME",

	put your backend commerce server domain name - i.e. commerceserver.ibm.com
	"commerceSearchDomainName": "commerceserver.ibm.com",

	put your backend commerce server ssl port - i.e. 443
	"commerceSearchSecurePort":"443",

	put your backend commerce server context root for search - i.e. /search/resources
	"commerceSearchContextPath":"/search/resources",

	put your transaction commerce server domain name - i.e. commerceserver.ibm.com
	"commerceTransactionDomainName": "commerceserver.ibm.com",

	put your transaction commerce server SSL port - i.e. 443
	"commerceTransactionSecurePort": "443",

	put your transaction commerce server context root - i.e. /wcs/resources
	"commerceTransactionContextPath":"/wcs/resources",

	put your transaction commerce server store ID - i.e. 1
	"commerceStoreID": "1",

	put your transaction commerce server catalog ID - i.e. 10502
	"commerceCatalogID": "10502"
- Add your Commerce server to the trusted cross-origin domains under WCH -> Hub setup -> General settings -> Security
- Configure your commerce server to send CORS headers for localhost, and your tenant live and preview host
- Run
wchtools initto setup the WCH tools CLI - Run
wchtools delete -A --all -vto empty your tenant to get a fresh start. WARNING: This will delete all your tenant's Content, Assets, Types, Layouts, Pages, Taxonomies and Image Profiles. Read more here - Add the site artifacts with
npm run init-content - Set your tenant information in
src/app/Constants.ts, then run a local development server withnpm start - Customize your site, read more here
- Build with
npm run build - Deploy Angular app, SPA or layout changes to WCH with
npm run deploy
