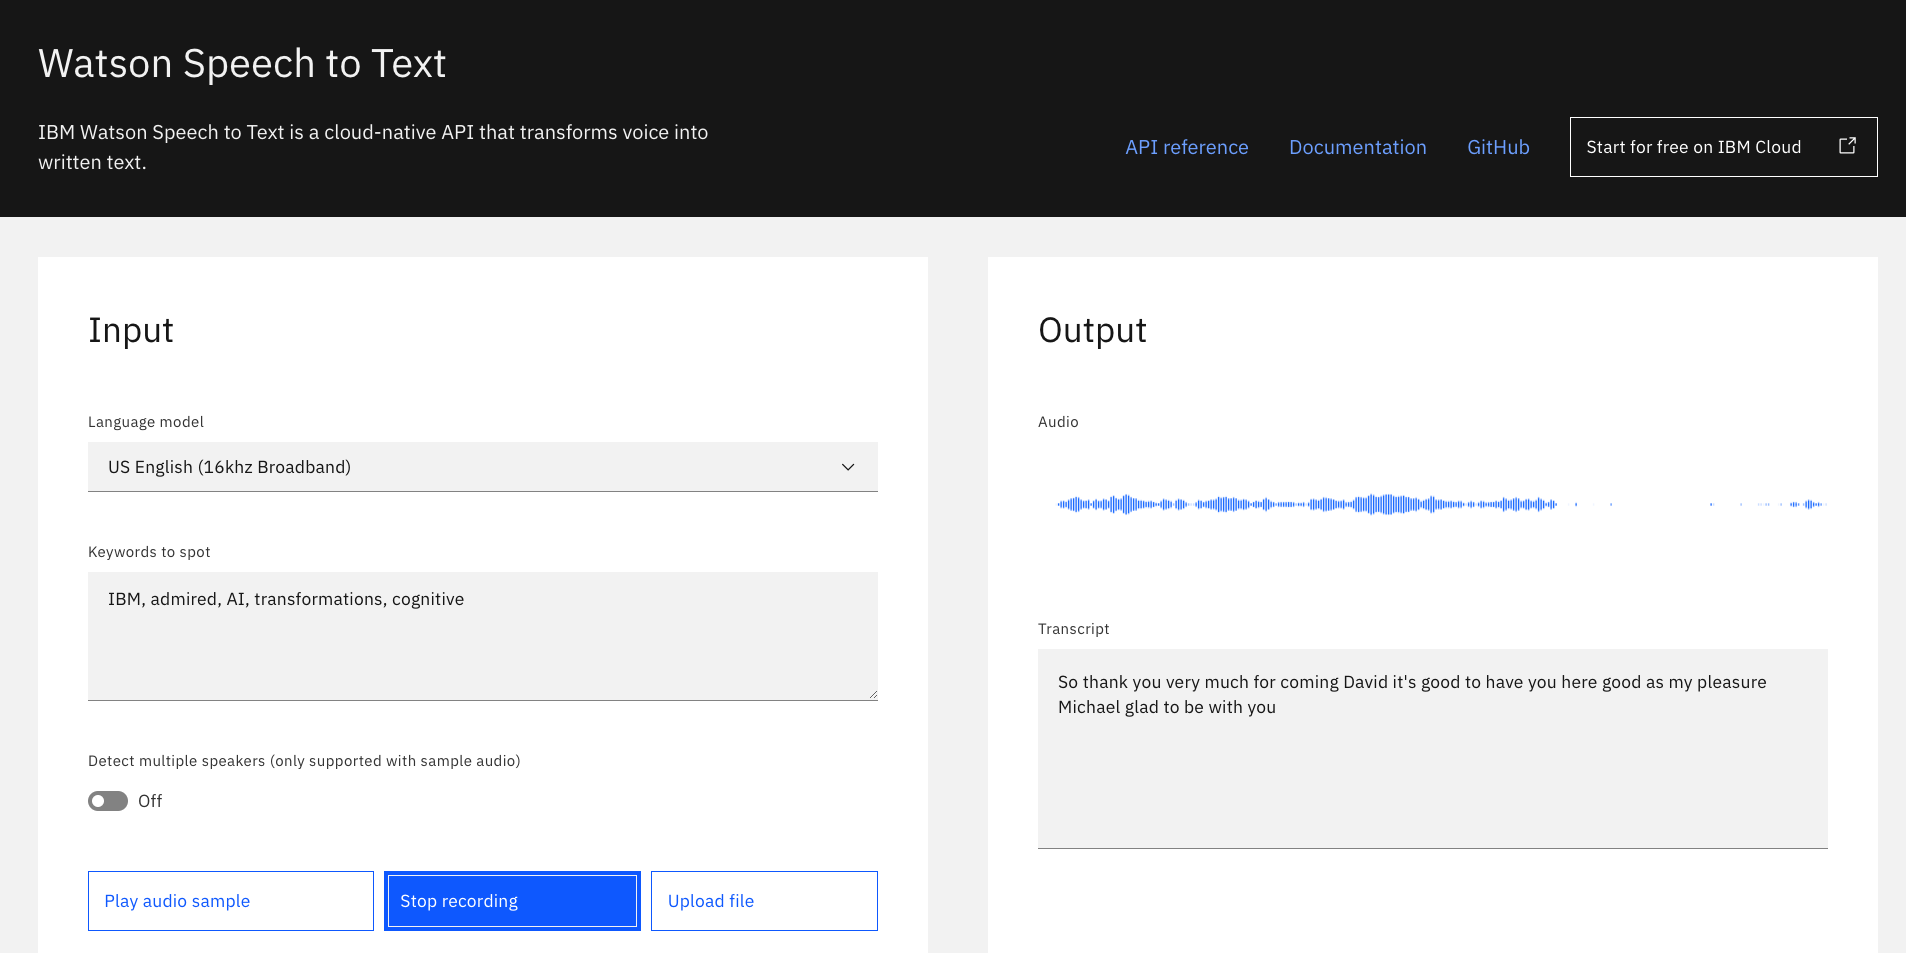
Sample React app for playing around with the Watson Speech to Text service.
✨ Demo: https://speech-to-text-code-pattern.ng.bluemix.net/ ✨
- User supplies an audio input to the application (running locally, in the IBM Cloud or in IBM Cloud Pak for Data).
- The application sends the audio data to the Watson Speech to Text service through a WebSocket connection.
- As the data is processed, the Speech to Text service returns information about extracted text and other metadata to the application to display.
The instructions will depend on whether you are provisioning services using IBM Cloud Pak for Data or on IBM Cloud.
Click to expand one:
IBM Cloud Pak for Data
The service is not available by default. An administrator must install it on the IBM Cloud Pak for Data platform, and you must be given access to the service. To determine whether the service is installed, click the Services icon (![]() ) and check whether the service is enabled.
) and check whether the service is enabled.
- For production use, create a user to use for authentication. From the main navigation menu (☰), select Administer > Manage users and then + New user.
- From the main navigation menu (☰), select My instances.
- On the Provisioned instances tab, find your service instance, and then hover over the last column to find and click the ellipses icon. Choose View details.
- Copy the URL to use as the SPEECH_TO_TEXT_URL when you configure credentials.
- Optionally, copy the Bearer token to use in development testing only. It is not recommended to use the bearer token except during testing and development because that token does not expire.
- Use the Menu and select Users and + Add user to grant your user access to this service instance. This is the SPEECH_TO_TEXT_USERNAME (and SPEECH_TO_TEXT_PASSWORD) you will use when you configure credentials to allow the Node.js server to authenticate.
IBM Cloud
- If you do not have an IBM Cloud account, register for a free trial account here.
- Click here to create a Speech to Text instance.
Select a region.Select a pricing plan(Lite is free).- Set your
Service nameor use the generated one. - Click
Create.
- Gather credentials
- Copy the API Key and URL to use when you configure and deploy the server.
If you need to find the service later, use the main navigation menu (☰) and select Resource list to find the service under Services. Click on the service name to get back to the Manage view (where you can collect the API Key and URL).
Click on one of the options below for instructions on deploying the Node.js server.
 |
 |
-
Select an input
Language model(defaults to English). -
Press the
Play audio samplebutton to hear our example audio and watch as it is transcribed. -
Press the
Record your ownbutton to transcribe audio from your microphone. Press the button again to stop (the button label becomesStop recording). -
Use the
Upload filebutton to transcribe audio from a file.
See DEVELOPING.md and TESTING.md for more details about developing and testing this app.
This code pattern is licensed under the Apache License, Version 2. Separate third-party code objects invoked within this code pattern are licensed by their respective providers pursuant to their own separate licenses. Contributions are subject to the Developer Certificate of Origin, Version 1.1 and the Apache License, Version 2.

