Crypto payments made easy
Cryptocurrencies are the talk of the town. Today, we use them as a mere tradable assets. With the rise of Stable Coins like USDCoin, ever wondered that a time will come when we use cryptocurrencies as a day to day mode of payment? Majority of the existing cryptocurrency wallets tend to be clunky to operate and are developer oriented. A solution is needed to store and monitor your crypto accounts in a user-friendly way. Hence, presenting our app Bit Finance. Our application takes the exciting world of cryptocurrency and makes it available at your fingertips.
A few of the things that you can do with Bit Finance:
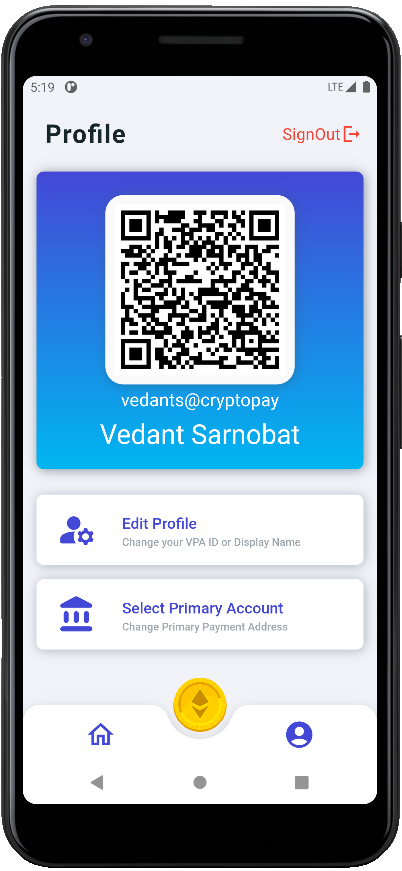
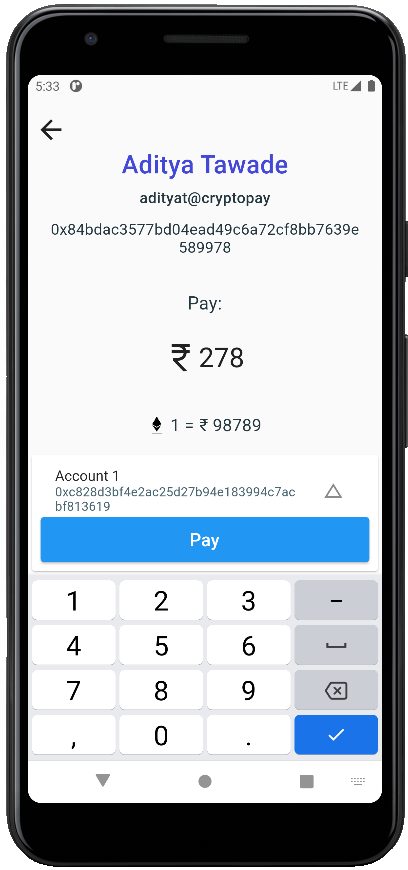
- Bit Finance provides you a way to easily send money to anyone, at the simple scan of a QR code.
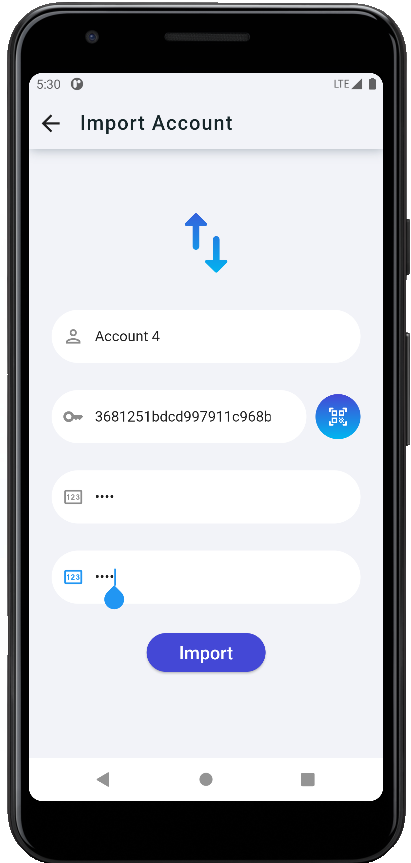
- Virtual Payment Addresses enable users to send and receive money by just sharing a short customizable payment address, hence eliminating the need to memorize and storing the long public addresses of crypto accounts.
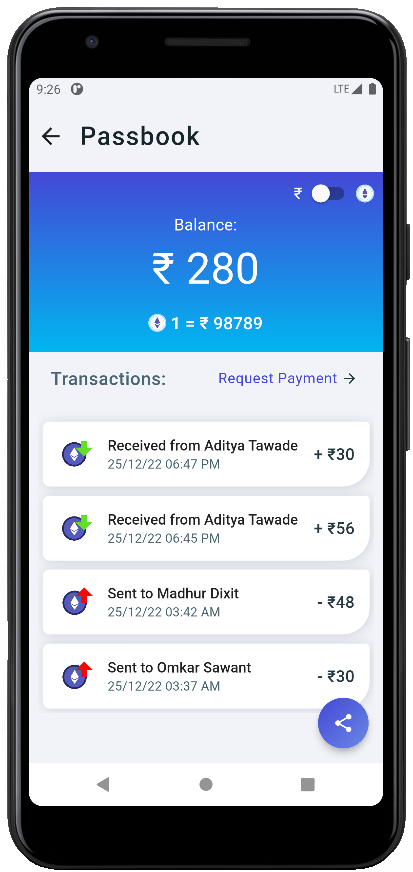
- Enter the amount in Rupees and Bit Finance automatically converts the amount to the equivalent in Ether hence enabling you to make payments at lightening speed.
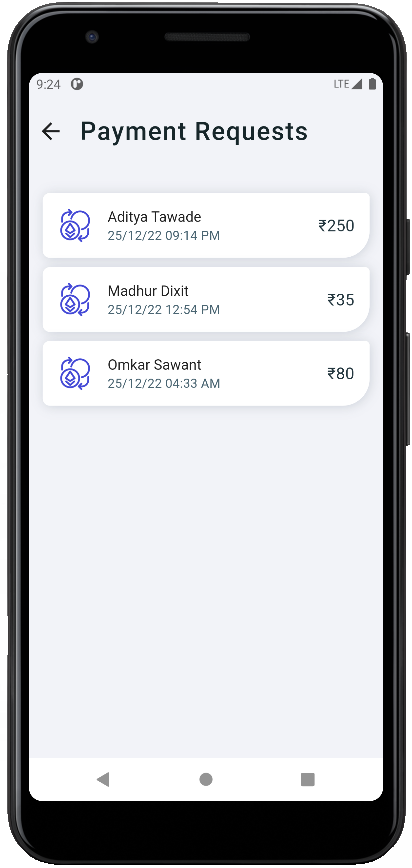
- Create Payment Requests to recieve money from a specific person.
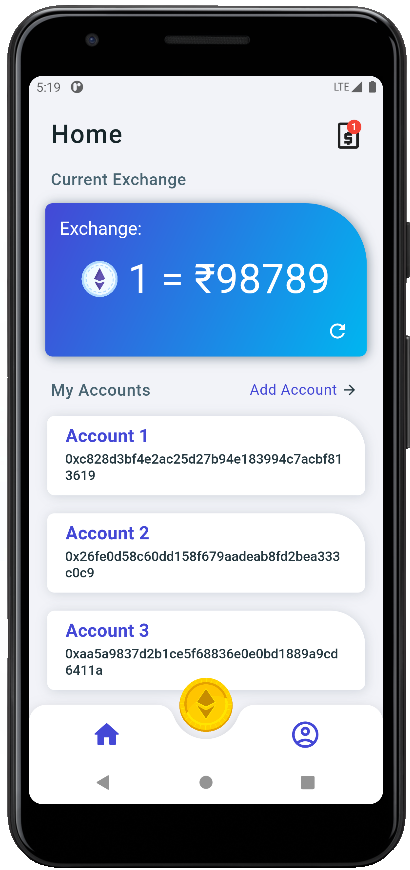
- You can store your accounts, view your balance and recent transactions along with the latest exchange rates.
- Active Firebase Account
- Active Pushy Account with API key generated
- Android Emulator / Mobile Phone with USB Debugging enabled
- Clone the project
- In the root folder, to install project dependencies run,
flutter pub get - In the Bit Finance/lib/env folder, create a file with the name env.g.dart and paste the following code:
part of 'env.dart';

class _Env {
  static const DEV = '<RPC URL of development Ethereum blockchain>';
  static const SEP ='<RPC URL of production Ethereum blockchain>';
  static const NOTIFKEY ='<API Key of Pushy Push Notification API>';
  static const EXCHANGEKEY = "https://api.coingecko.com/api/v3/simple/price?ids=ethereum&vs_currencies=inr";
}
- Initializing Firebase SDK
- Install Firebase CLI and Flutterfire CLI
- Login to the CLI using command
firebase login - Run command
flutterfire configure - Choose create a new project and enter a new name for the project
- Choose android
- Go to the Firebase Console:
- In Authentication and enable Email/Password Authentication
- Enable Firestore Database
- To install and start the app, select your target device and run the command
flutter run
- Flutter SDK
- VS Code
- Ganache
- Postman
- Android Emulator
 |
 |
 |
 |
 |
 |
- Icons used from Flaticon
- Icons used from Icons8
- Music by AlexiAction from Pixabay
