Kickstart your Raspberry Pico project!
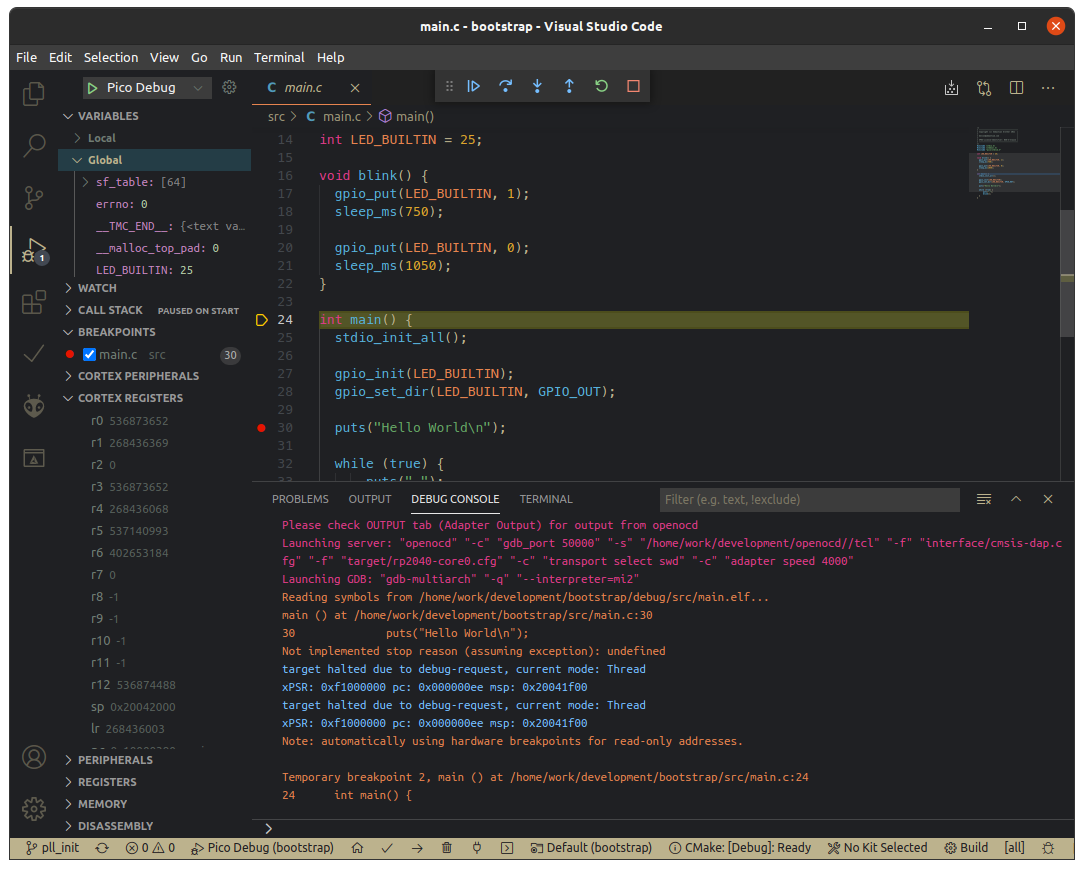
Seamless integration with Visual Studio Code. Build & upload your program with only one click. Start an interactive debugging session for which you need only on Pico board.
To work with this repository, you need to have the following projects up and running:
You also need to set the env var PICO_SDK_PATH.
For this to work, you need to set two environment variables:
- PICO_USB_DIR - directory path where your Raspberry Pico is mounted in USB storage/bootsel mode
- PICO_SERIAL_DIR - directory path where your Raspberry Pico is mounted in serial-over-USB mode
See the file plattform.io for more configuration options.
If all is done, you can compile and upload your Pico program with the default PlatformIO steps or by using the icons in your VS code bottom toolbar.
You can also compile the programm with a VS Code task, go to Terminal -> Run Task -> Pico Build.
Alternativly, in your shell:
cmake -B build -S . -D PICO_BUILD=ON
make -C build/srcYou additionally need to have the following tools installed
See my full installation manual for the complete explanation.
First, set the following environment variables:
- PICO_OPENOCD_PATH - directory where you downloaded and compiled OpenOCD
See .vscode/launch.json for more configuration options.
Second, grab the latest pico debug UF2 file and upload it to your Raspberry Pico.
If you want to start debugging with VS Code, go to Terminal -> Run Task -> Debug Build, then Run -> Start Debugging.
Alternativly, in your shell:
cmake -B build -S . -D DEBUG_BUILD=ON
make -C build/src
Then, upload the build/src/main.elf into GDB and connect to a running OpenOCD server.
