Angular is a development platform, built on TypeScript. As a platform, Angular includes: A component-based framework for building scalable web applications A collection of well-integrated libraries that cover a wide variety of features, including routing, forms management, client-server communication, and more A suite of developer tools to help you develop, build, test, and update your code With Angular, you're taking advantage of a platform that can scale from single-developer projects to enterprise-level applications. Angular is designed to make updating as straightforward as possible, so take advantage of the latest developments with a minimum of effort. Best of all, the Angular ecosystem consists of a diverse group of over 1.7 million developers, library authors, and content creators.
You can use @angular/cli to create a new Angular Project. In your terminal window, use the following command:
$ npm i @angular/cli
Creates a new Angular workspace.
$ ng new angular-leaflet
Navigate to the newly created project directory:
$ cd angular-leaflet
Builds and serves your application, rebuilding on file changes. (--open is opens the url in default browser.)
$ ng serve --open
Install leaflet packag
$ npm i @types/leaflet --save-dev
Now, Create the custom map component
$ ng generate component map
This command will produce four new files: map.component.css , map.component.html , and map.component.ts . It will also update the app.module.ts file to use this new component.
import { MapComponent } from './map/map.component';

@NgModule( {
declarations: [
...
MapComponent
...
] } )
Next, open app-routing.module.ts and define your routes in array. code:
const routes: Routes = [
{ path: 'map', component: MapComponent },
{ path: '', redirectTo: '/map', pathMatch: 'full' }
];
Next, open app.component.ts and replace the content with the following lines of code:
<router-outlet> </router-outlet>Then, open map.component.ts and replace the content with the following lines of code:
<div class="container">
    <div id="map"> </div>
</div>
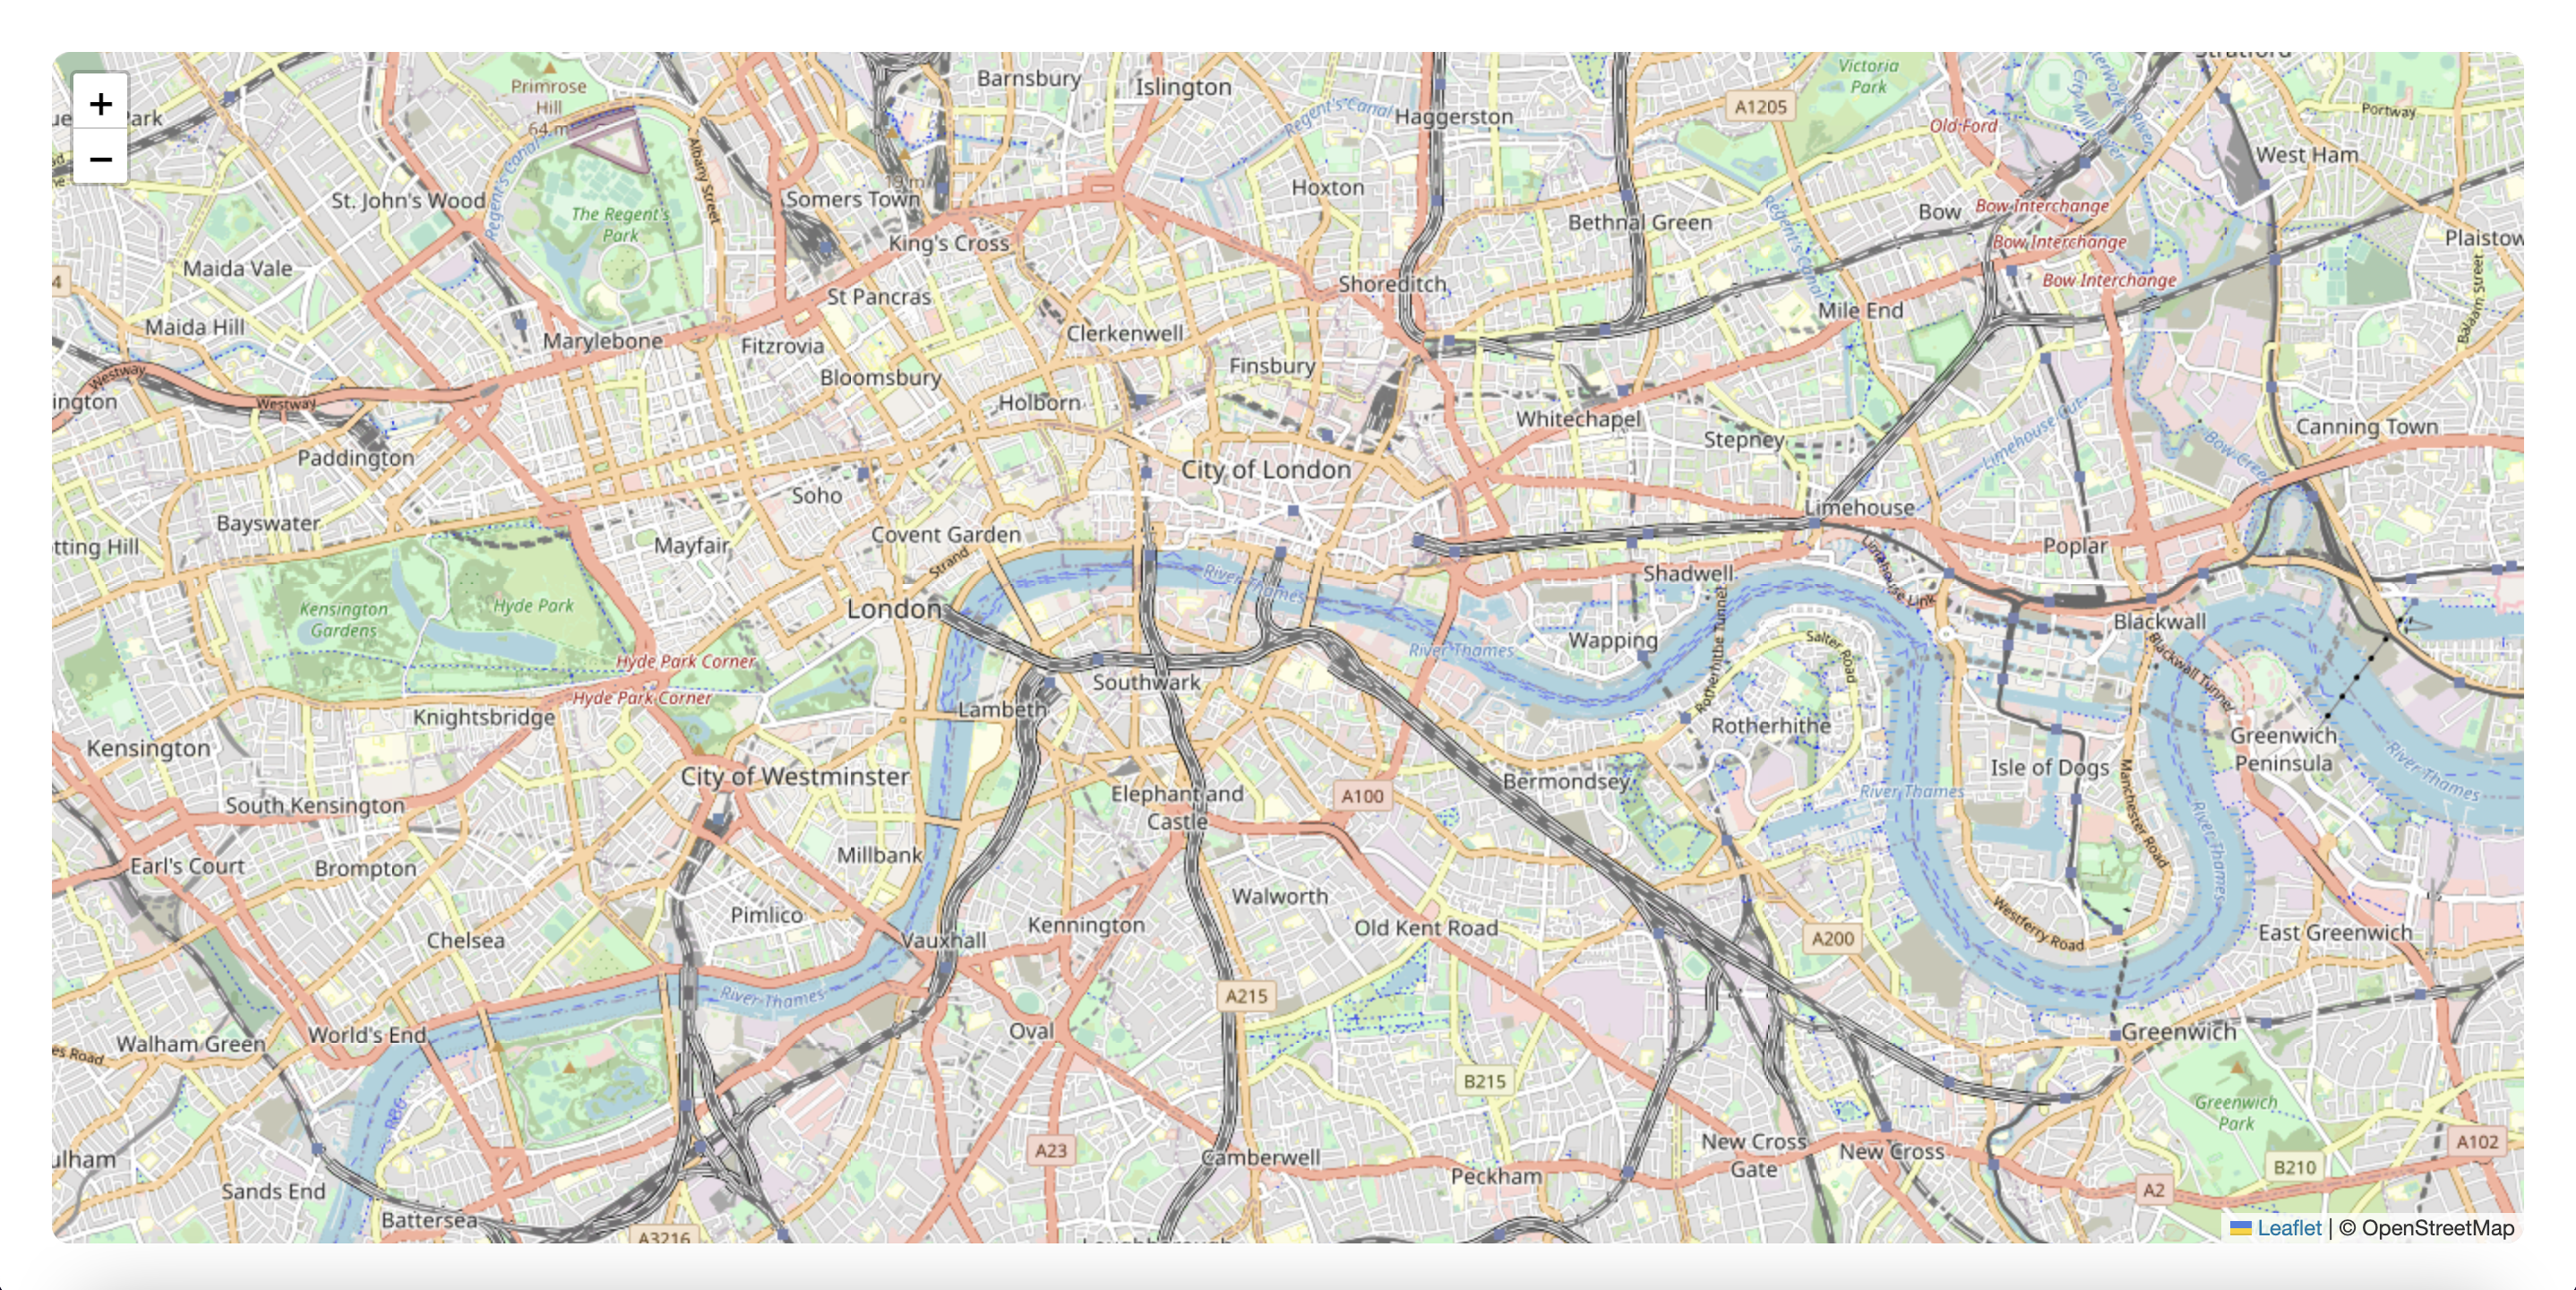
It will also create a div with the id of #map. Using an id instead of a class here is important because Leaflet will expect an id to be passed to it for placing the map.
Then, open map.component.css and replace the content with the following lines of code:
.container {
    position: absolute;
    top: 0;
    left: 0;
    right: 0;
    bottom: 0;
    margin: 30px;
}
#map {
    height: 100%;
    border-radius: 10px;
}
Next, open up map.component.ts and import the Leaflet package:
import { Component, OnInit } from '@angular/core';
import * as L from 'leaflet';

@Component({
    selector: 'app-map',
    templateUrl: './map.component.html',
    styleUrls: ['./map.component.css']
})
export class MapComponent implements OnInit {
    public map: any

    constructor() { }

    ngOnInit(): void {
       this.map = L.map('map').setView([51.505, -0.09], 13);
       L.tileLayer('https://{s}.tile.openstreetmap.org/{z}/{x}/{y}.png', {
       maxZoom: 19,
       attribution: '© OpenStreetMap'
       }).addTo(this.map);
    }
}
Open up style.css and import url css leaflet with the following lines of code:
@import url('../node_modules/leaflet/dist/leaflet.css');
