Syntara Dashboard (Laravel 4 package)
Syntara is an admin system for Laravel 4.
Features
- Authentication
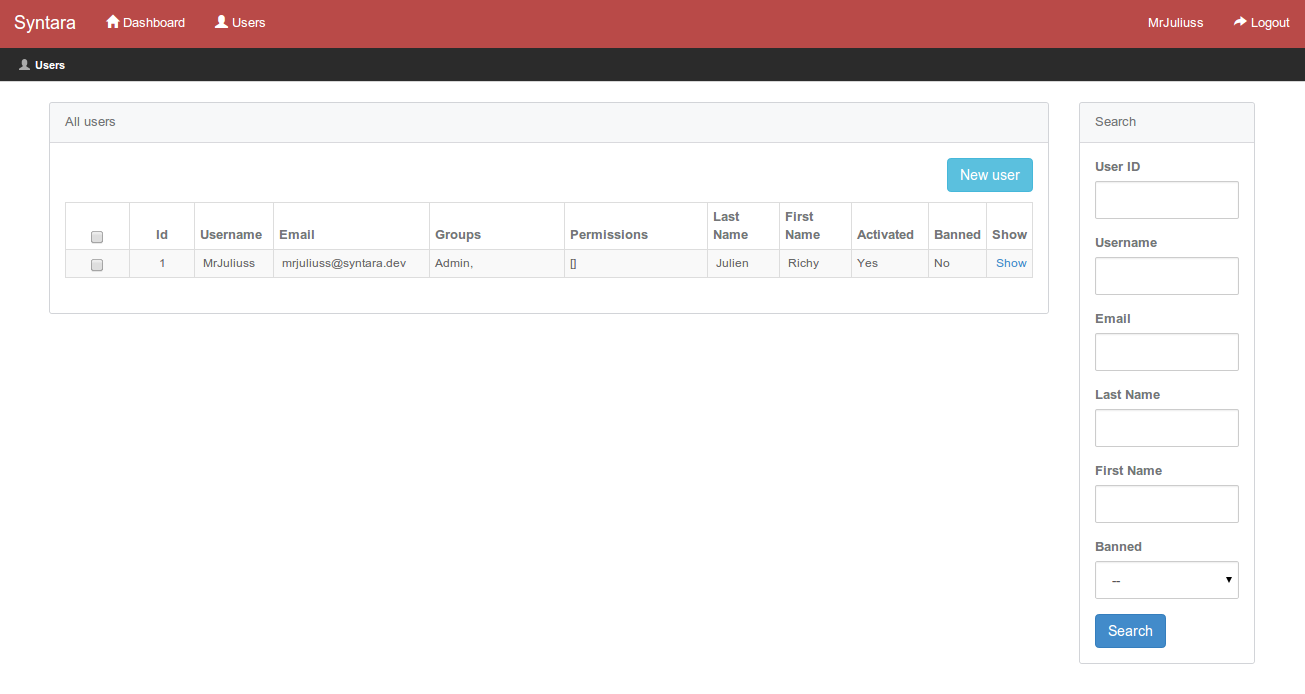
- Users management
- Groups & permissions management
Requirements
- PHP 5.3+
Dependencies
- Cartalyst Sentry package
- jQuery 2.0.*
- Twitter Bootstrap 3
Installation
In the require key of composer.json file add the following line
"mrjuliuss/syntara": "1.*"
Run the Composer update command
$ composer update
In app/config/app.php :
Add 'Cartalyst\Sentry\SentryServiceProvider' and 'Mrjuliuss\Syntara\SyntaraServiceProvider' to the end of the $providers array
'providers' => array(
    'Illuminate\Foundation\Providers\ArtisanServiceProvider',
    'Illuminate\Auth\AuthServiceProvider',
    ...
    'Cartalyst\Sentry\SentryServiceProvider',
    'Mrjuliuss\Syntara\SyntaraServiceProvider'
),
Add 'Sentry' => 'Cartalyst\Sentry\Facades\Laravel\Sentry' to the end of the $aliases array
'aliases' => array(

    'App'             => 'Illuminate\Support\Facades\App',
    'Artisan'         => 'Illuminate\Support\Facades\Artisan',
    ...
    'Sentry'          => 'Cartalyst\Sentry\Facades\Laravel\Sentry'
),
Launch install commands :
php artisan syntara:install
Create first user (the first user must add to the "Admin" group, to allow you an access to all features)
php artisan create:user username email password Admin
Now go to login page :
http://your-url/dashboard/login
Custom Development
Add a new feature to Syntara dashboard
You must extend your new controller with the Syntara BaseController, like this :
<?php

use MrJuliuss\Syntara\Controllers\BaseController;

class FeatureController extends BaseController
{
    public function getIndex()
    {
        $this->layout = View::make('syntara::dashboard.index');

        $this->layout->title = 'My new feature';

        // add breadcrumb to current page
        $this->layout->breadcrumb = array(
            array(
                'title' => 'My new feature',
                'link' => 'dashboard',
                'icon' => 'glyphicon-home'
            ),
            array(
                'title' => 'Current Page',
                'link' => 'dashboard/current',
                'icon' => 'glyphicon-plus'
            ),
        );
    }
}
Add permission to your new Controller route :
Route::get('routes', array('as' => 'route_name', 'before' => 'hasPermissions:permission', 'uses' => 'Namespace\ControlerRoute'));
Where 'permission' is the name of your permission
Example :
Route::get('blog/article/new', array('as' => 'new_article', 'before' => 'hasPermissions:create.article', 'uses' => 'MrJuliuss\Syntara\Controllers\ArticleController@getCreate'));
Extend the user navigation by creating a view composer:
View::composer('syntara::layouts.dashboard.master', function($view)
{
    $view->nest('navPages', 'left-nav');
    $view->nest('navPagesRight', 'right-nav');
    $view->with('siteName', 'My Site');
});
This passes in 2 views, 'left-nav' and 'right-nav'. These add links to the left or right of the navigation bar.
'left-nav.blade.php' example :
<li class=""><a href=""><i class="glyphicon glyphicon-home"></i> <span>Home</span></a></li>
<li class="dropdown" >
    <a class="dropdown-toggle" data-toggle="dropdown" href="#"><i class="glyphicon glyphicon-home"></i> <span>Blog</span></a></a>
    <ul class="dropdown-menu">
        <li><a href="">Articles</a></li>
        <li><a href="">Comments</a></li>
    </ul>
</li>
Pass a string called siteName to the view composer to change the site name.
Use Syntara Permission Models
Permission Provider
use PermissionProvider;

$permission = PermissionProvider::findById();
Permission Model, create an empty permission
$permissionModel = PermissionProvider::createModel();
User / Group models
Syntara uses Sentry 2 models for Users & Groups management, please read Sentry 2 docs : http://docs.cartalyst.com/sentry-2
TODO
- Ban/unban user
License
Syntara is released under the MIT License. See the licence file for details.