![]()
The goal of this repository is to show how to develop extensions for JupyterLab, presented as short tutorial series.
To get started:
git clone https://github.com/jupyterlab/extension-examples.git jupyterlab-extension-examples && \
  cd jupyterlab-extension-examples && \
  conda env create && \
  conda activate jupyterlab-extension-examples && \
  cd basics/hello-world && \
  jlpm && \
  jlpm run build && \
  jupyter labextension install . && \
  jupyter lab
The examples currently target JupyterLab 2.x. If you would like to use the examples with JupyterLab 1.x, check out the 1.x branch. Note that the 1.x branch is not updated anymore.
You may find it easier to learn how to create extensions by examples, instead of going through the documentation.
Start with the Hello World and then jump to the topic you are interested in.
- Hello World
- Signals
- Datagrid
- Command Palette
- Commands
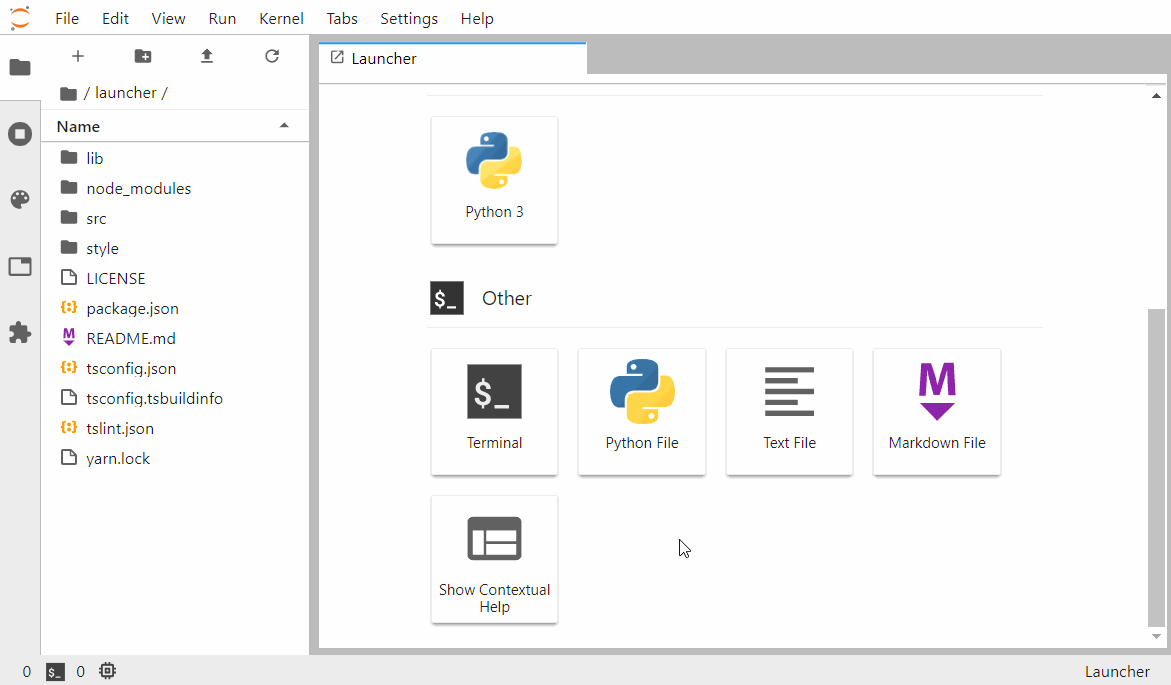
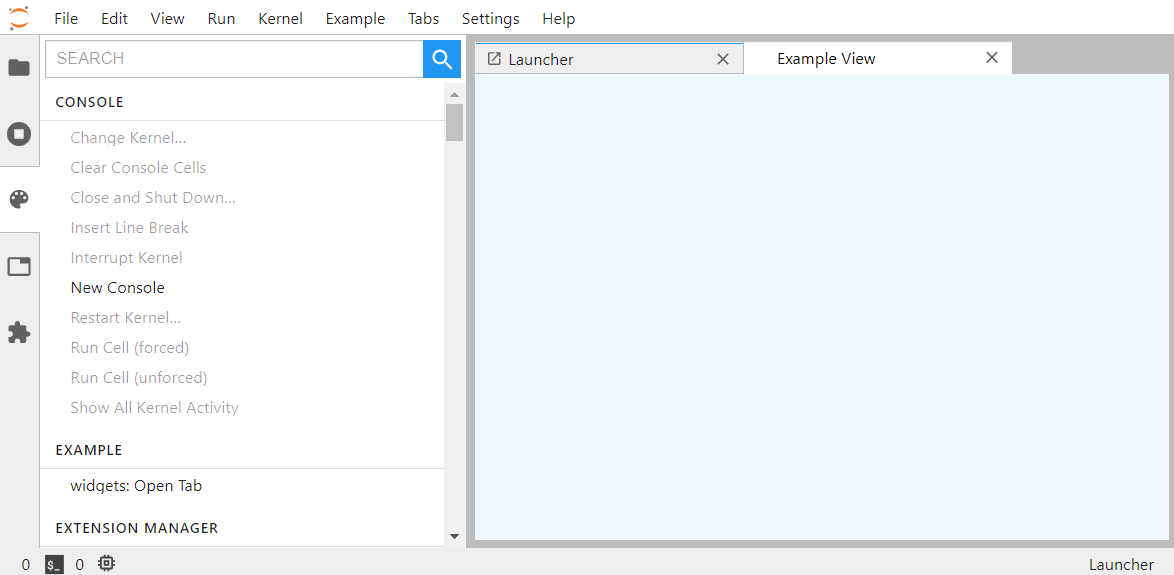
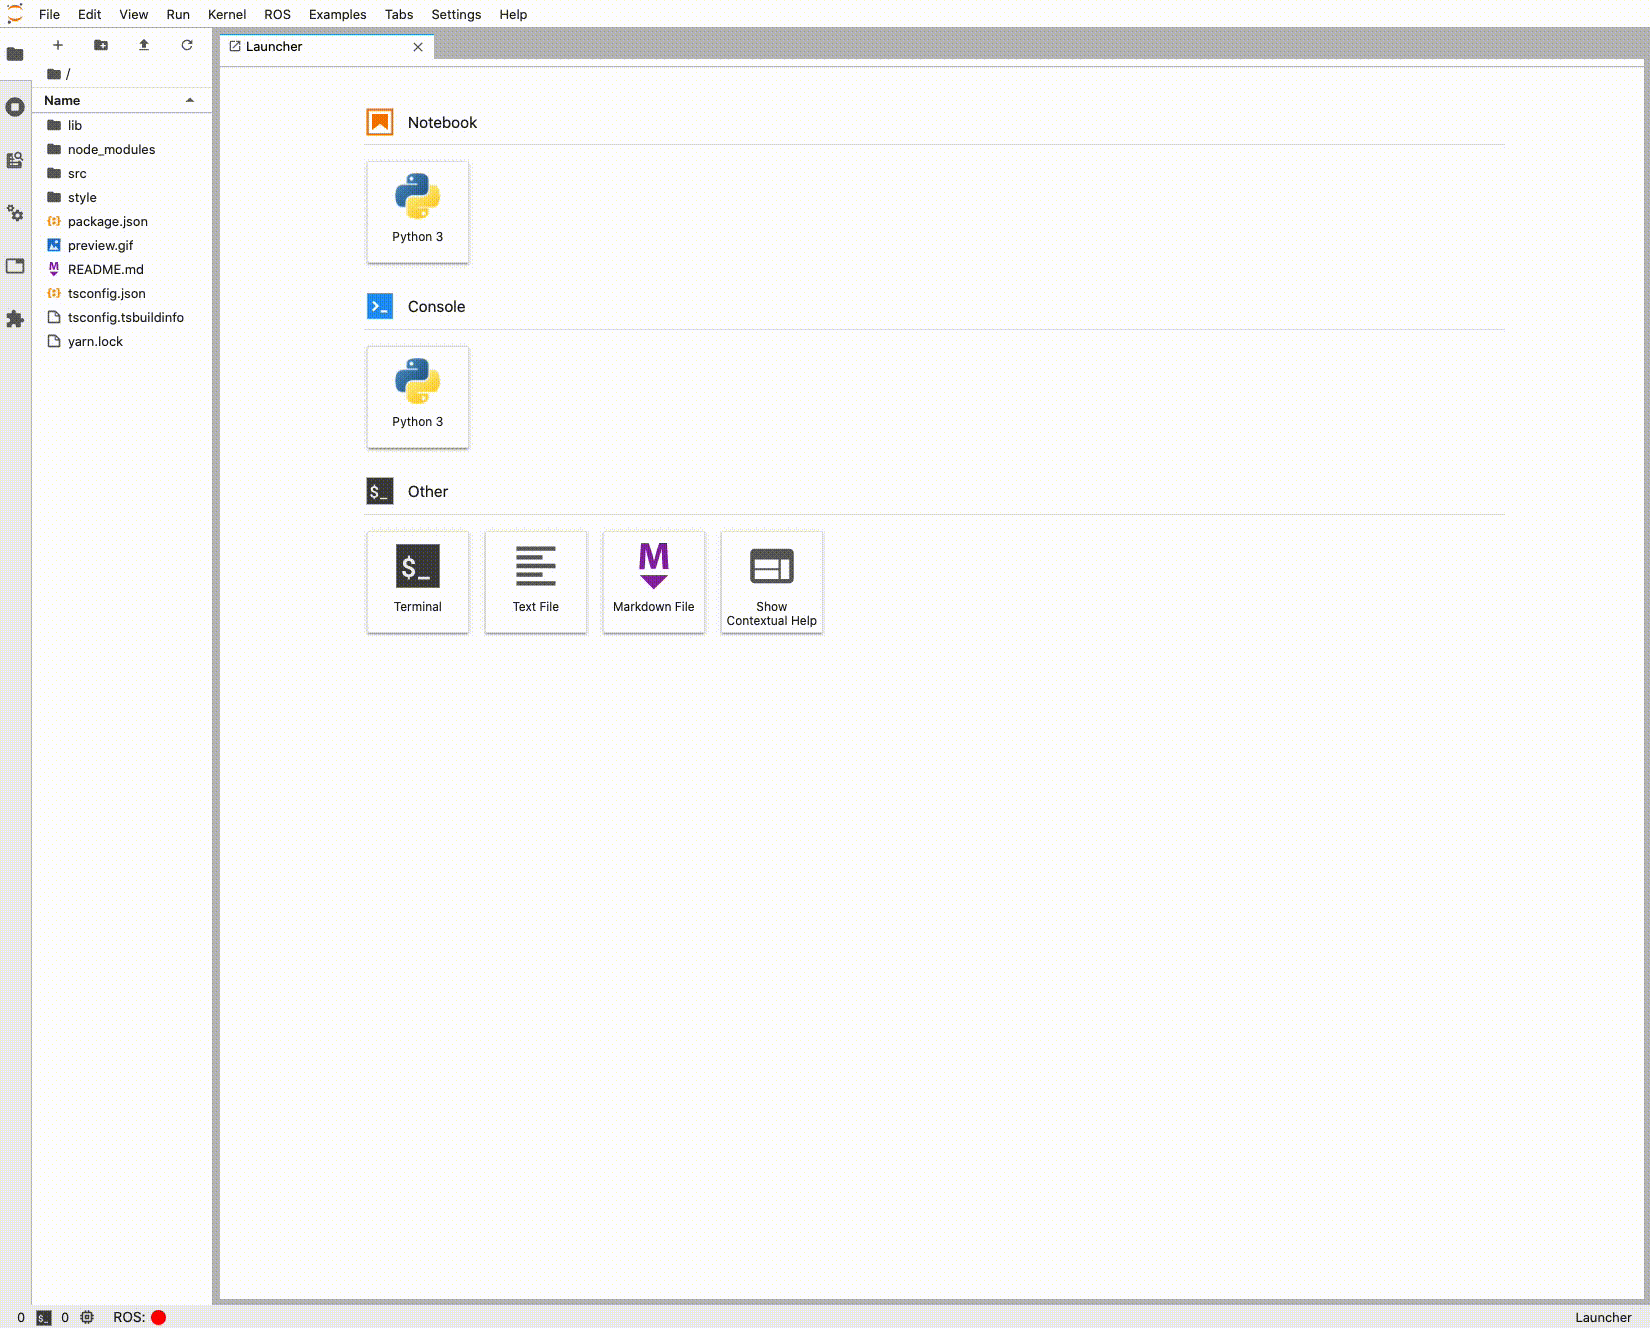
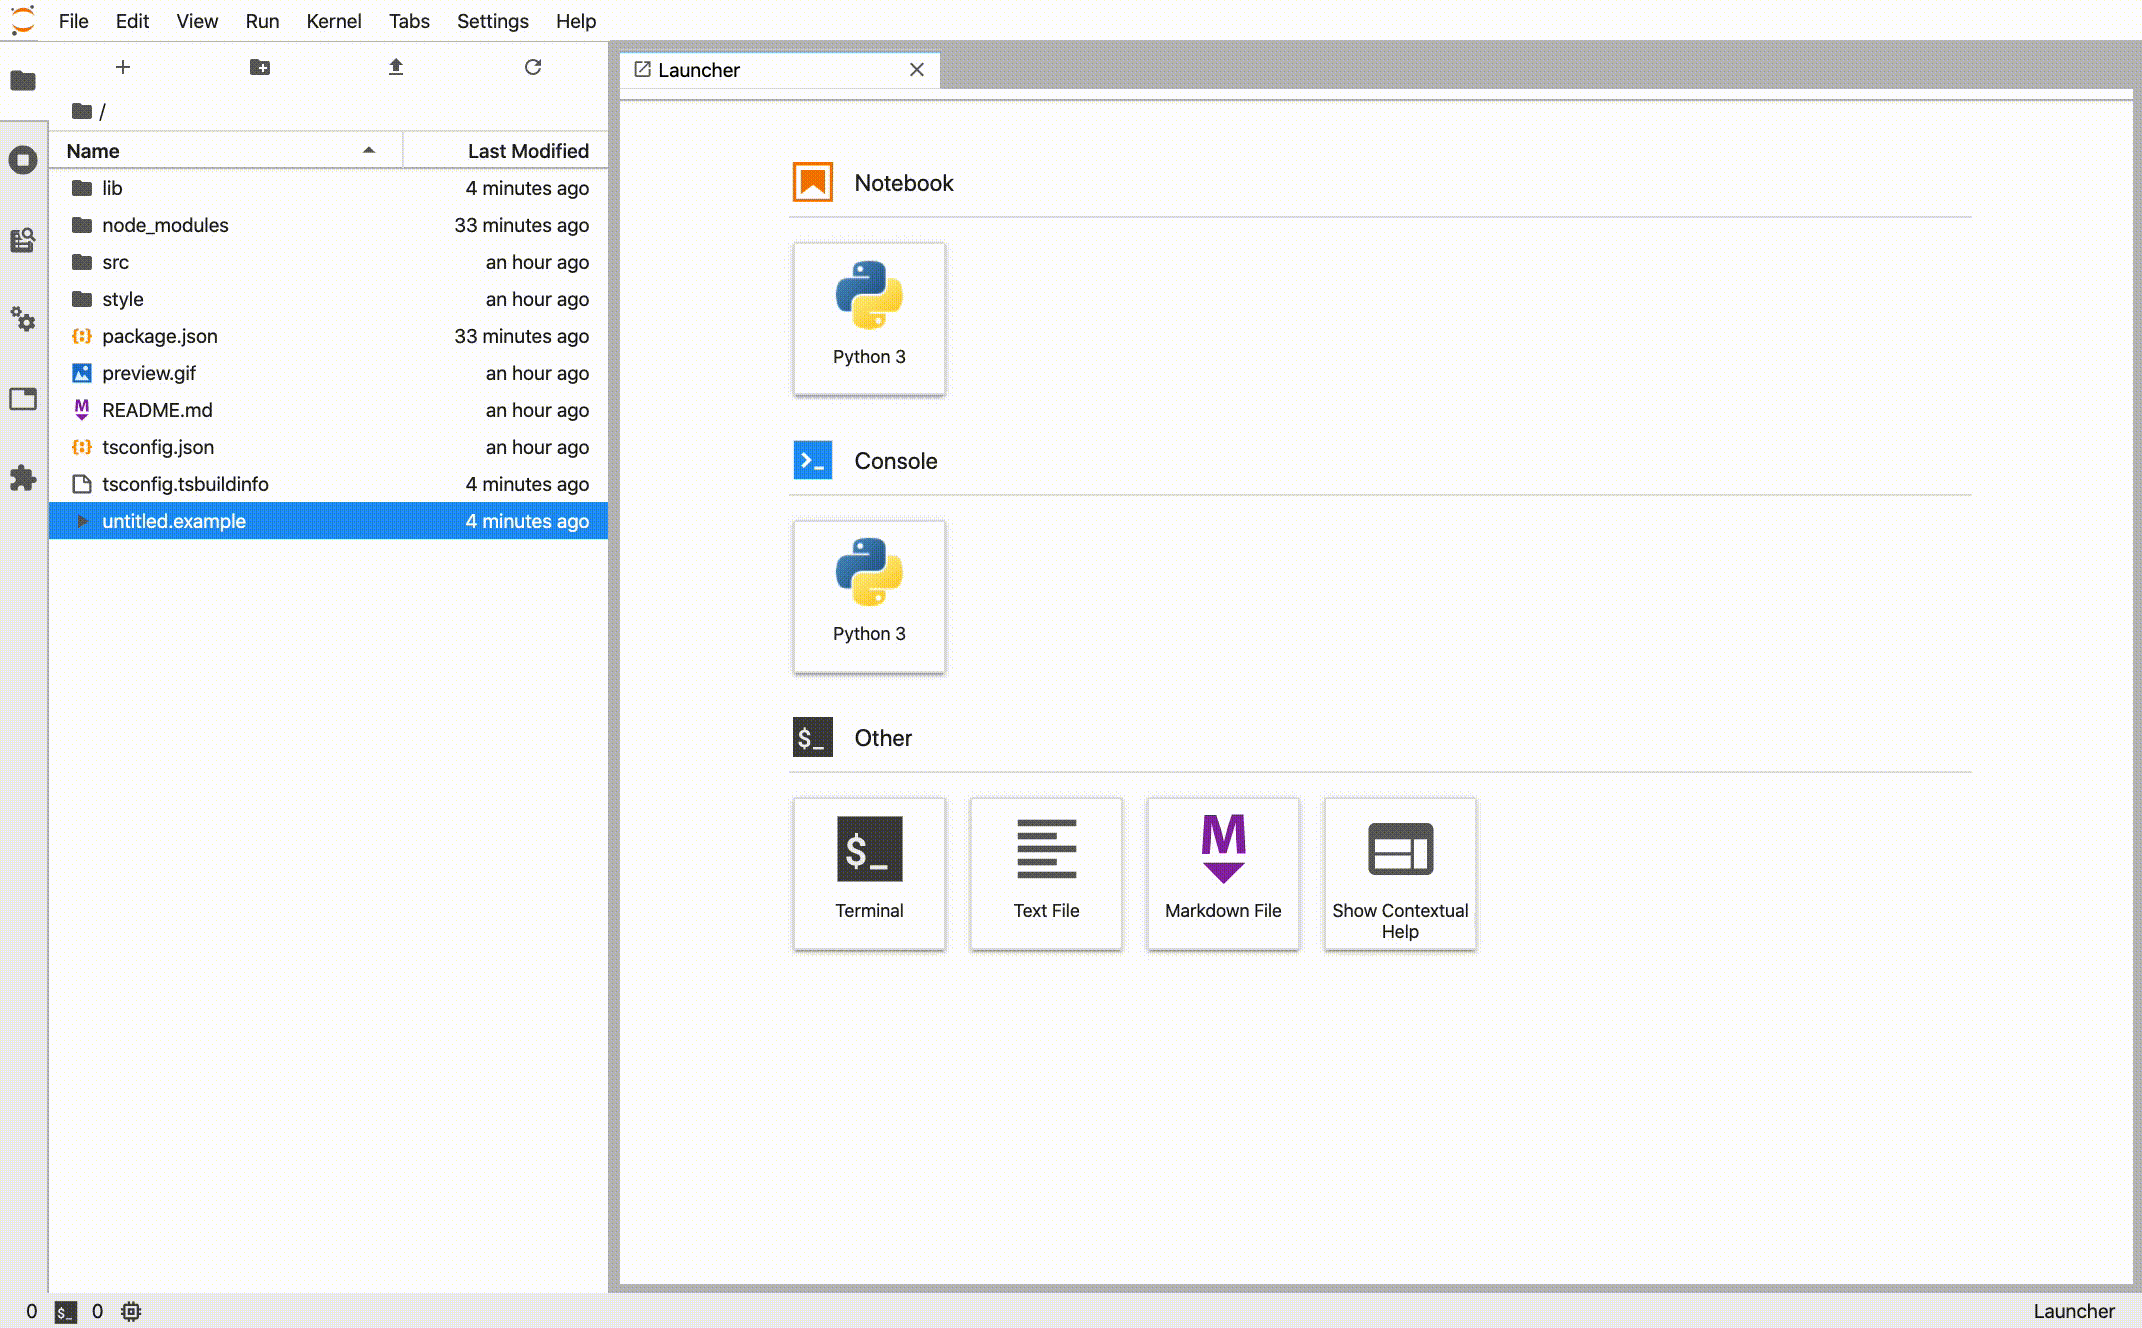
- Launcher
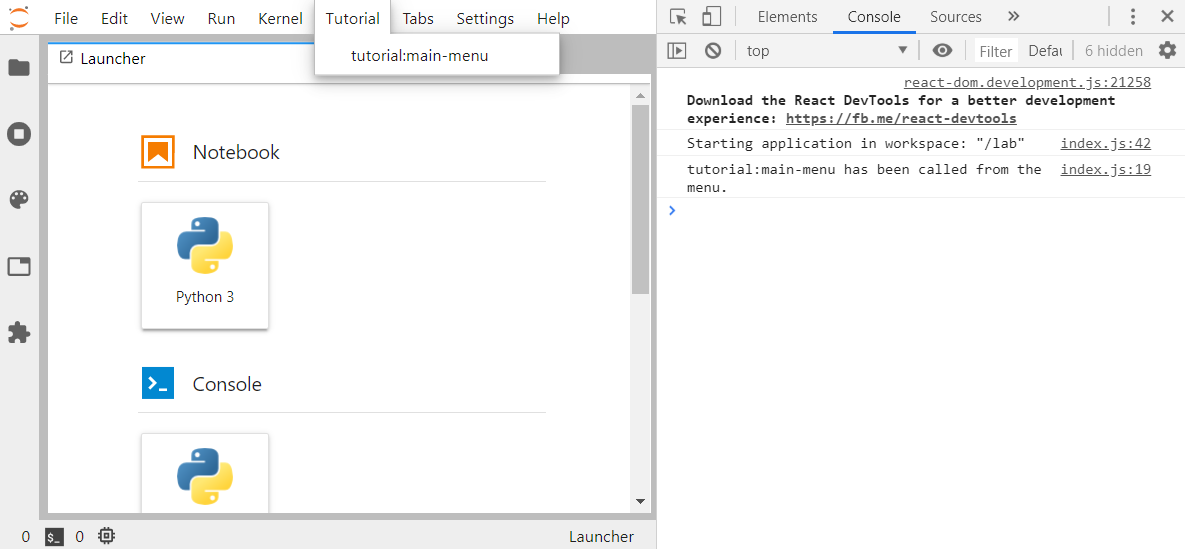
- Main Menu
- Settings
- State
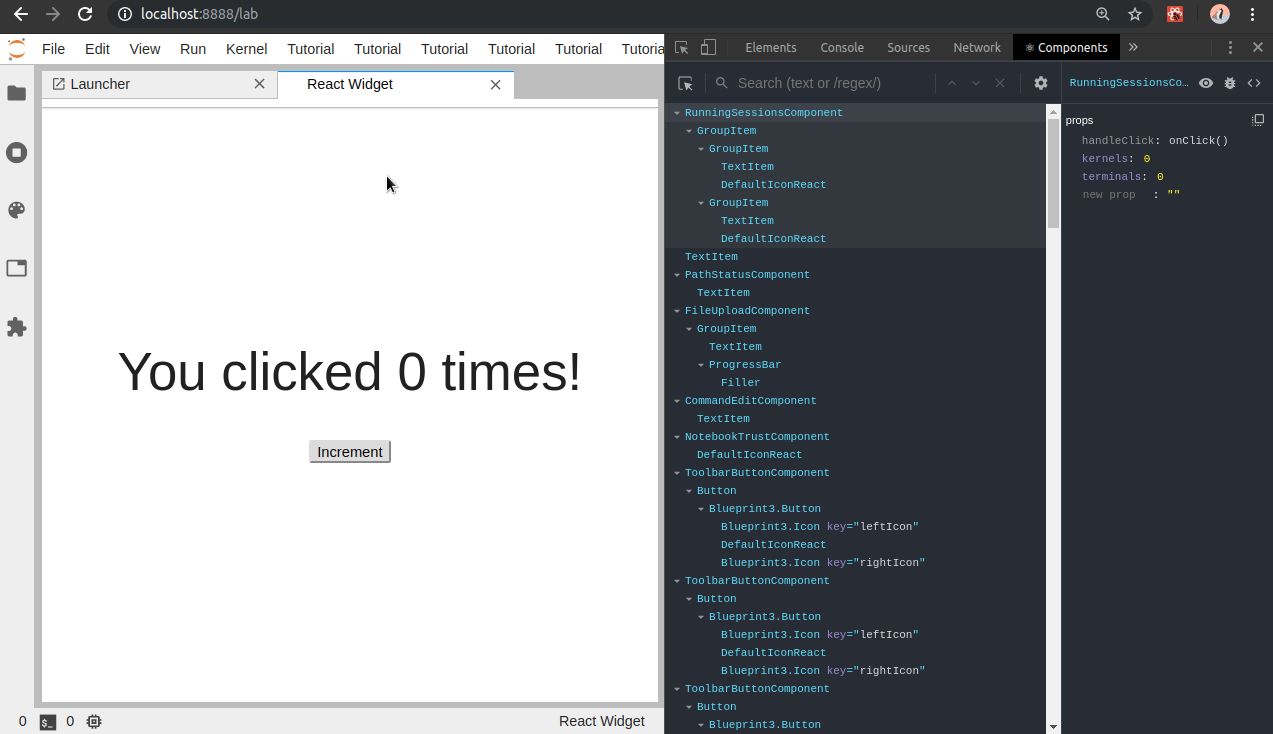
- React Widget
- Widgets
- Log Messages
- Custom Log Console
- Context Menu
- Kernel Output
- Kernel Messaging
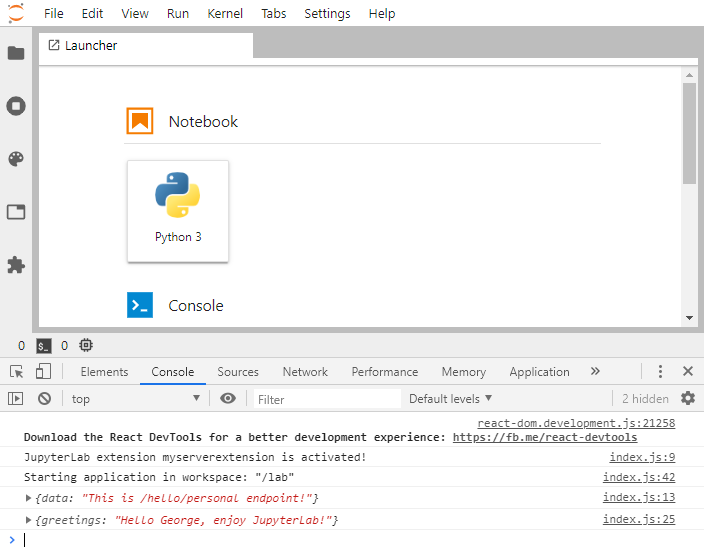
- Server Hello World
You can expect from each example:
- An explanation of its functionality.
- An image or screencast showing its usage.
- The list of used JupyterLab API and Extension Points.
- Explanations of the internal working, illustrated with code snippets.
We have structured the examples based on the extension points. Browse the previews below or skip them and jump directly to the sections for developers.
You are welcome to open any issue or pull request.
Set up the development environment and print to the console.
Use Signals to allow Widgets communicate with each others.
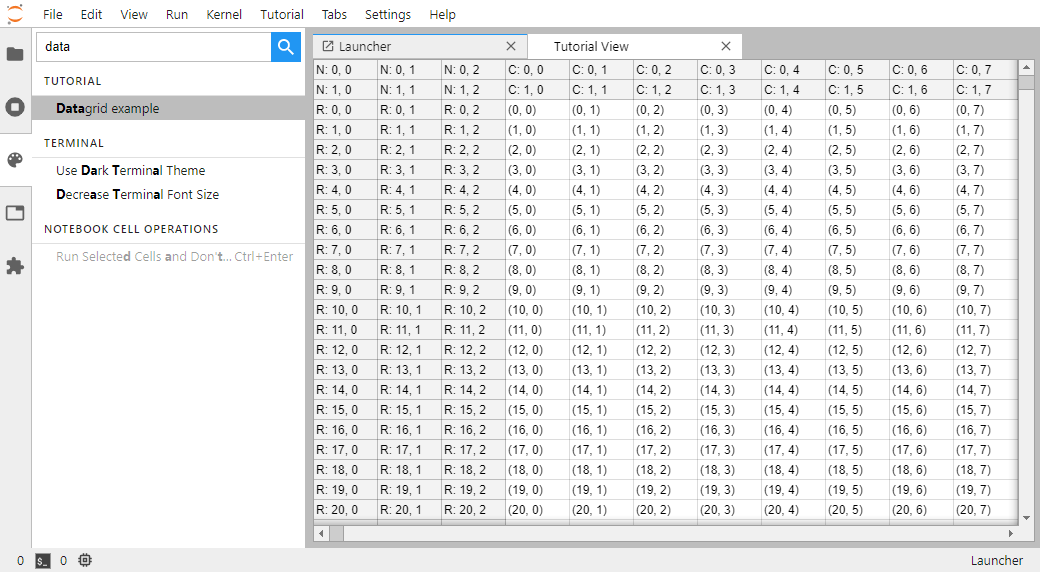
Display a Datagrid as a Lumino Widget.
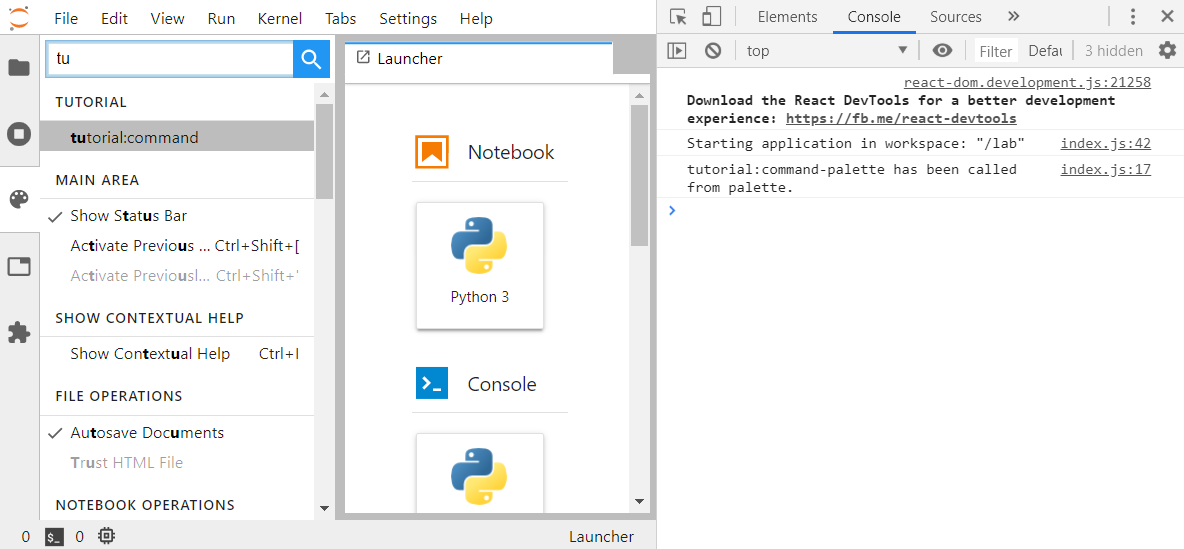
Register commands in the Command Palette.
Extend the main app with a Command.
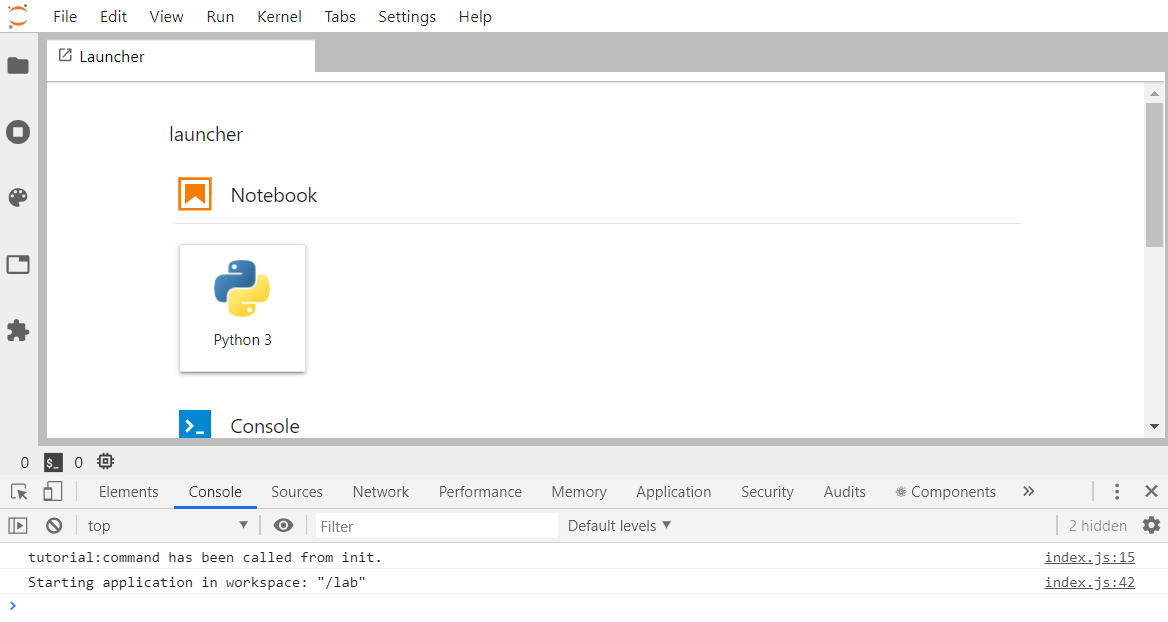
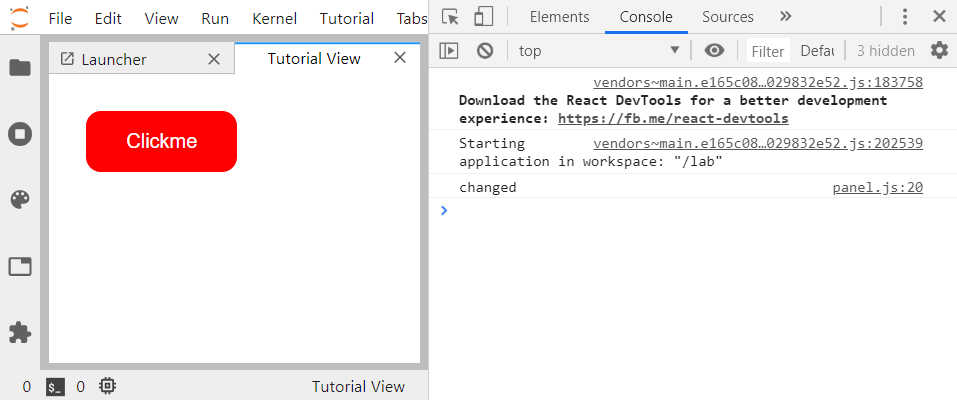
Start your extension from the Launcher.
Add a Menu to the main app.
Create and use new Settings for your extension.
Use State persistence in an extension.
Create a React.js Widget in JupyterLab.
Add a new Widget element to the main window.
Send a log message to the log console.

Create a new log console.
Add a new button to an existent context menu.
Render kernel messages in an OuputArea.
Interact with a kernel from an extension.
Create a minimal extension with backend (i.e. server) and frontend parts.
Writing an extension requires basic knowledge of JavaScript, Typescript and potentially Python.
Don't be scared of Typescript, even if you never coded in TypeScript before you touch JupyterLab you may find it easier to understand than pure JavaScript if you have a basic understanding of object oriented programming and types.
These examples are developed and tested on top of JupyterLab. You can create a conda environment to get started after cloning this repository.
conda env create && \
  conda activate jupyterlab-extension-examples
The previous command will use the environment.yaml file as requirements for the environment.
jlpm
jlpm build-ext
jlpm install-ext
jlpm build-jlab
jupyter lab
To clean the lib folders:
jlpm clean-extGo to the example directory you want to install, e.g. cd ./basics/hello-world, and run the following commands:
jlpm install
jlpm run build
jupyter labextension install .
Rebuild the JupyterLab application:
jlpm run build
jupyter lab build
You can now start JupyterLab and check if your extension is working fine:
jupyter labIf you want to develop and iterate on the code, you will need to open 2 terminals.
In terminal 1, go to the extension folder and run the following:
jlpm watchThen in terminal 2, start JupyterLab with the watch flag:
jupyter lab --watchFrom there, you can change your extension source code, it will be recompiled, and you can refresh your browser to see your changes.
We are using embedme to embed code snippets into the markdown READMEs. If you make changes to the source code, ensure you update the README and run jlpm embedme from the root of the repository to regenerate the READMEs.
Once your extension is published (outside of this scope), you can install it with the following command:
jupyter labextension install <published_extension>JupyterLab can be used as a platform to combine existing data-science components into a new powerful application that can be deployed remotely to many users. Some of the higher level components that can be used are text editors, terminals, notebooks, interactive widgets, filebrowser, renderers for different file formats that provide access to an enormous ecosystem of libraries from different languages.
Complementary to these examples, you can rely on the official JupyterLab documentation.
We would like to thank MMesch for initiating this work, as well as everyone else who contributed!
This examples repository is a Jupyter project and follows the Jupyter Community Guides and Code of Conduct.