YOU SHOULD NOT USE THIS SOFTWARE TO HARM OTHERS. THE USER IS THE ONLY ONE RESPONSIBLE FOR HOW THIS TOOL IS USED. THE DEVELOPER HOLDS NO LEGAL LIABILITY FOR HOW YOU USE THIS SOFTWARE. CHECK THE LICENSE.
Grouping of most of the ddos tools that act on a single machine and do not interact with botnets, just initialize a certain type of request to a certain host
The tool depends upon including the tools and a single script to install them and a single script to run them
All of the DDOS various tools will be included in the parent folder
The parent folder will contain a setup.py file to install all of the various tools and install a runnable command line interface to all of those tools (hopefully not just run them all :) )
- Sign up for an aws account https://portal.aws.amazon.com/billing/signup#/start
- Sign in to the aws management console https://signin.aws.amazon.com/signin?client_id=signup&redirect_uri=https%3A%2F%2Fportal.aws.amazon.com%2Fbilling%2Fsignup%2Fresume&page=resolve
- Create an IAM role that has access to the AWS-SSM (Simple Systems Manager) functionalities
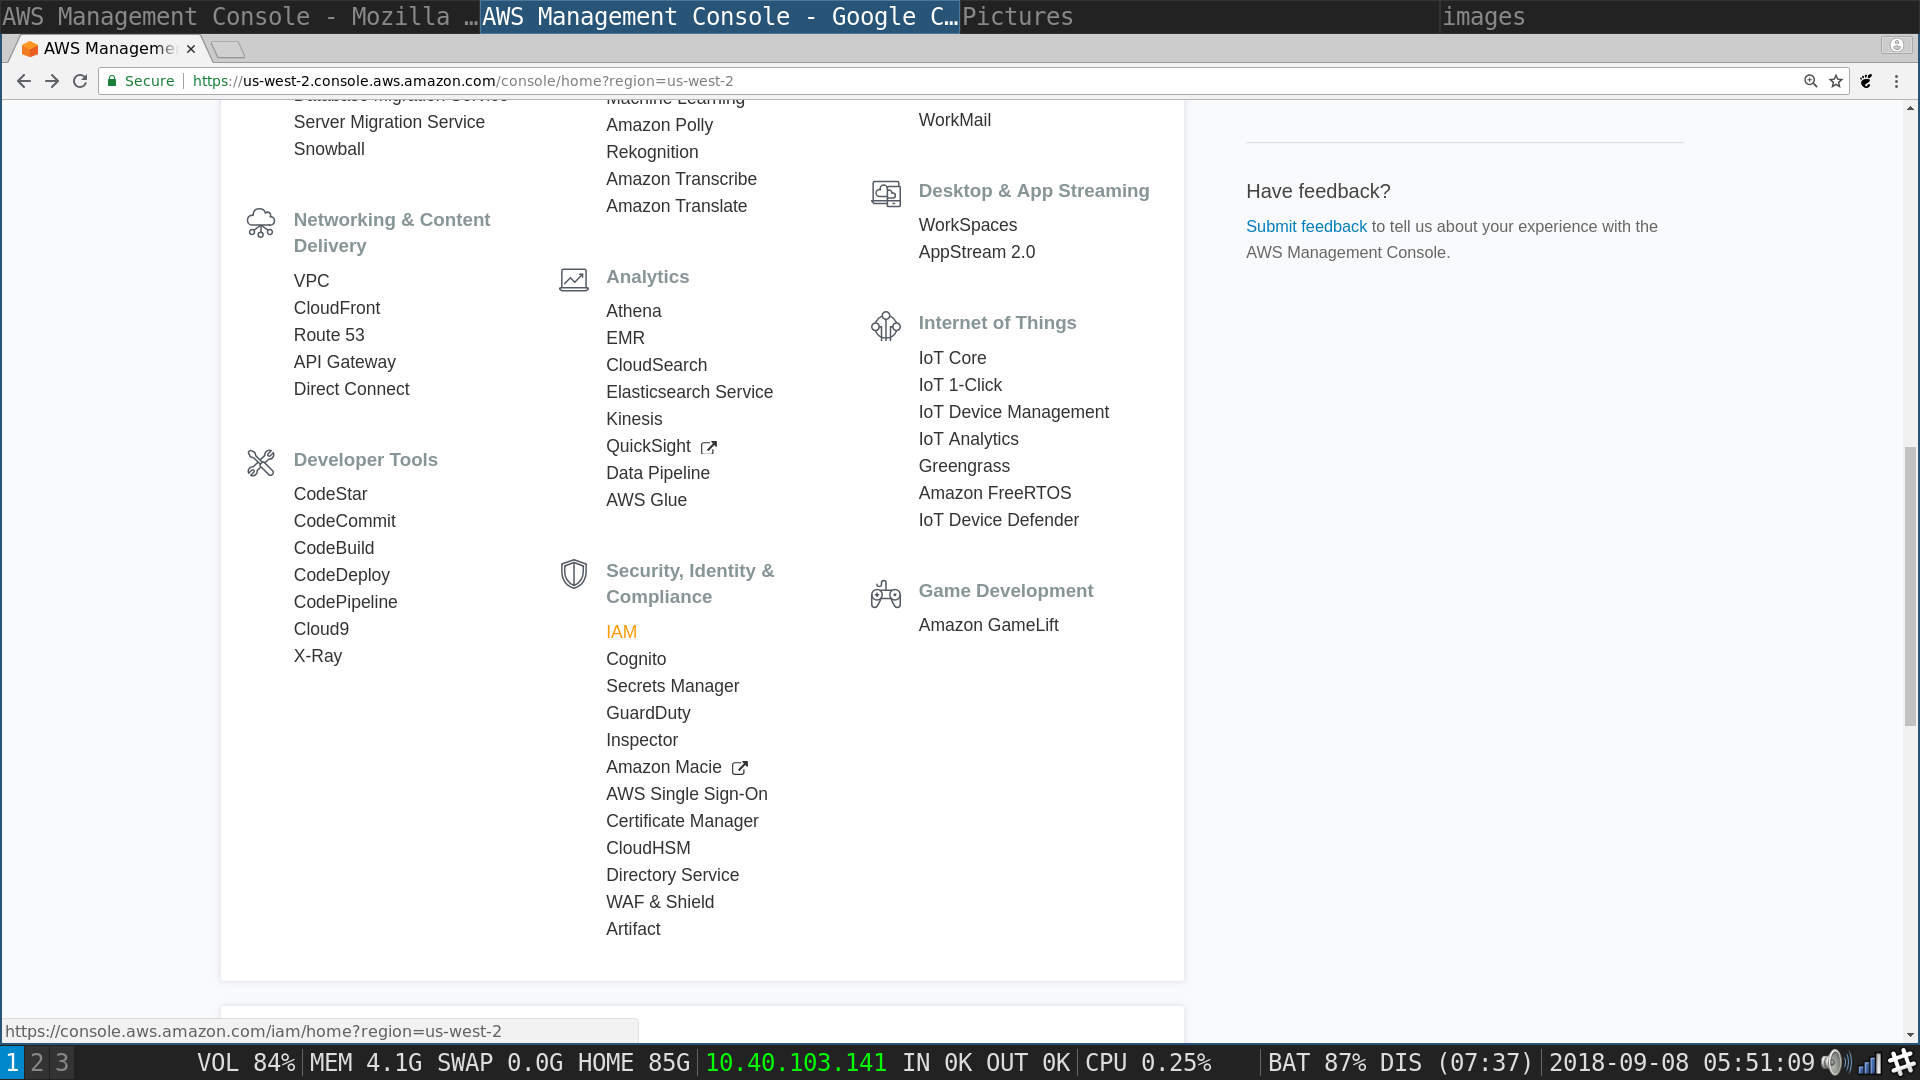
AWS Management Console: Choose IAM from Security, Identity and Compliance
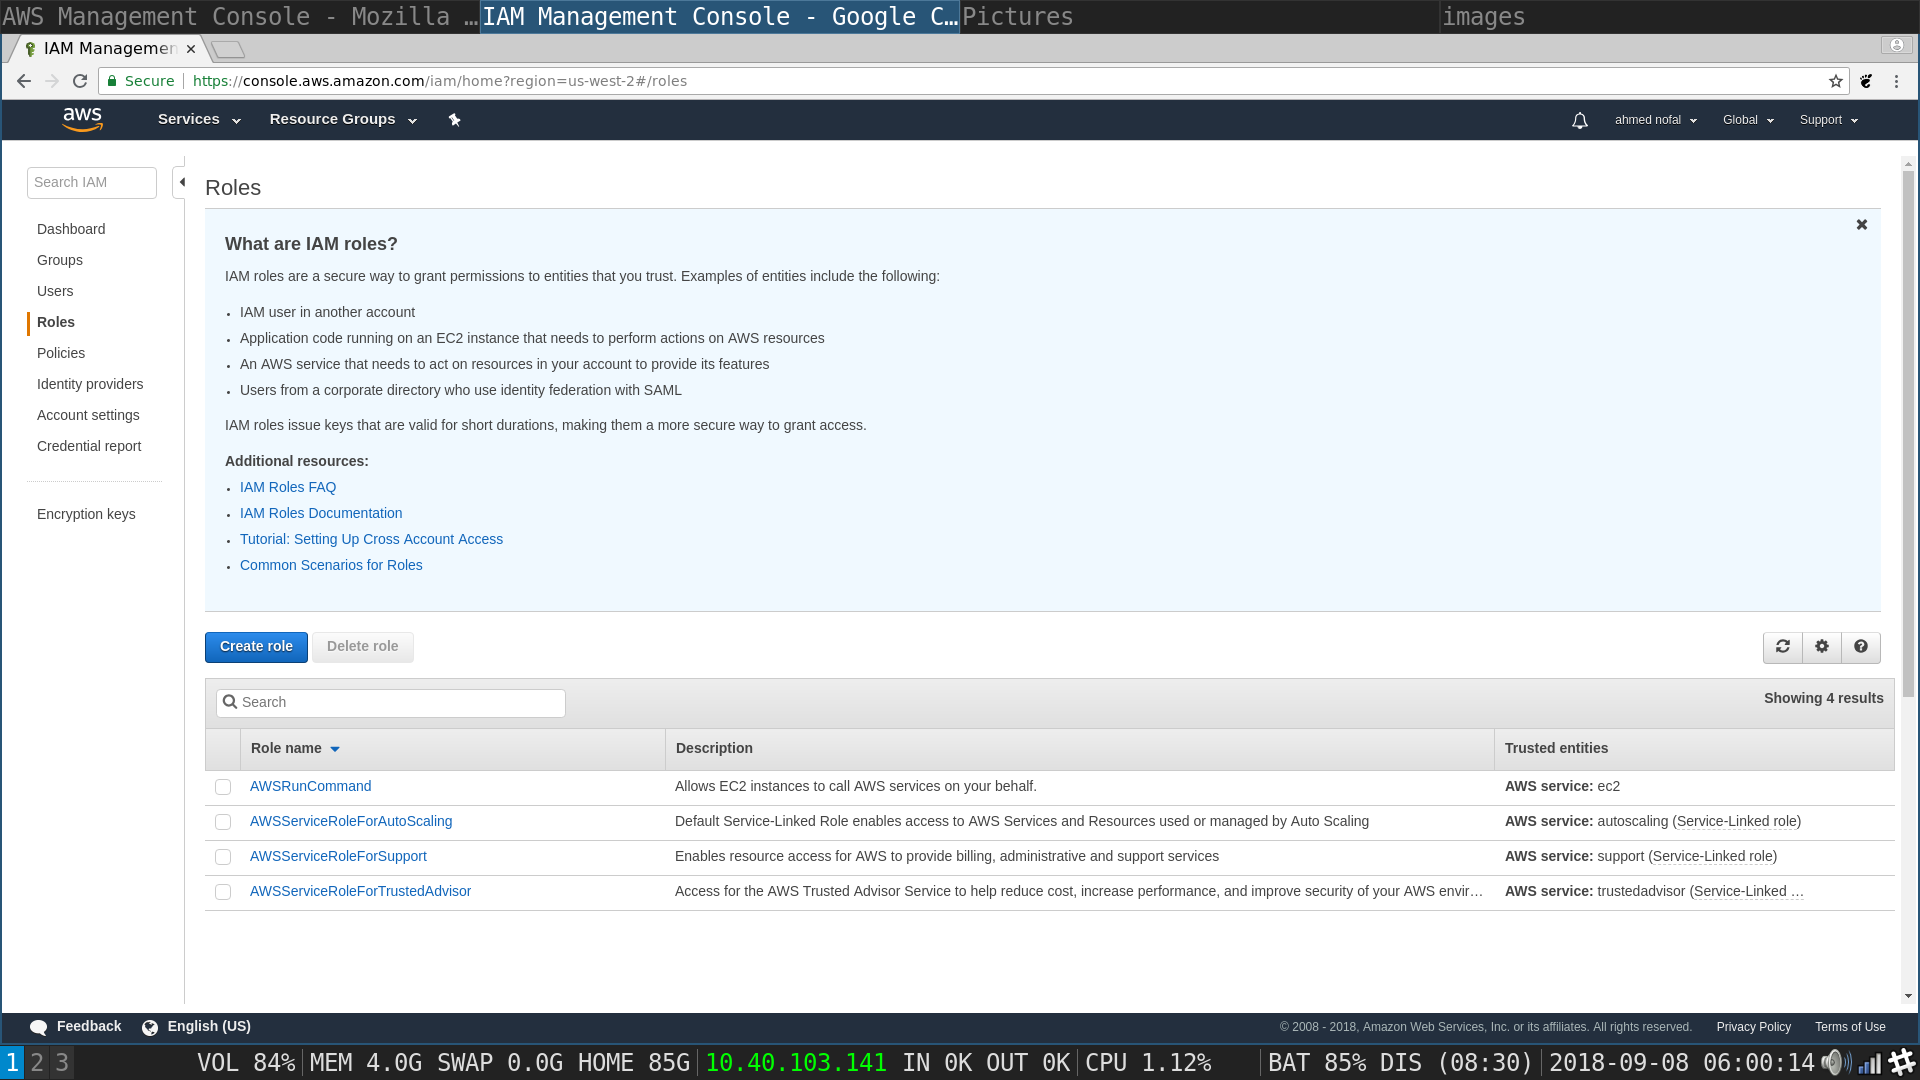
AWS Management Console: Choose roles from the dashboard on the left

IAM roles tab: Choose Create Role
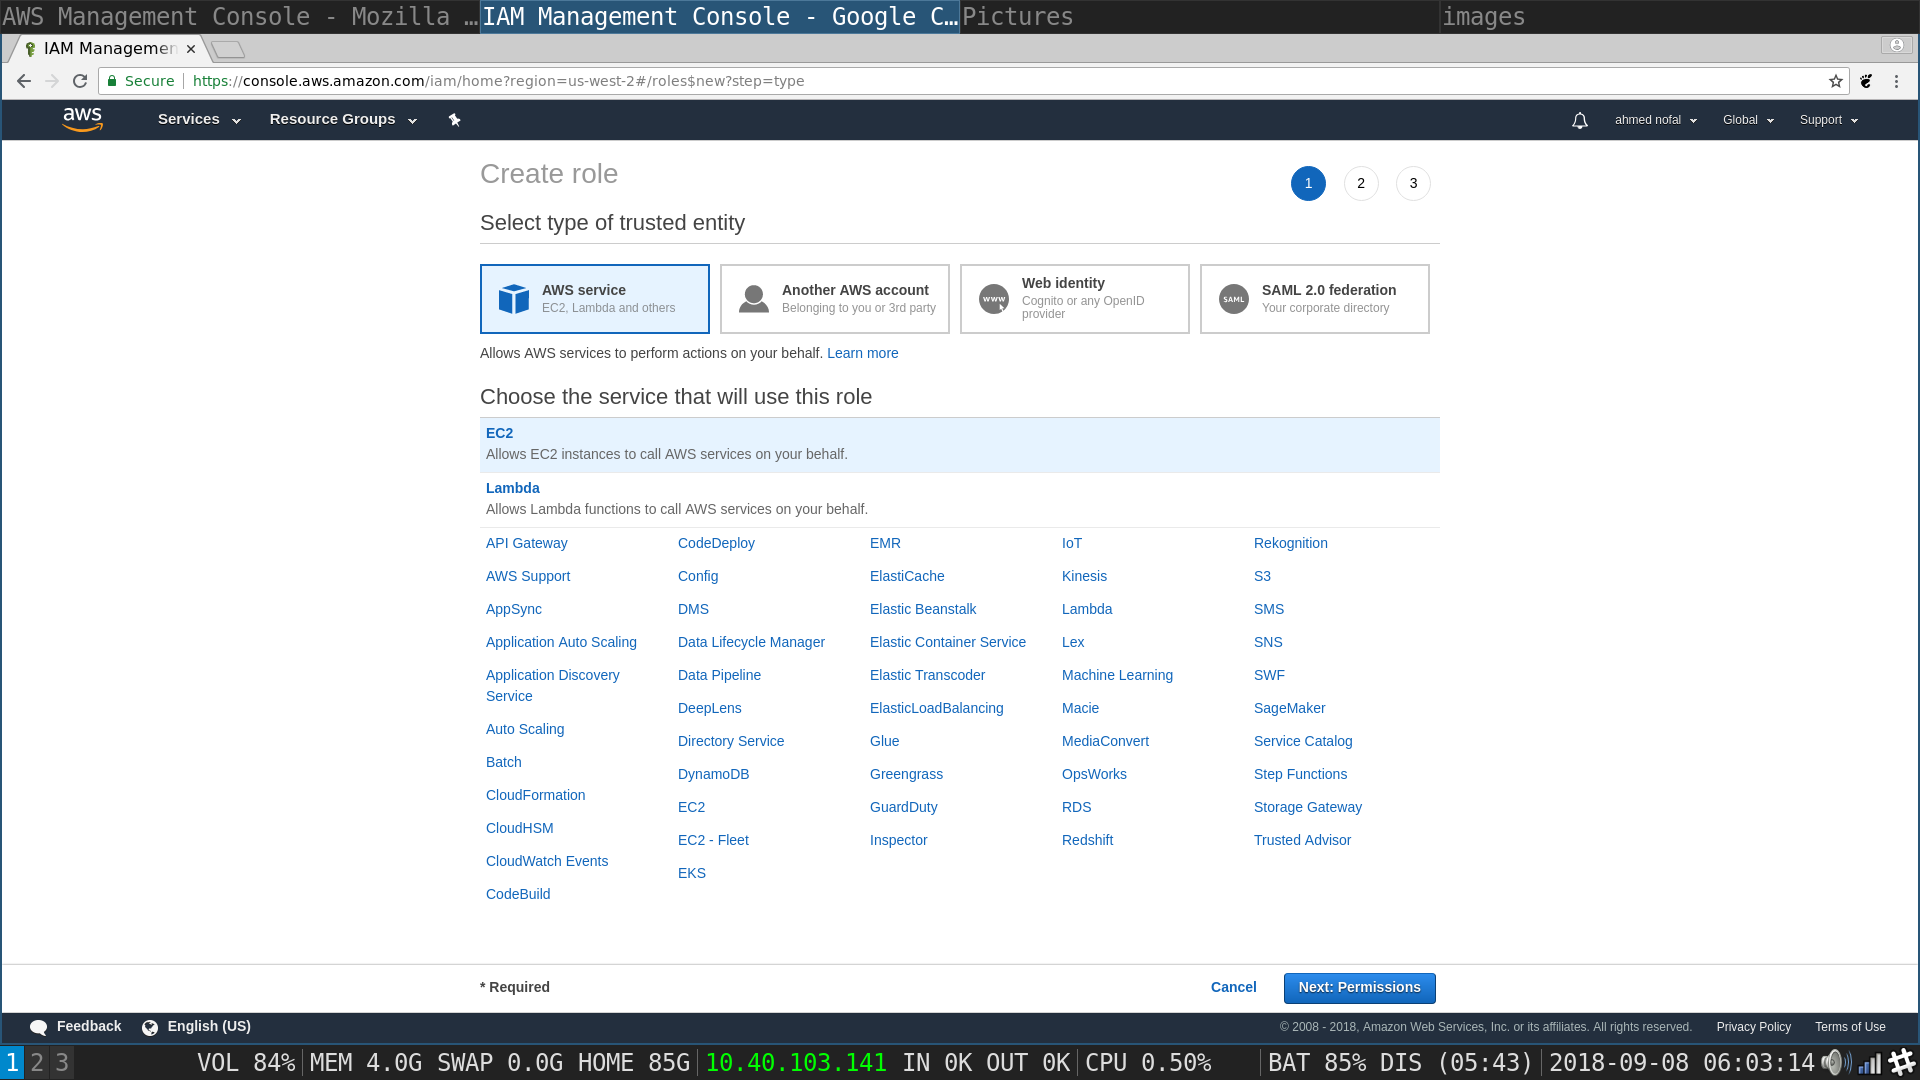
Create Roles tab: Choose AWS Service as the type of trusted entity and EC2 as the service that will use this role
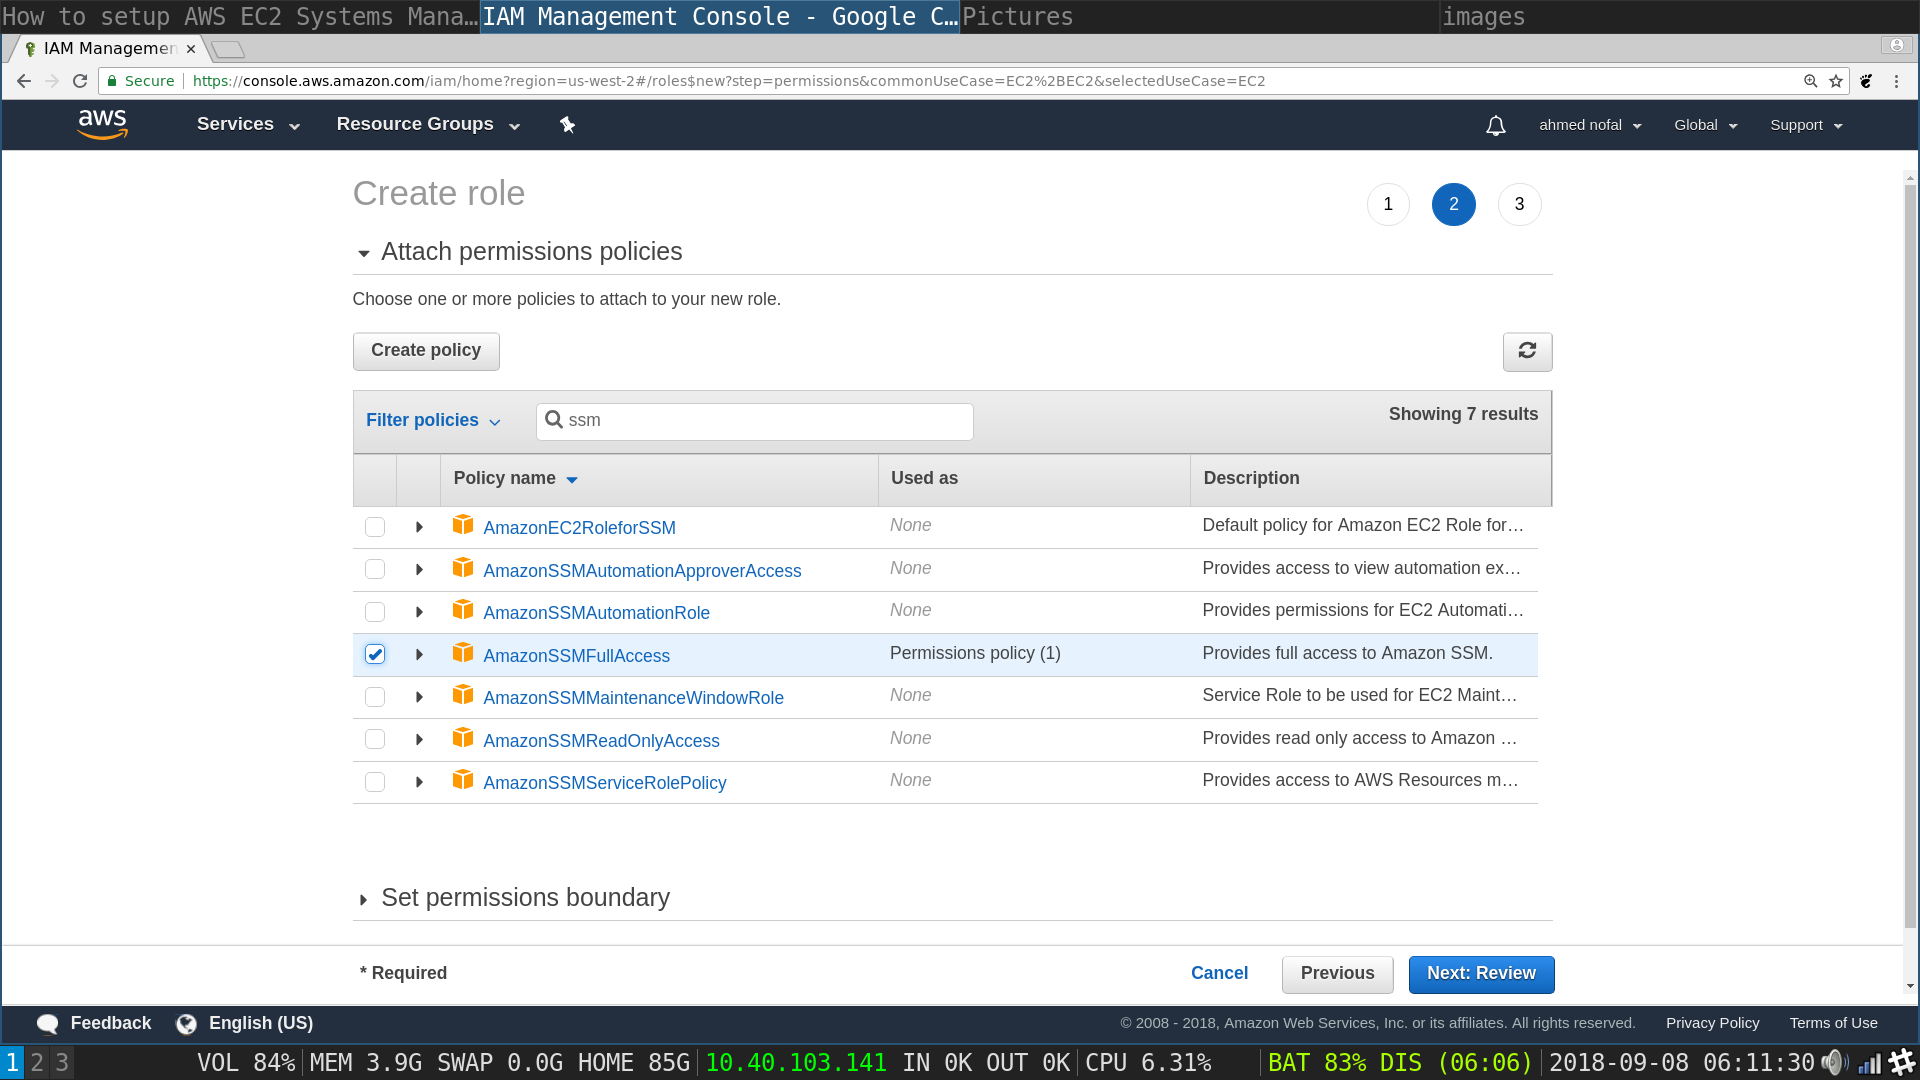
Attach Permissions Policy page : Choose AmazonSSMFullAcces and hit Next:Review
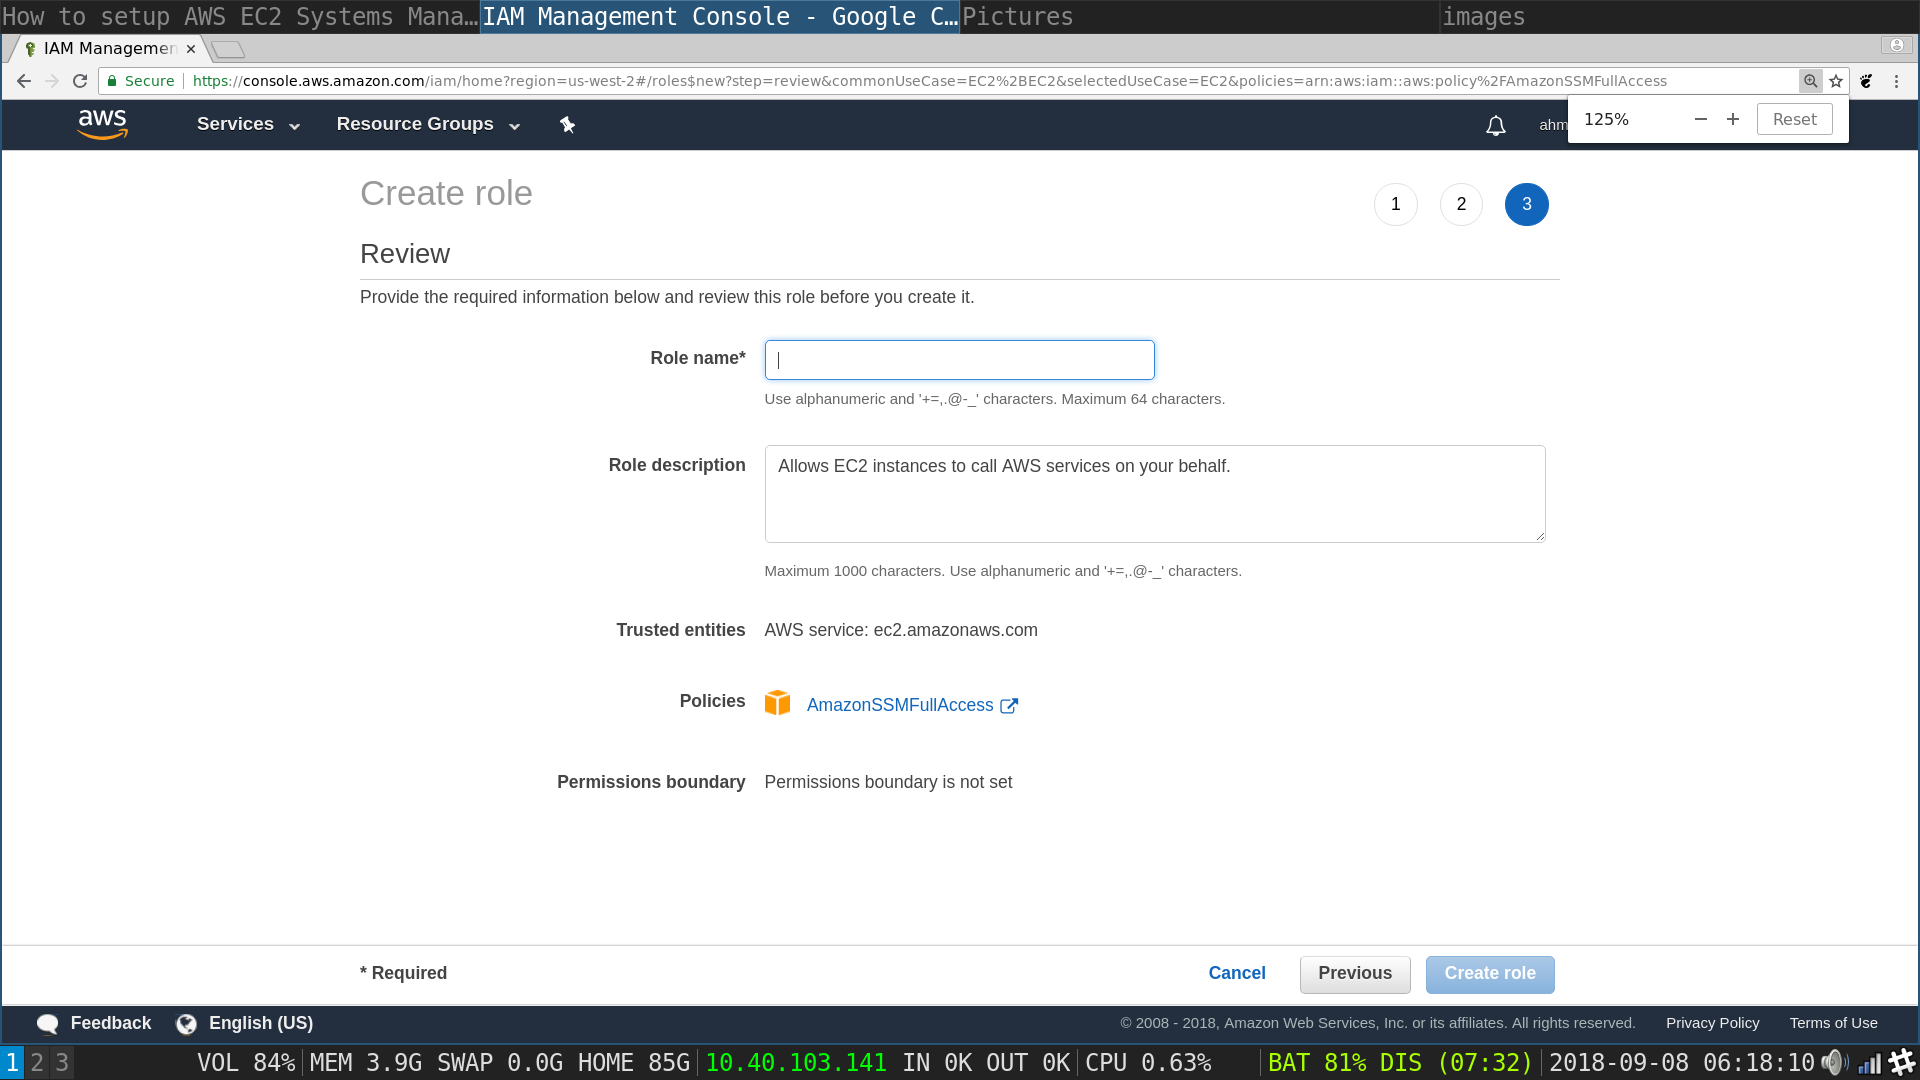
Role Review page : Type in a name for the role, try to make it as descriptive as possible such as AWSSSMRole hit Next
You will be redirected to the IAM home page, where you can see your newly created role 4. Create an S3 bucket to view the full output of executing a command
AWS Management Console: Choose EC2 from Compute Services
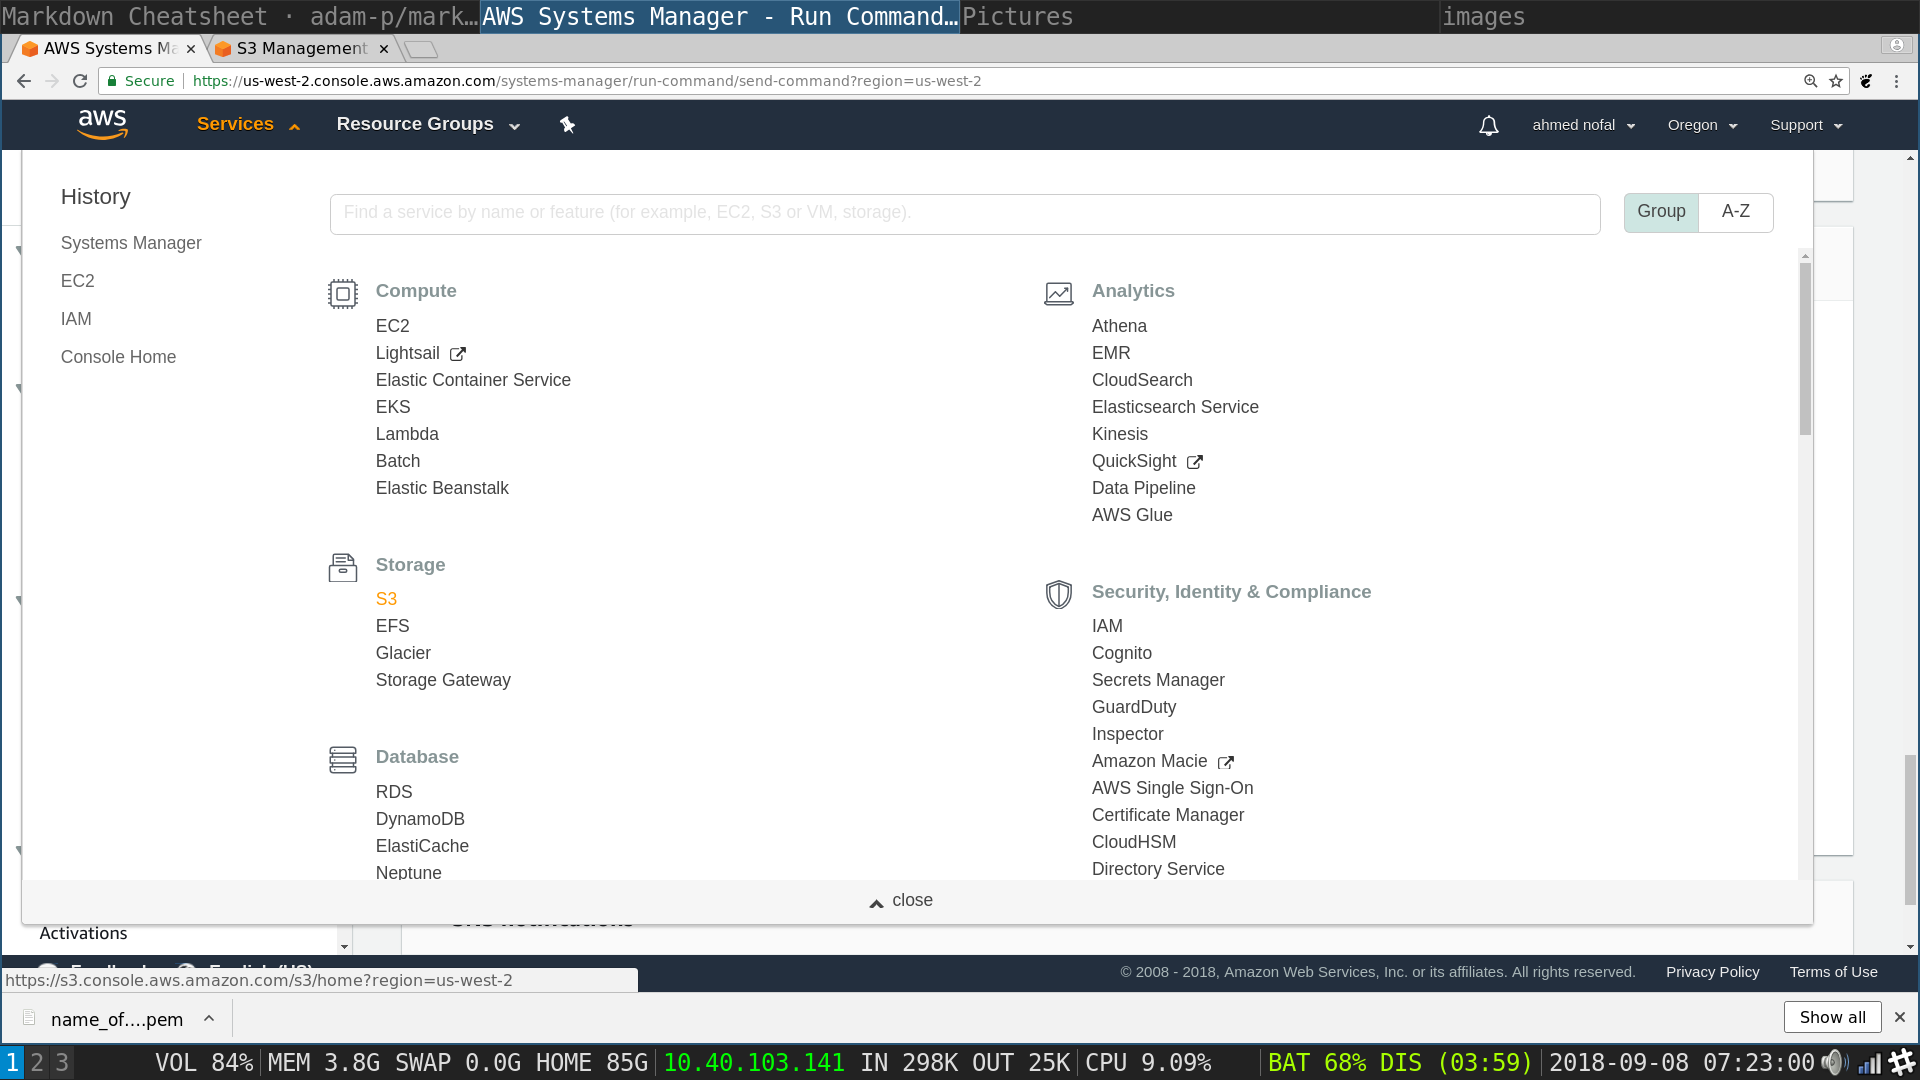
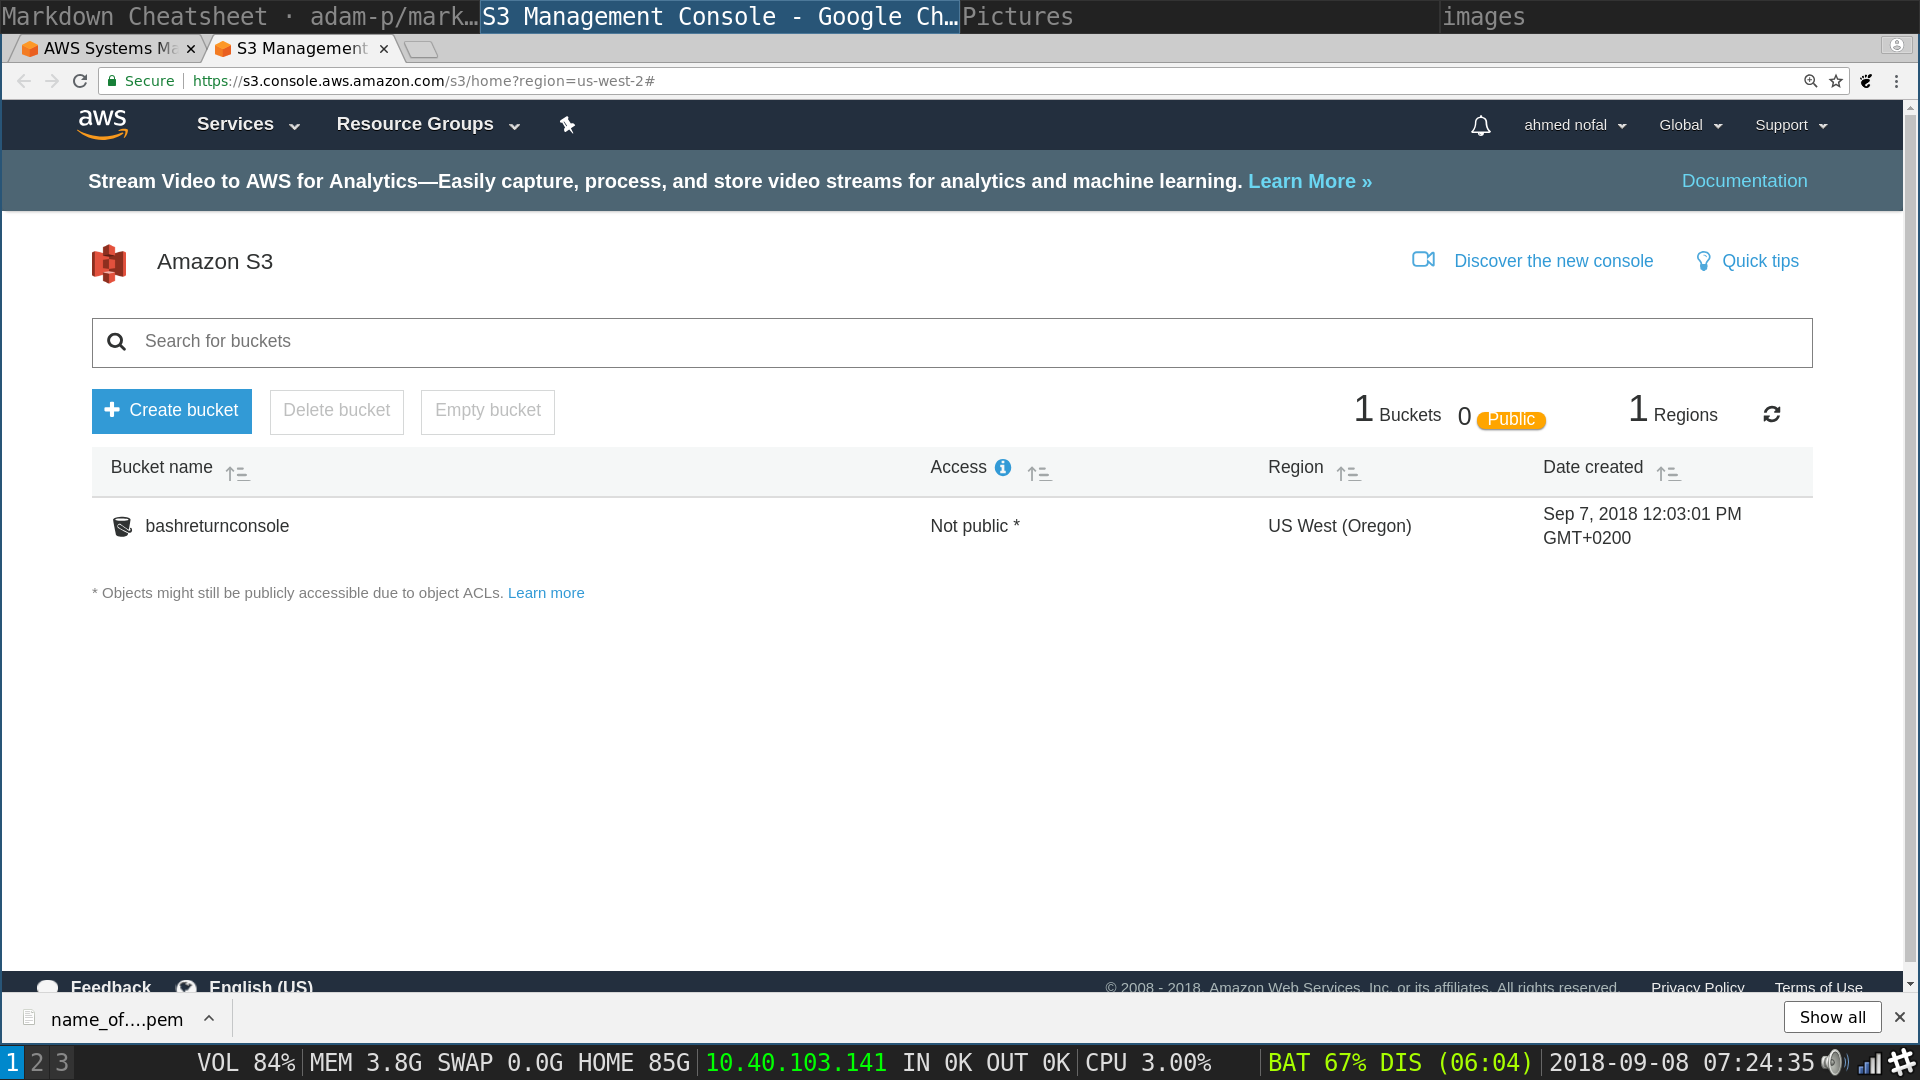
S3 Management Console: Click on create bucket which will pop up a settings window for the new bucket
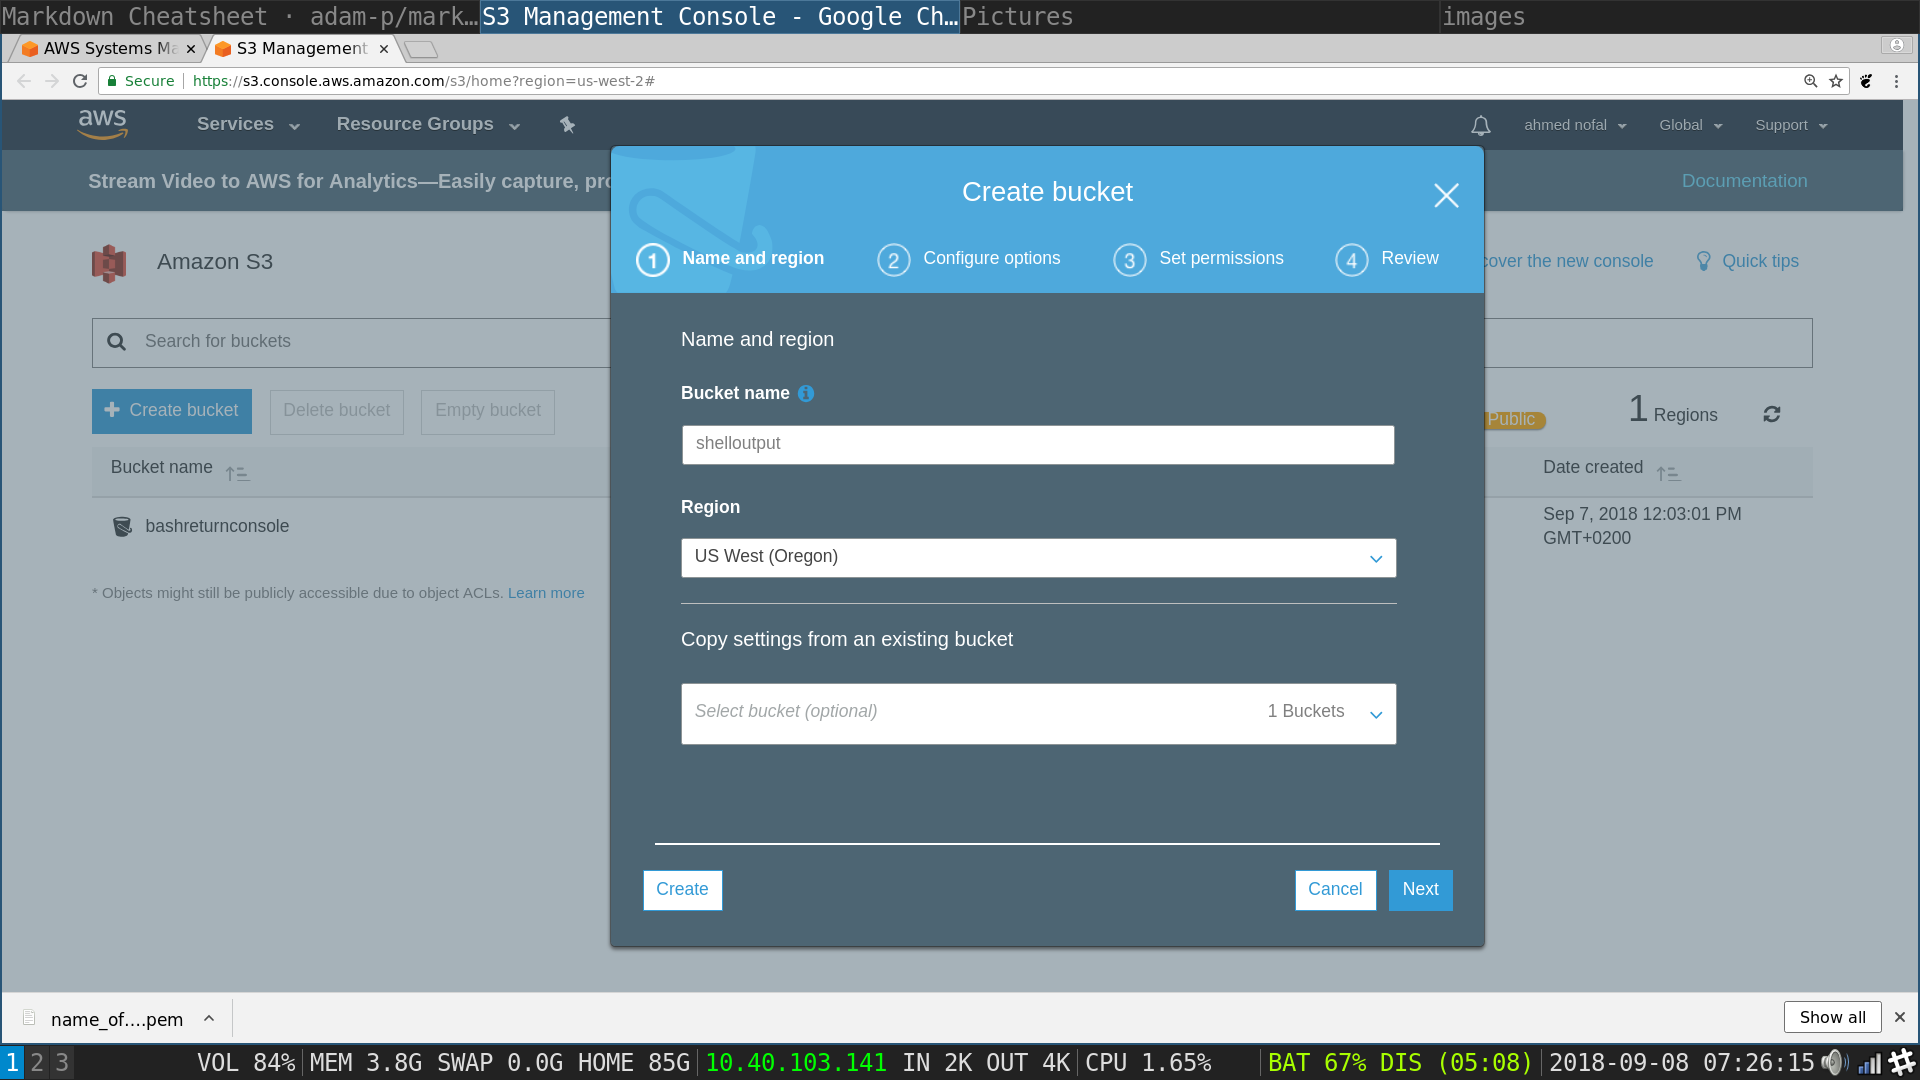
S3 pop up: type in the name for the new bucket -mostly the region will be defaulted but check that it is the same region your instances are initialized in- and then click next
S3 pop up: choose the same settings in the image which are the default
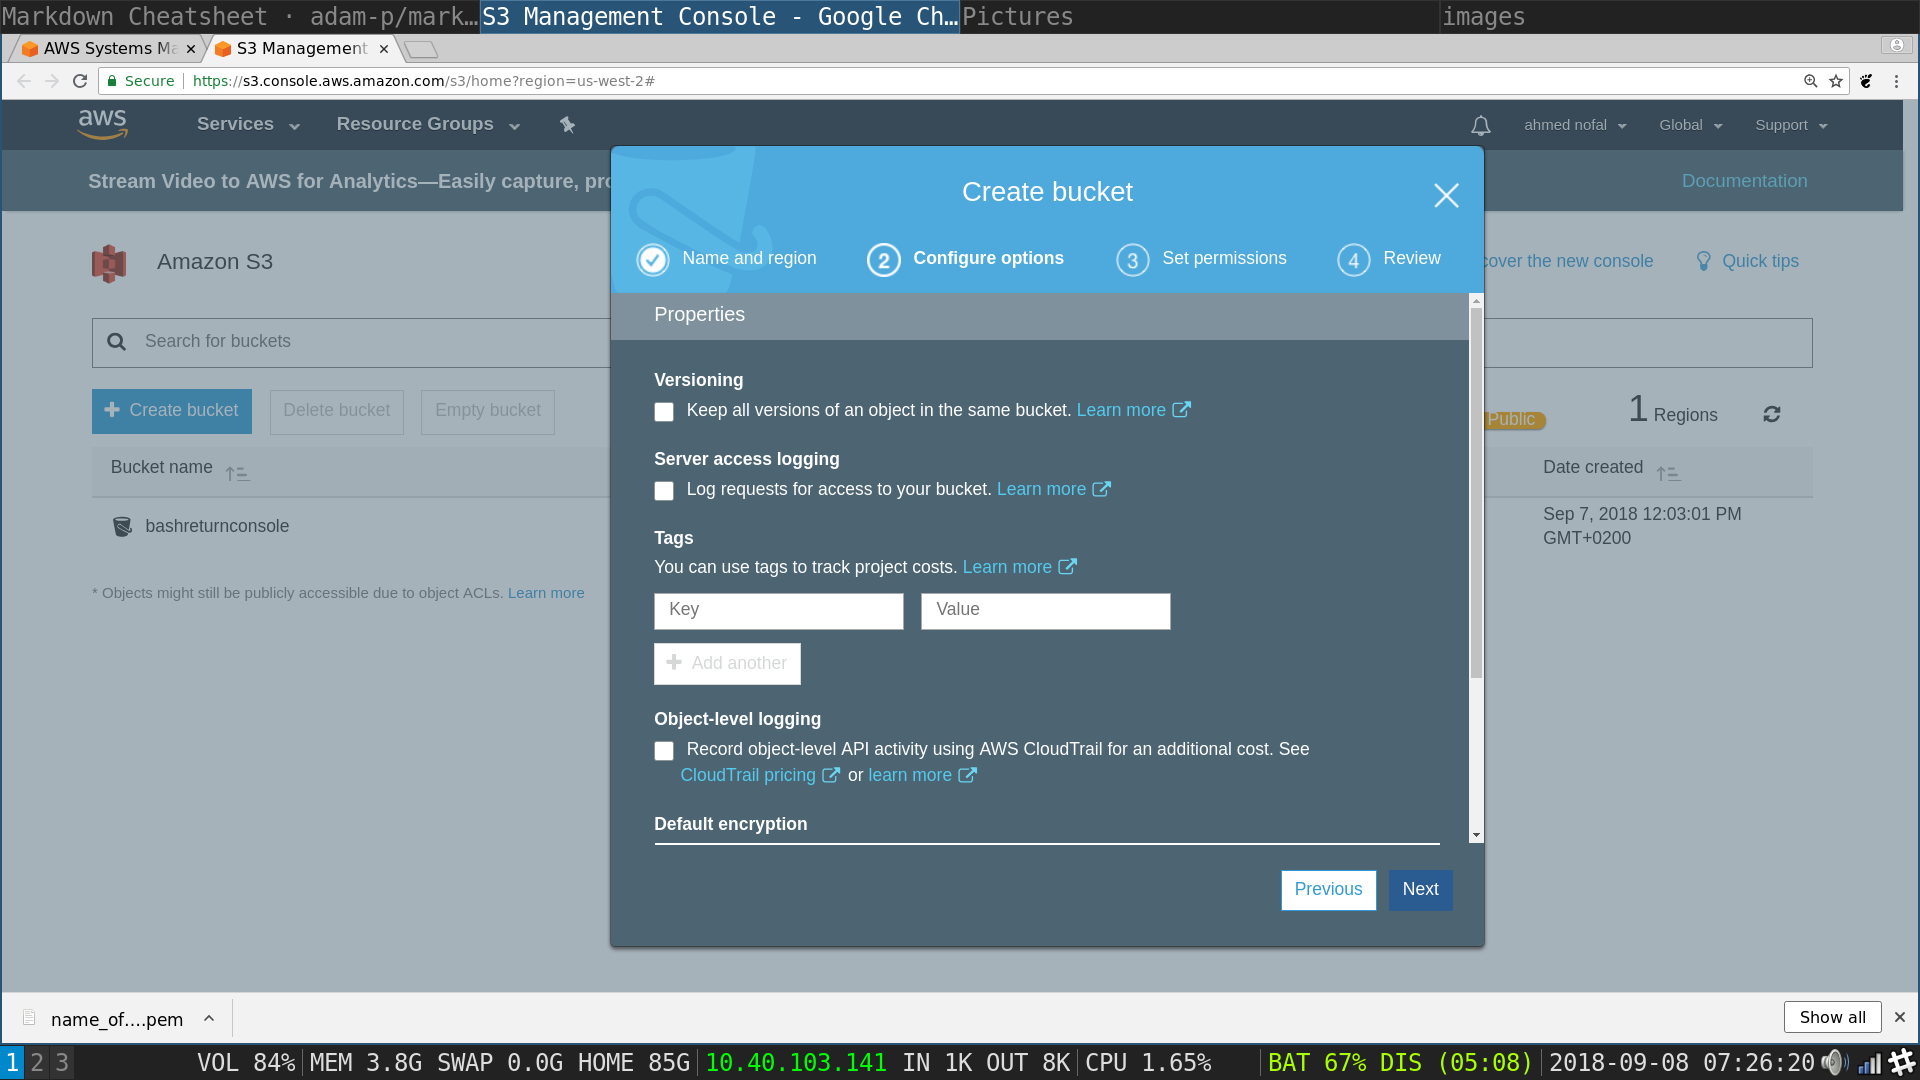
S3 pop up: choose the same settings in the image which are the default
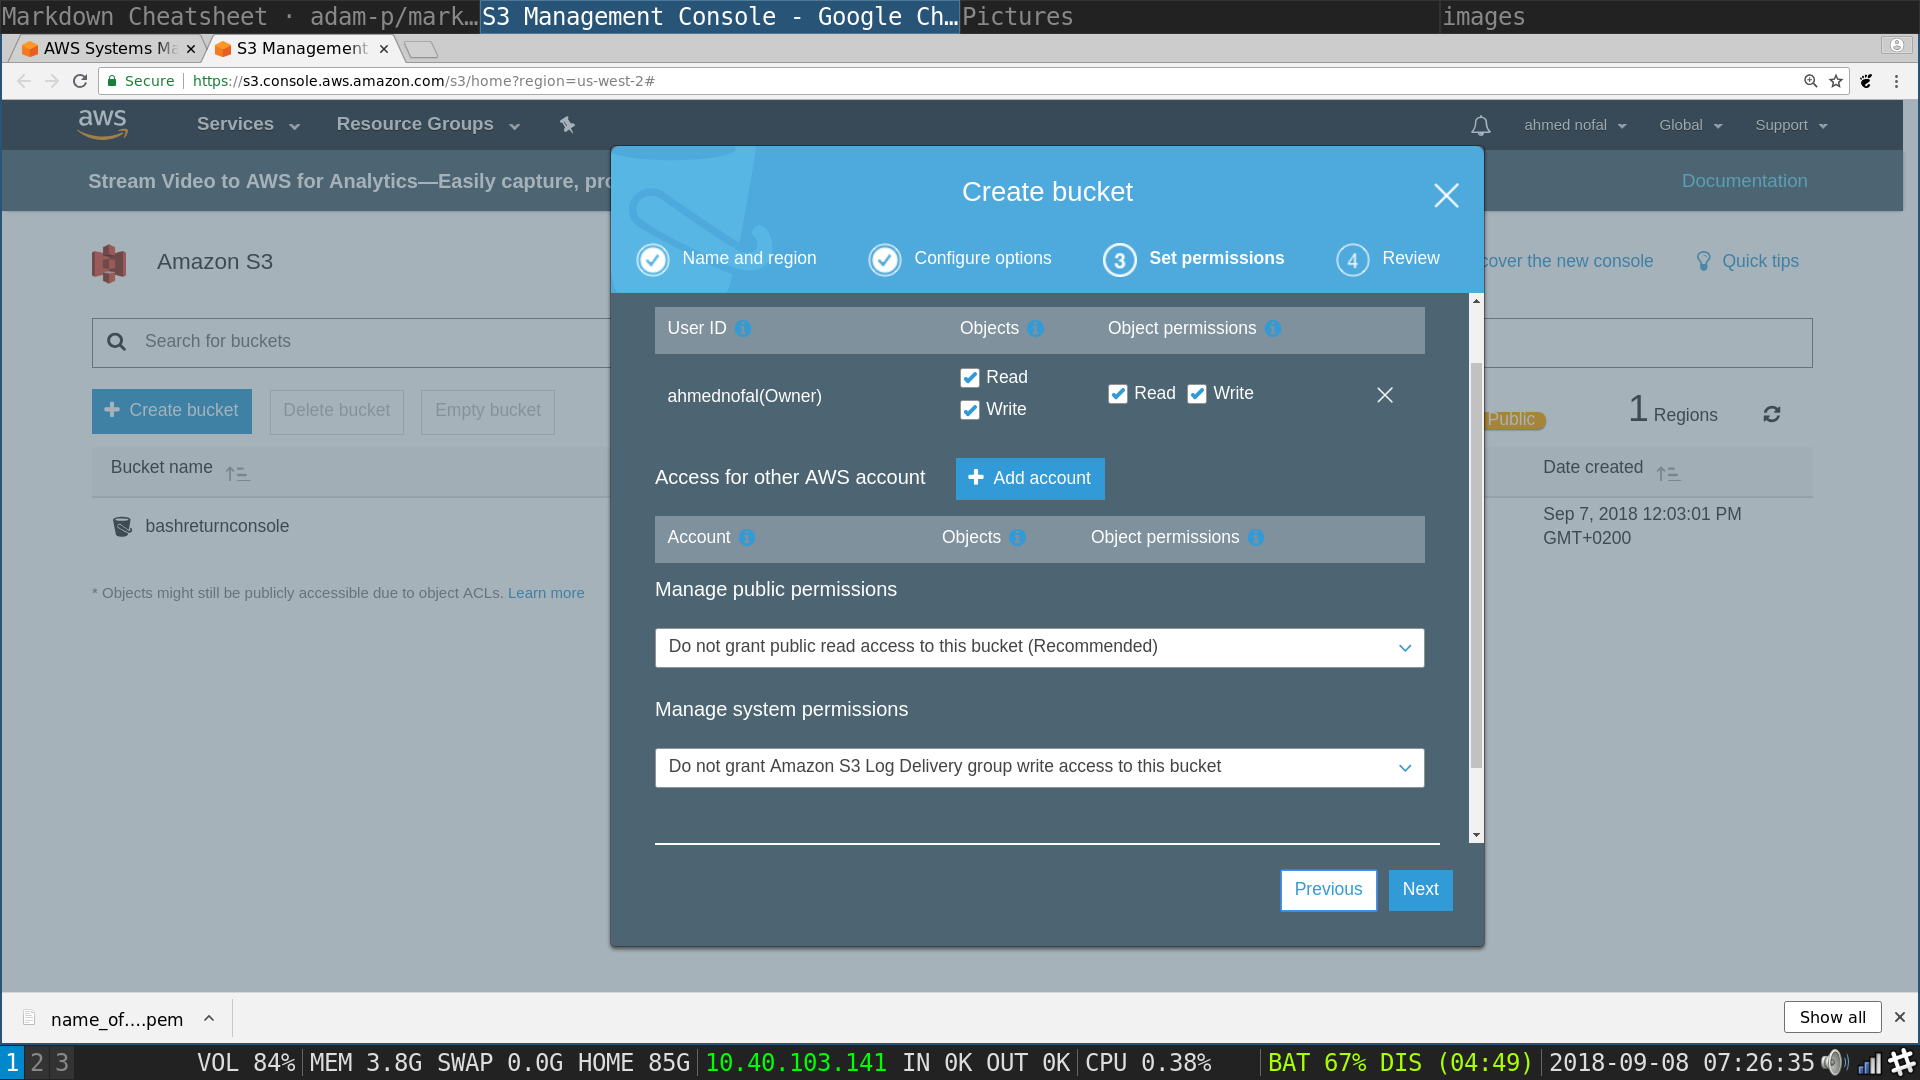
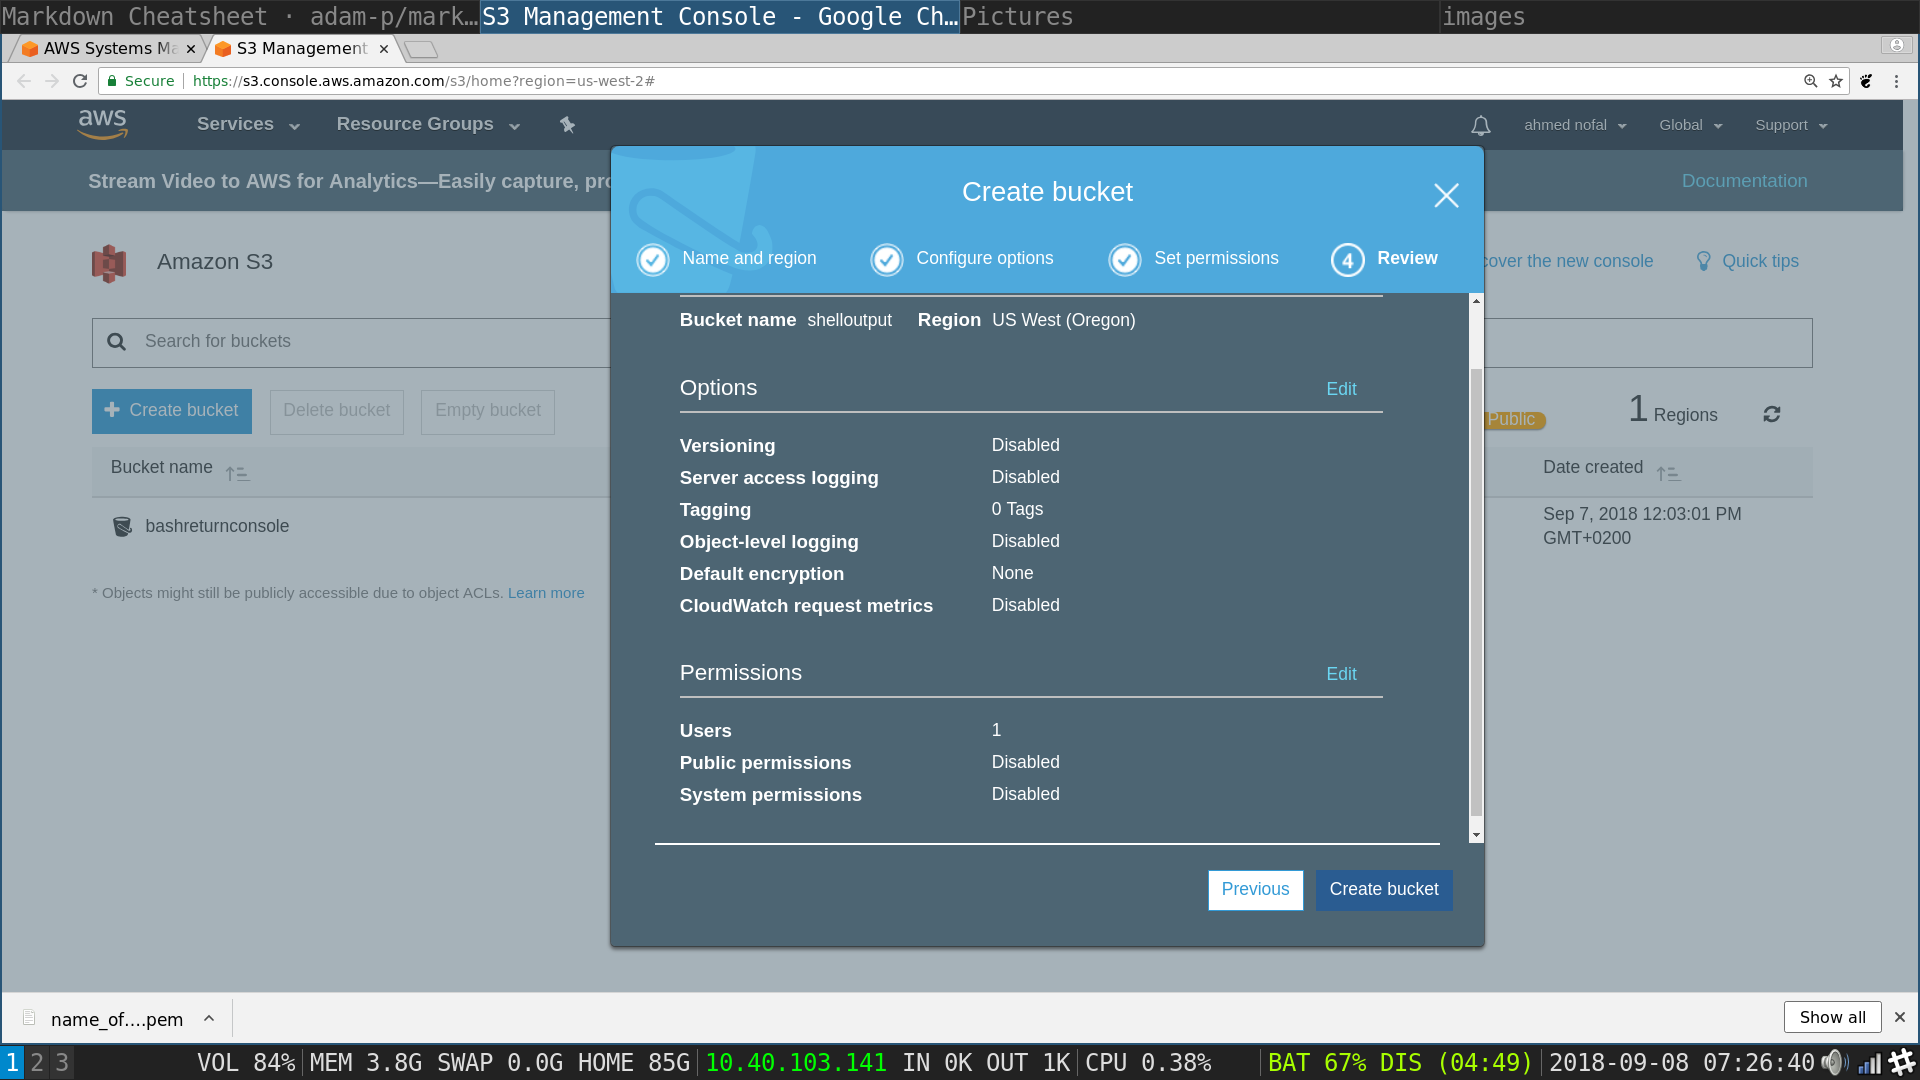
S3 pop up: review settings and click on Create bucket
now it should be created and available in the table of buckets you own
-
Create the required number of EC2 instances, with the desired ec2 instance type, and choosing a proper IAM Role
-
Navigate to the services tab at the top and click on it for the drop down menu and choose EC2 from Compute
AWS Management Console: Choose EC2 from Compute Services
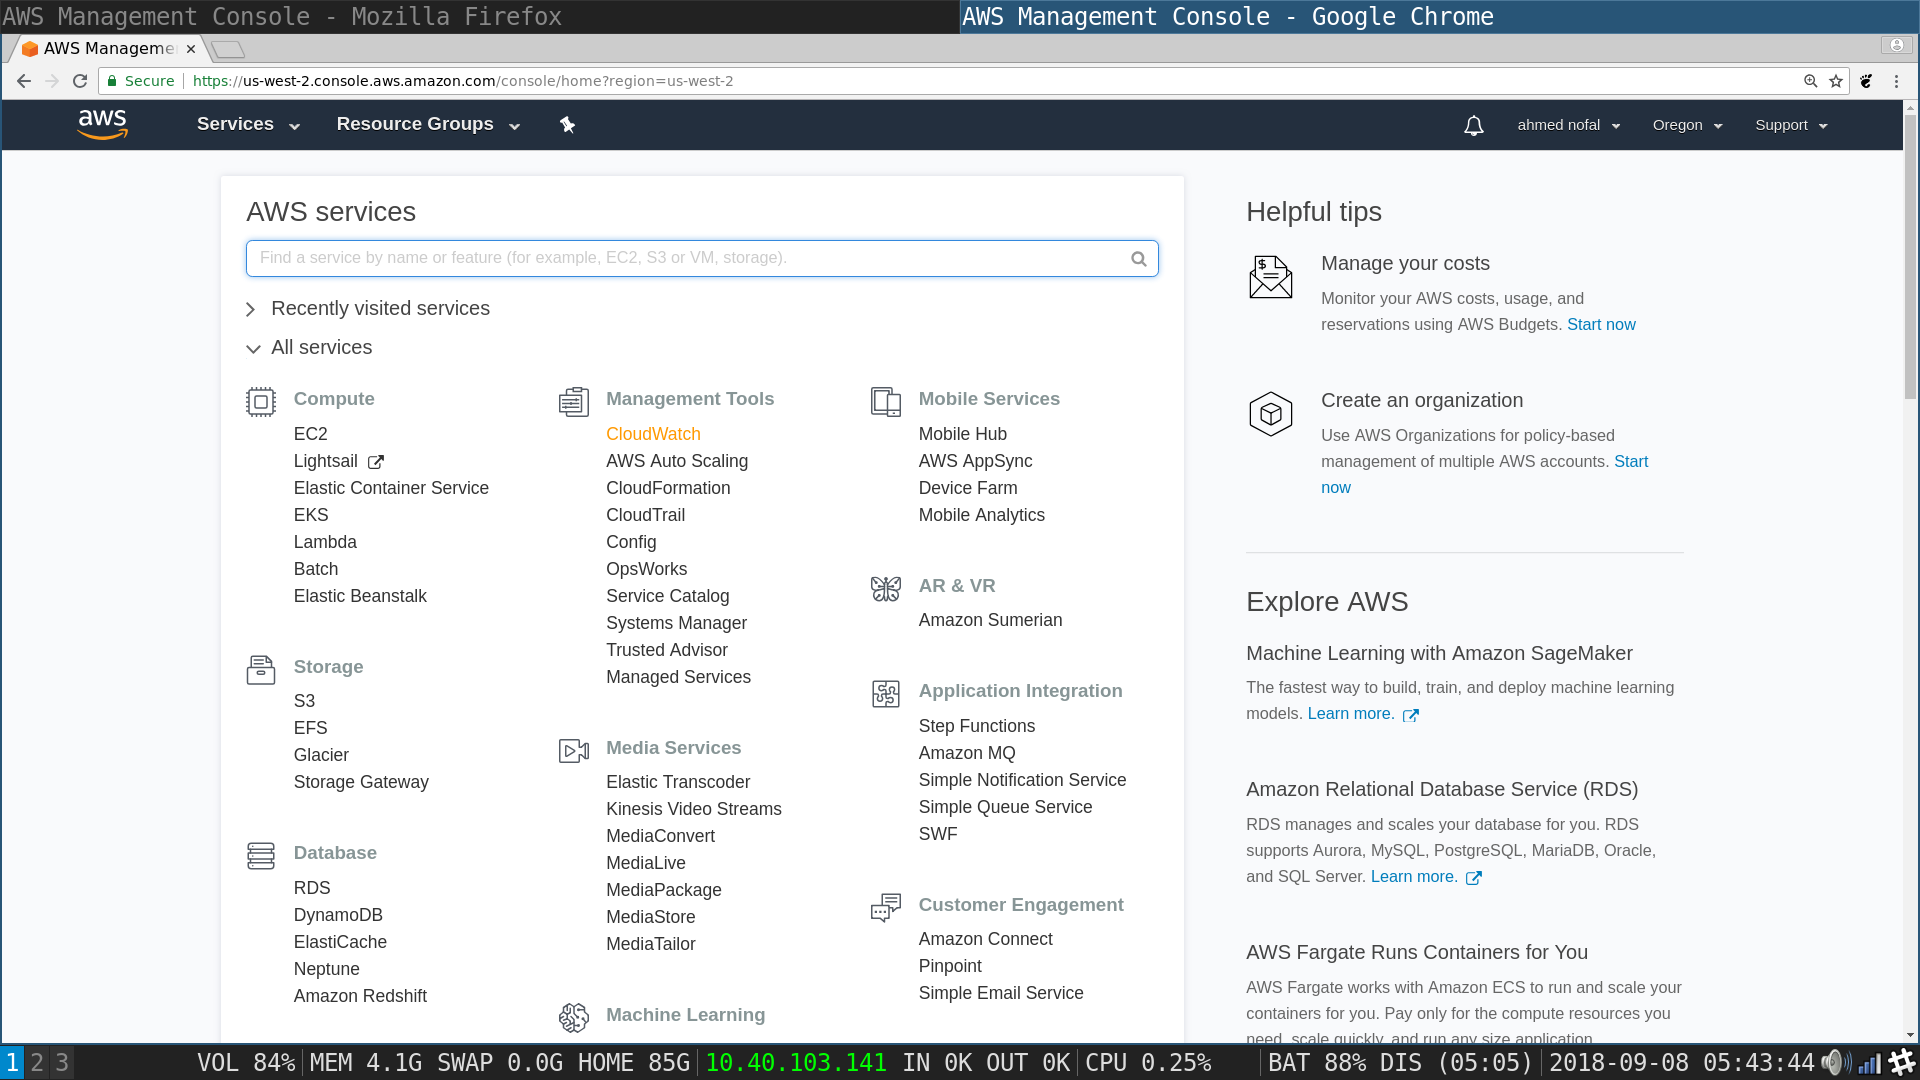
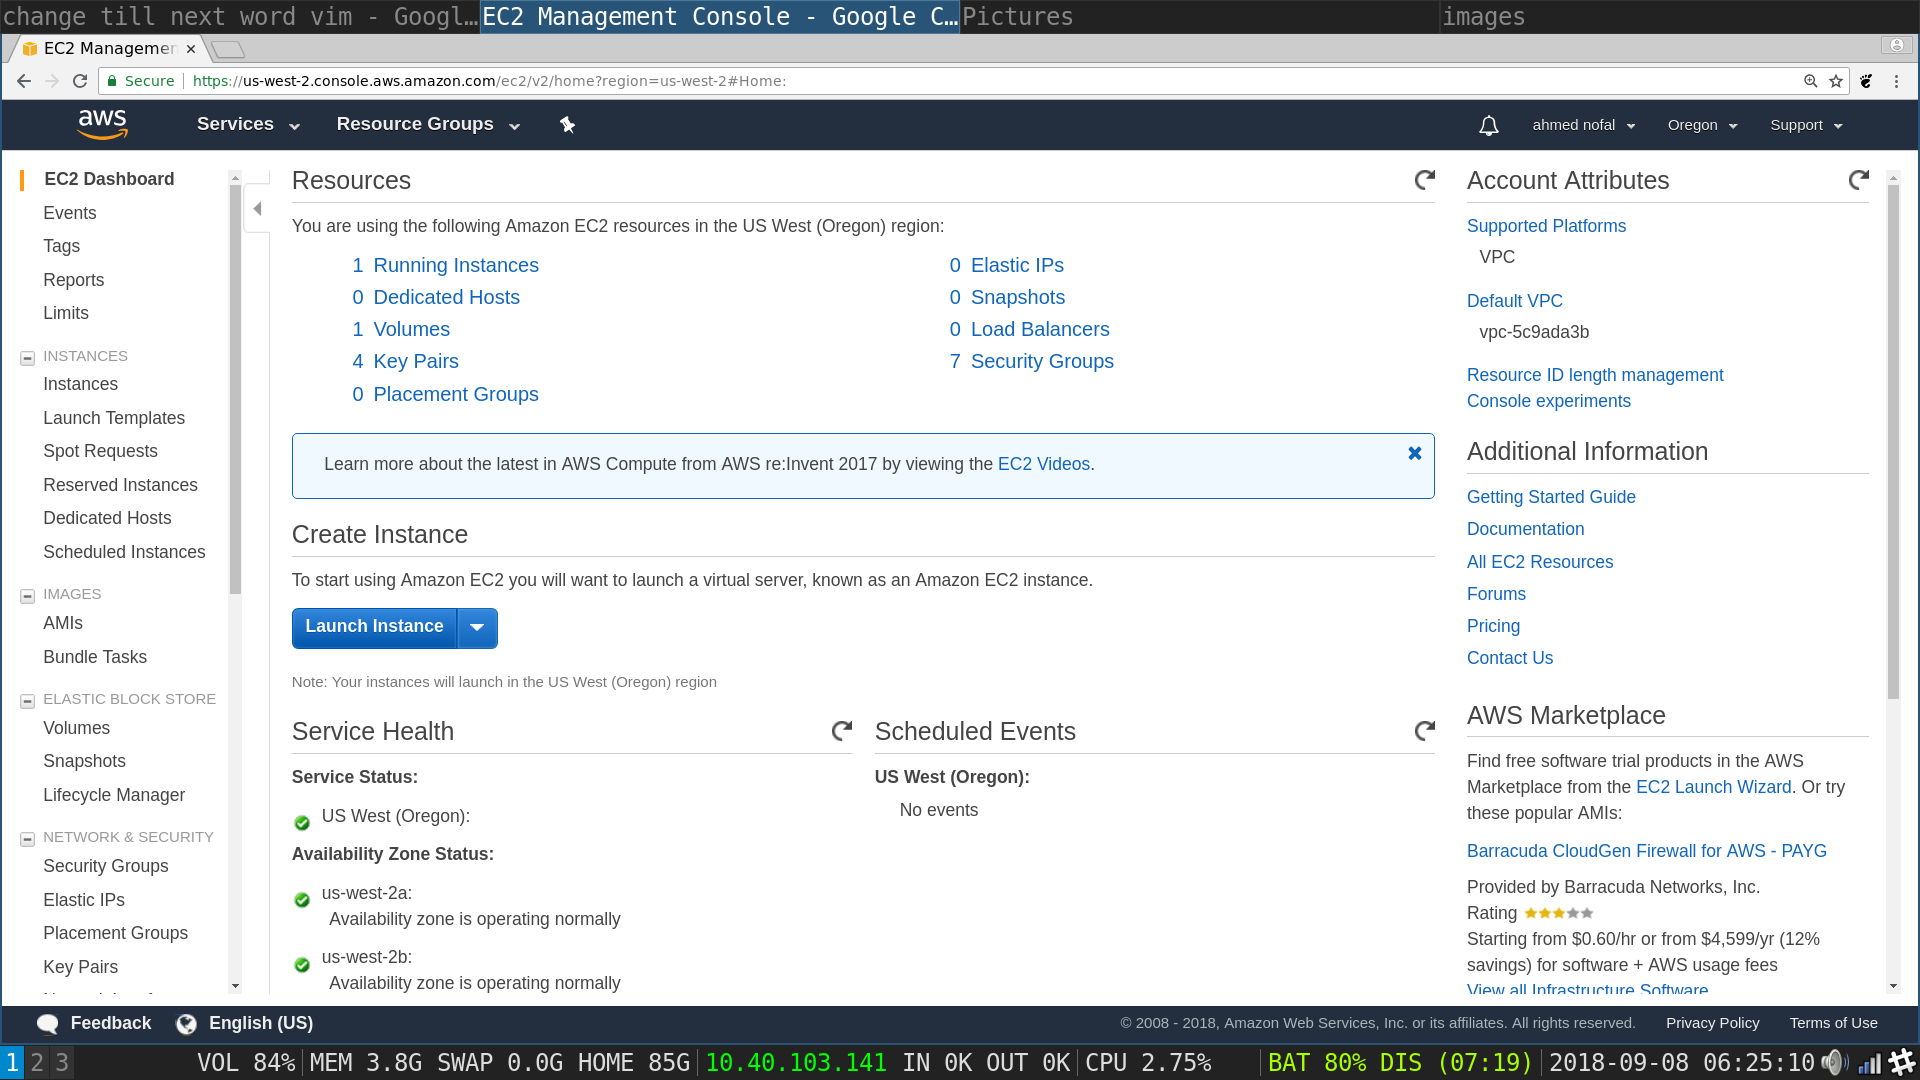
EC2 Dashboard : Choose Launch Instances
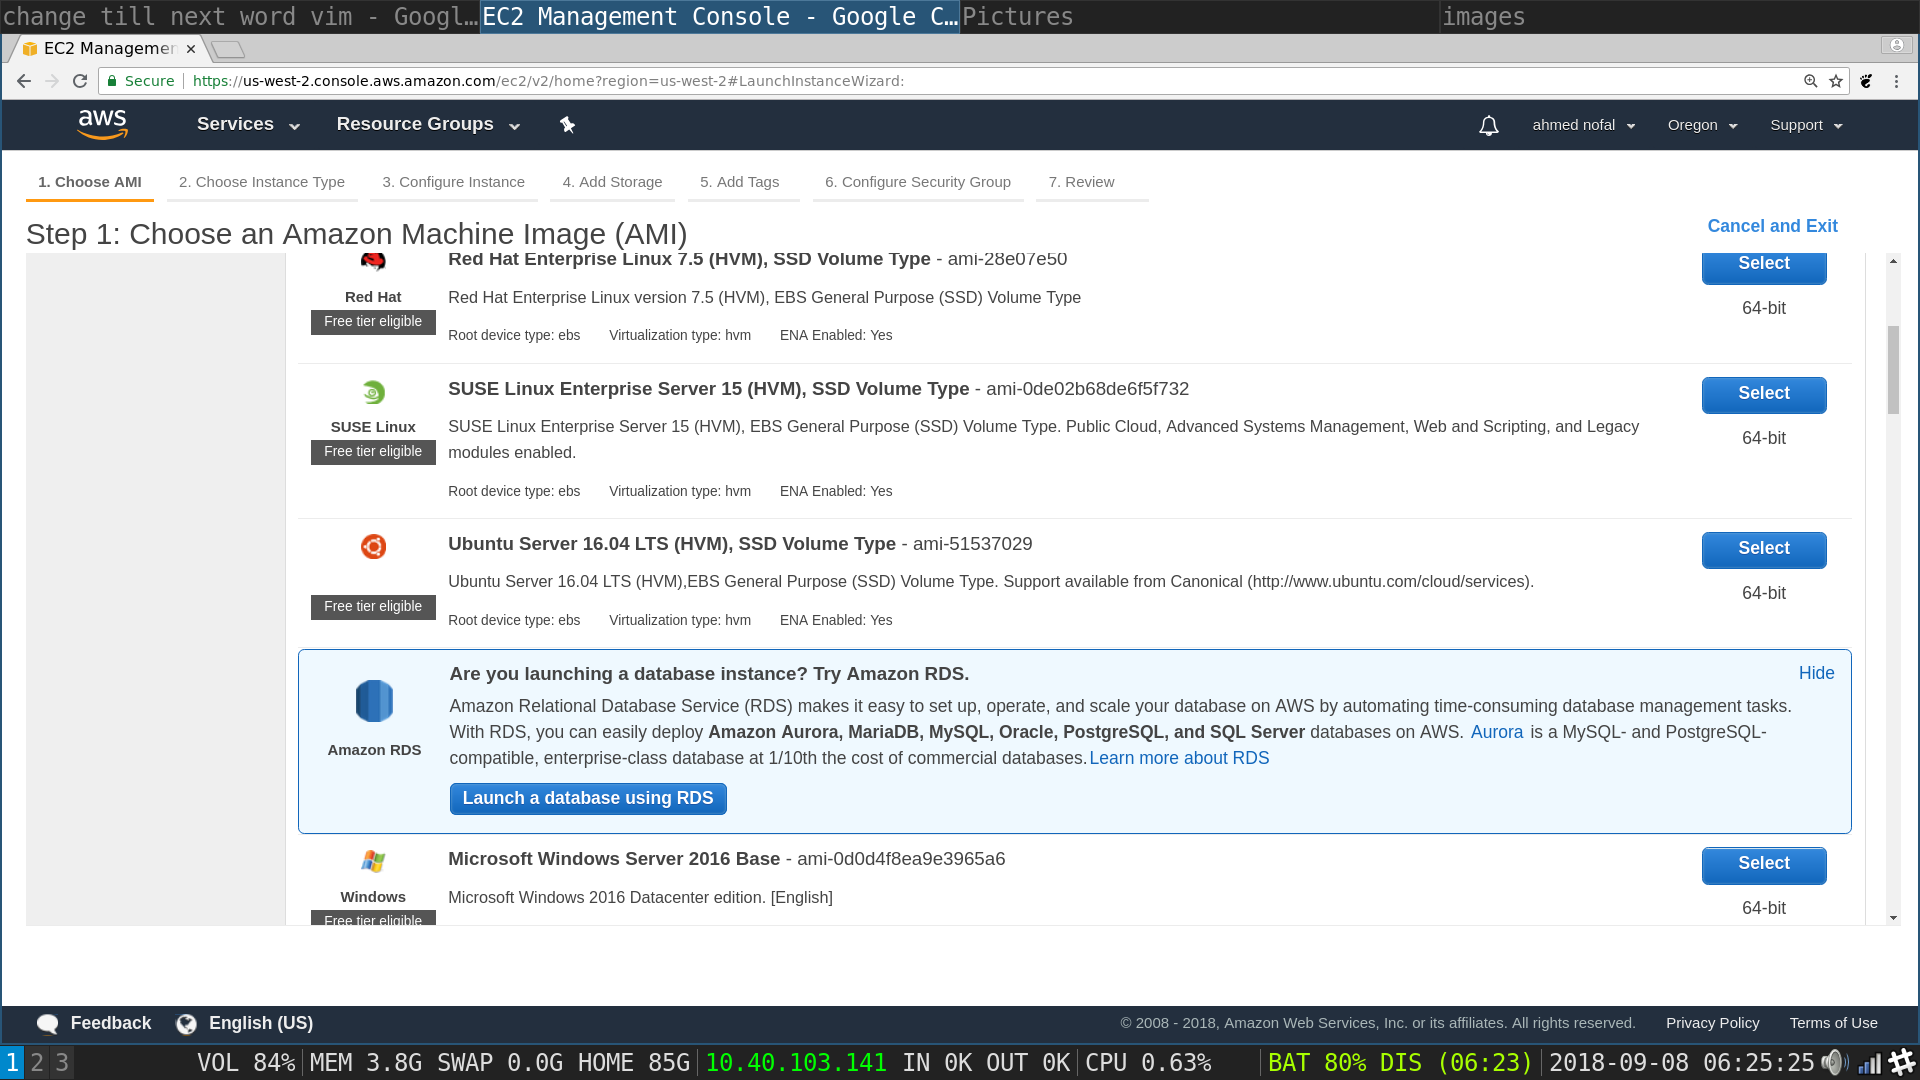
Launch Instances flow, choose an AMI : Choose Ubuntu Server 16.04 LTS HVM SSD Volume Type - ami-51537029
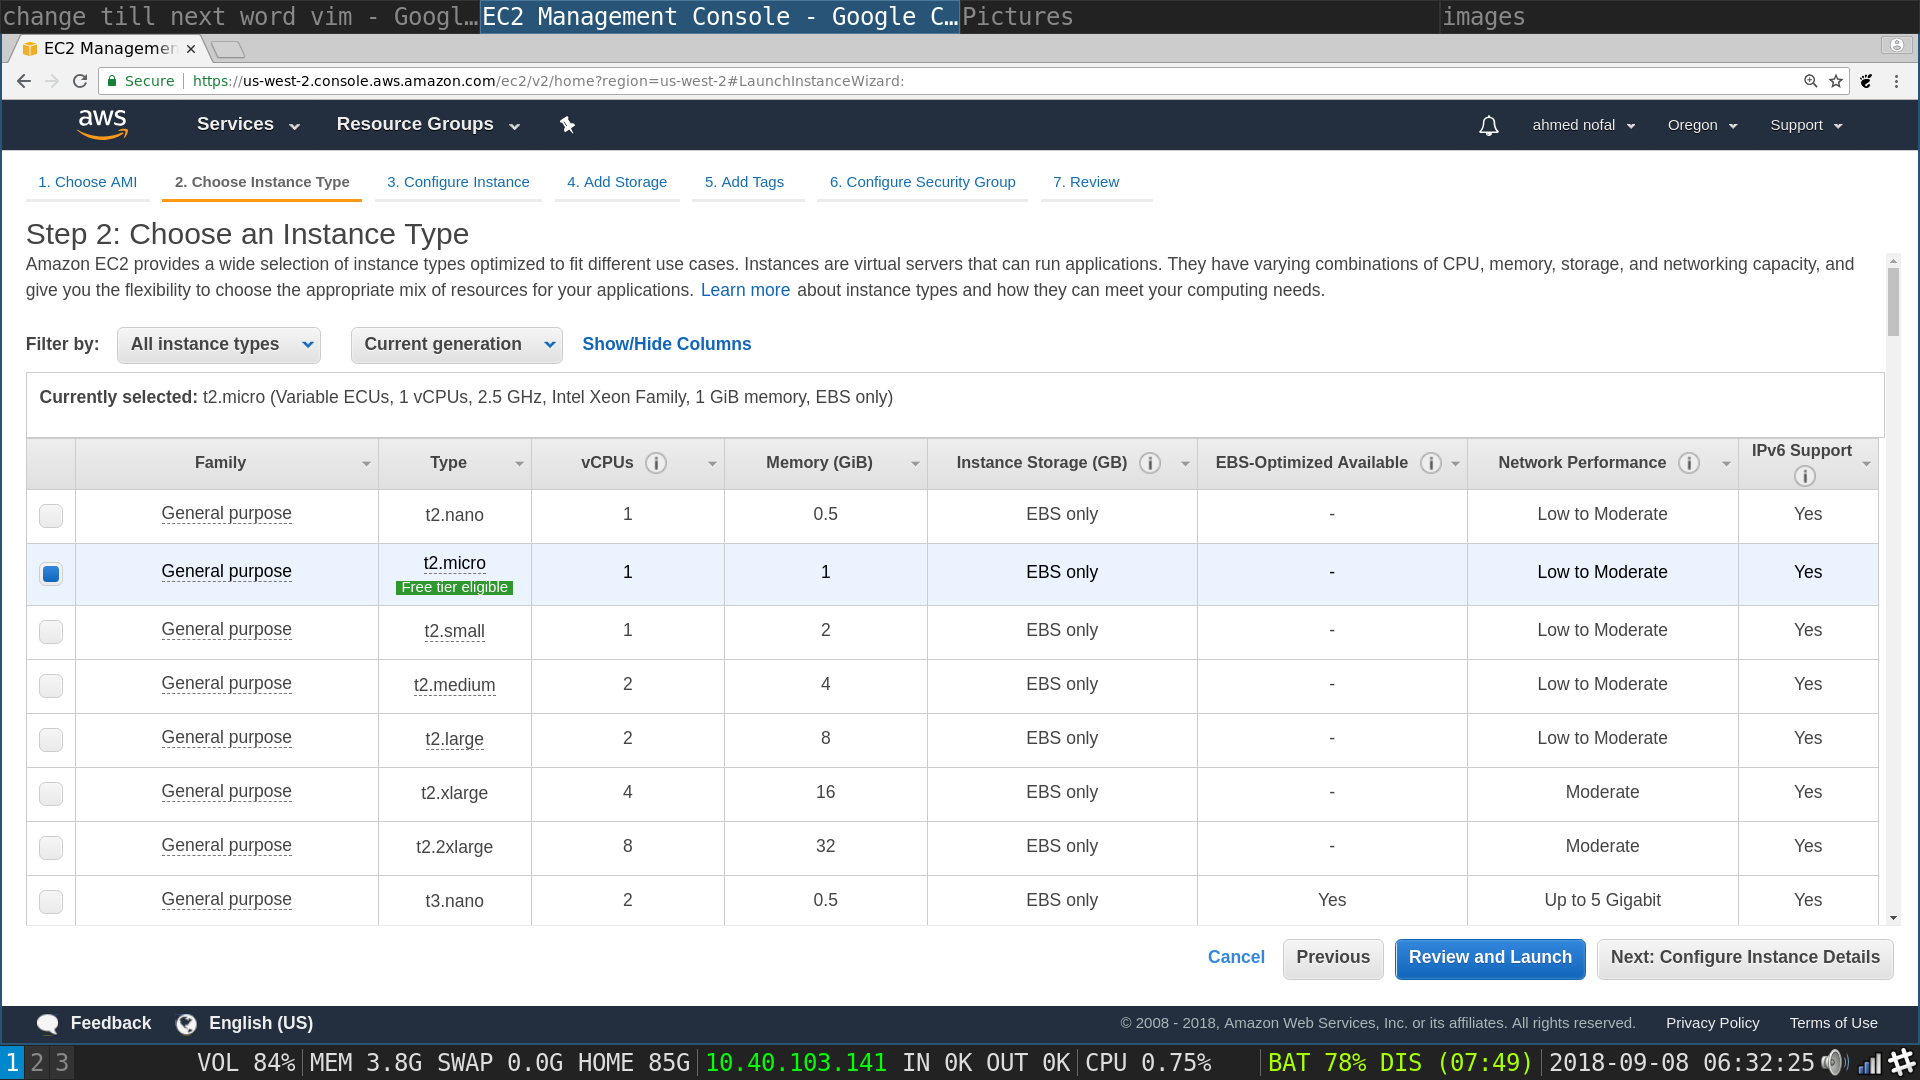
Launch Instances flow, choose an instance type : Choose t2.micro
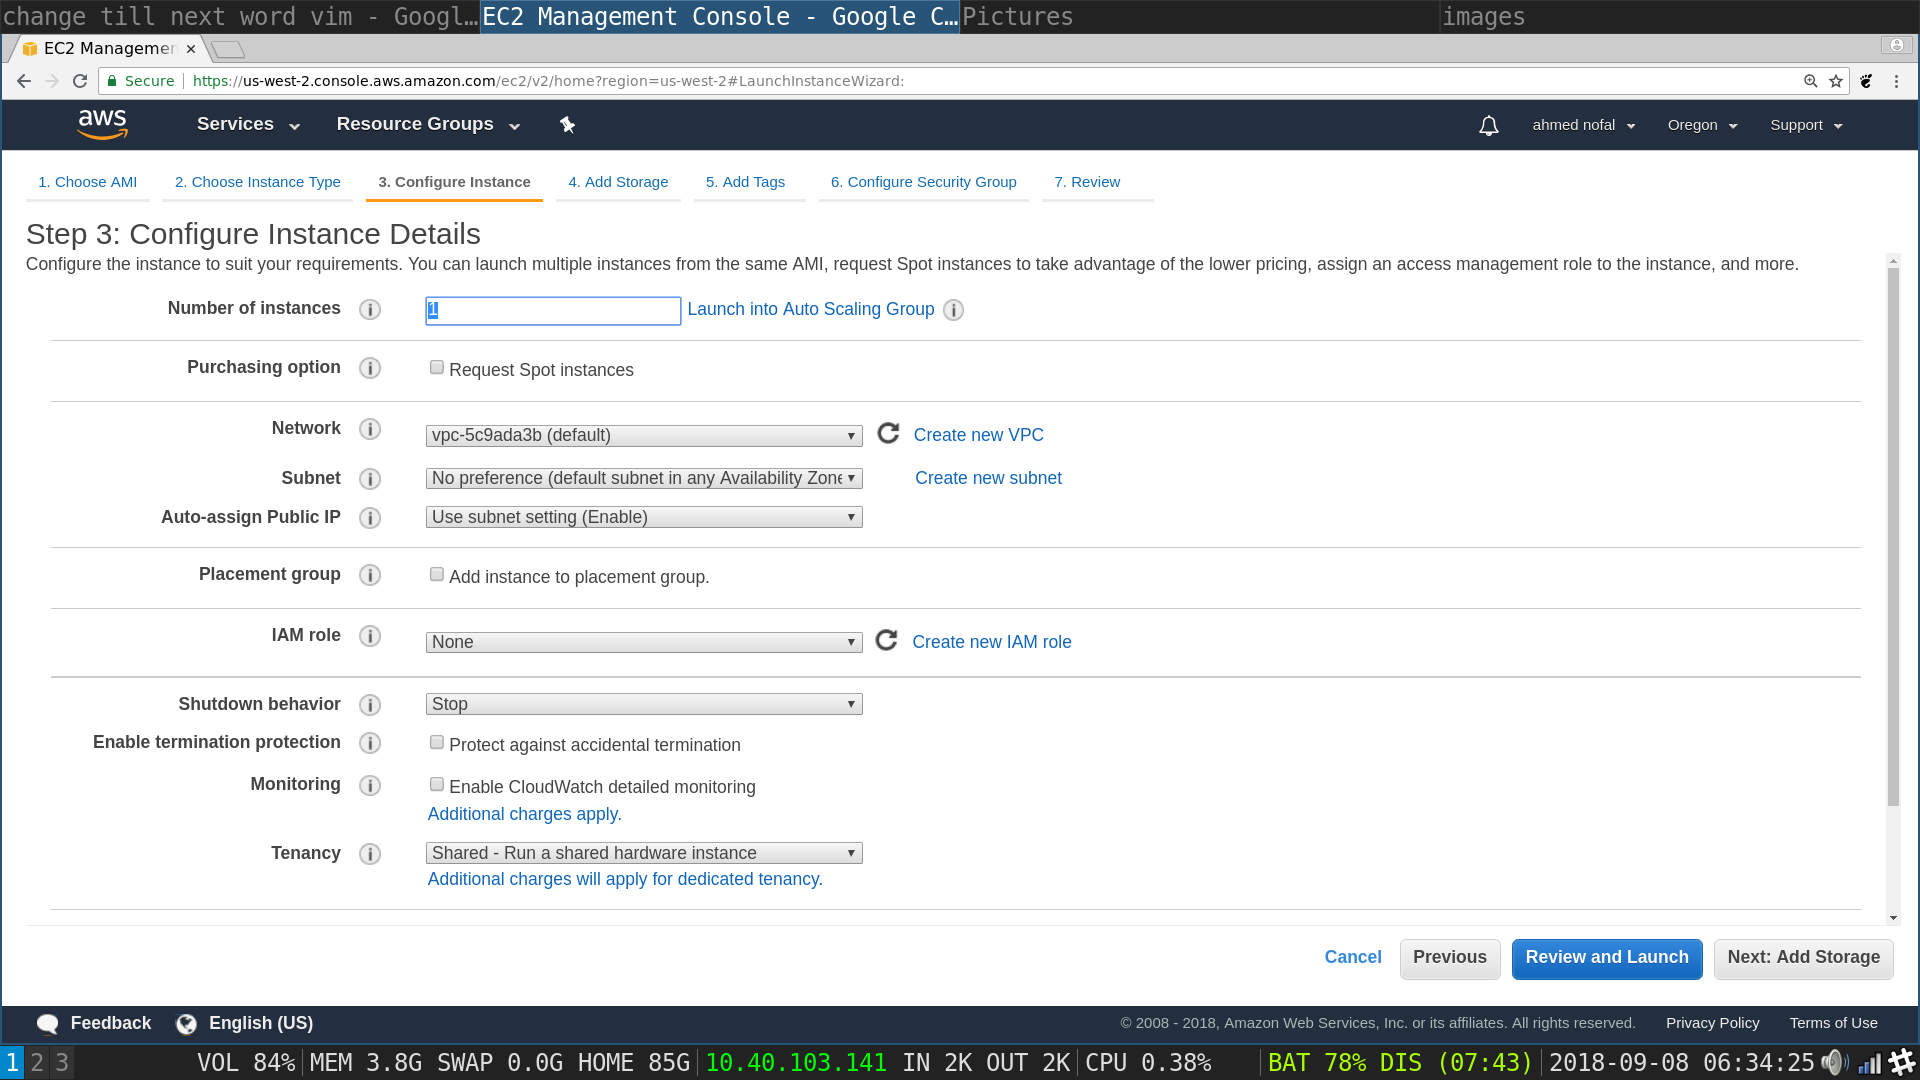
Launch Instances flow, configure instance details: type in the number of instances you need, make it as big as possible, and most importantly choose the IAM role you created from the IAM role choice in the middle of the page, click next
Launch Instances flow, choose storage: type in the number of gigabytes you need, make it as big as possible, click next
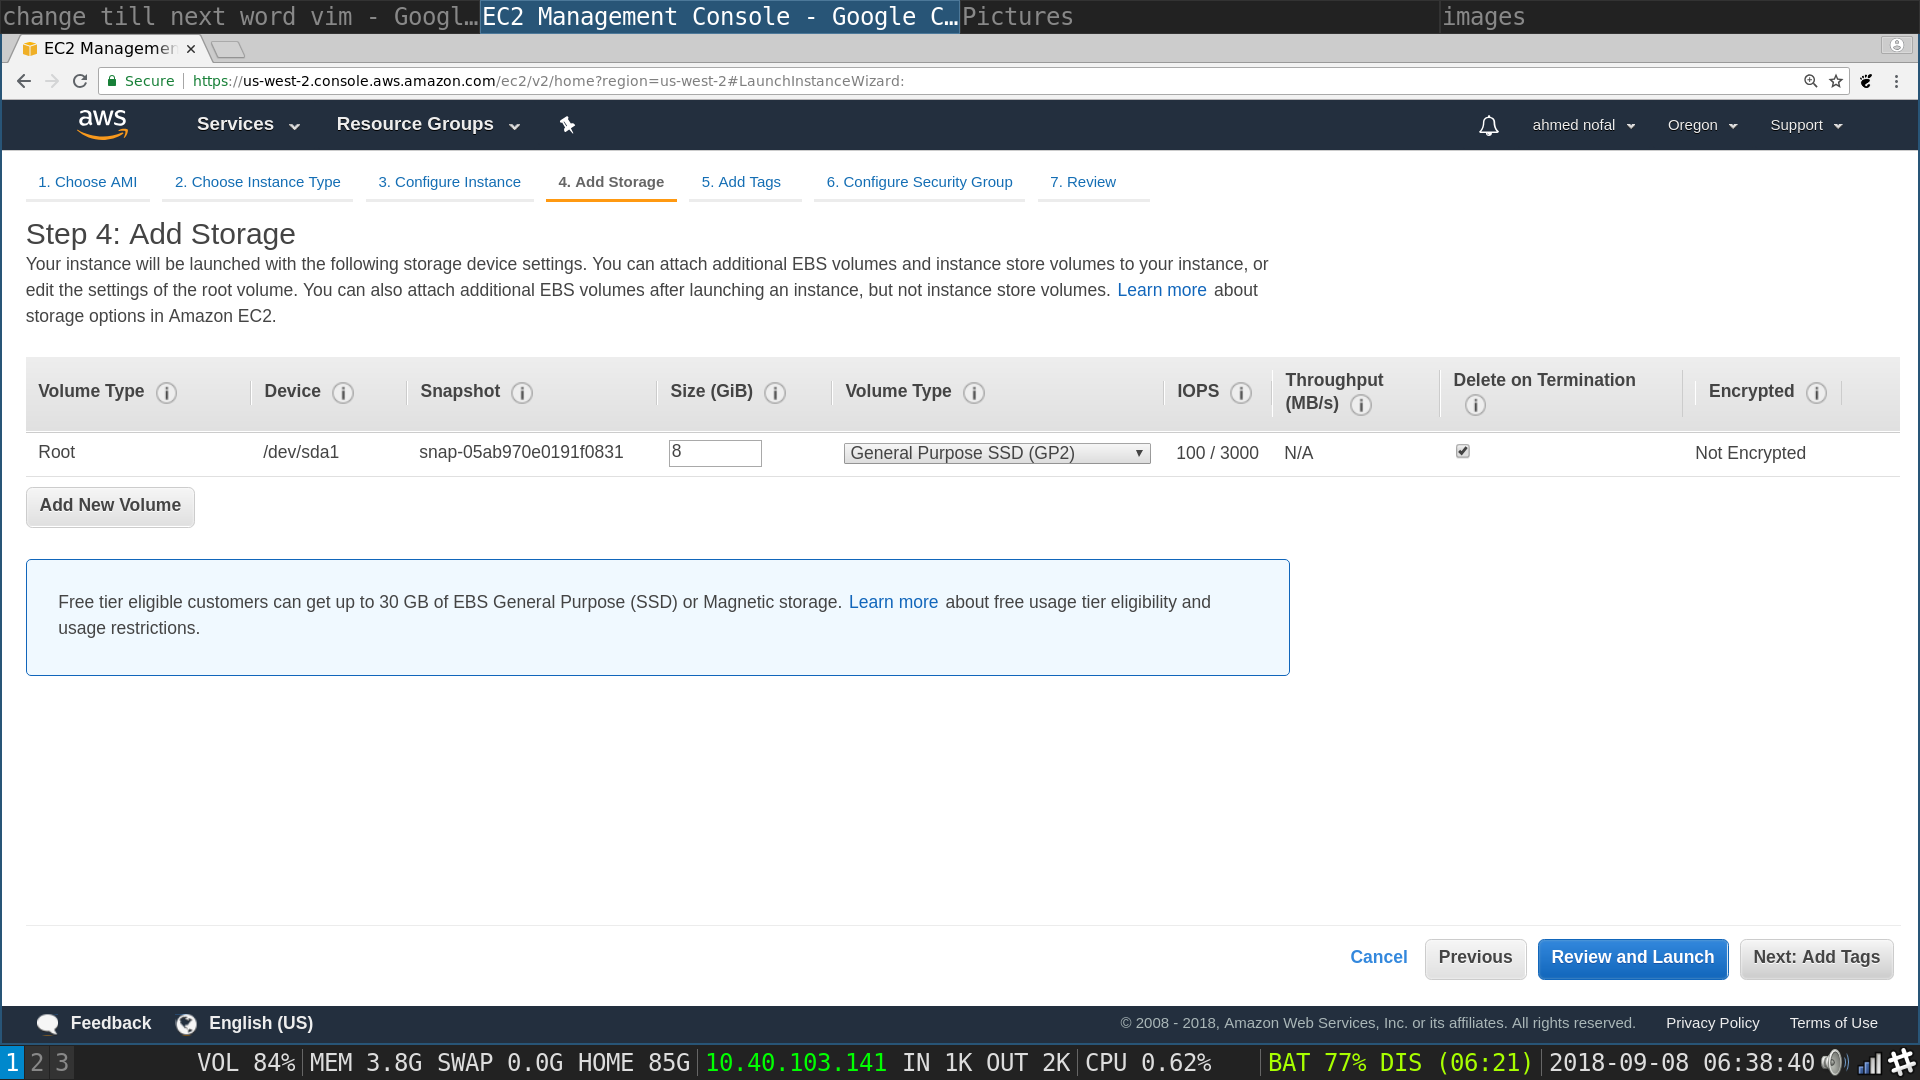
Launch Instances flow, set group page: click on Add Tag
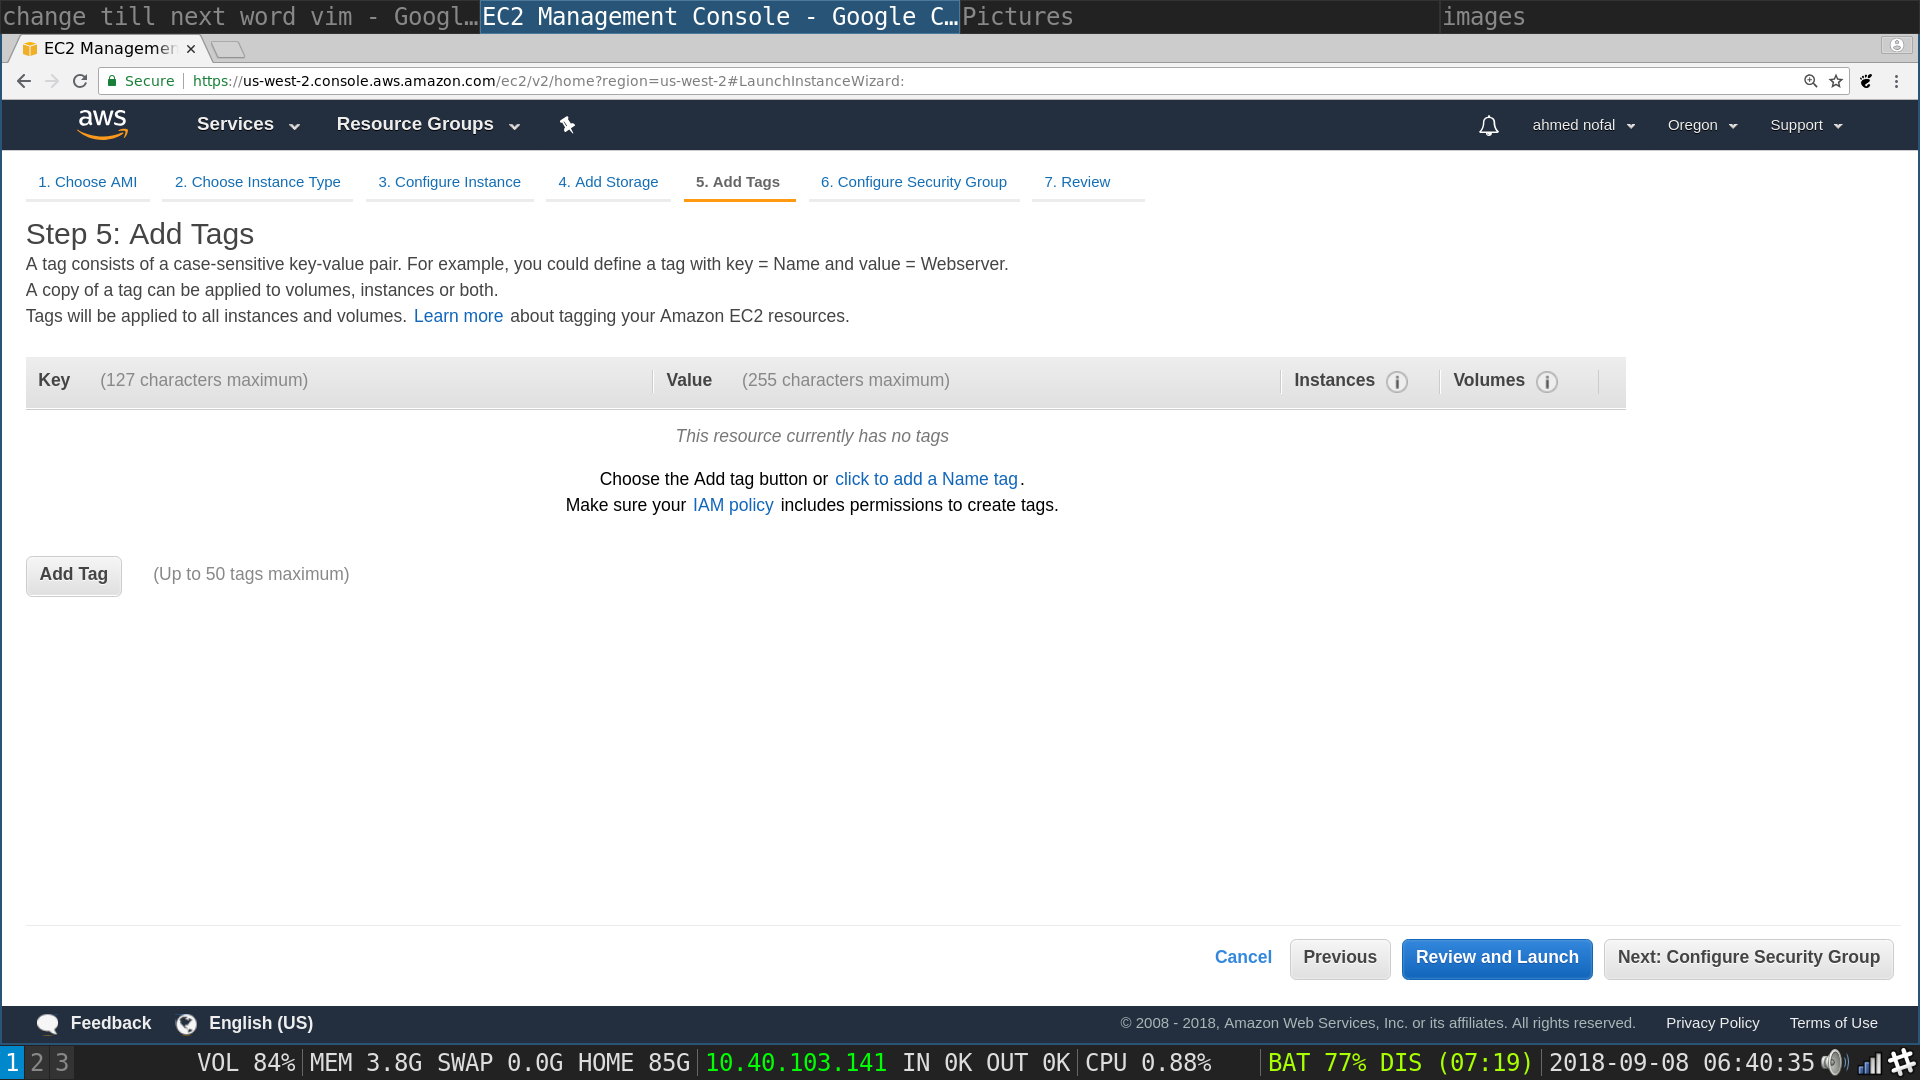
Launch Instances flow, set group page: Put in a key and a value such as the ones in the image, not necessarily the same, we do not really need the tags, it is just to differentiate your normal instances from the ones that are tasked with the DDOS, if you have had other instances then click on Review an Launch
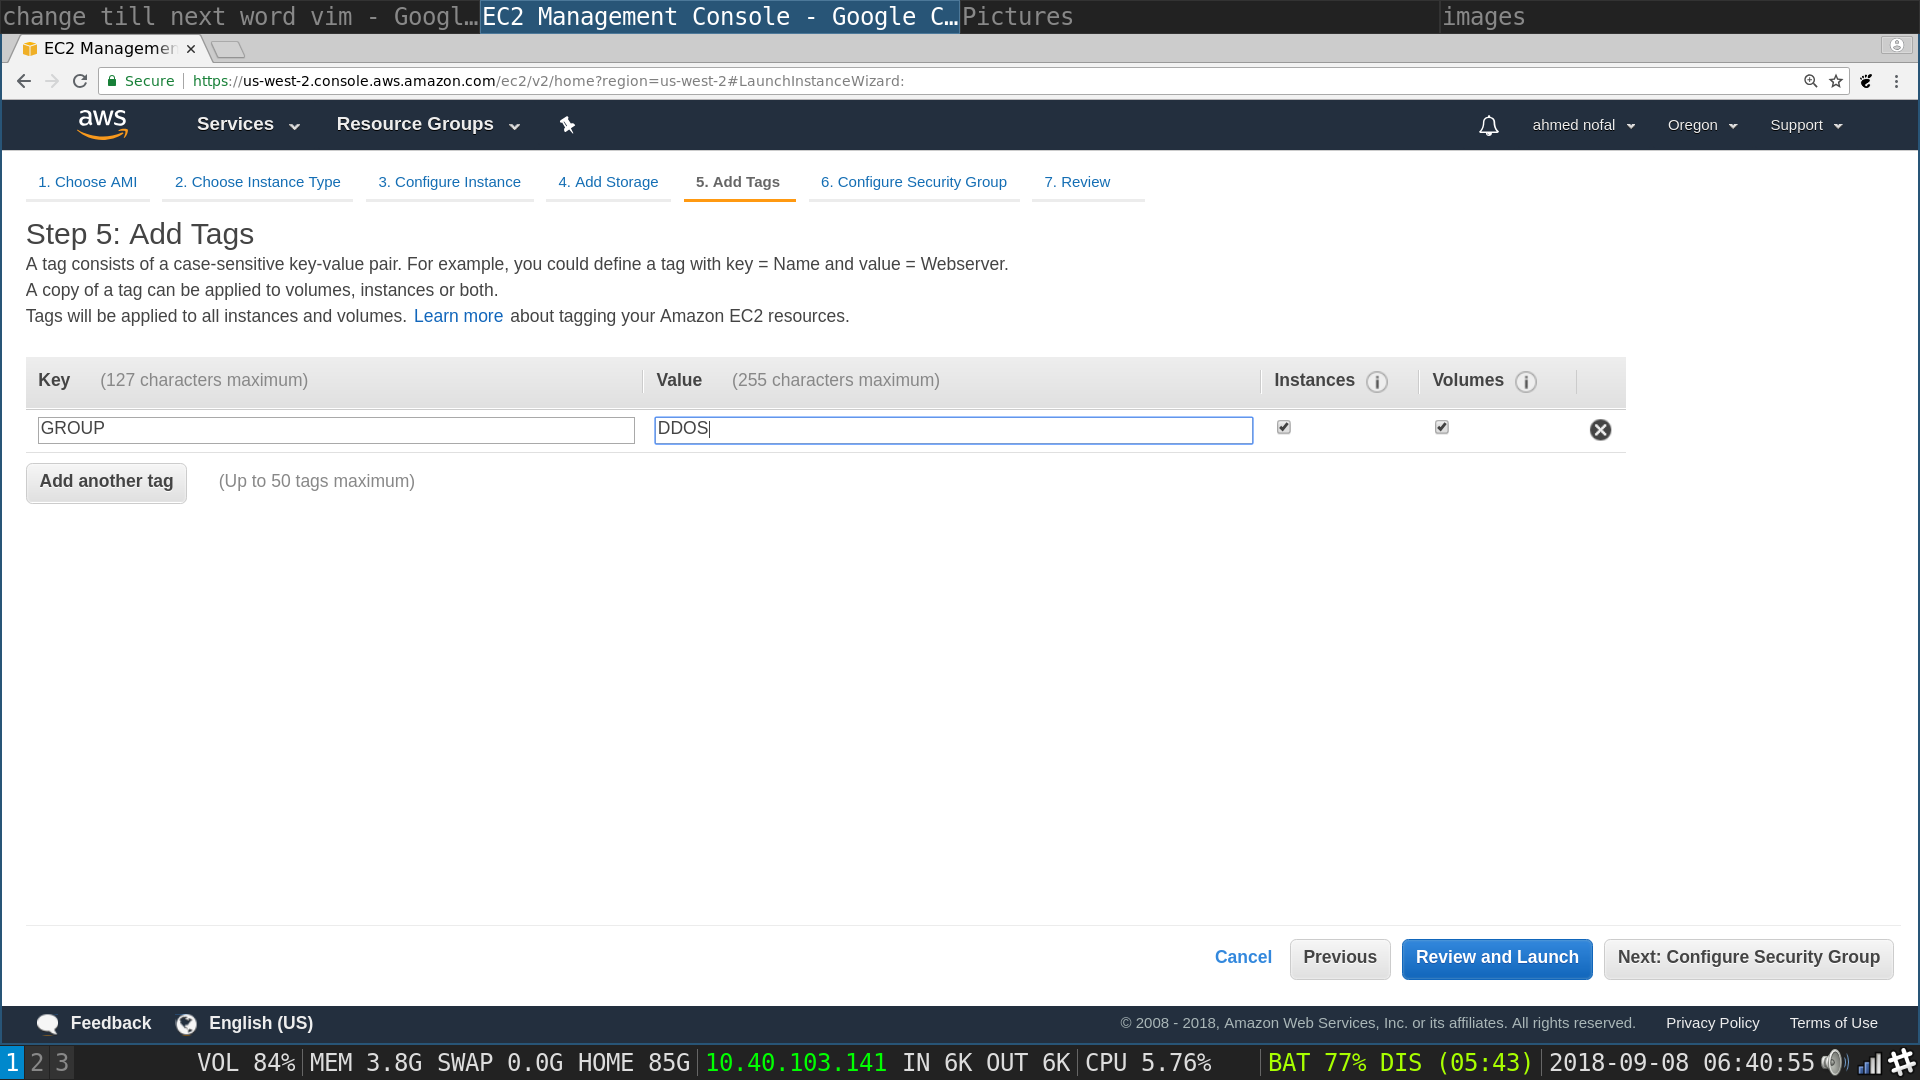
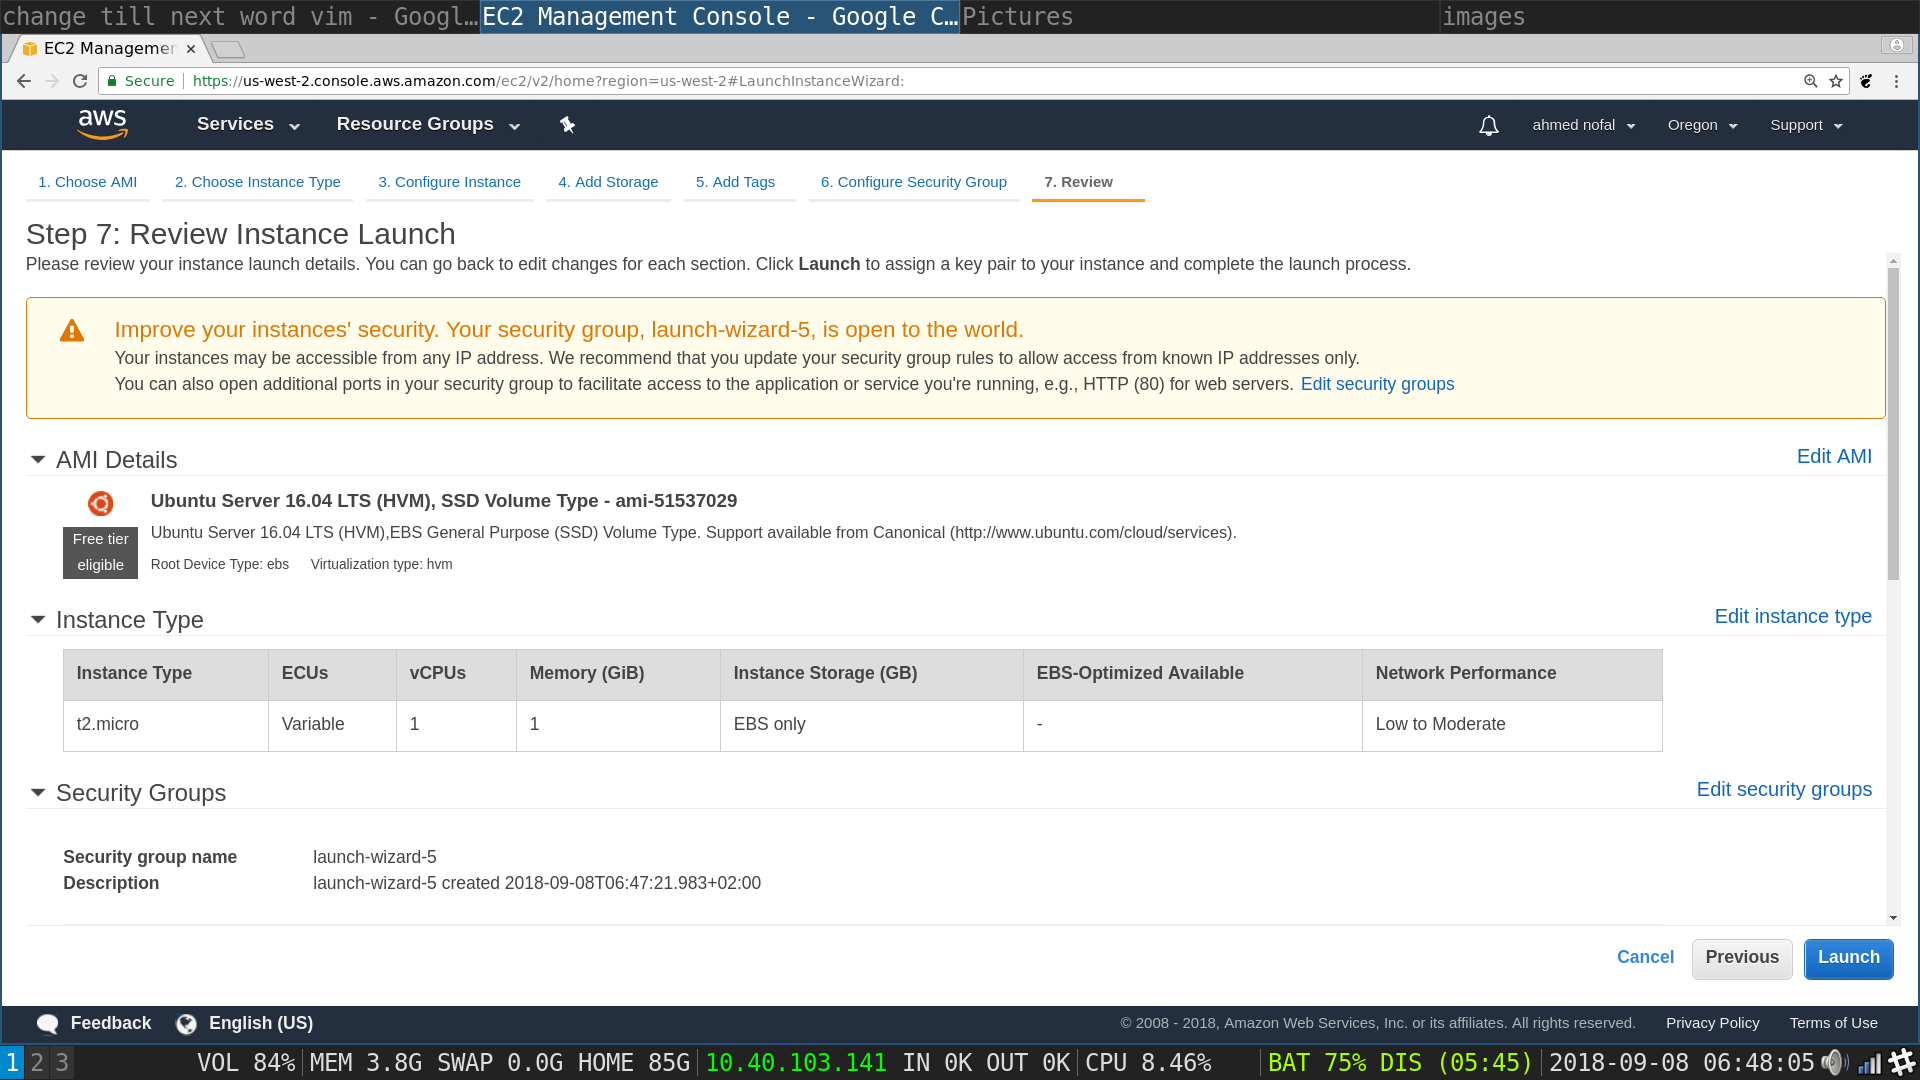
Launch Instances flow, review and launch page: check you have not missed anything and click launch
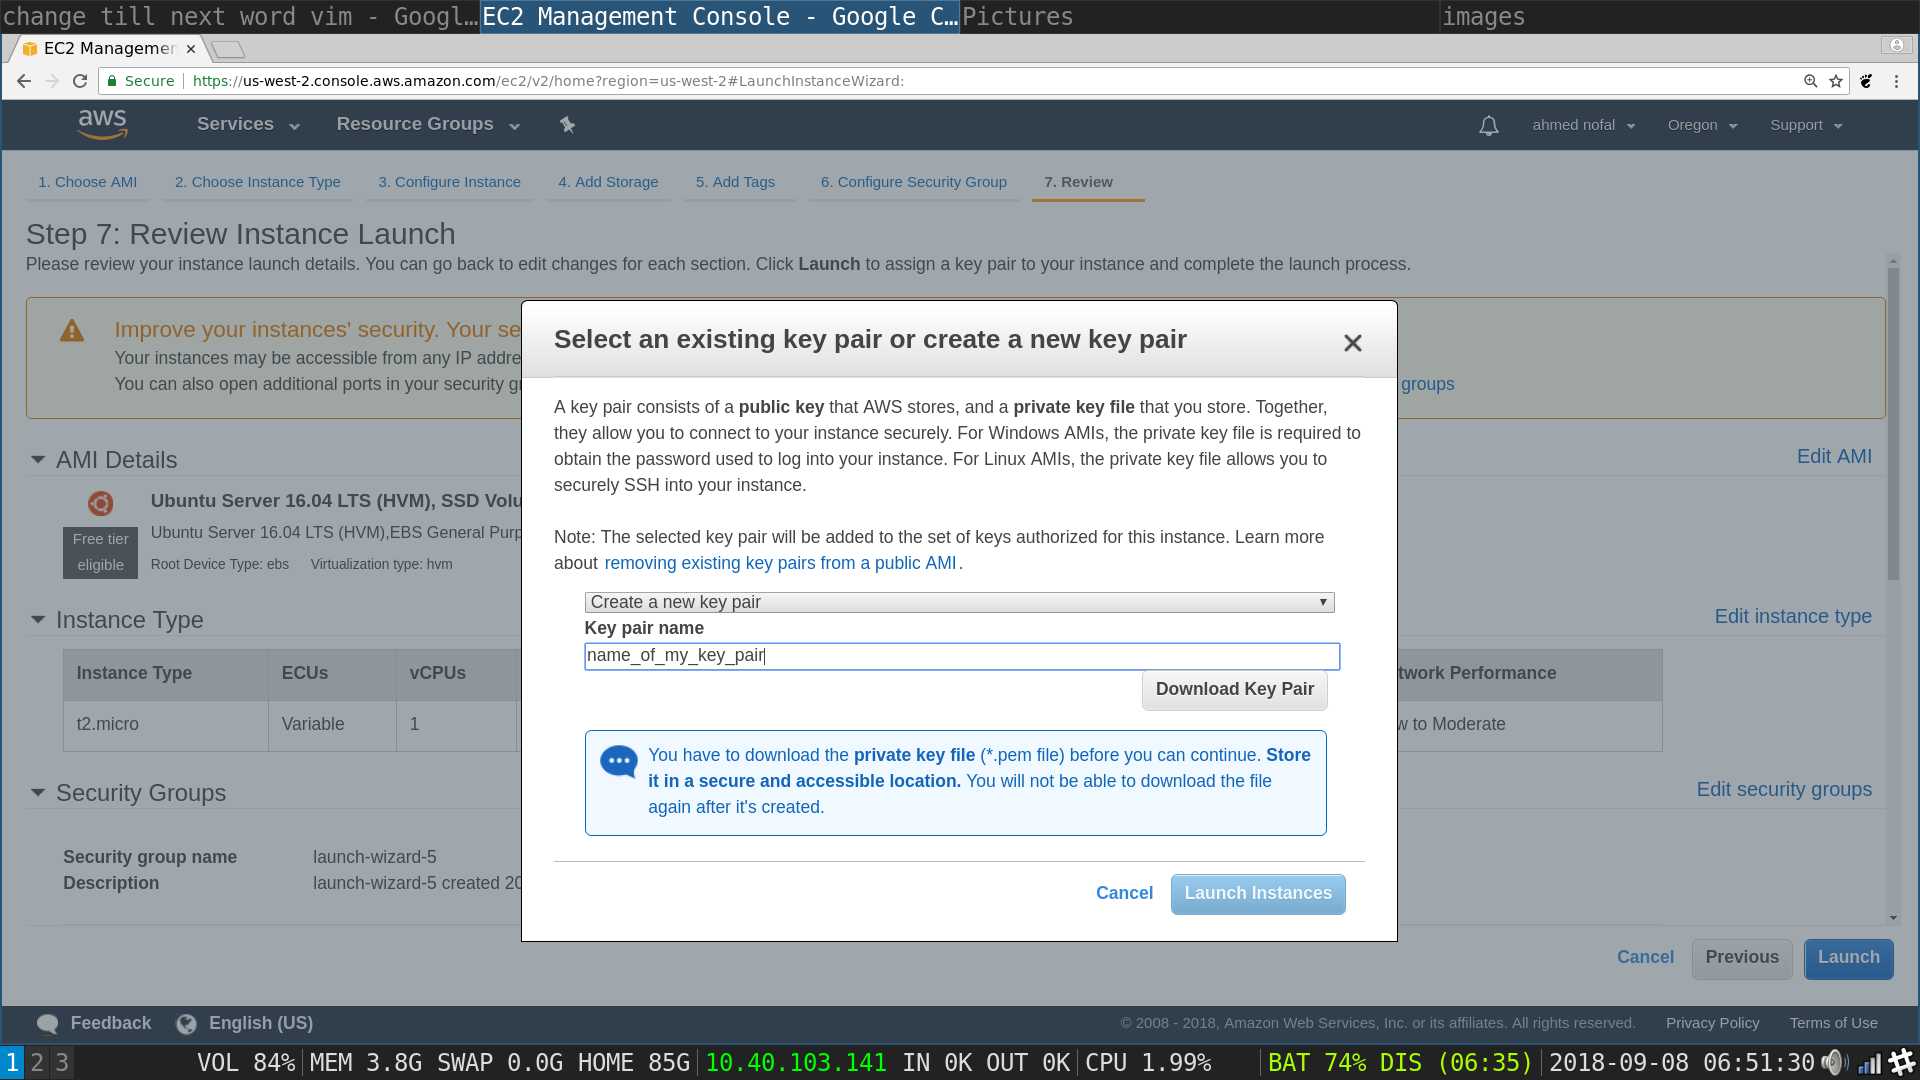
Launch Instances flow, create key pair pop up: type in a name for the key pair .pem file and then hit download key pair and keep the file safely stored it is the only way to ssh into your instances, we do not need to ssh in this tutorial but just in case you need to perform a one lines in an instance in interactive mode, and them launch instances will be available to click on, click on it
- Installing the tools
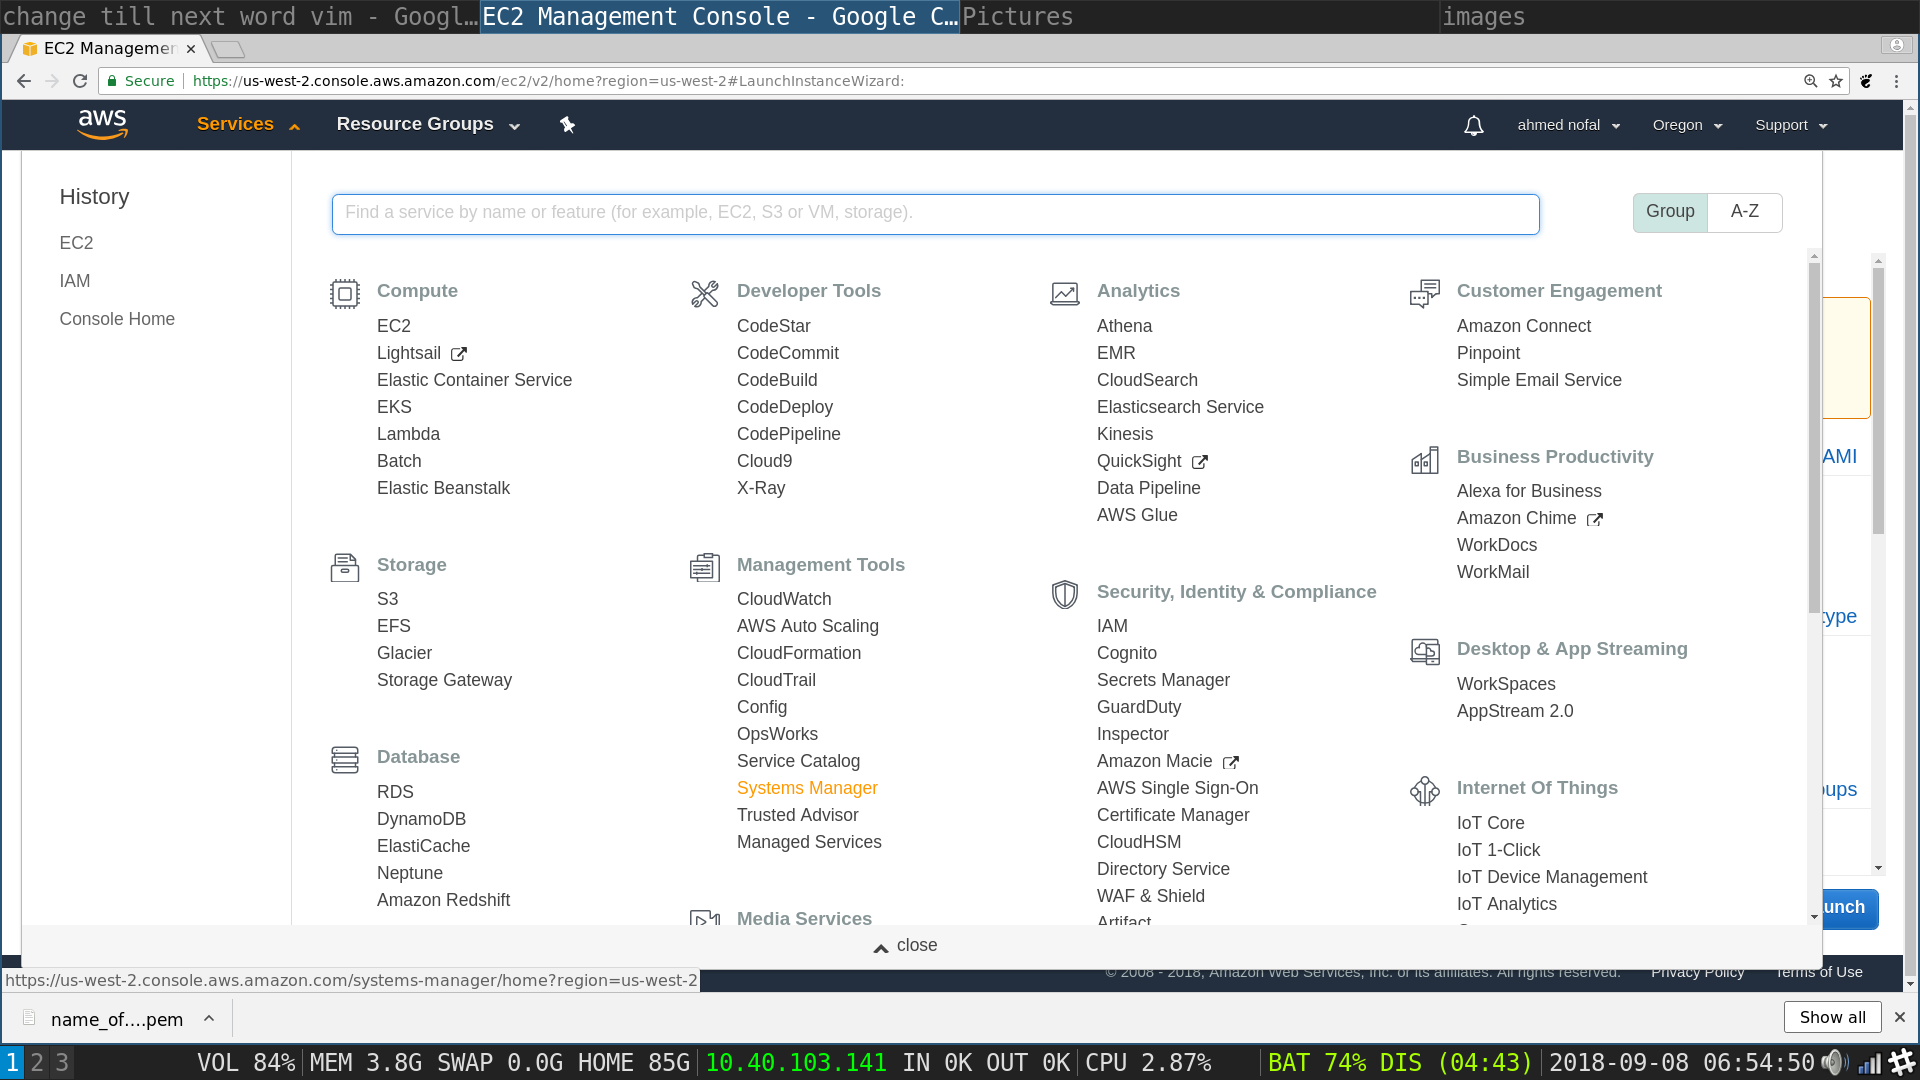
AWS Management Console: From Management Tools Choose Systems Manager and click on it
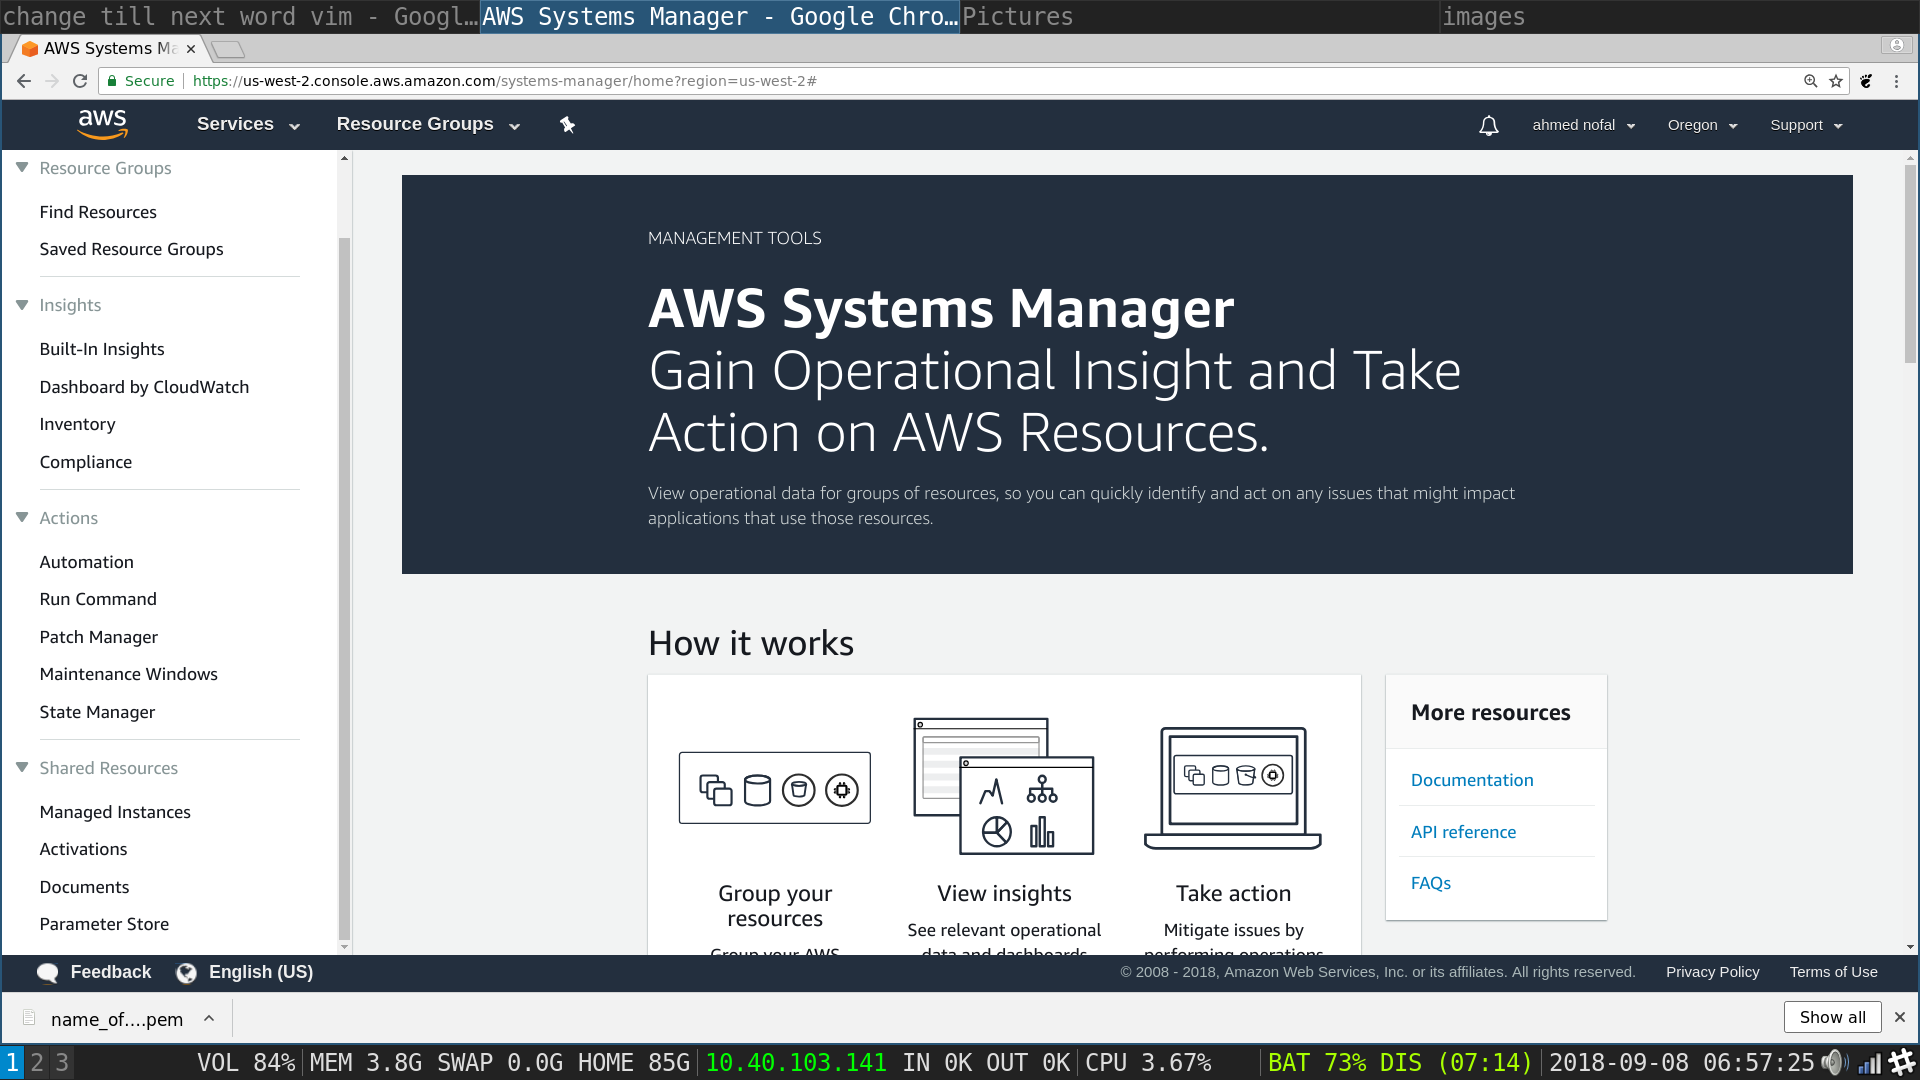
SSM preview: From the tab on the left scroll down and choose Actions : Run Command
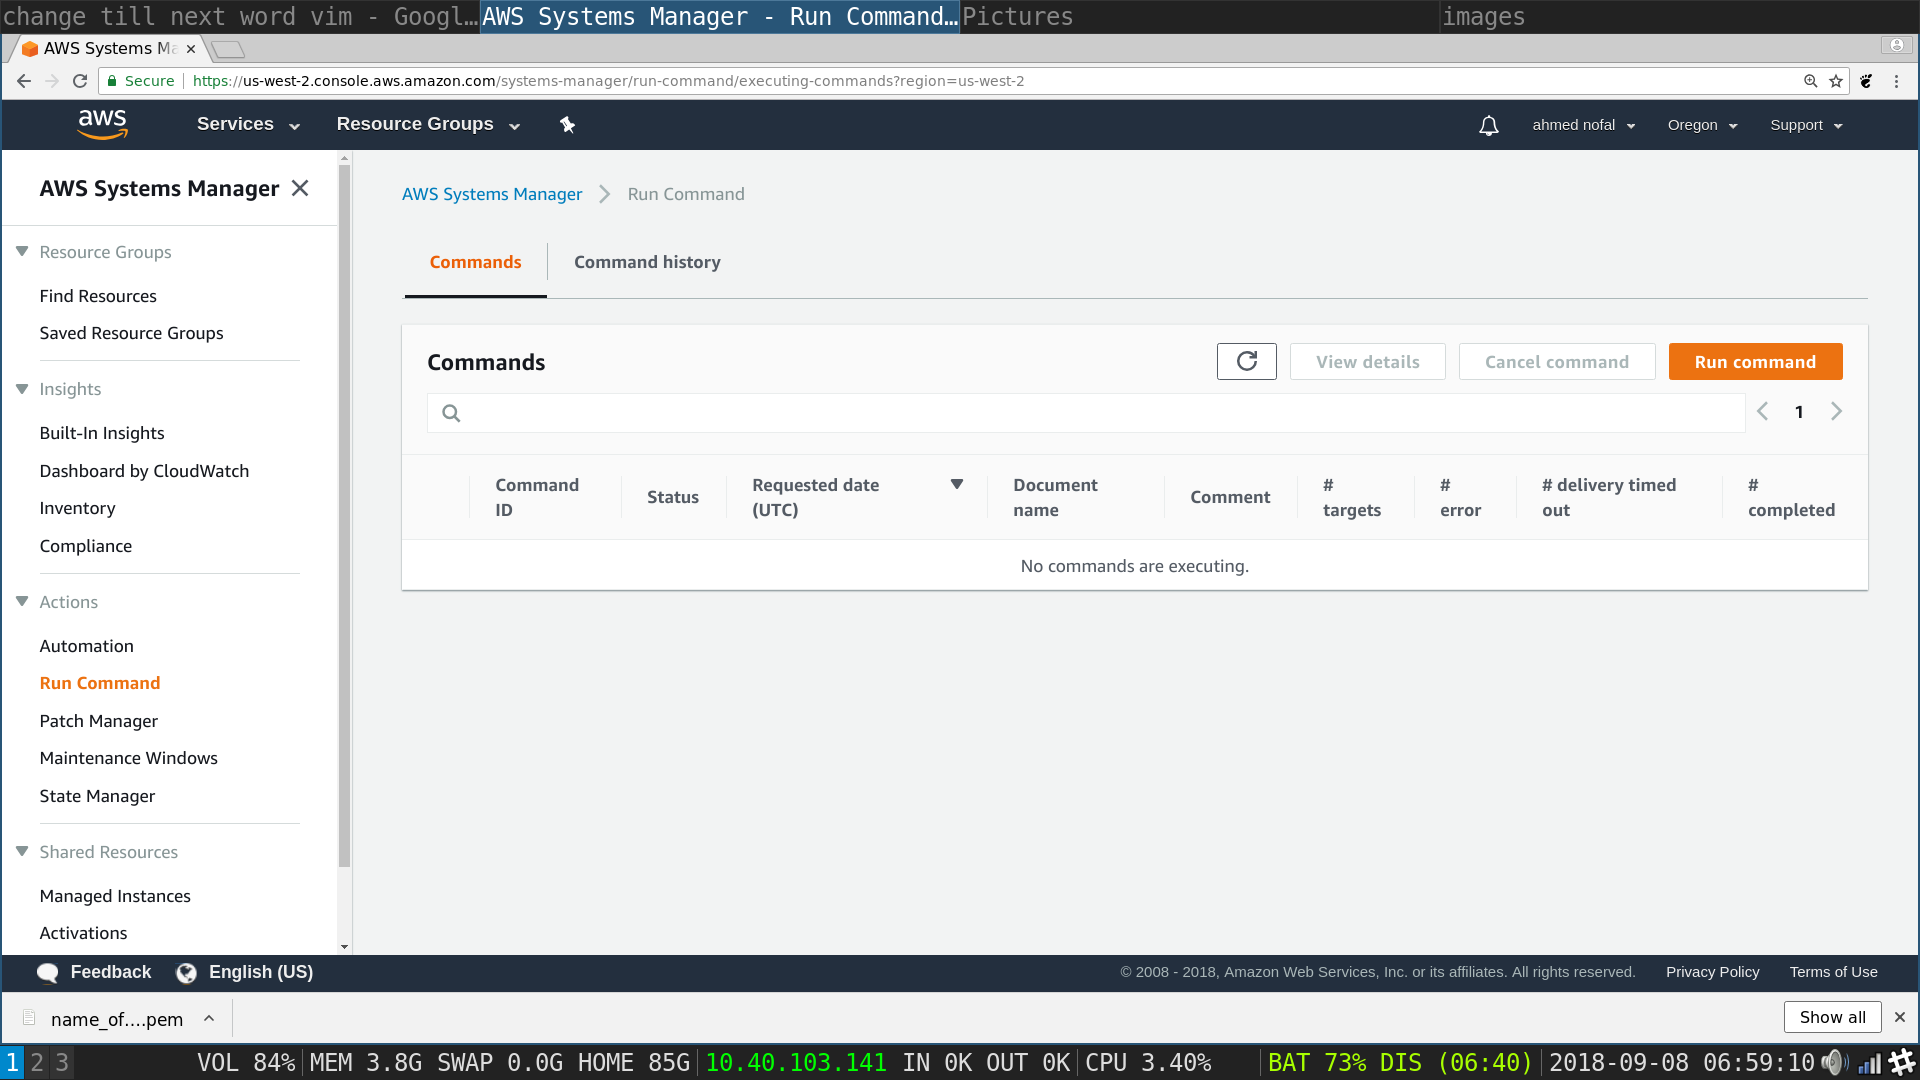
SSM Run Command: in the right corner click on Run Command
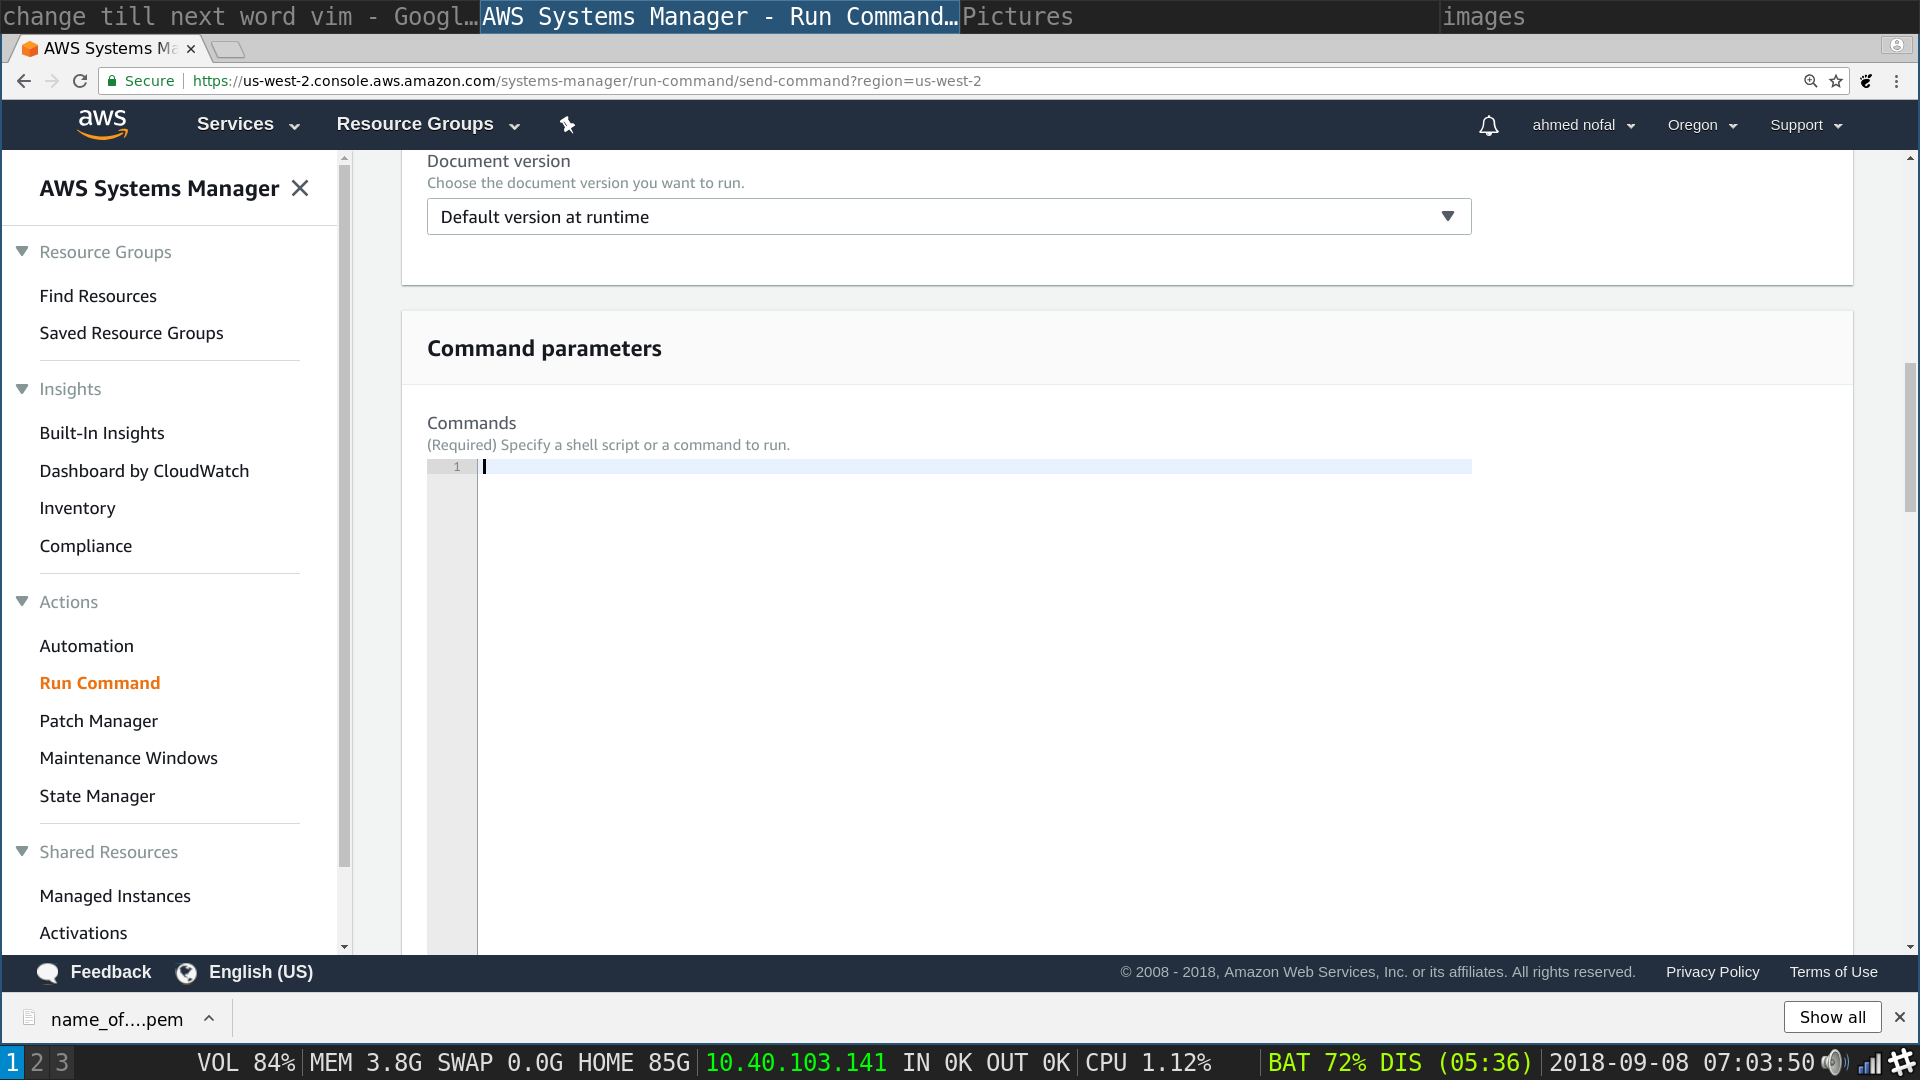
SSM Run Command: in the right corner click on the right arrow -angle bracket- till you hit the 3rd page of options and choose AWS-RunShellScript then scroll down till Commands txt box show up
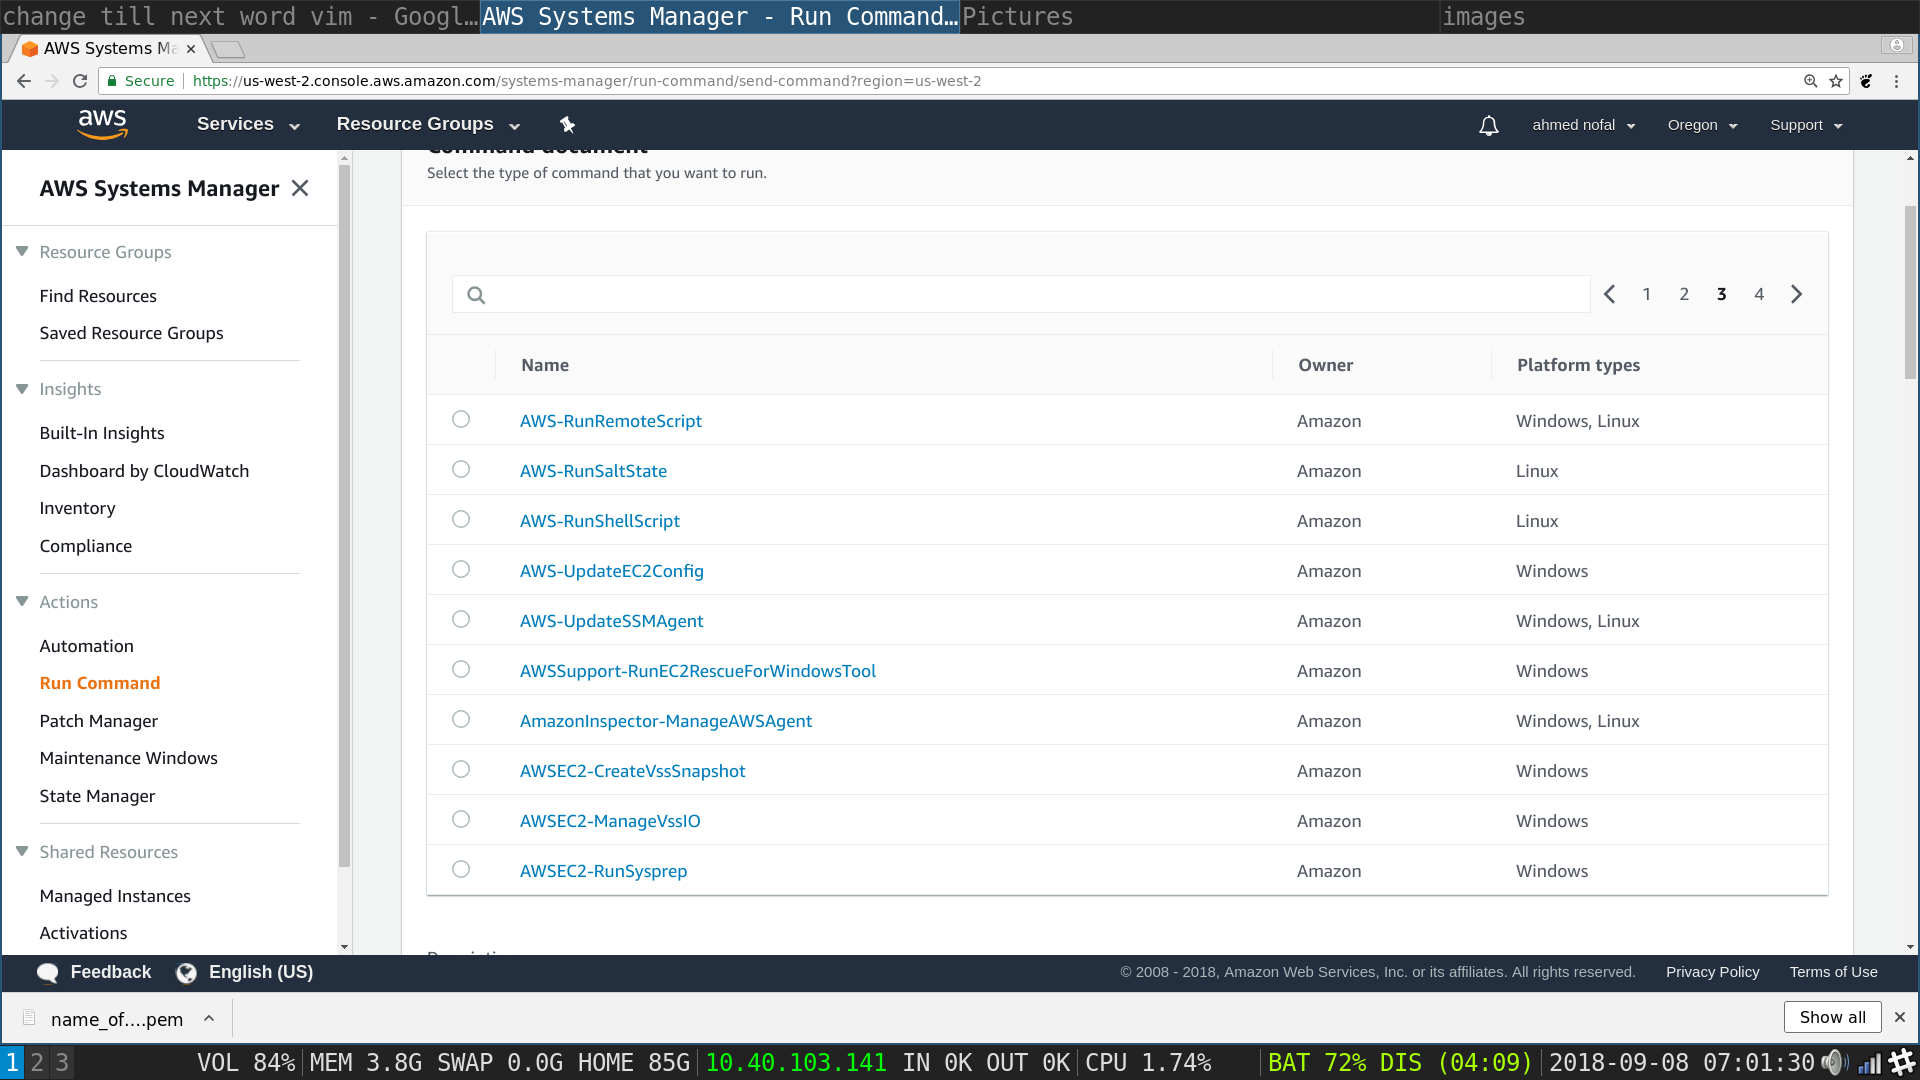
SSM Run Command: the txt that should be in this txt box is below
rm -rf DDOS-Tools
git clone --recursive https://github.com/ahmednofal/DDOS-Tools.git
cd DDOS-Tools
bash configure
- Copy Those lines into the Commands txt box then Scroll down
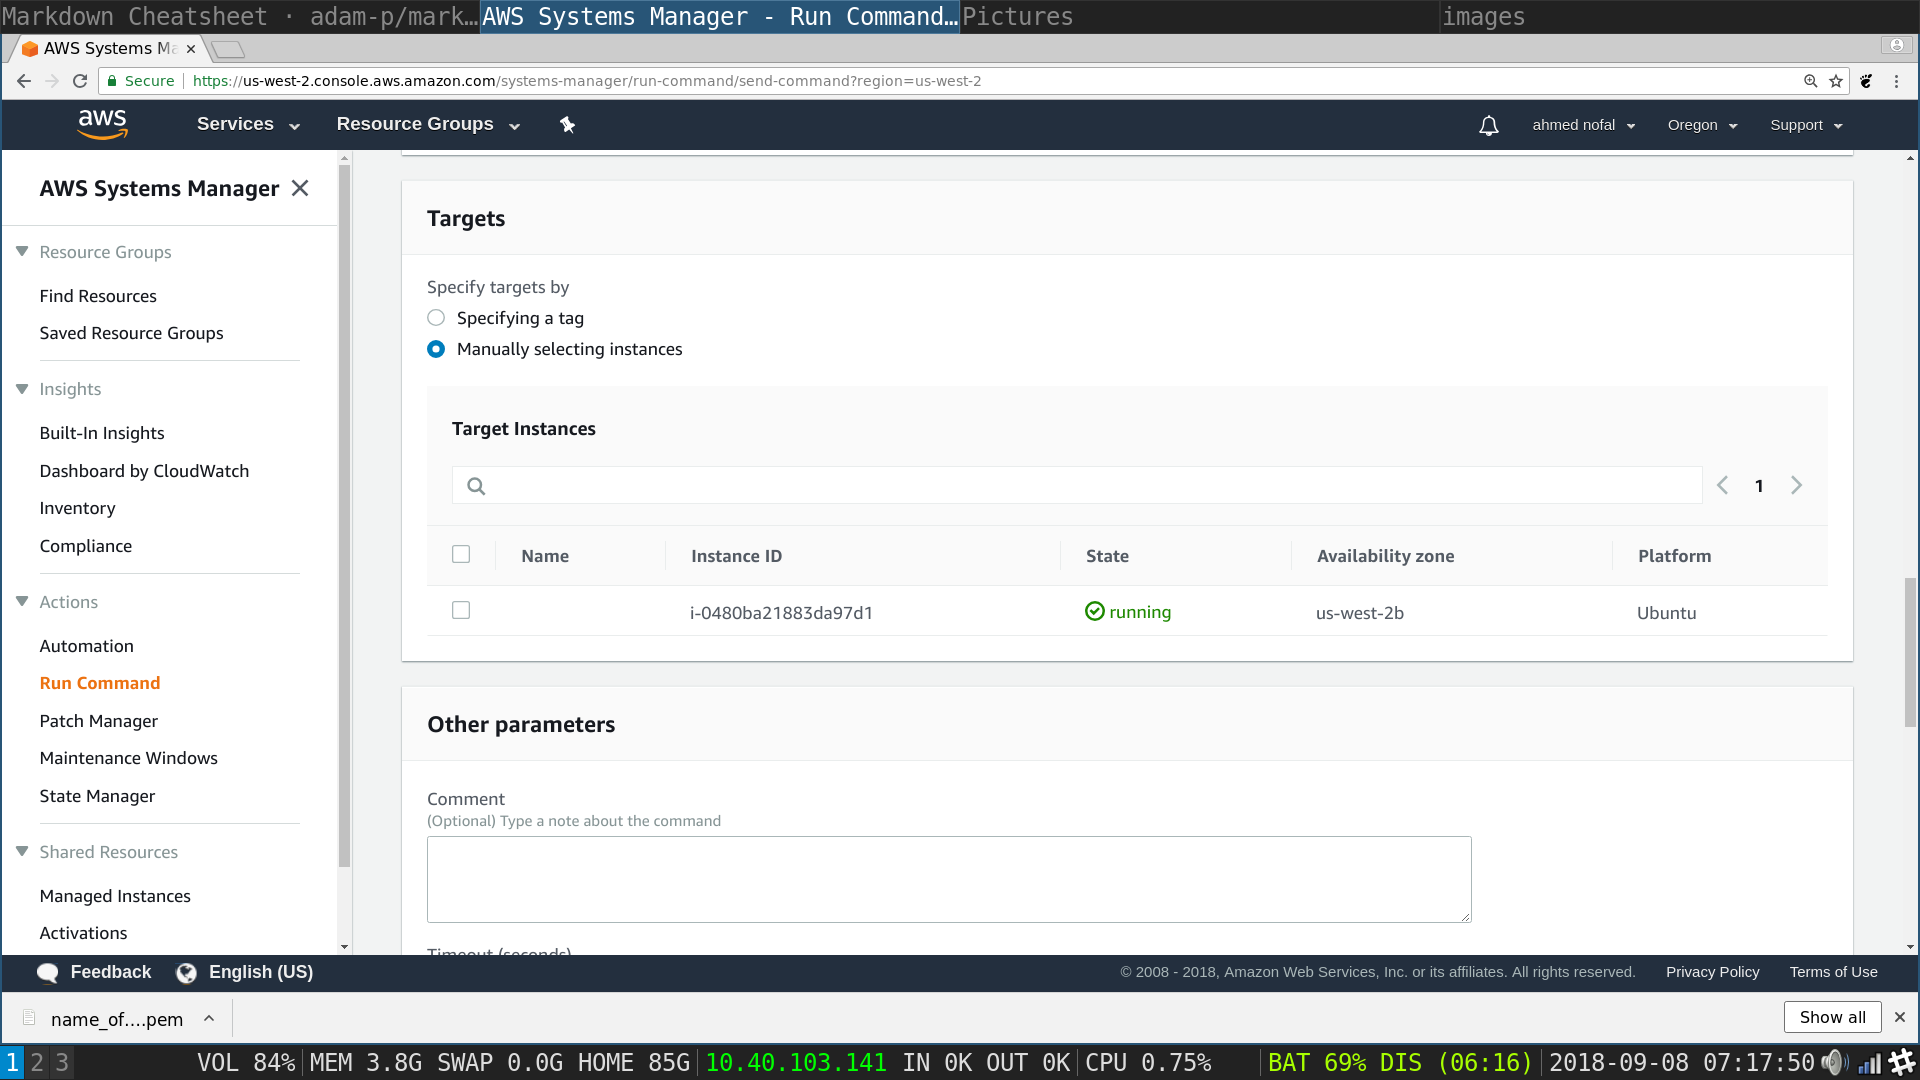
SSM Run Command: Choose all of your instances manually or through the tag you created if you have other instances than the ones you created using this tutorial
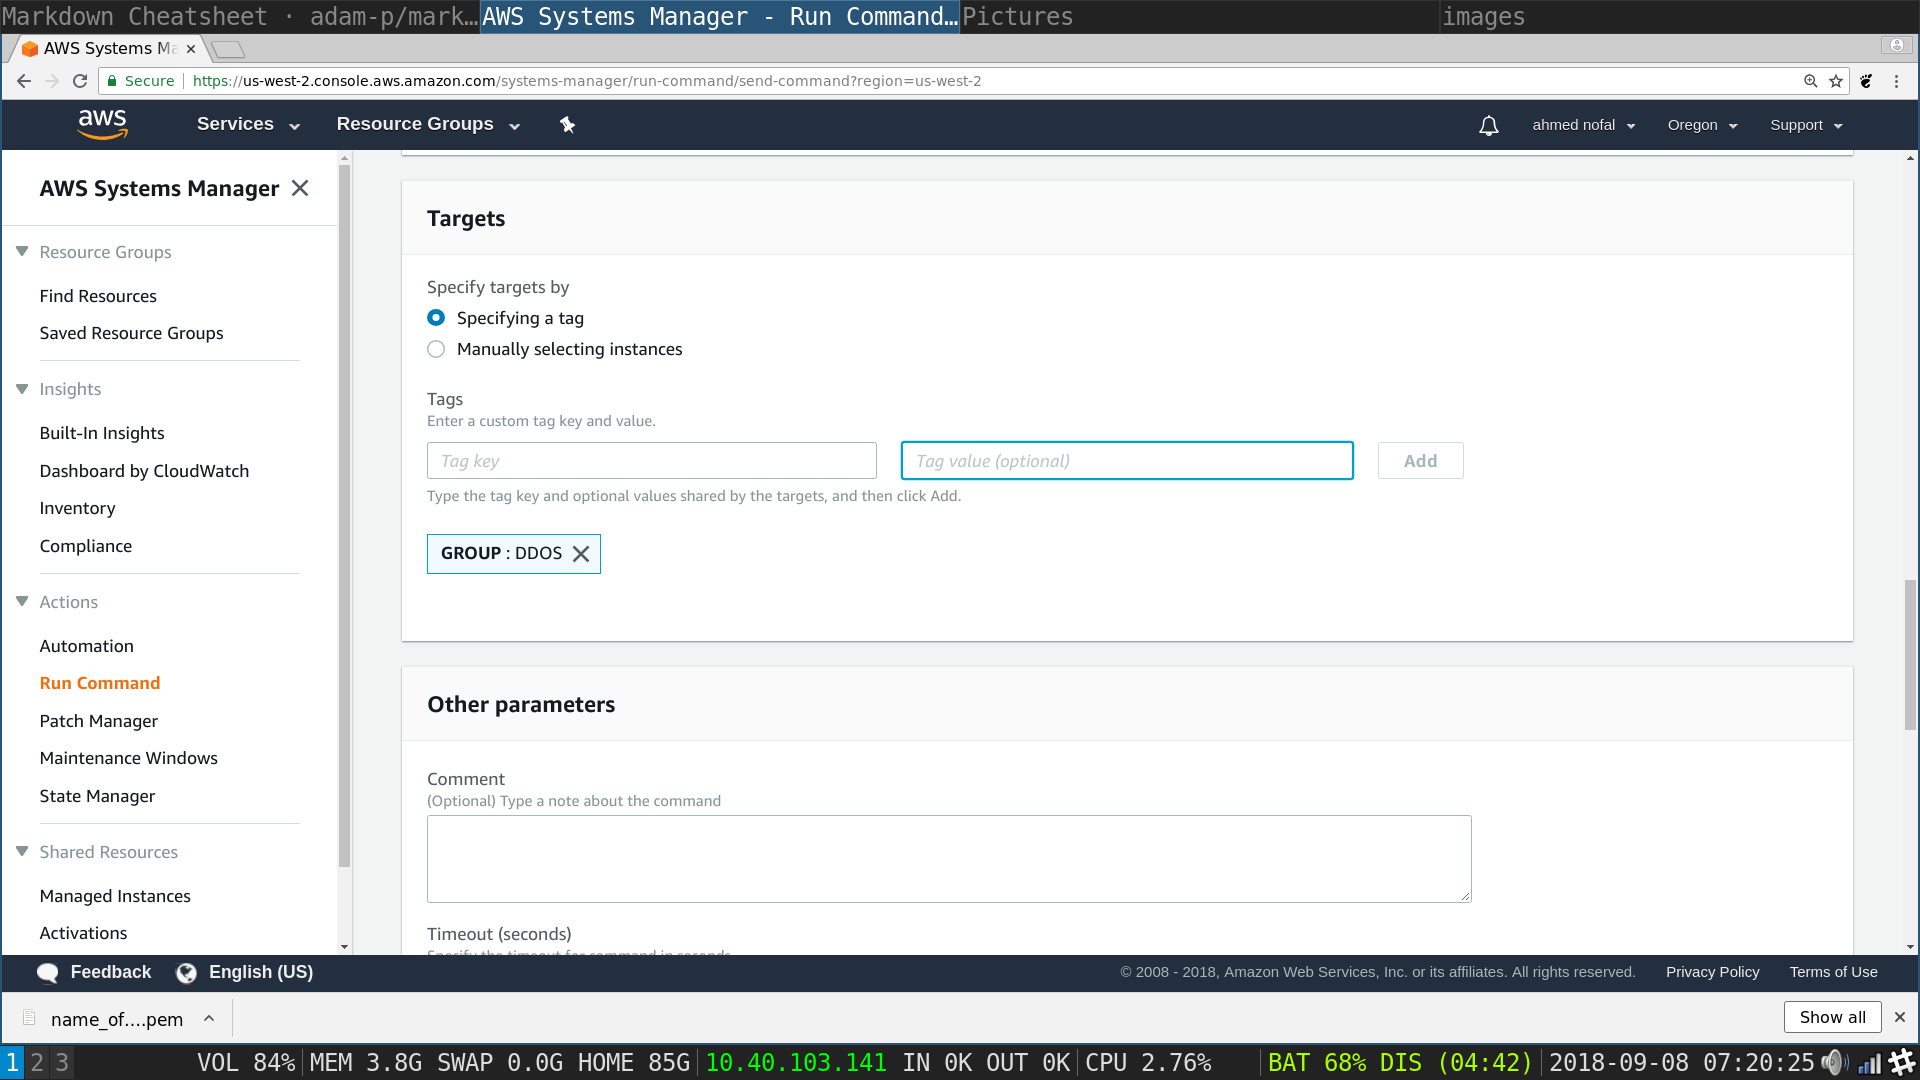
SSM Run Command: Type in the group tag key and value that you choose during the instances installation steps
- Scroll down to output options and check "Enable writing to an S3 bucket"
And choose the S3 bucket you previously created from the drop down menu -click on it and the name should show up, if it does not refresh the page and reapply all the steps again-
Scroll Down and hit run
- This should install all the software needed for the attack
SSM Run Command: Click on the command id to review output, this shows only one id, you will have n ids for n instances you included in the run, choose any of them they should be in the exact same replicated state
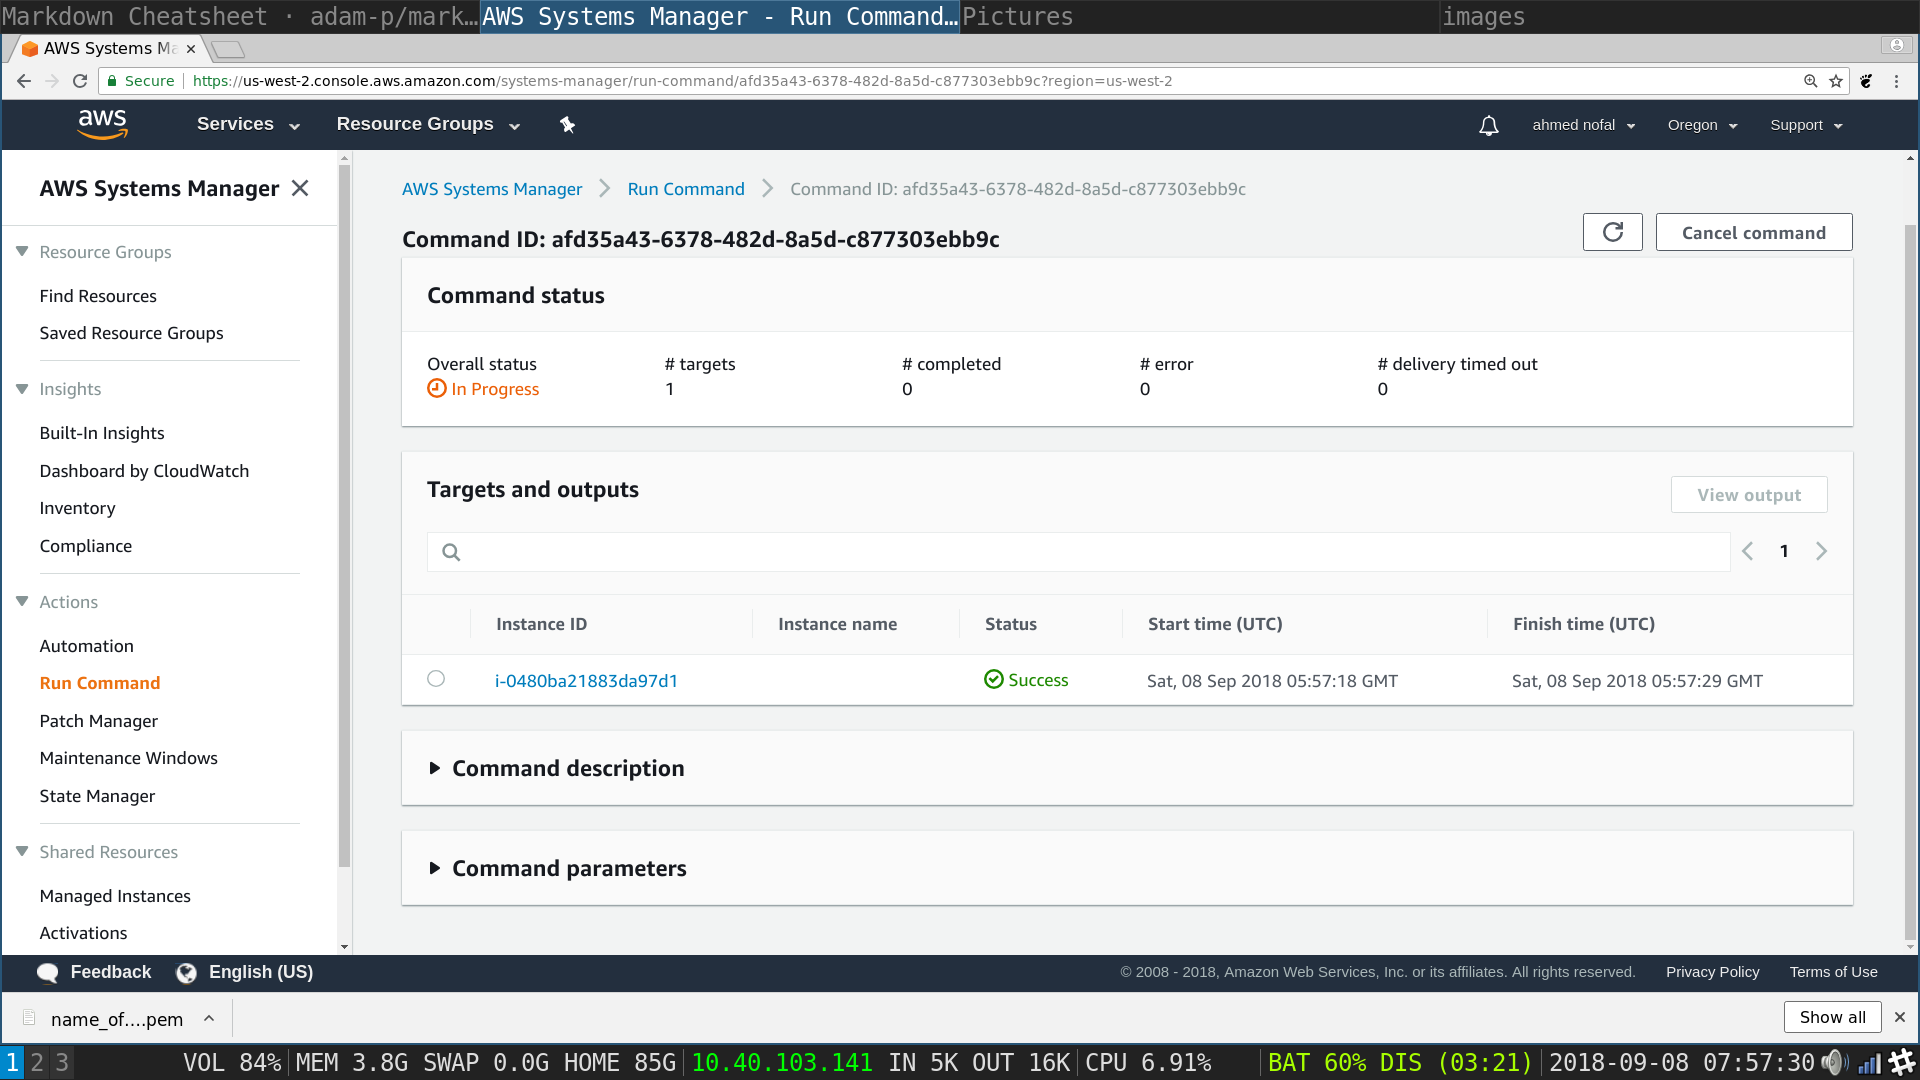
SSM Run Command: Click on output
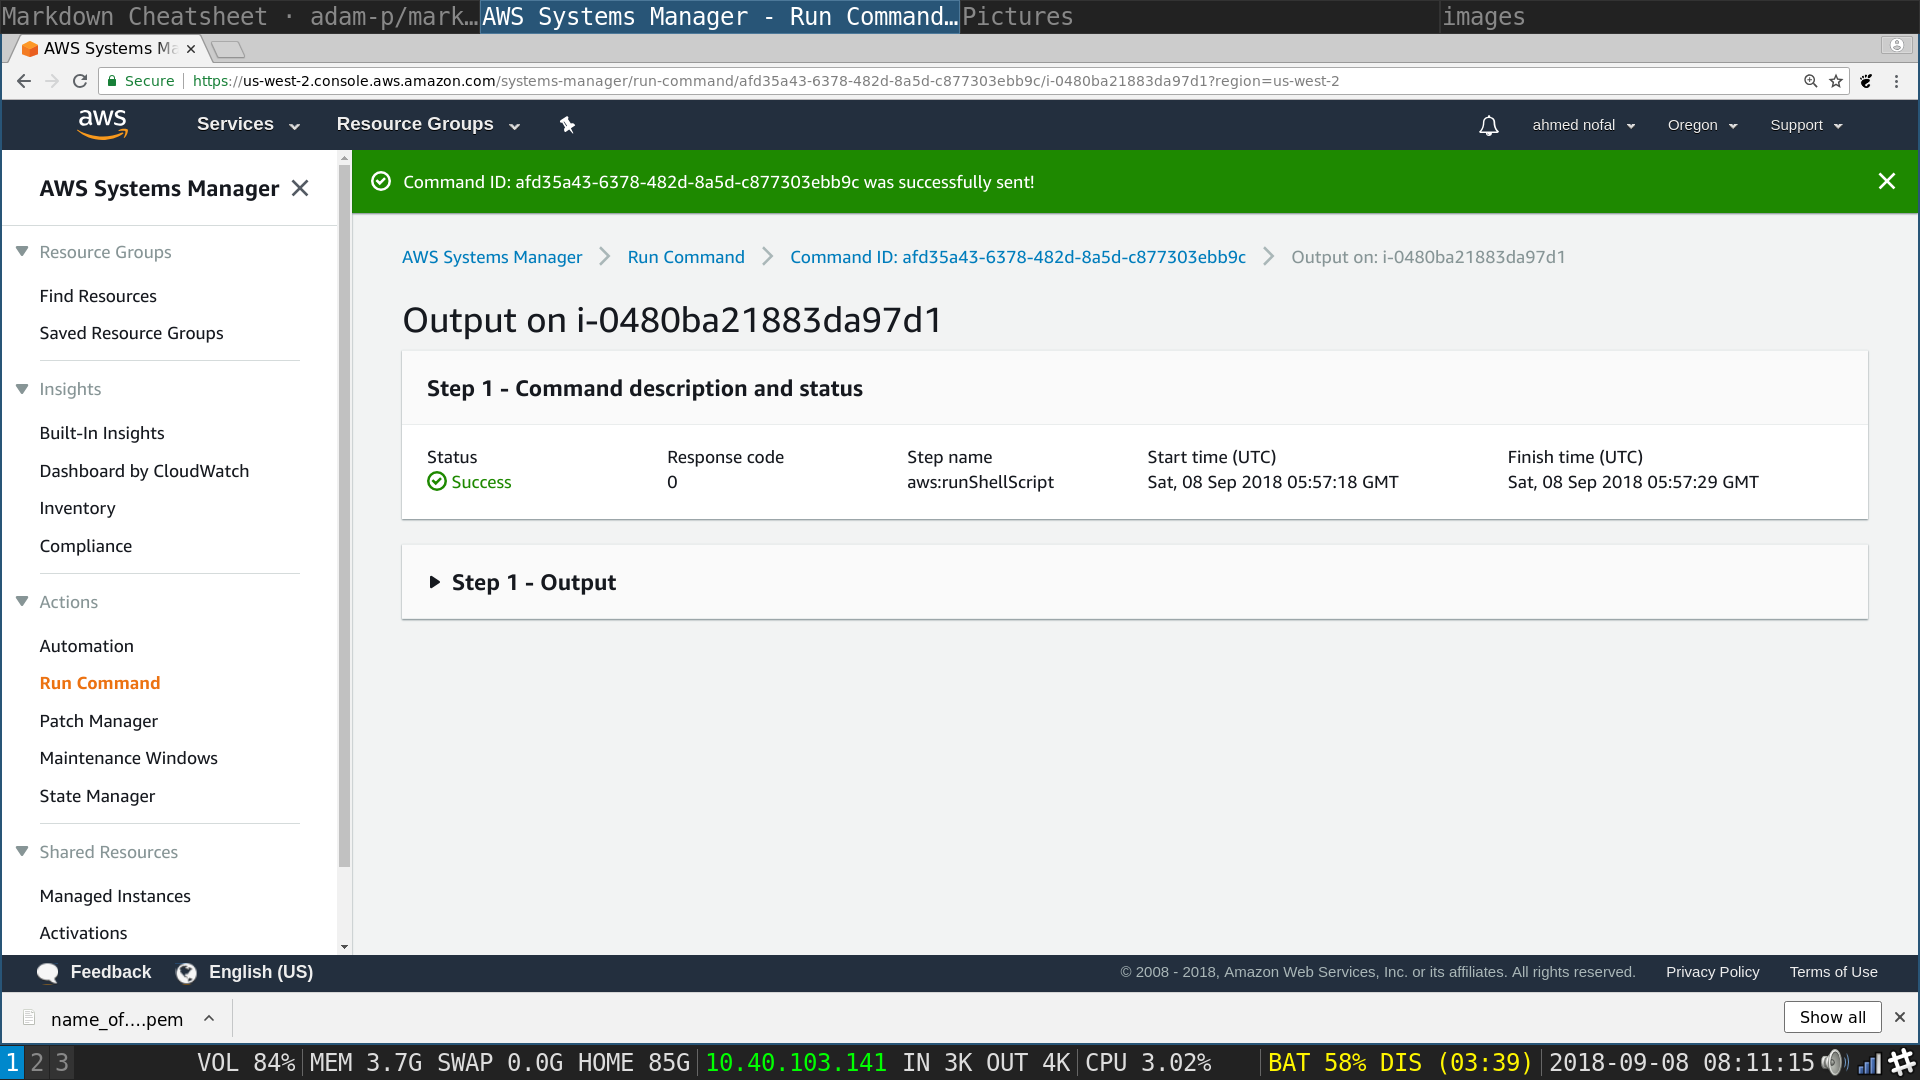
SSM Run Command: Click on Amazon S3 Hyper linked in blue
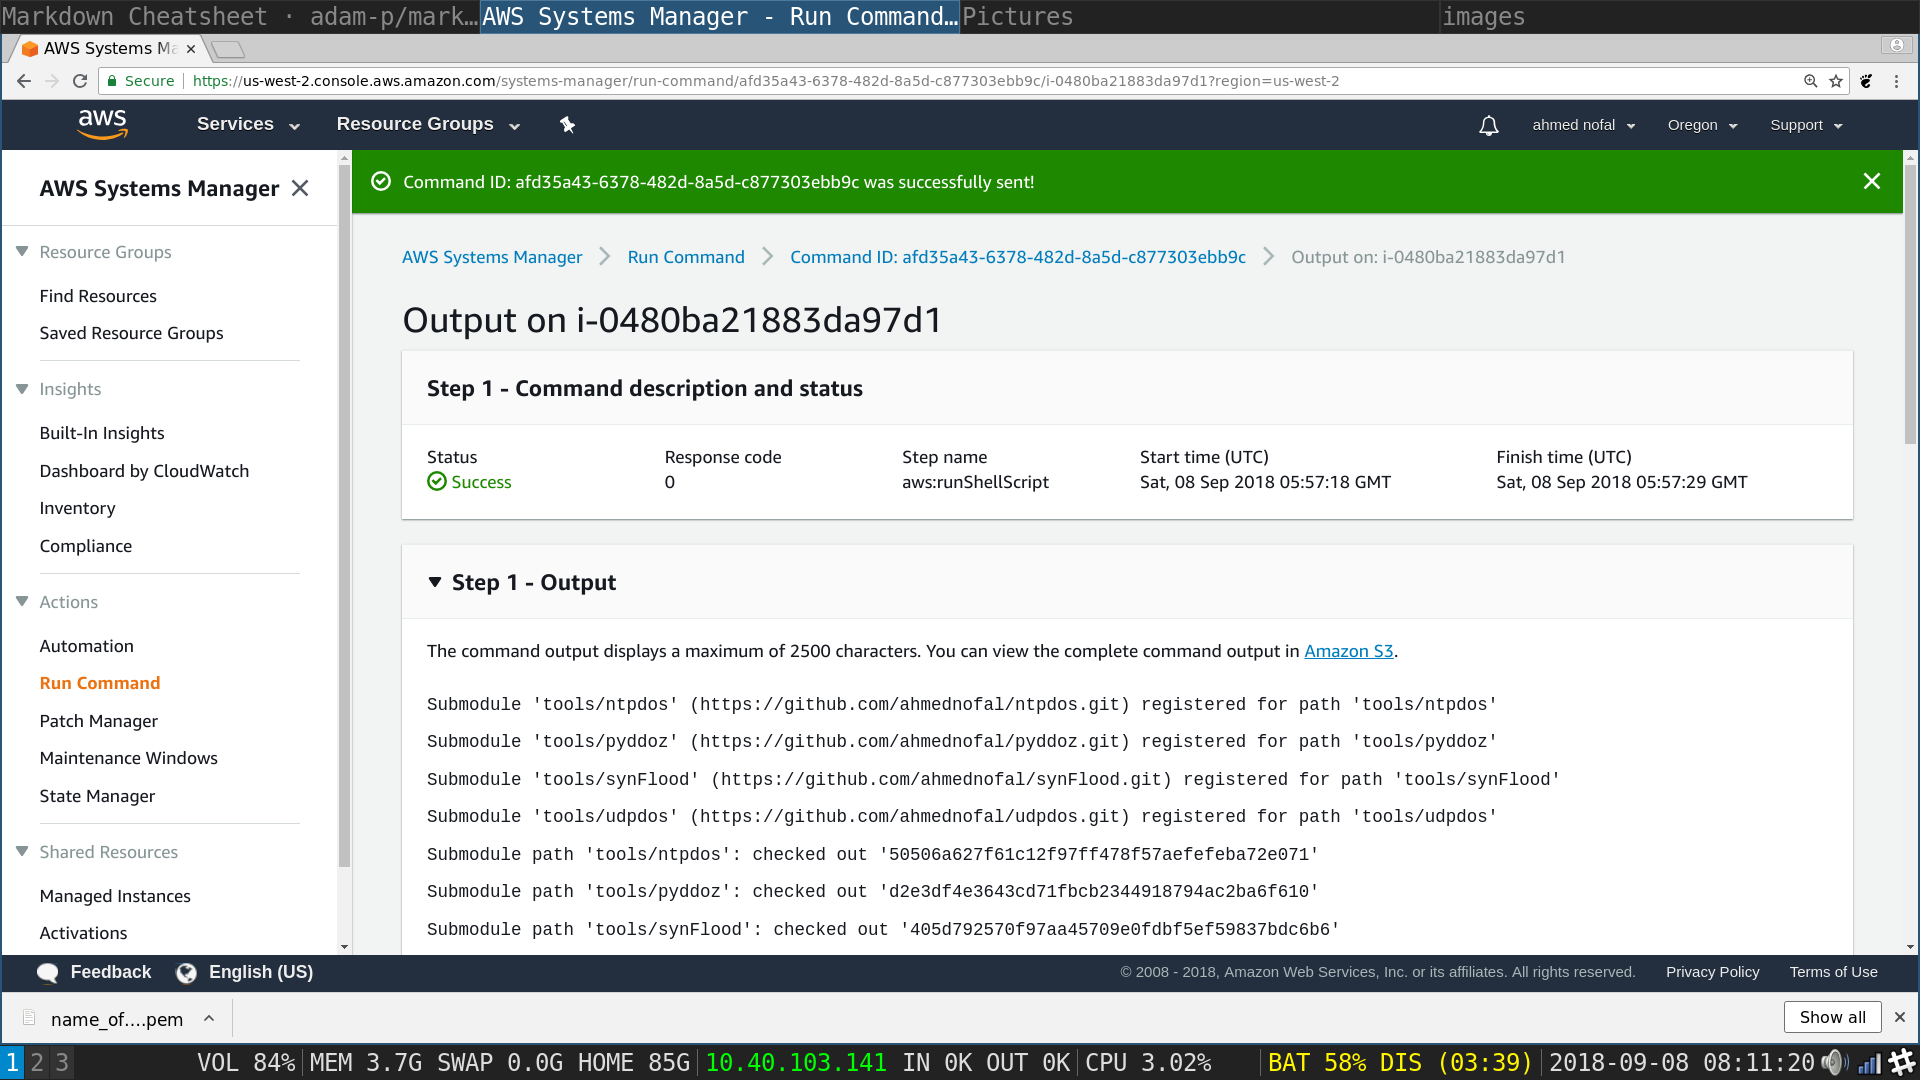
SSM Run Command: Click on the name of your bucket

SSM Run Command: Click on the output tab
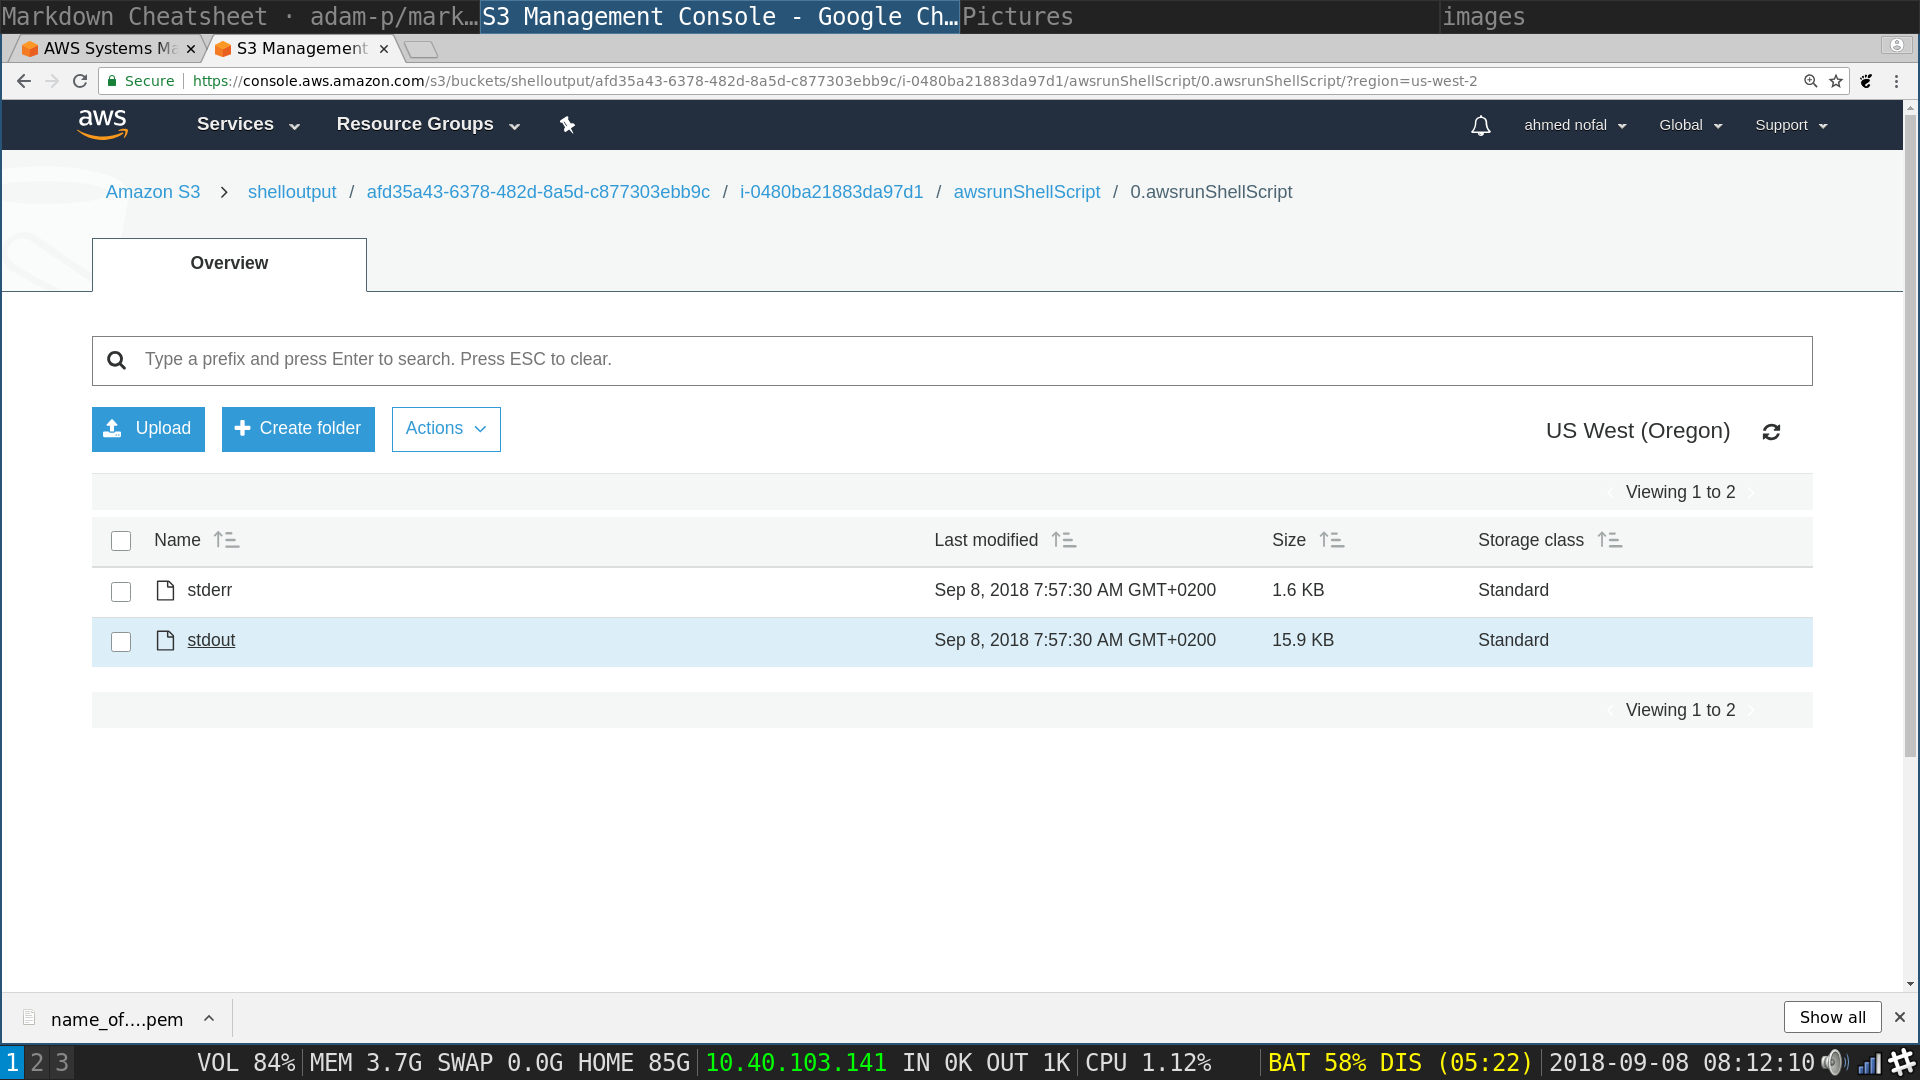
SSM Run Command: Click on 
It will open a txt file in the browser with all of the shell output in the instance you chose (which is just a reflection of all other instances)
It will not open if you do not allow pop ups from amazon in the browser
- Executing the ddos attack
Redo steps 7 to 10 except for the code portion that should be in the Commands txt box replace it with
ddos TARGET
Where TARGET is the url of the target (not IP) and including the portocol so you have to include http:// or https:// for instance at the beginning
And then continue with the rest of the steps
- Killing the attack
Redo steps 7 to 10 except for the code portion that should be in the Commands txt box replace it with
killddos
killpyddoz
killsyner