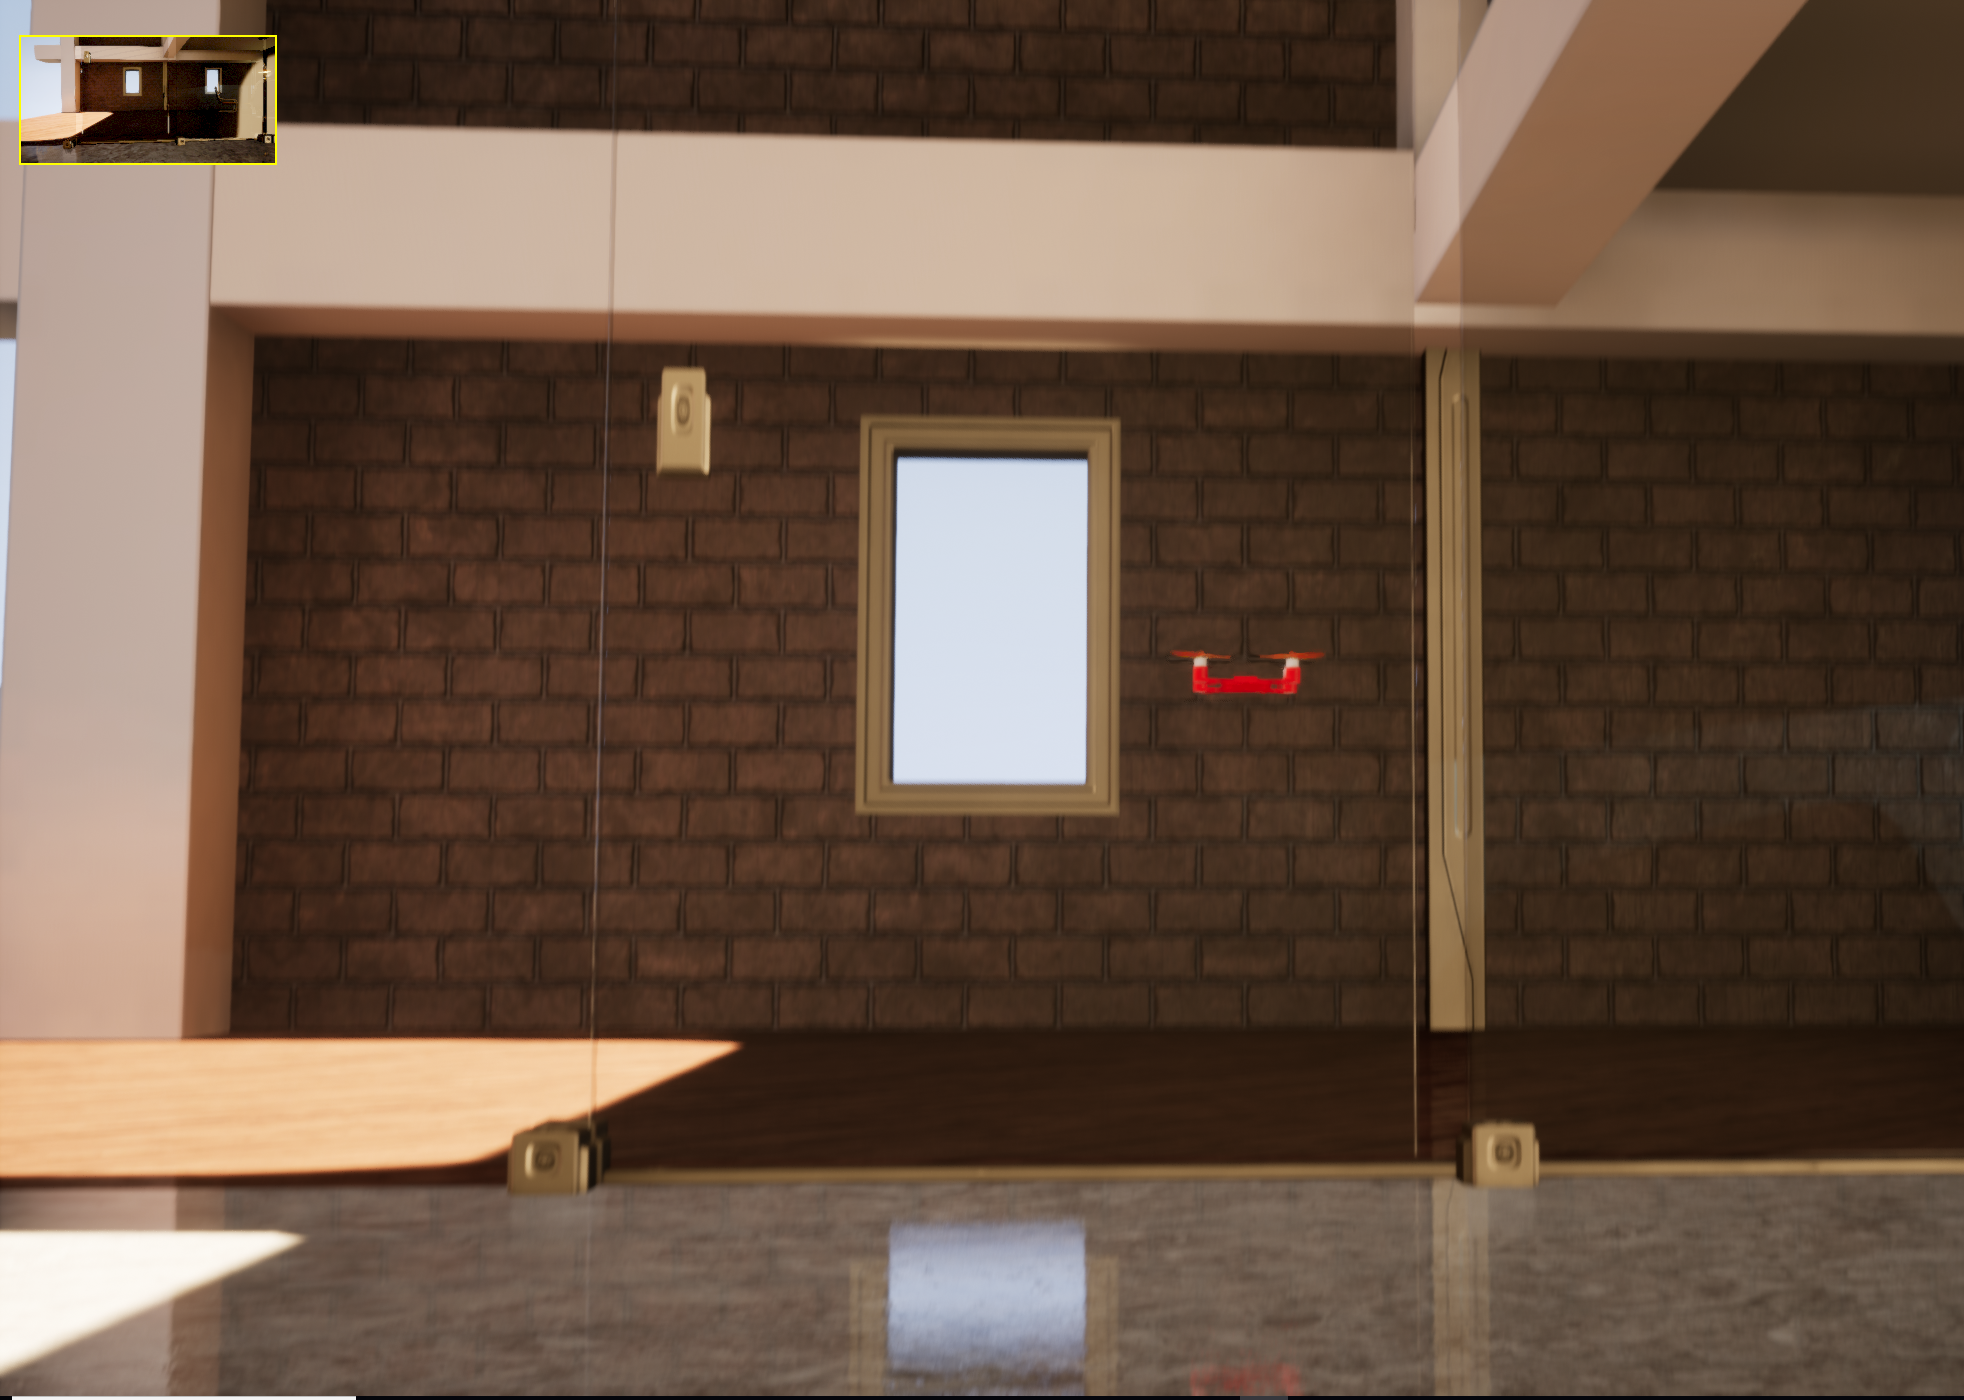
MulticopterSim is a simple multicopter flight simulator using Unreal Engine 4. It runs on Windows and Linux.
I began this project using the V-REP platform but switched to UnrealEngine after seeing the kinds of beautiful, real-time simulations that Microsoft was able to get with its AirSim program.
MulticopterSim differs from AirSim in a few important ways:
- MulticopterSim can be used with the same simple flight-control firmware that we fly on our real-world quadcopters.
- MulticopterSim is tiny, under 2,000 lines of code.
- MulticopterSim focuses exclusively on multirotor firmware, whereas AirSim supports deep learning and different kinds of vehicles.
I am currently developing MulticopterSim on an HP Z440 workstation with 32GB RAM and NVIDIA GeForce GTX 1080 Ti. It may however be possible to develop on a less “loaded” machine – see here for the minimum requirements recommended by Unreal Engine.
For a realistic flying experience, you will also likely want some sort of game controller or R/C transmitter. MulticopterSim currently supports the following controllers through the Joystick class:
- PS4 controller
- XBox 360 controller
- XBox 360 controller clone
- PS3 controller clone
- Logitech Extreme Pro 3D joystick
- Logitech F310 gamepad
- FrSky Taranis TX9 RC transmitter with mini USB cable
- Spektrum transmitter with WS1000 wireless simulator dongle
- Great Planes RealFlight Interlink
You will need Unreal Engine 4 (UE4). I am attempting to use the latest version, which as of the time of this writing is UE4.24. To install UE4, follow these instructions.
Although MulticopterSim is designed to work with any flight-control software you like, it easiest to get started with the Hackflight software. So to get started, you should do the following:
-
Clone the master branch of this repostitory (MulticopterSim) into your Documents/Unreal Projects folder, first creating that folder if it doesn't exist.
-
Clone the HackflightModule branch of the repository onto your desktop, rename it FlightModule, and drag the FlightModule folder into the MulticopterSim/Source folder.
-
Clone the Hackflight repository into your DocumentsArduino/libraries folder, first creating that folder if it doesn't already exist. (You don't need to install Arduino; this is simply where MulticopterSim looks for the Hackflight software.)
-
Follow the next steps to complete the build on your OS.
-
Right-click on the MulticopterSim.uproject file and select Generate Visual Studio project file to generate a .sln file
-
Double-click on the resulting MulticopterSim.sln file to launch VisualStudio. The first time you do this, you may have to wait a few minutes while Visual Studio parses up all of the UE4 files needed to build the project.
-
In VisualStudio, hit the F5 key to build the project and launch UnrealEditor.
% cd ~/Documents/Unreal\ Projects/MulticopterSim/
% ./build.sh
% ./run.sh
In UnrealEditor, select one of the maps in Content/Flying/Maps. Then in Content/C++ Classes, open the FlightModule folder and drag the vehicle pawn into the map. Click the play button and you're ready to begin. You can use the 1,2,3 keys to switch your point-of-view.
The core of MulticopterSim is the abstract C++ FlightManager class. This class provides support for running the vehicle dynamics and the PID control regime (e.g., Hackflight) on its own thread, after it first disables the built-in physics in UE4. The dynamics we used are based directly on the model presented in this paper, written as a standalone, header-only C++ class that can be easily adapted for other simulators and applications if desired. This class also supports different frame configurations (quadcopter, hexacopter) via virtual methods. By running the FlightManager on its own thread, we are able to achieve arbitrarily fast updates of the dynamics and flight-control. It would also be possible to run the dynamics and control on separate threads, though we have not yet found it advantageous to do that.
The FlightManager API contains a single virtual getMotors method that accepts the current time and the state of the vehicle (as computed by the dynamics), and returns the current motor values. The motor values are then passed to the dynamics object, which computes the new vehicle state. On the main thread, UE4's Tick() method queries the flight manager for the current vehicle pose (location, rotation) and displays the vehicle and its environment kinematically at the 60-120Hz frame rate of the game engine. In a similar manner, the Camera class can be used to process the images collected by a simulated gimbal-mounted camera on the vehicle, using a library like OpenCV (see below). Computer-vision algorithms running in a Camera subclass can then be used as input to the PID control running in the FlightManager. The following figure illustrates this arrangement, using a traditional cascade-control (slow outer loop / fast inner loop) diagram:
In addition, an abstract, threaded C++ TargetManager class supports modeling interaction with other moving objects having their own dynamics; for example, in a predator/prey scenario.
This folder contains an example of how you can control MulticopterSim from a Matlab session running on your computer or another computer.
This folder contains an example of how you can control MulticopterSim from a Python session running on your computer or another computer.
To enable projects using machine vision, MulticopterSim includes support for the popular OpenCV package. To get started using OpenCV with MulticopterSim, you should do the following:
-
Clone the OpenCVModule branch of the repository.
-
After building the game, copy the file opencv_world340.dll from the ThirdParty/OpenCV/Libraries/Win64/ to Binaries/Win64/.

