This folder has a wealth of information about the robotnik kit we're working with including information about how the basic circuits work.
This guide will show you the basics of using robotnik. To see more, look at the readme file in the exercises folder.
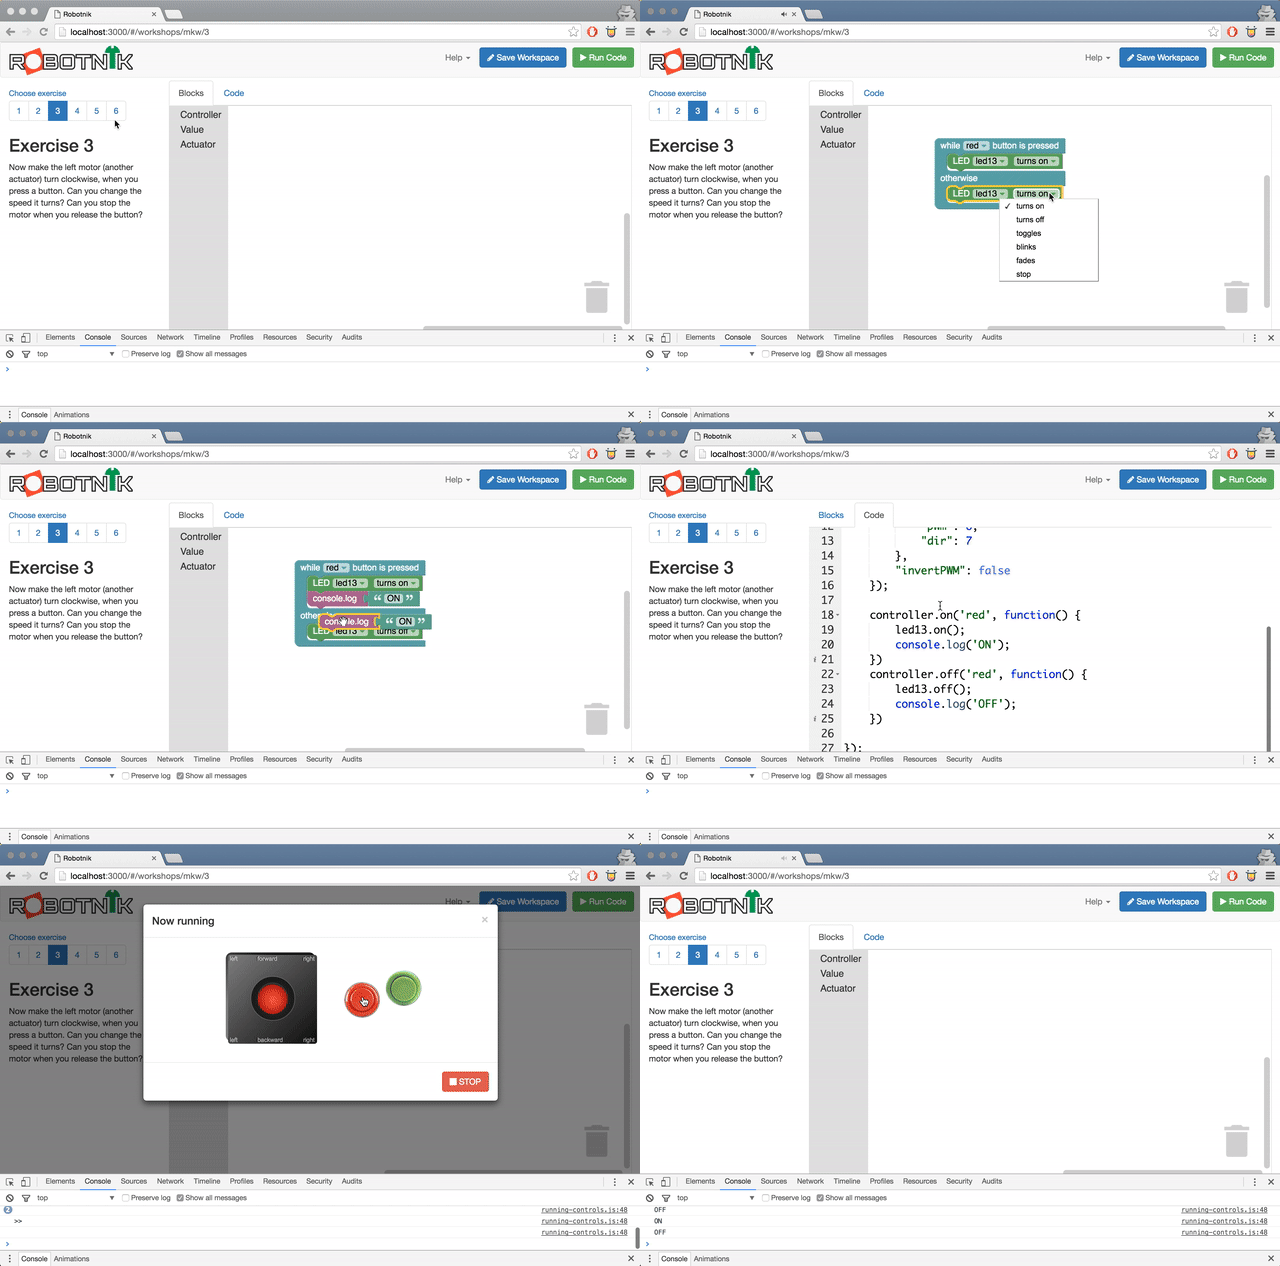
The gif below will show you a super fast view of how the interface works. The rest of this readme guide will explain it in detail.
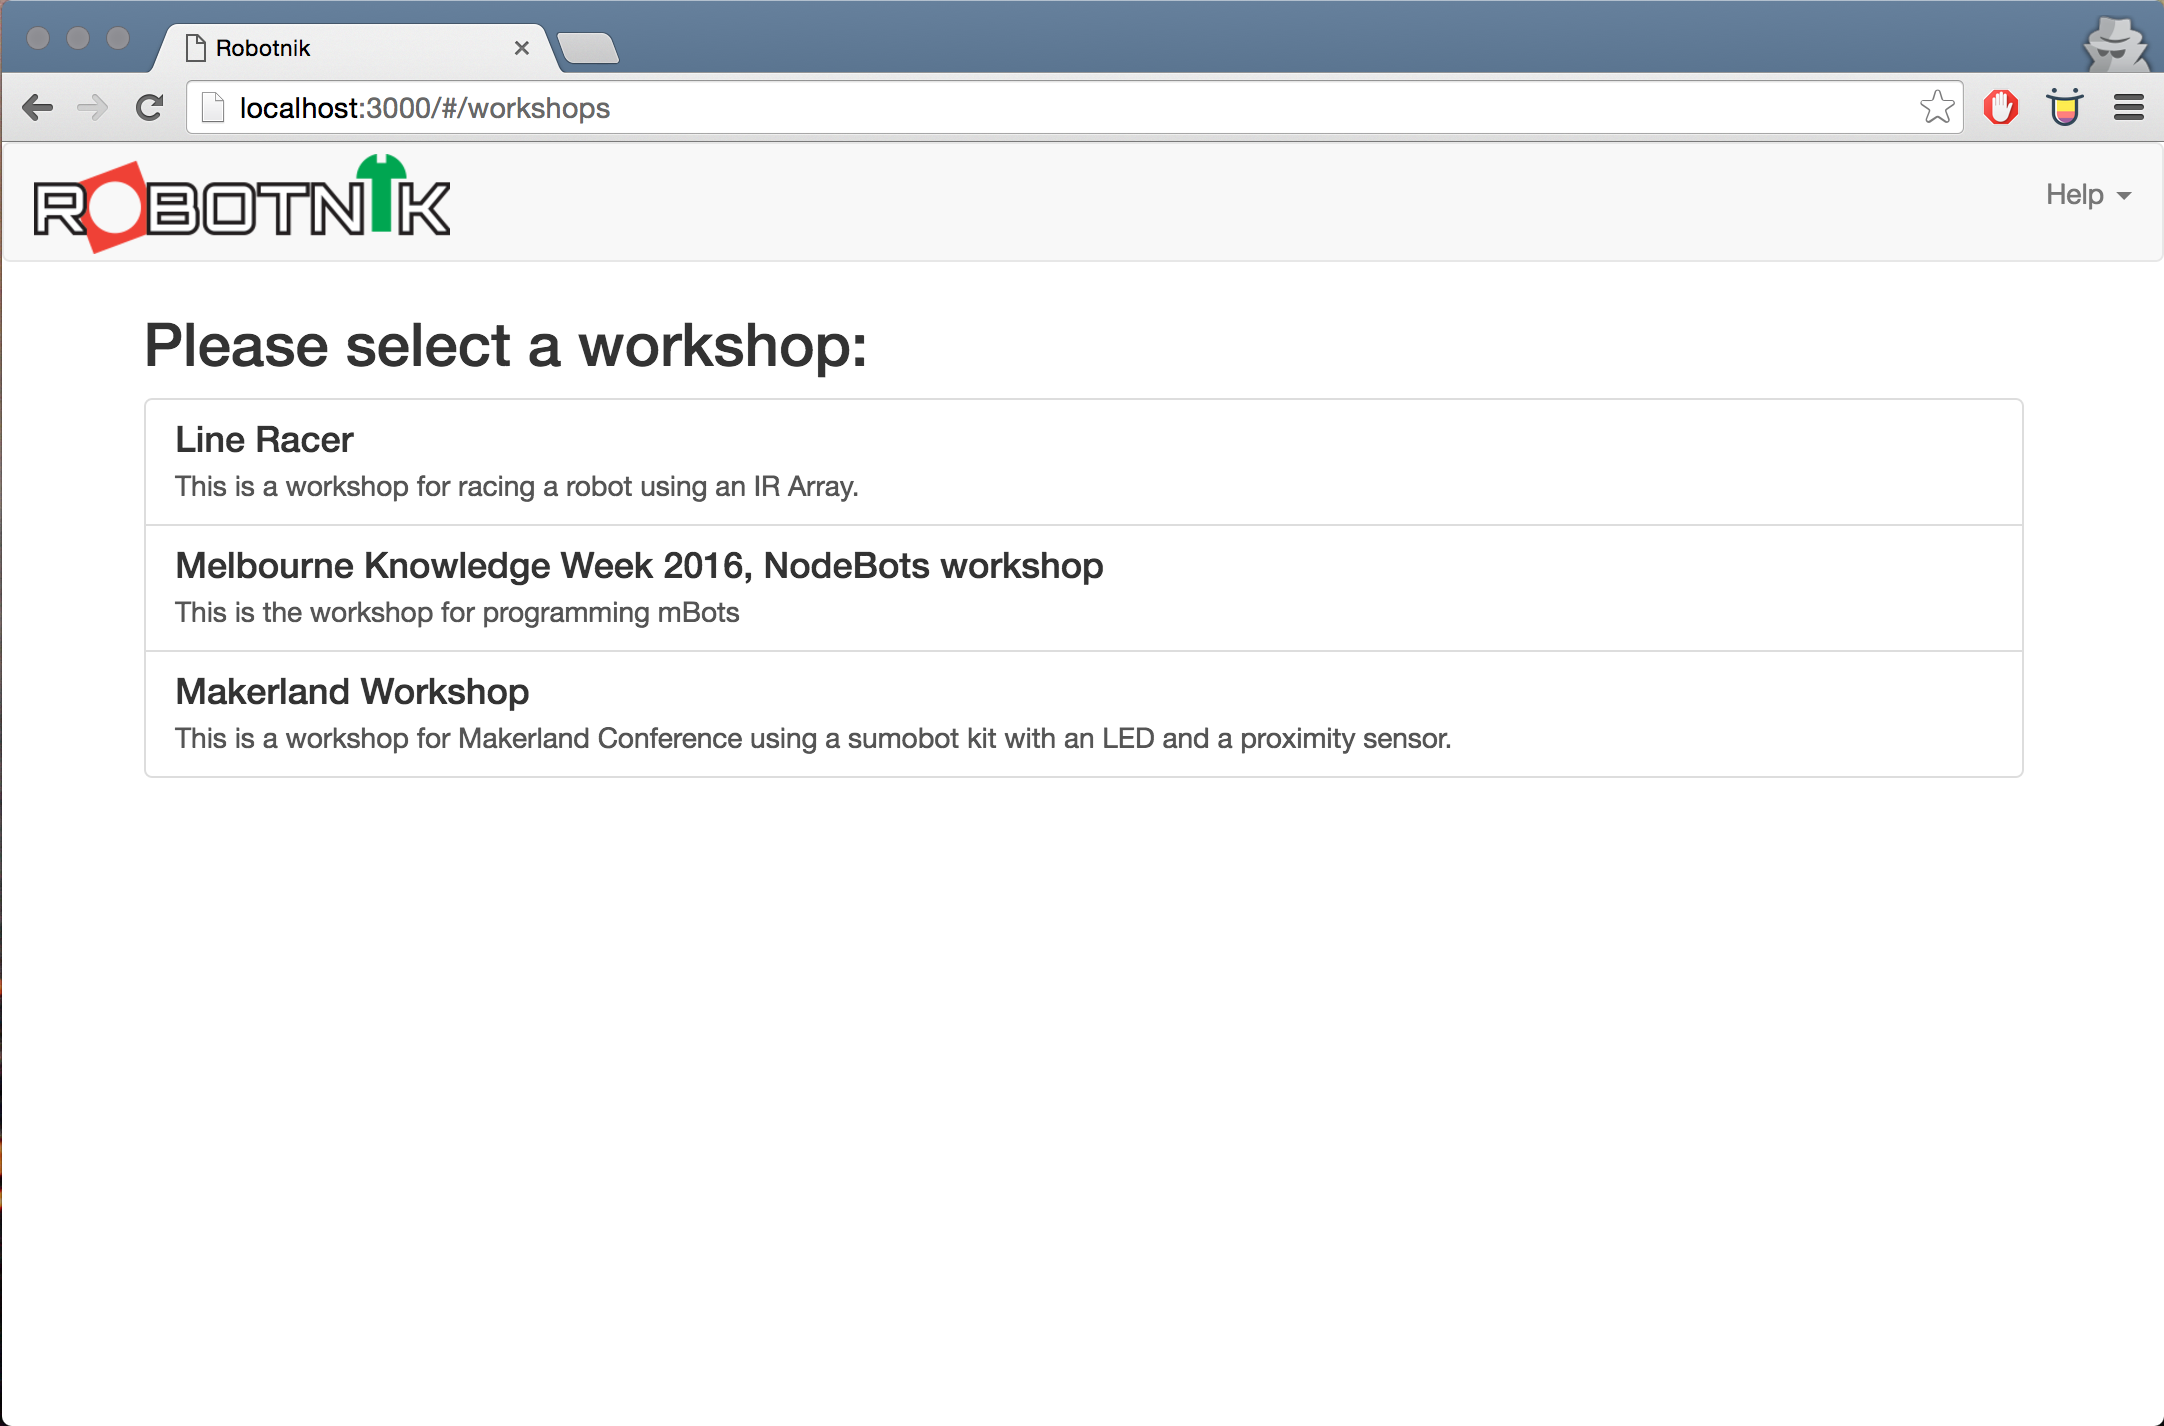
This should be up and running on your machine. You can tell if it's working by running http://localhost:3000 from your development machine. If it's working you'll see the workshop selection screen.
Choose the workshop and you'll drop into Exercise 1 with your code workspace.
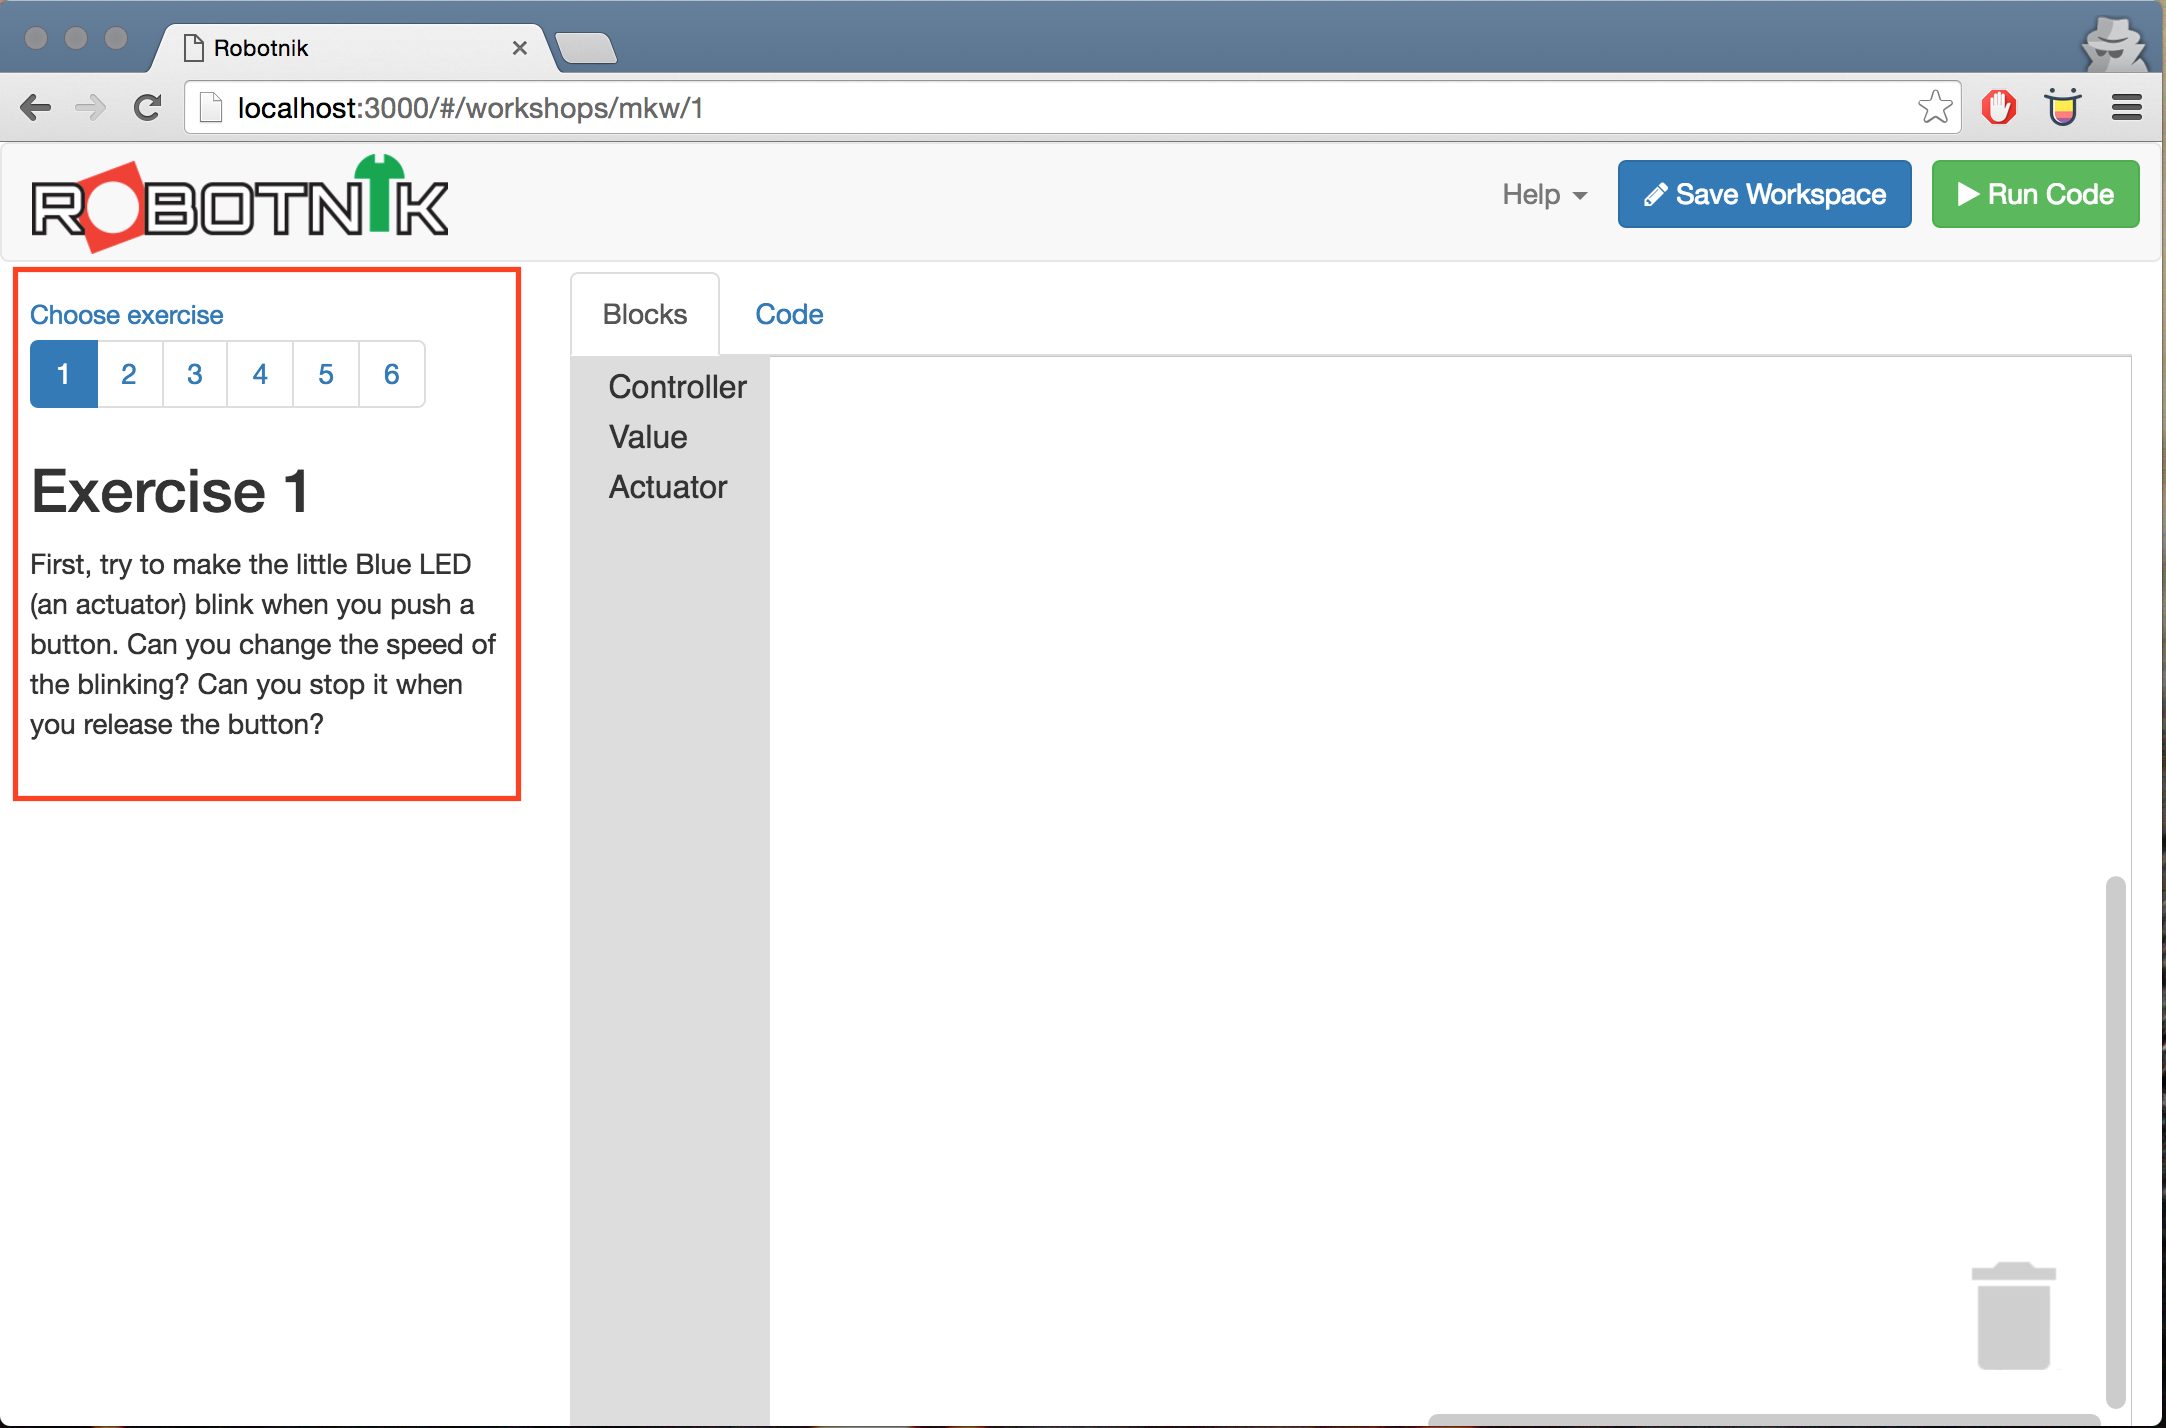
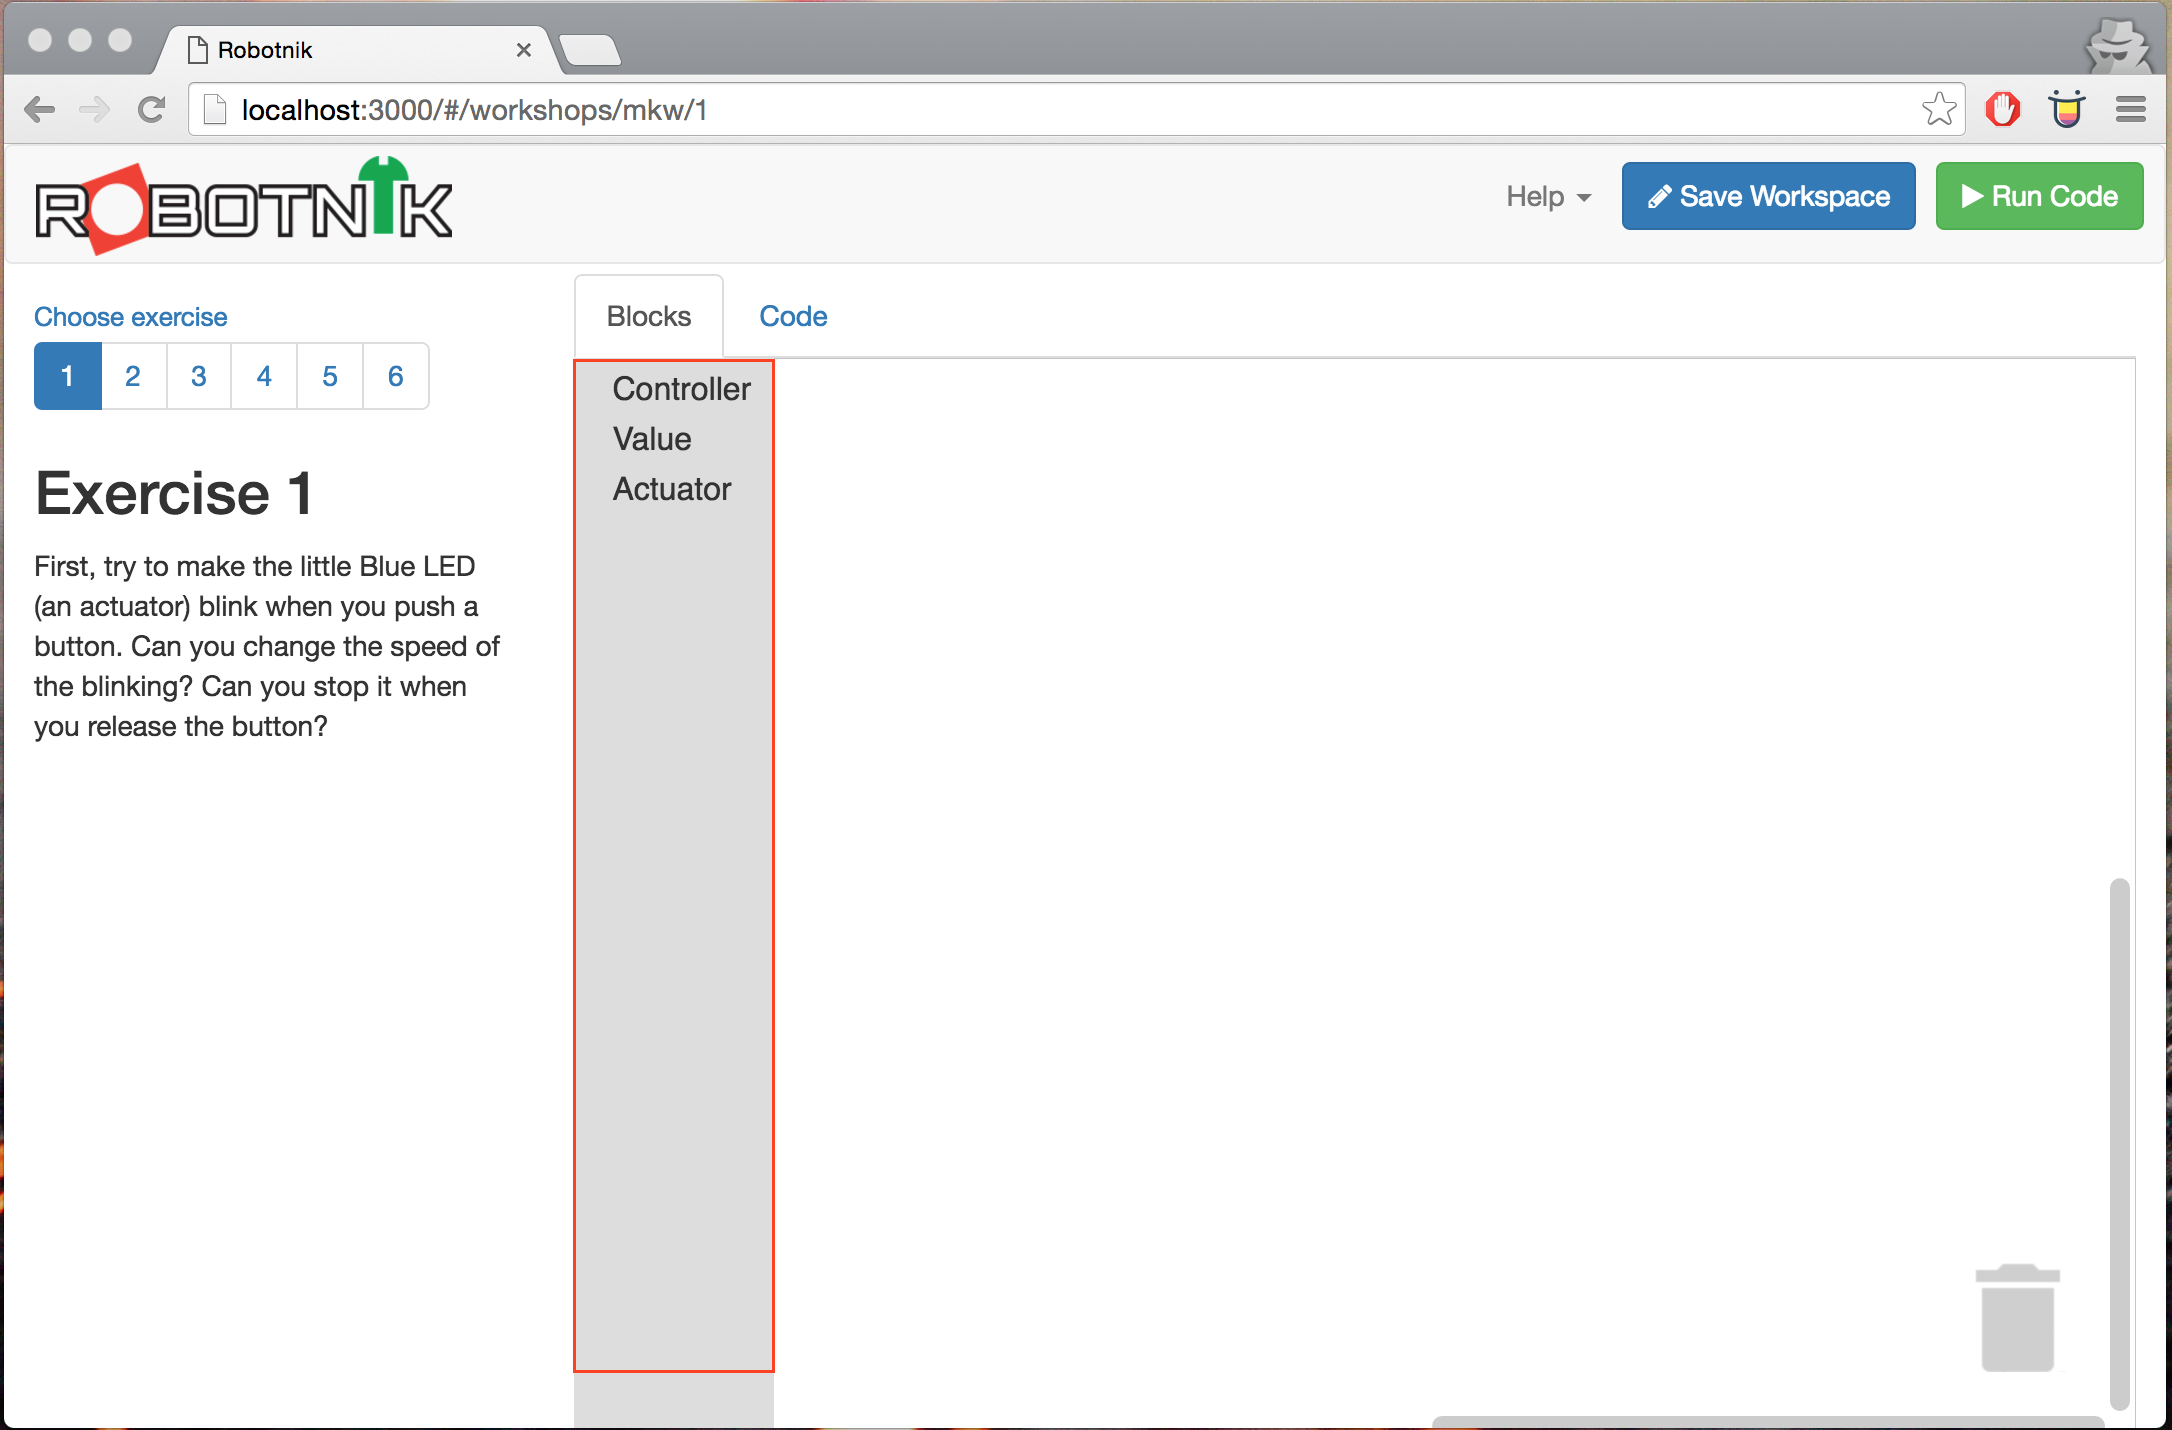
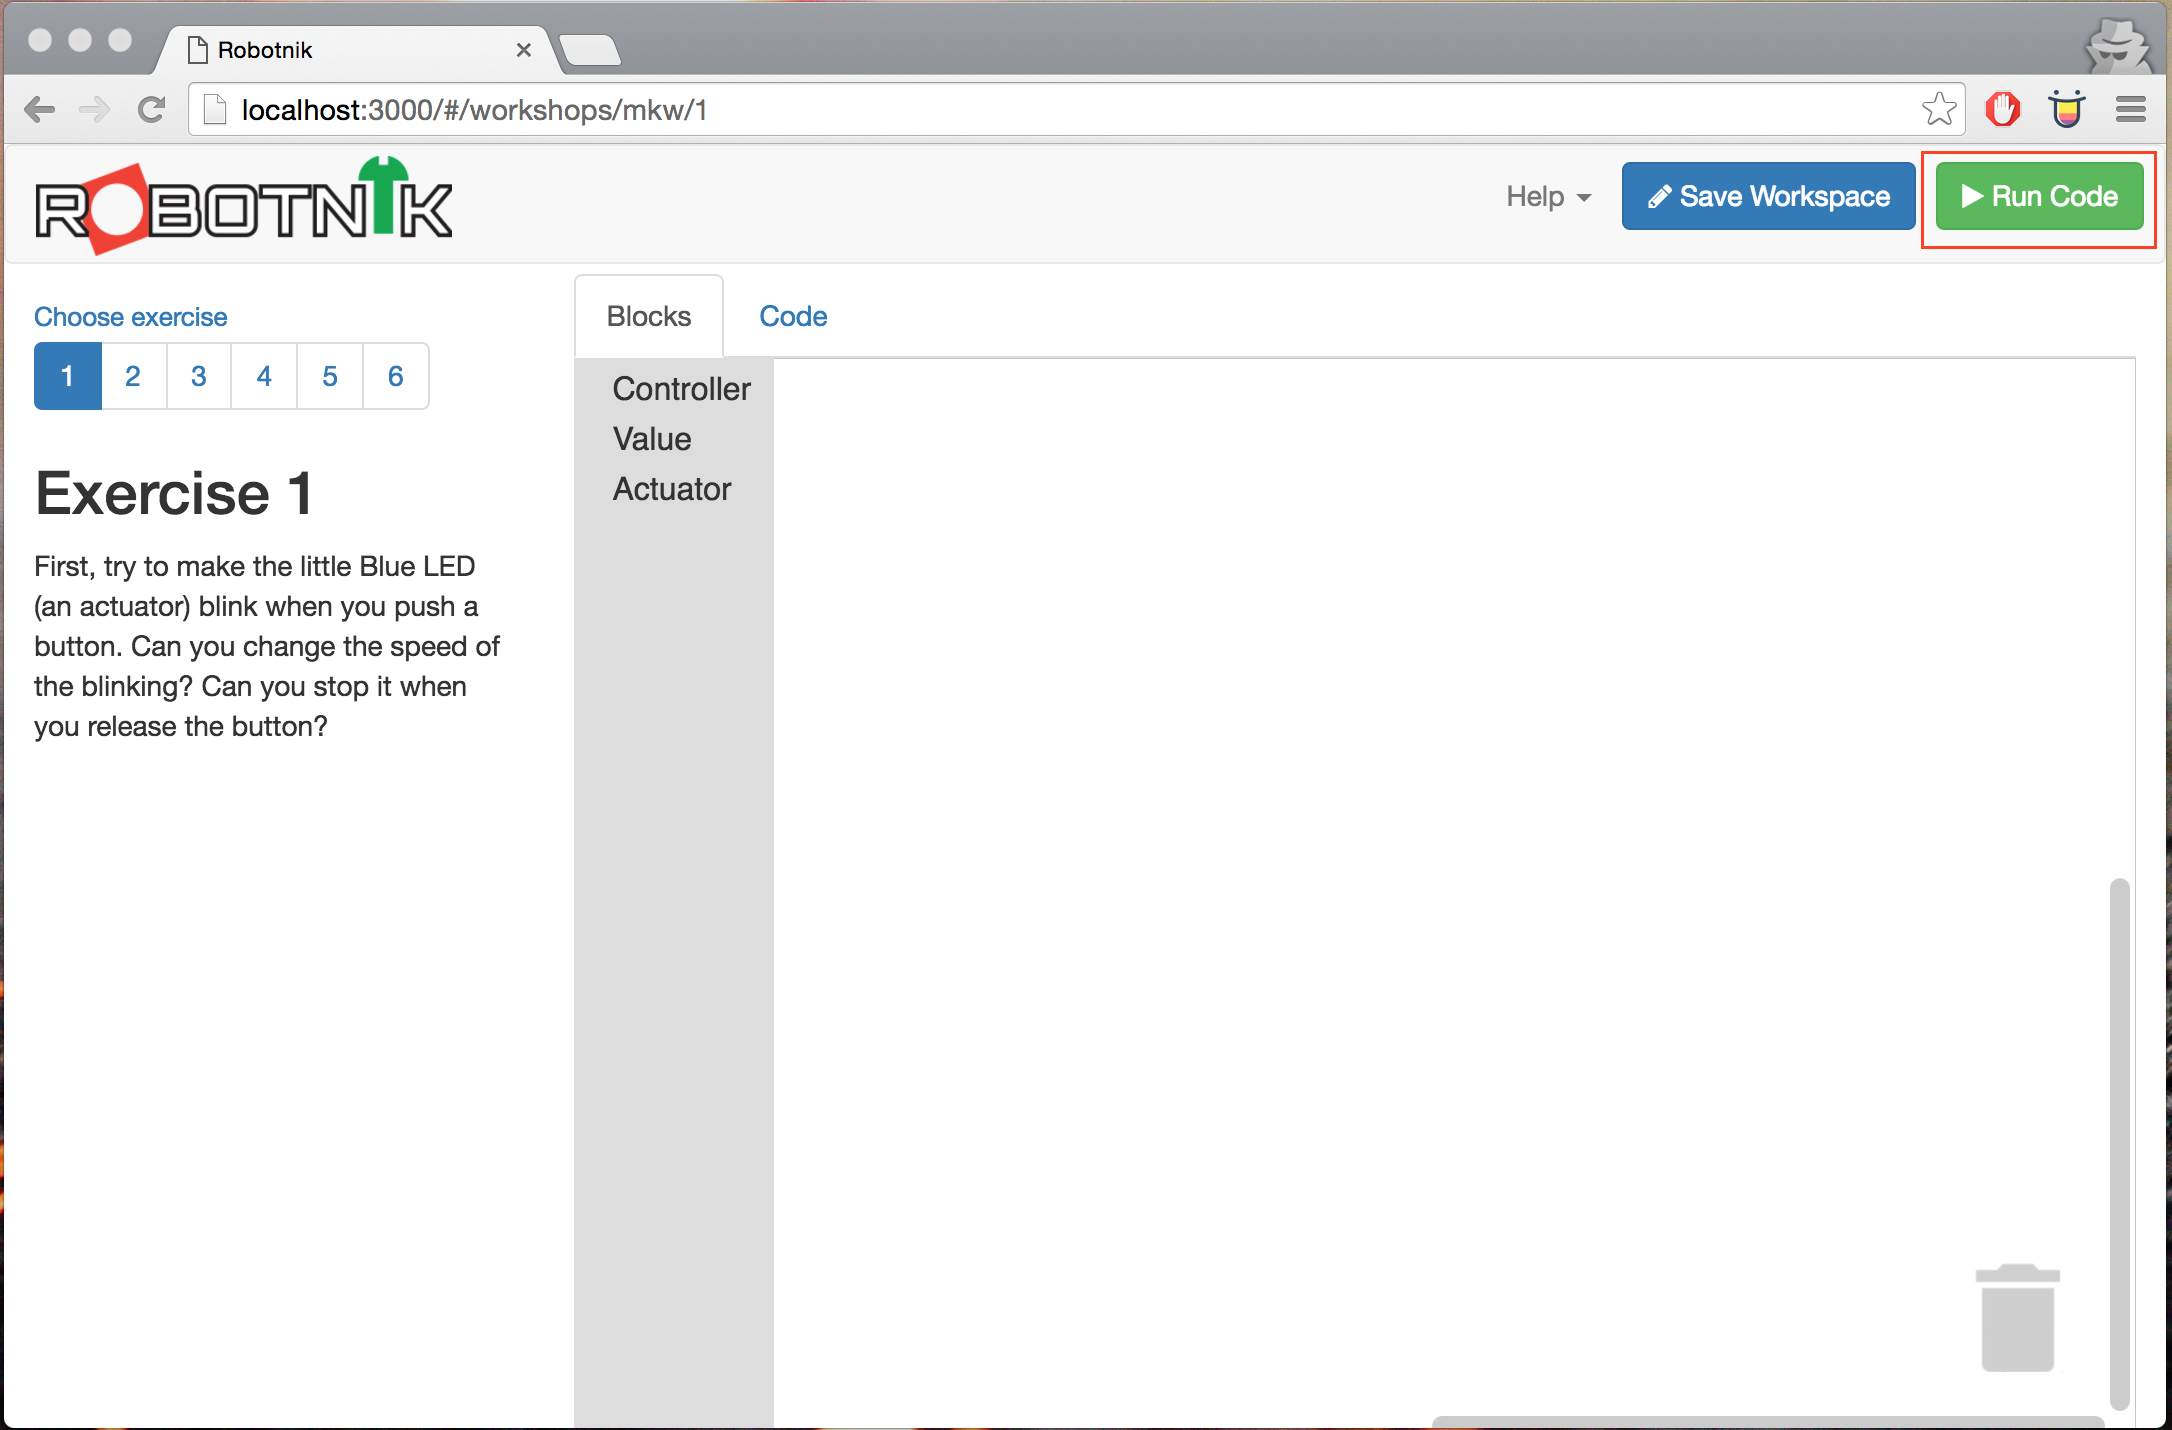
The key aspects of the workspace are highlighted below.
Exercises can be selected from the list on the left. They have instructions as to the goals and an exercise will determine what components you have available to build with.
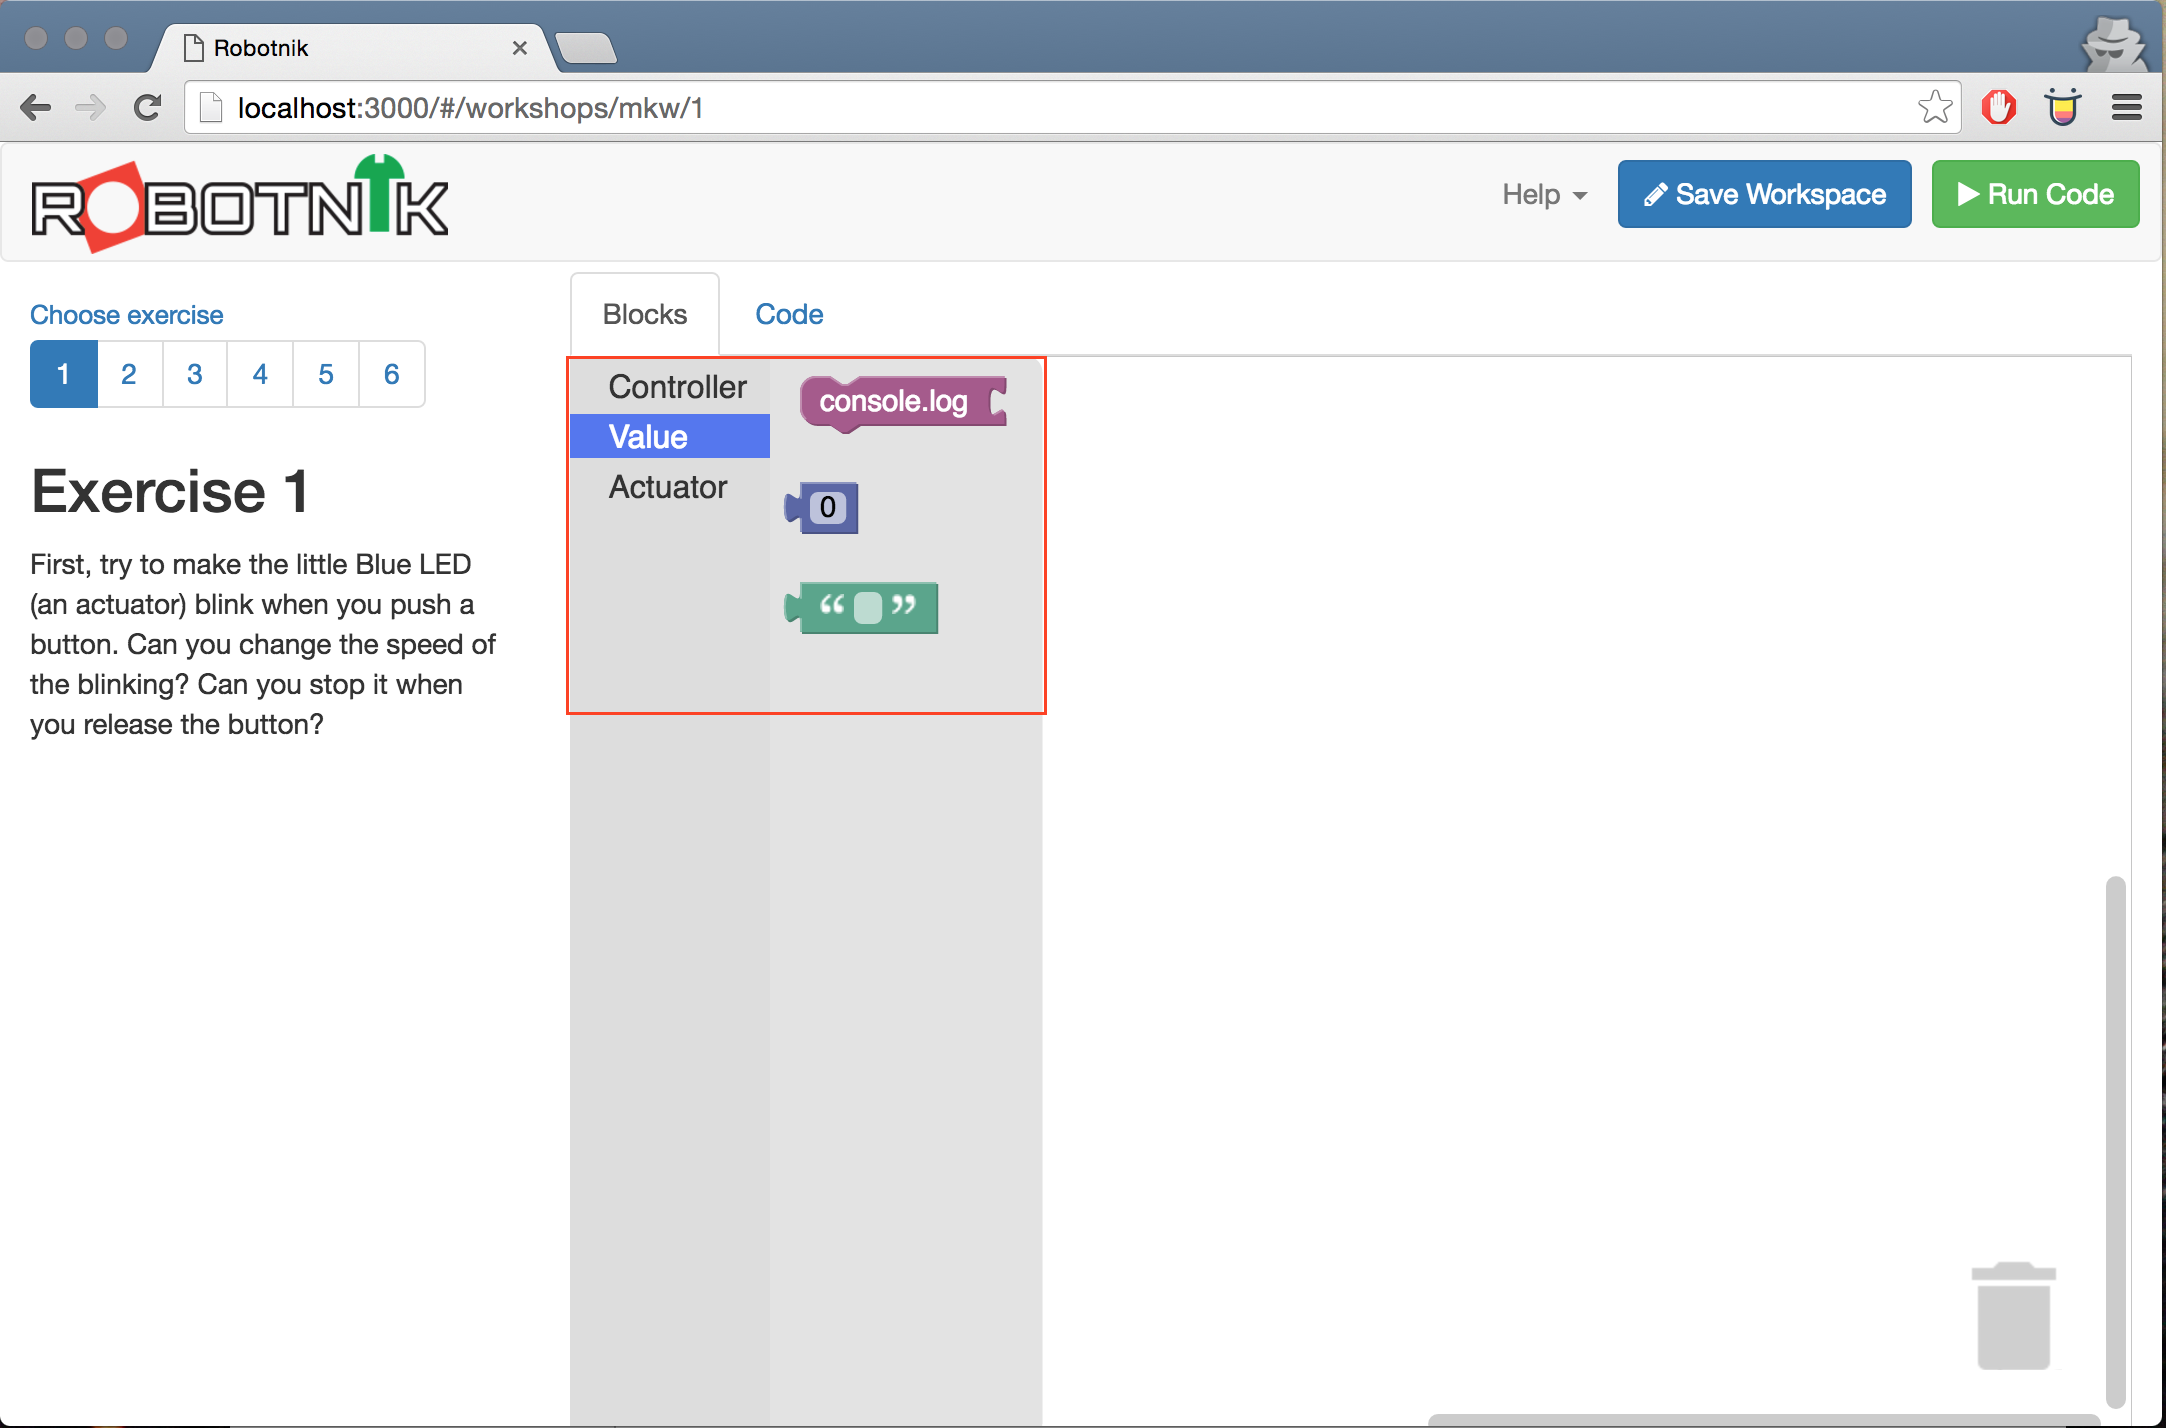
Inside the workspace is the toolbox. This toolbox has components that you can drag onto the main window to compose your code.
Select a category of blocks you want to choose from and you can see the available blocks.
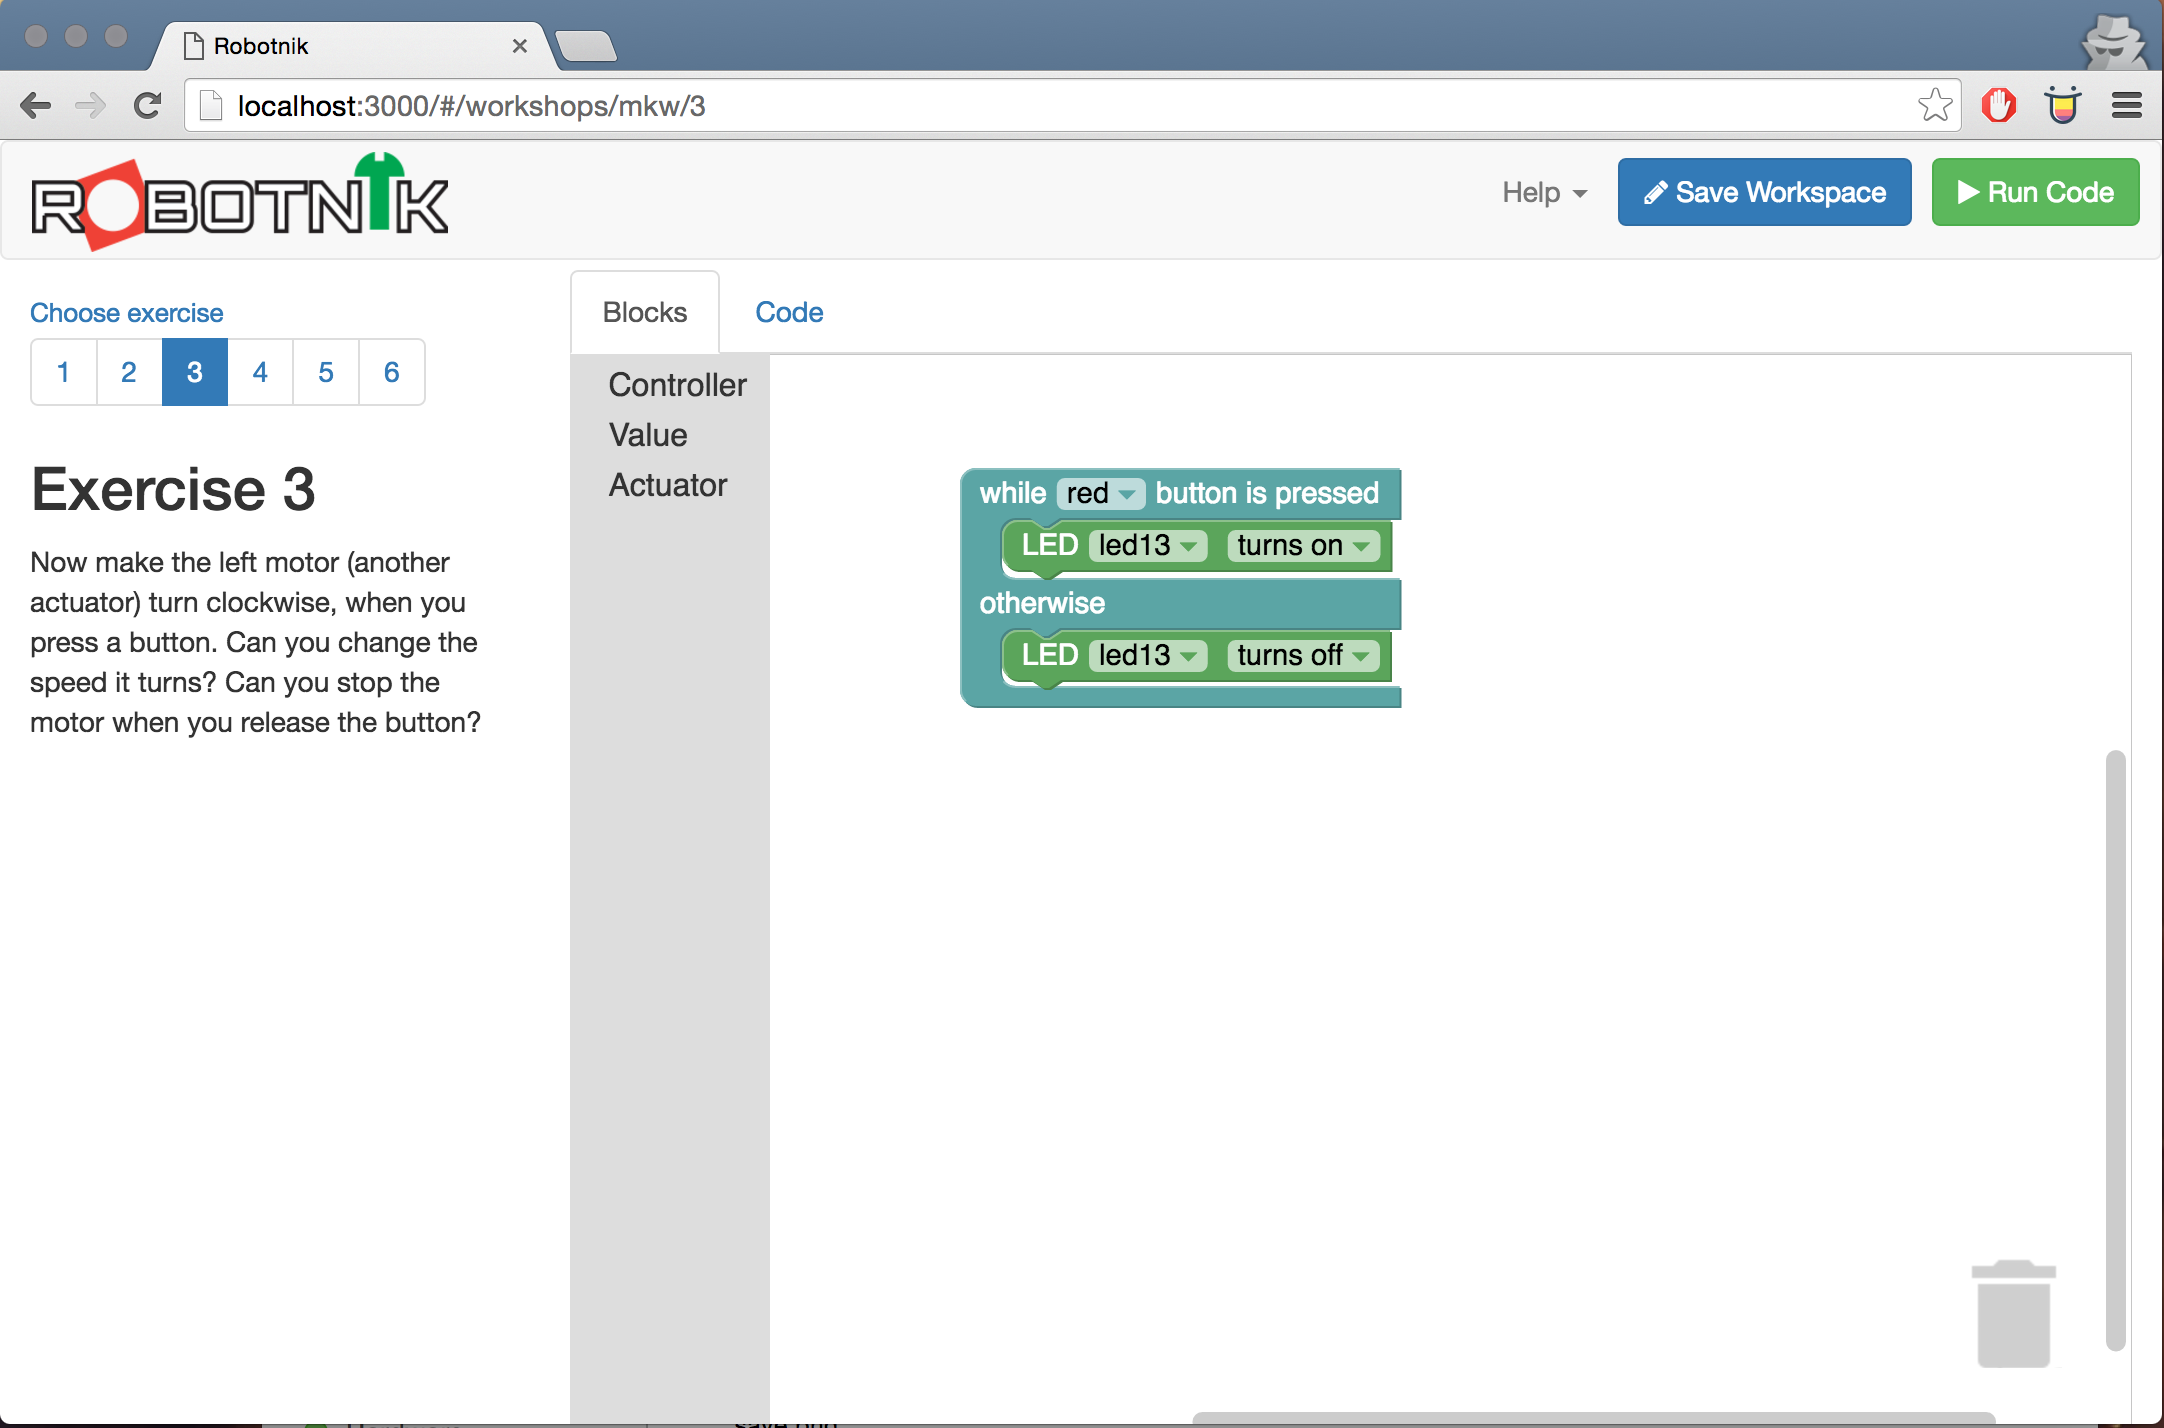
Then grab a block and drag it to the main workspace.
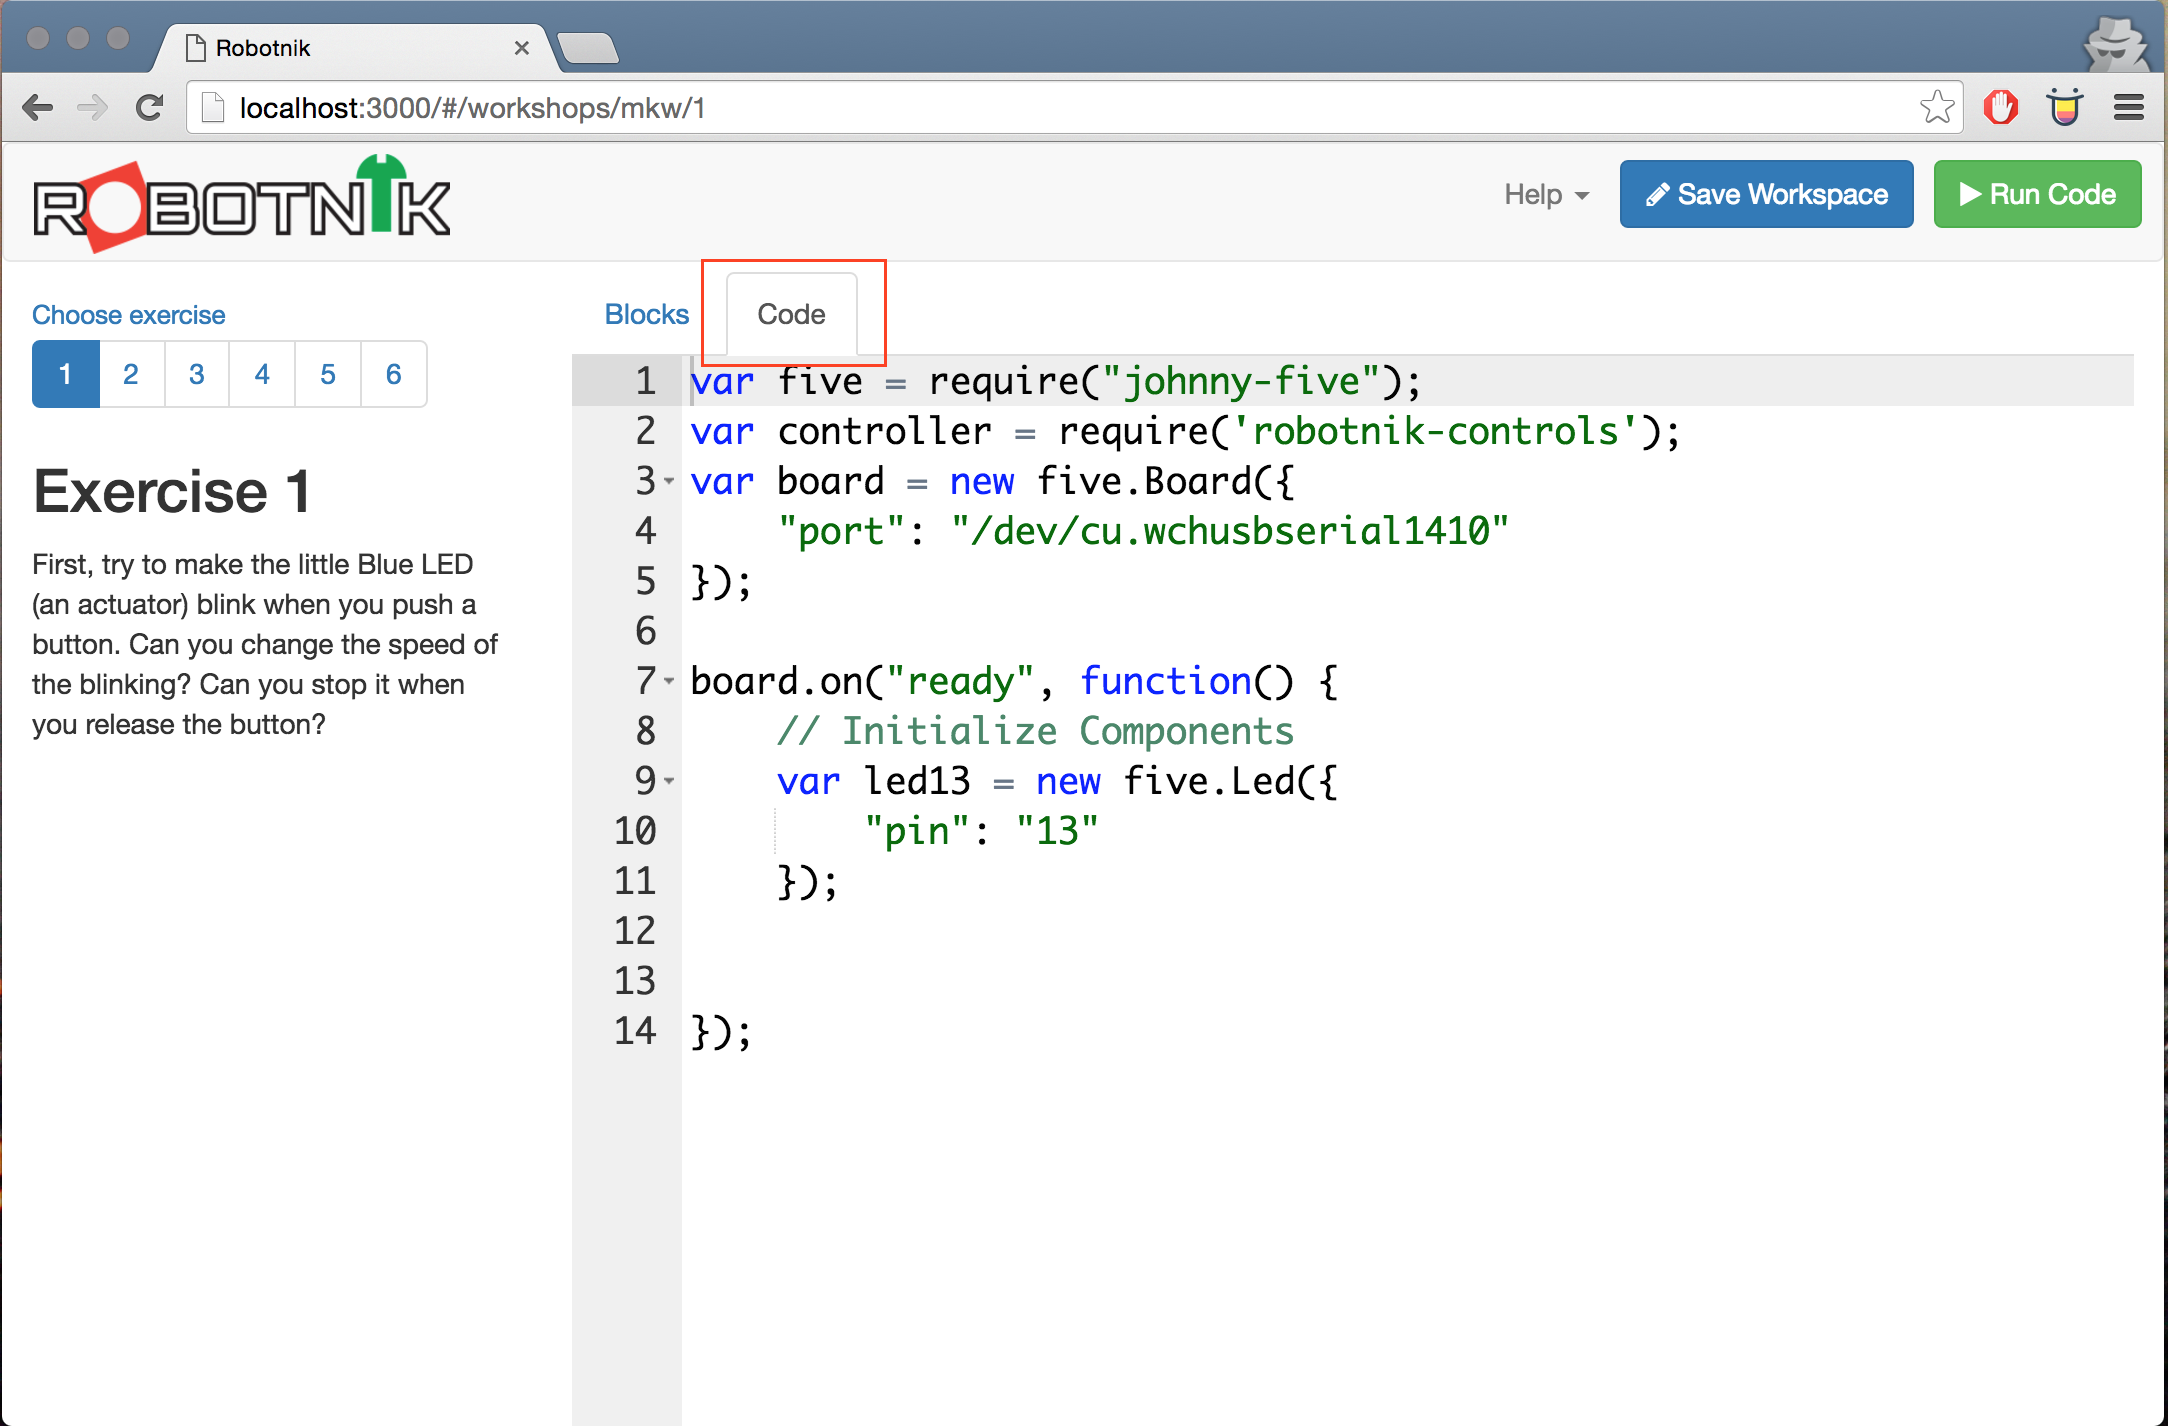
If you want to look at the code you're producing, hit the code button and you will see all the javascript your blocks are making.
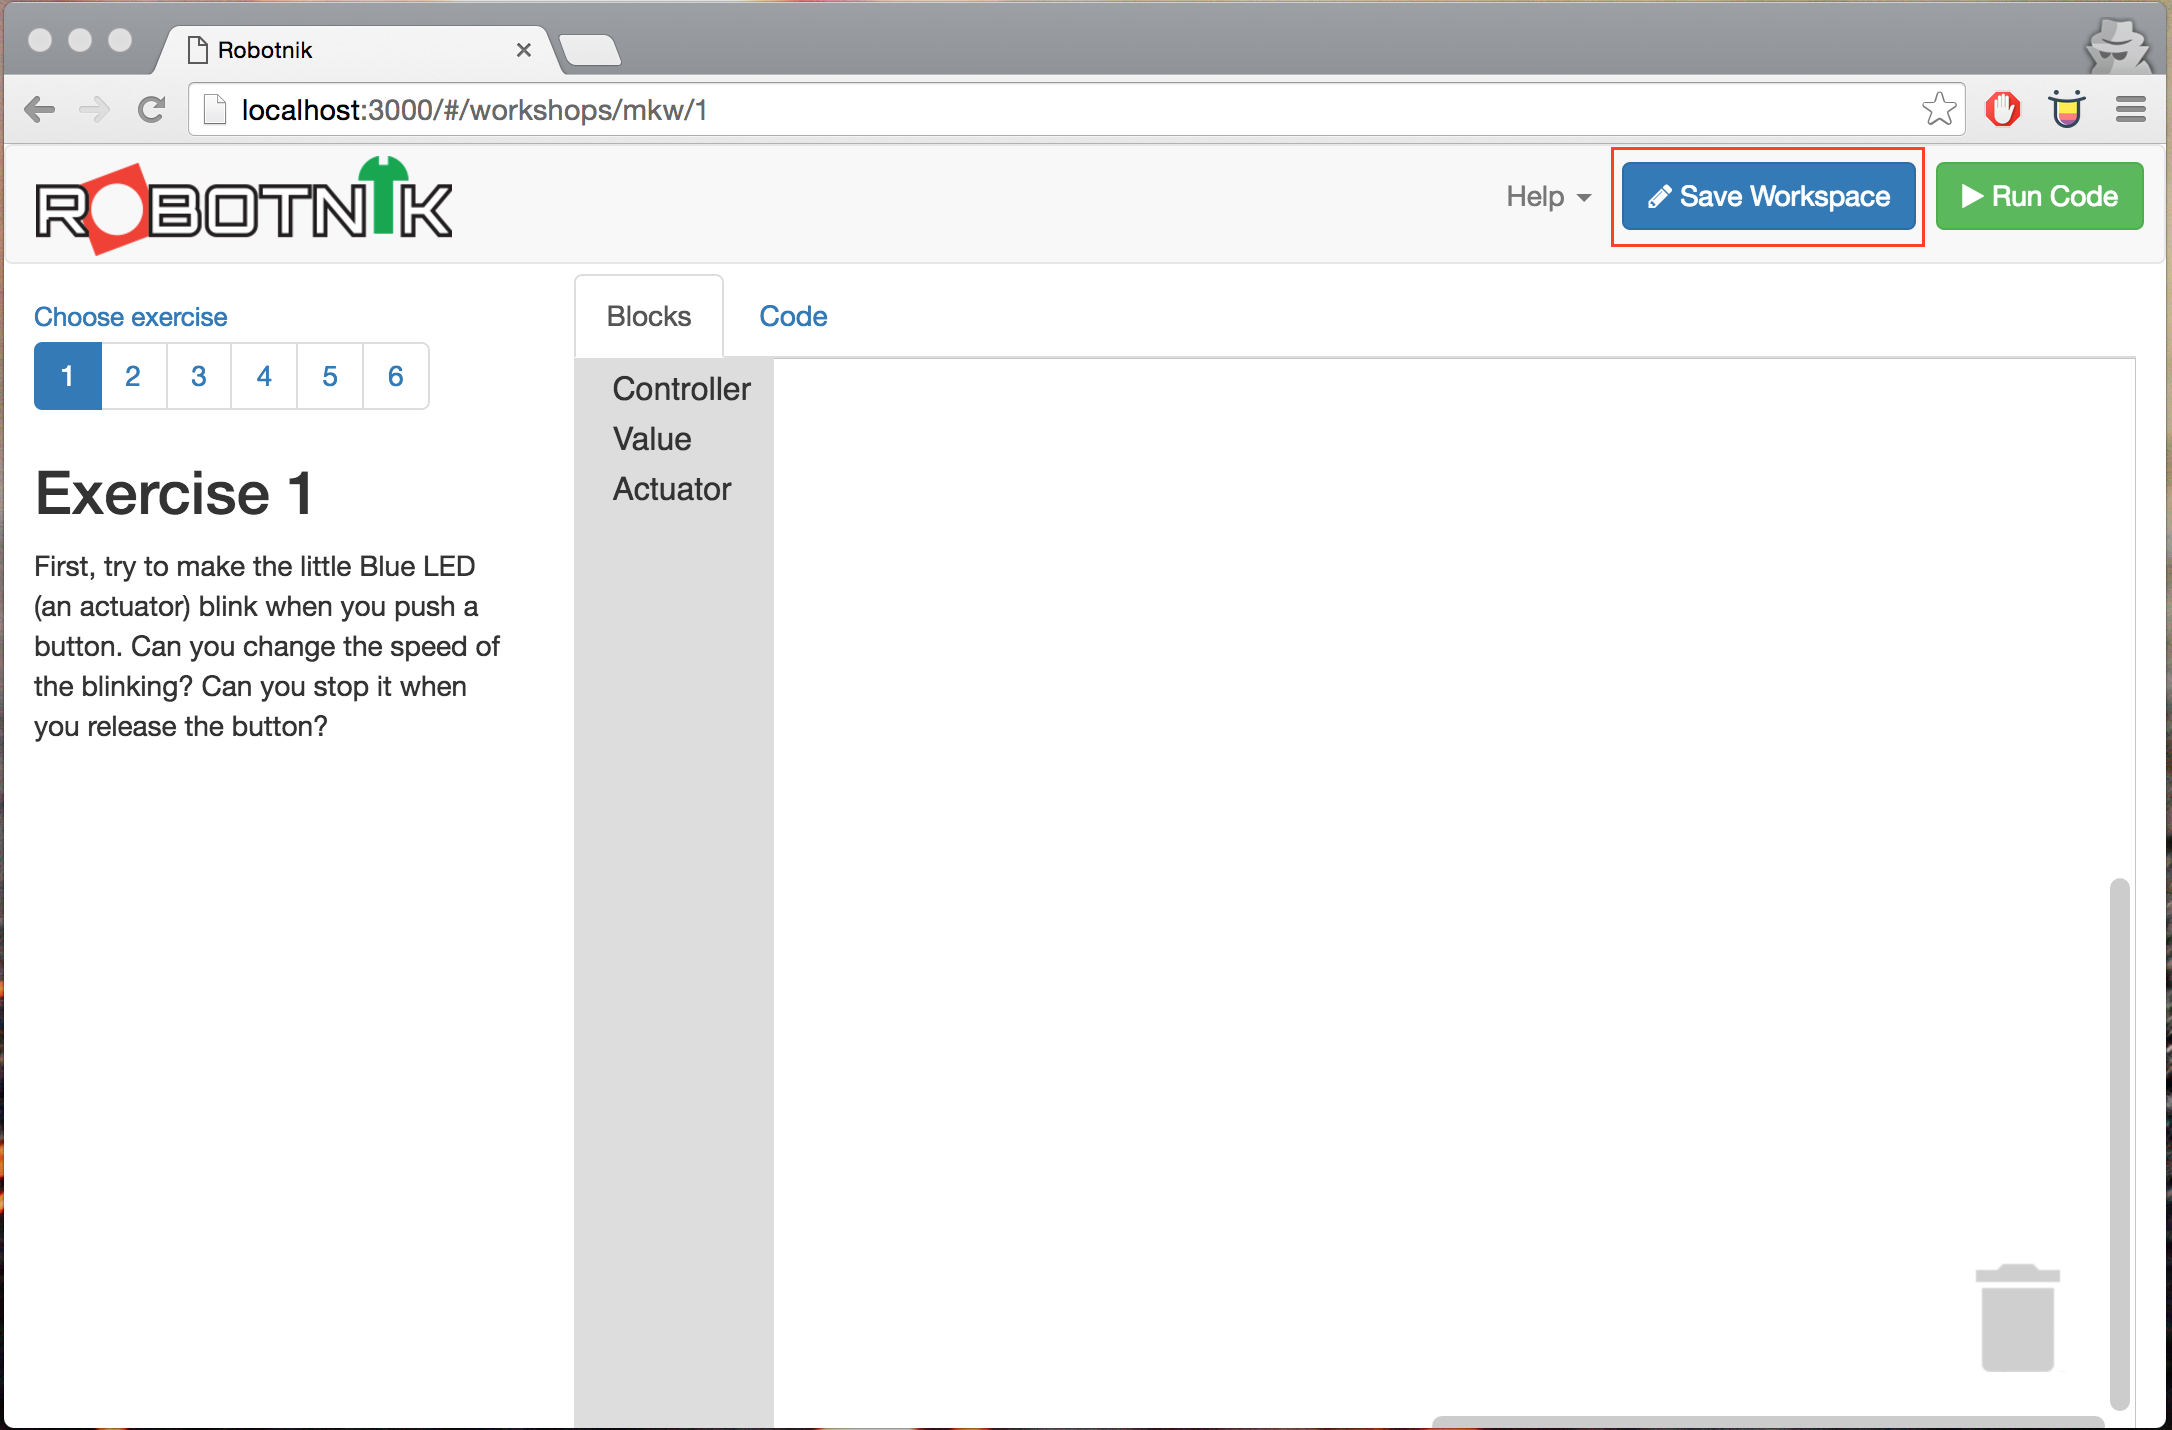
To save your code select the save workspace button on the top right. It's a good idea to do this once in a while.
To run your code hit the run code button and your code will launch on the device.
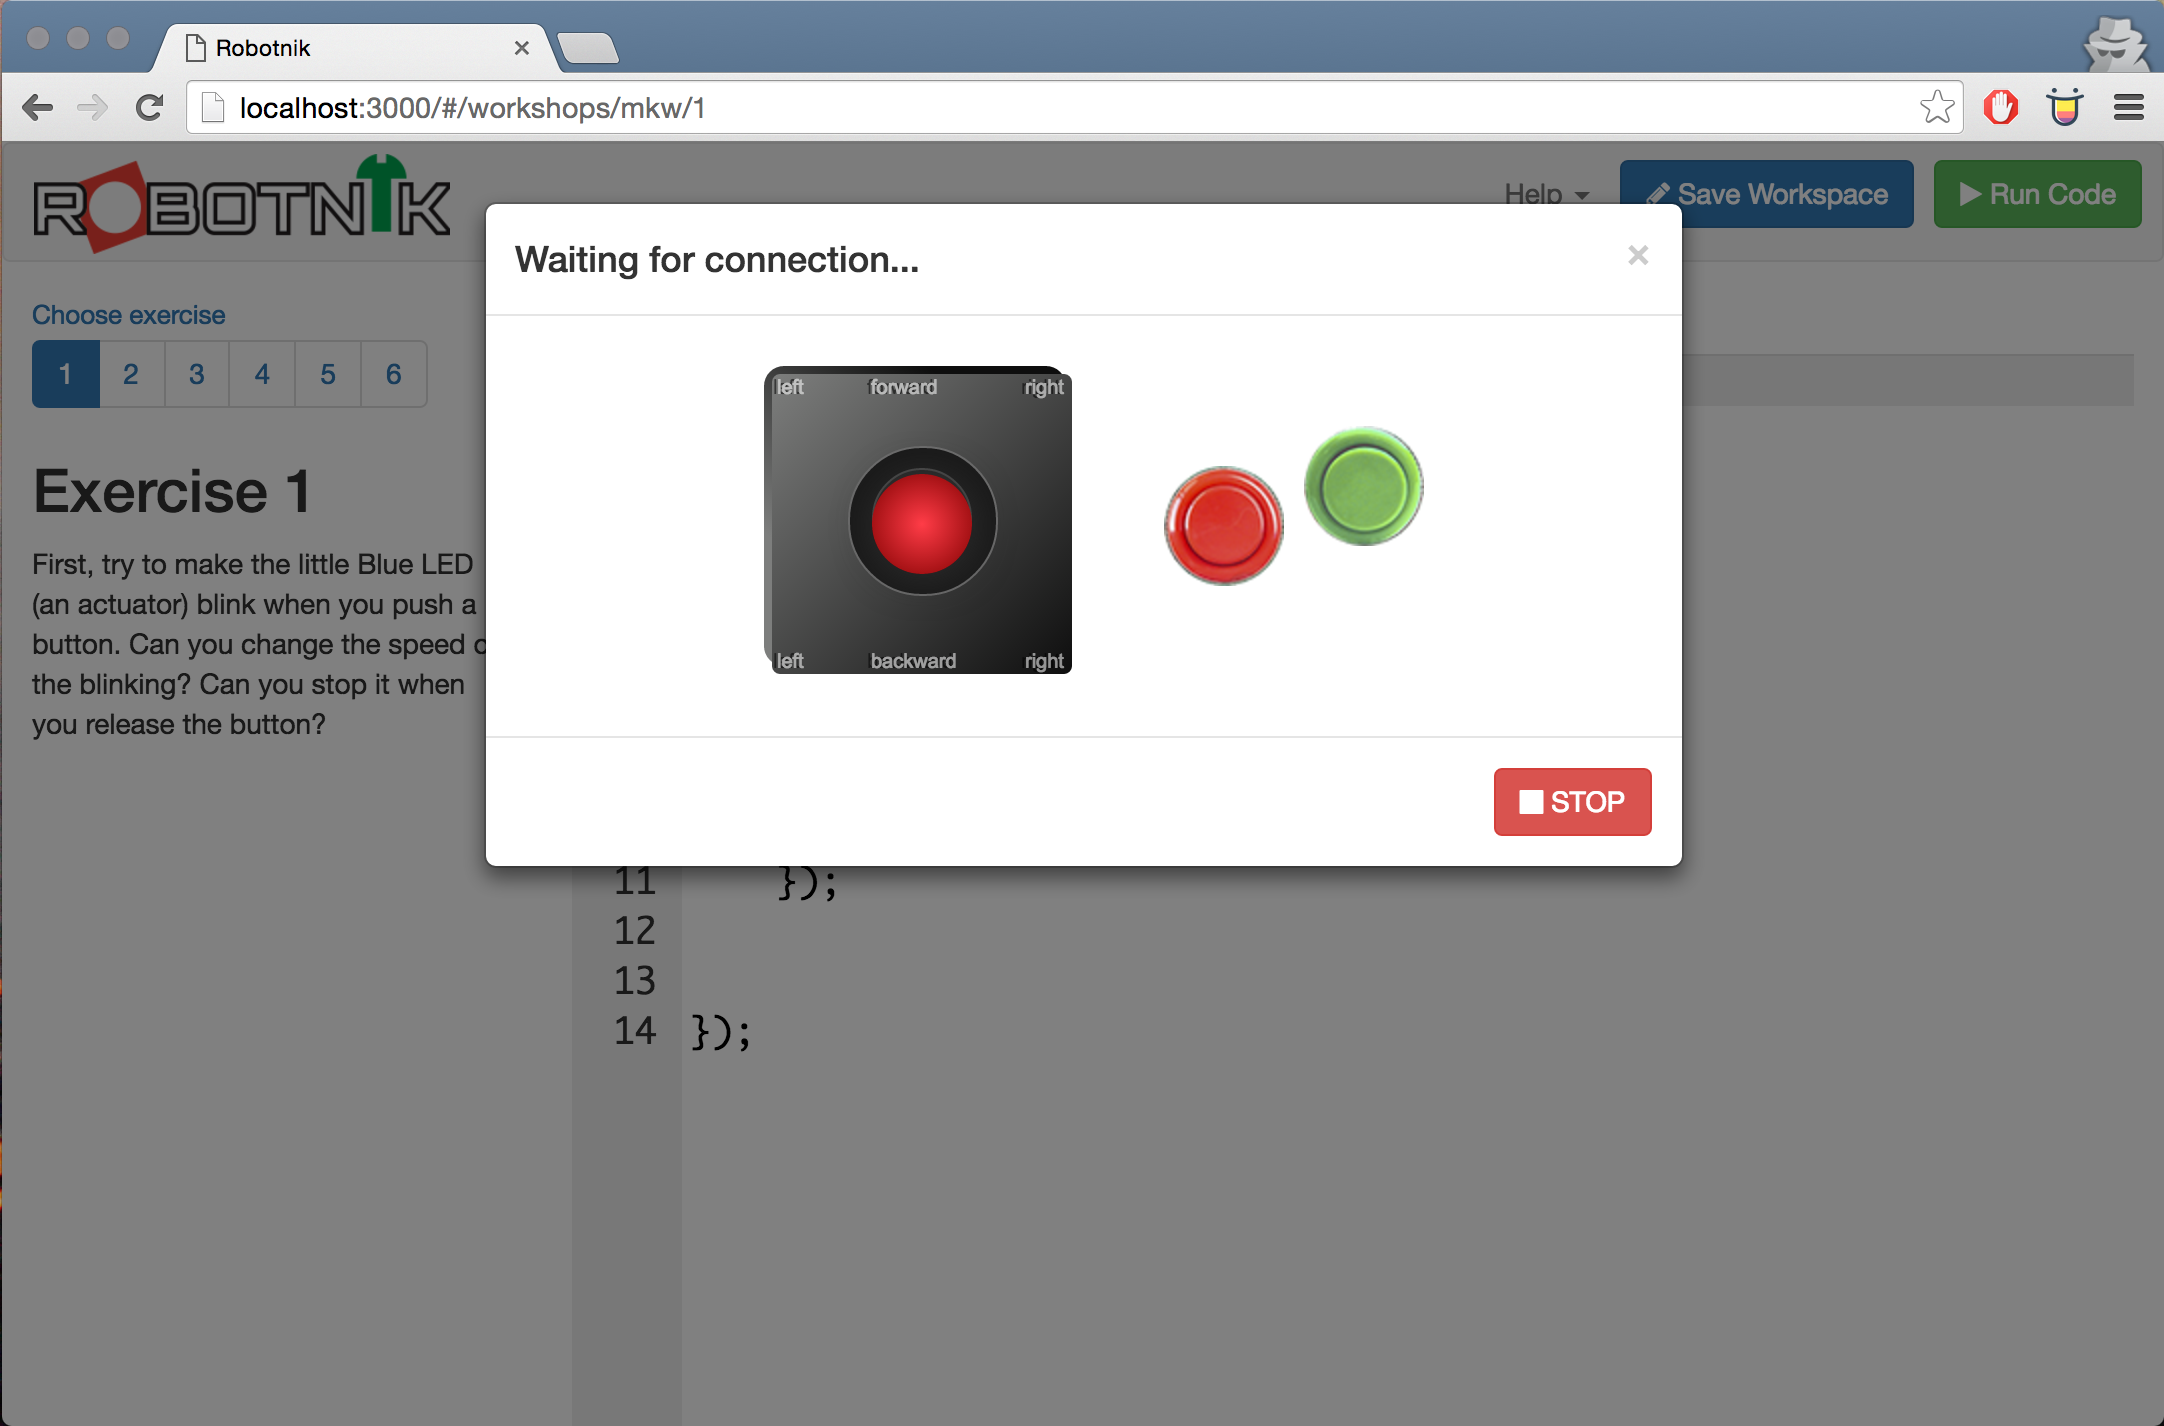
Whilst the board initialises your controls will show "Waiting for connection".
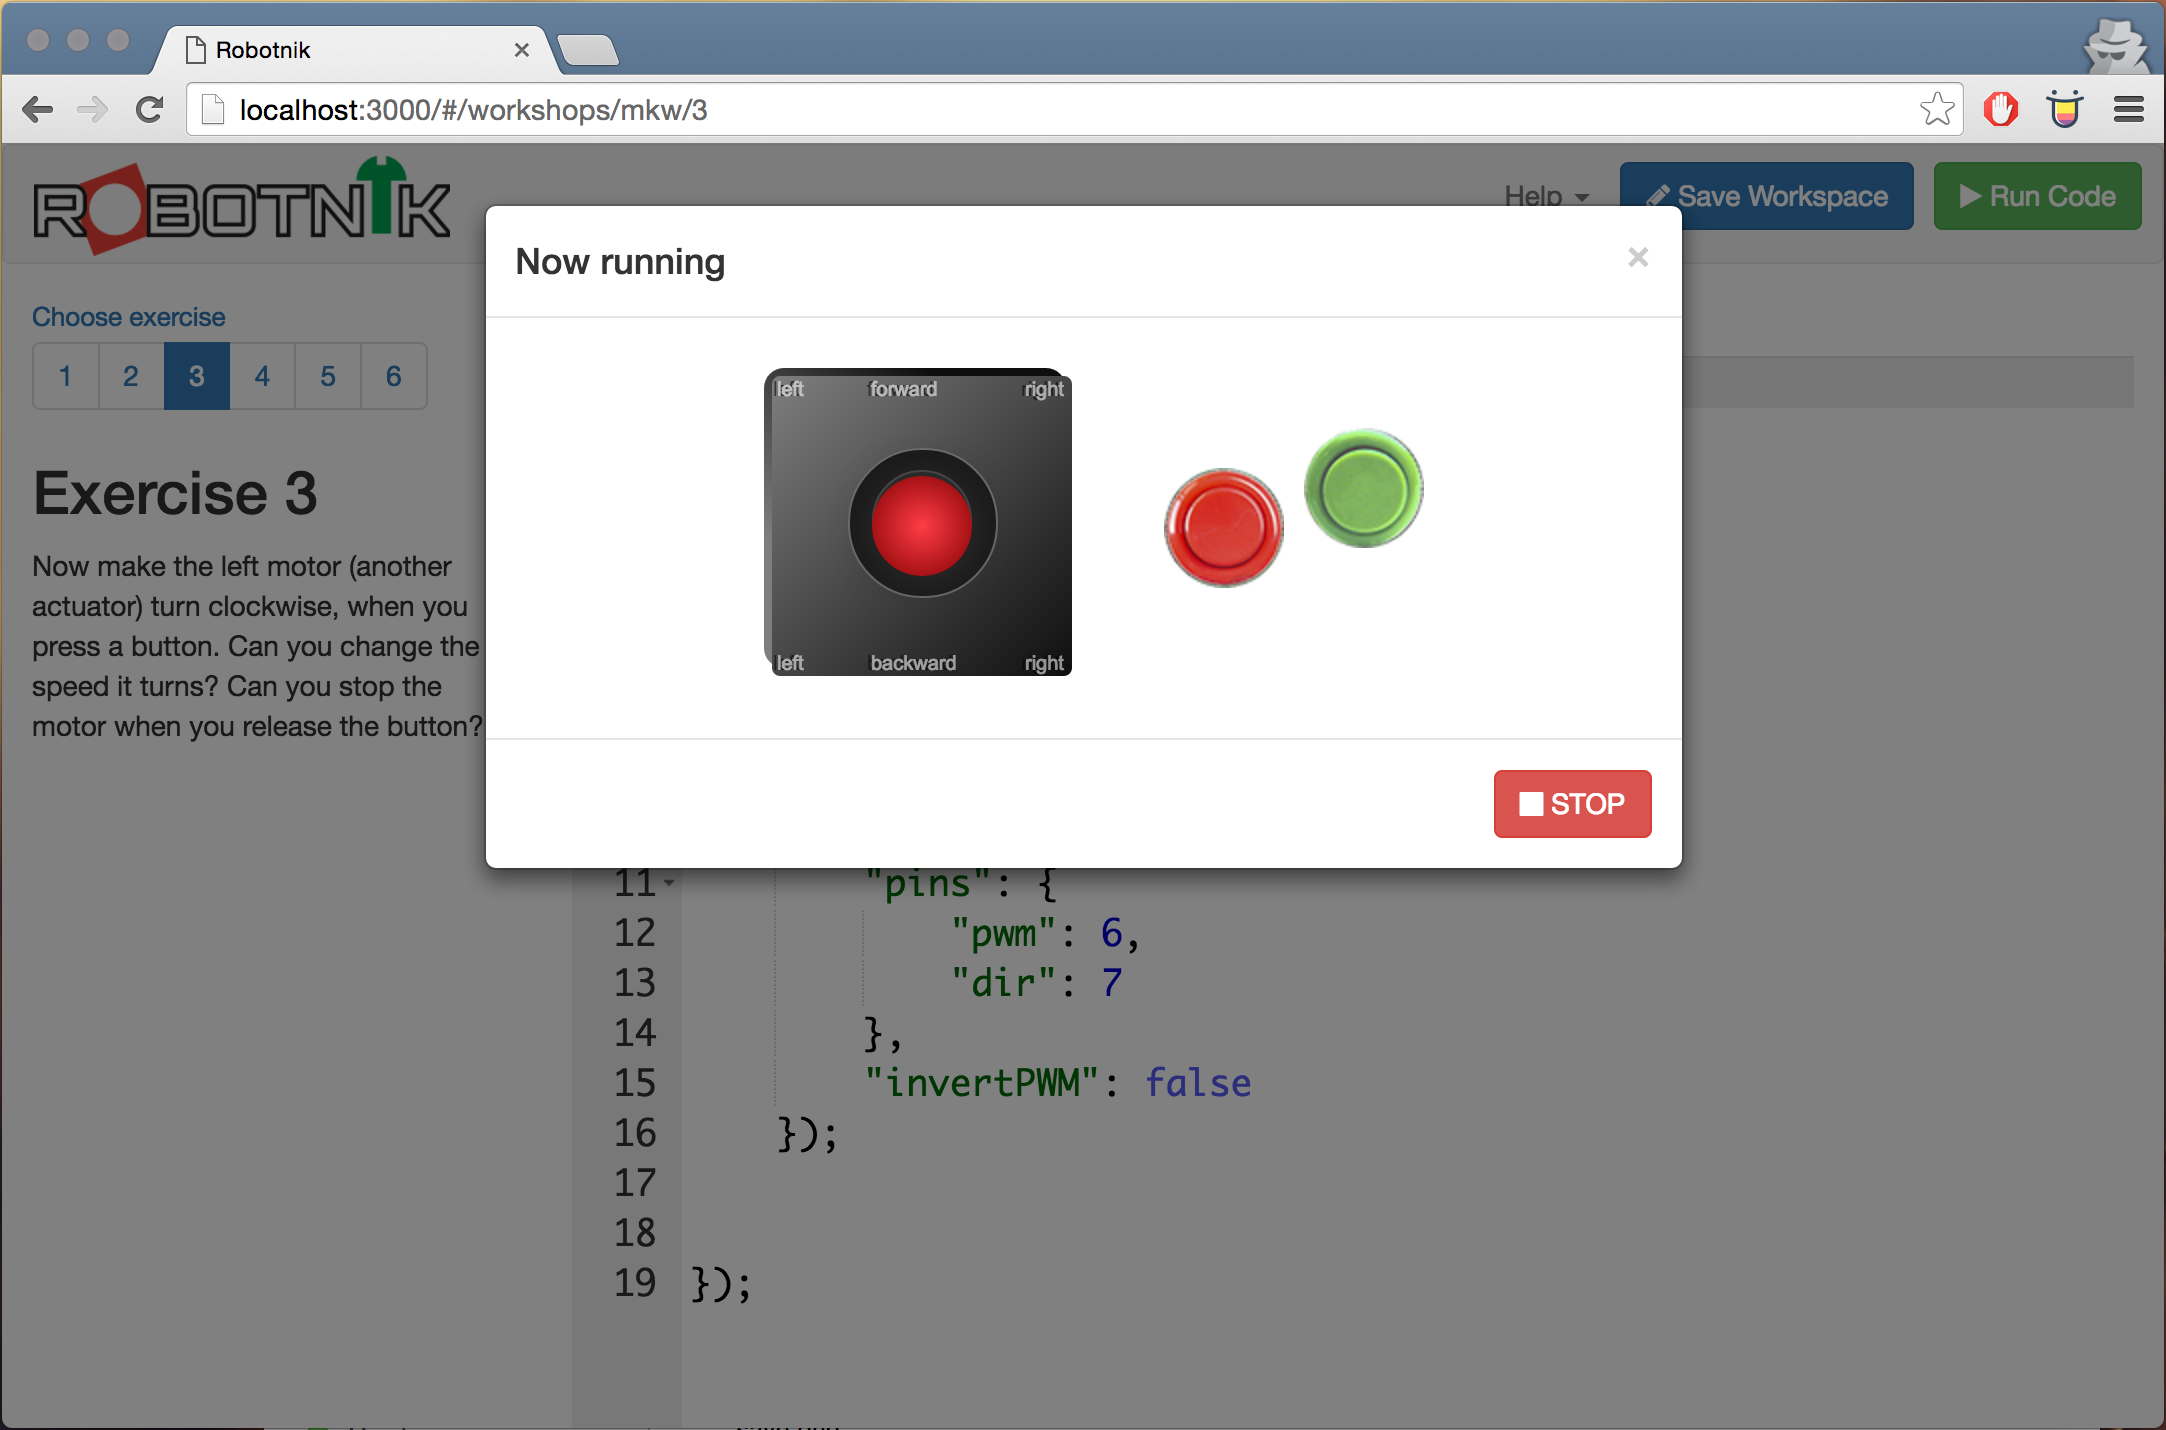
Once complete it will say "Board running"
Now you can control your program using the joystick or buttons to create events. Also note that the "R" and "G" keys on your keyboard can be used to "press" the Red and Green buttons as can the arrow keys to simulate the joystick.
If the Robotnik server is not running do the following:
Open a terminal and:
cd ~/dev/robotnik
node webserver.js
You should now be able to visit http://localhost:3000 and the robotnik server will run.
