This example demonstrates how to add codegened Ampli SDK to Typescript monorepo project. You can find the original project repo here.
Installation
- consider to install Amplitude Event Explorer in order to monitor firing events in real time
- run
pnpm iin the repo root directory to install all dependencies
Web application
- run
pnpm startinexamples/cradirectory to start the web application - open the web application in the browser http://localhost:3000 and click a button to trigger an event
- check Amplitude Event Explorer, you should see two or more events fired with a user property set
Instrumentation status
- run
ampli statusin the repo root directory, you should see the following output:
➜  ts-monorepo-ampli-example git:(master) ✗ ampli status
✔ Verifying event tracking implementation in source code
 ✔ AppLoaded (1 location)
 ✔ ButtonClicked (1 location)
Events Tracked: 2 found, 2 total
Notes
- ampli codegened code was encapsulated into a separate
amplipackage Pathvalue inampli.jsonfile was modified to point to the codegened code location- both
craweb application andcomponentspackages depend on theamplipackage craapplication also depends onamplitude-jsand@types/amplitude-jspackages
Table of content
The main focus of this repo is making the
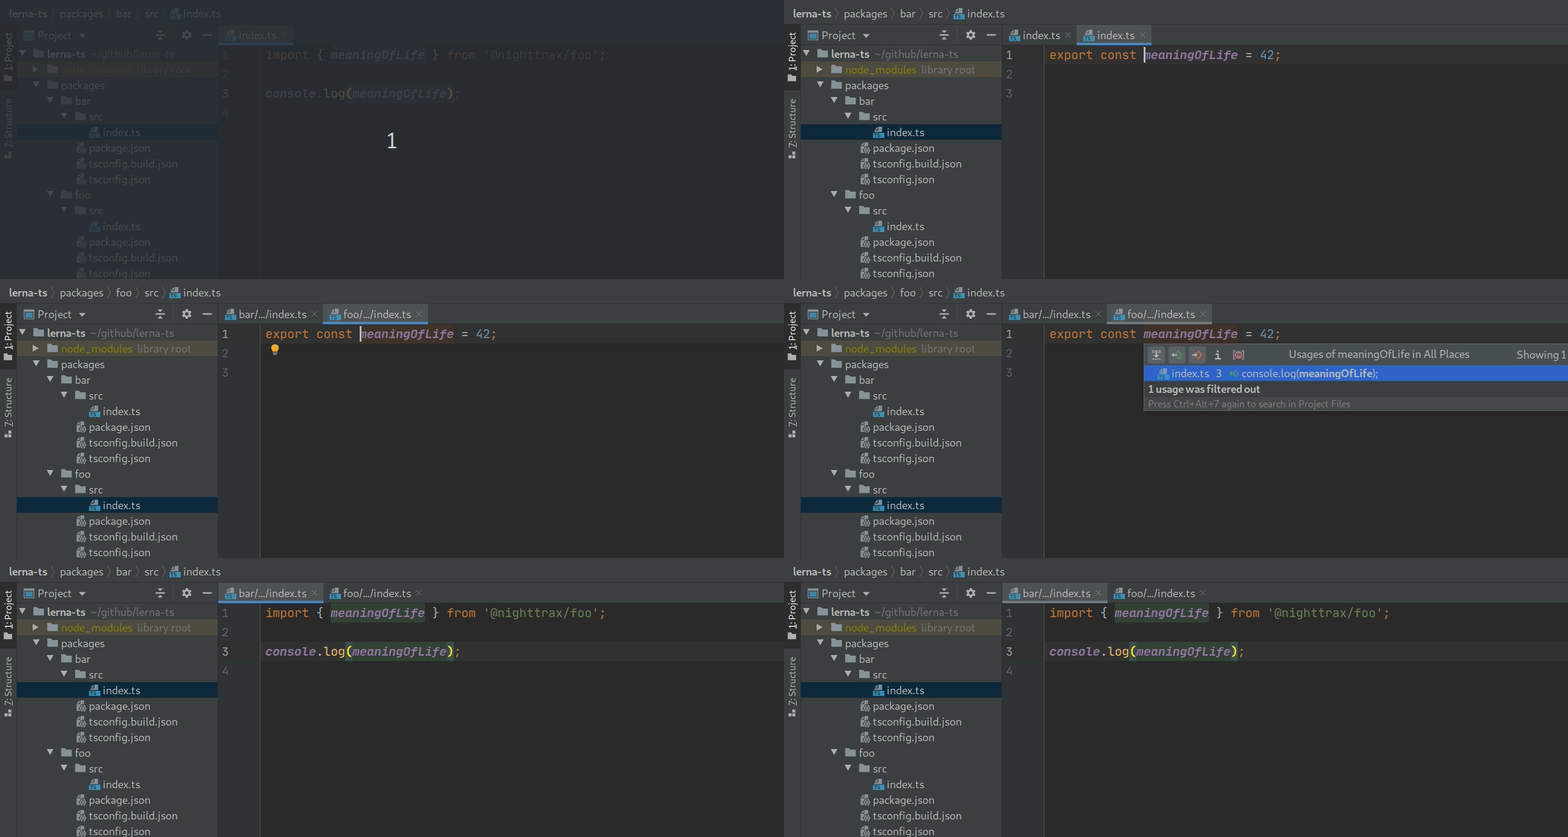
Go to definitionfeature in IDEs work without any surprises, meaning it will work after a fresh clone without needing to build the project.
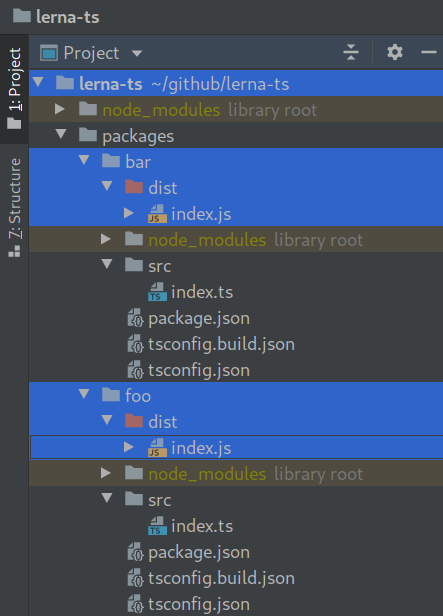
The secondary focus is to remove surprises when publishing packages. The repo is set up so that each package gets a clean build output without any artifacts from other packages.
Everything else is kept to a minimum. Apart from my personal ESLint config to keep the code clean, there are no extra tools included — you're free to customize this to your own needs after cloning. Compilation targets, module systems, tree shaking etc. are left up to you to decide.
This repo uses pnpm, but should work fine with any of the following:
I strongly recommend pnpm over the other solutions, not only because it's usually faster, but because it avoids dependency problems caused by hoisting (see https://github.com/NiGhTTraX/ts-monorepo/commit/d93139166b25fab15e9538df58a7d06270b846c9 as an example).
# Install pnpm with your preferred method: https://pnpm.io/installation.
npm i -g pnpm

# Install all dependencies.
pnpm iSee the following blog posts:
- How to set up a TypeScript monorepo and make Go to definition work
- Making TypeScript monorepos play nice with other tools
If you're looking for the project references solution checkout the project-references branch.
The packages folder contains examples of packages you would usually end up publishing to npm. Therefore, the configs and build process are tailored to producing publishable artifacts that will depend on other packages from the monorepo.
The examples folder contains examples of integrating with frameworks and tools that need to be configured for monorepos. The configs and build process will produce/execute a single artifact that will bundle up all necessary packages from the monorepo.
Use tsconfig-paths to resolve the path aliases at runtime:
{
  "scripts": {
    "start": "ts-node -r tsconfig-paths/register src/index.ts"
  }
}
See the full example here.
Use babel-plugin-module-resolver to resolve the path aliases:
module.exports = {
  presets: [
    ["@babel/preset-env", { targets: { node: "current" } }],
    "@babel/preset-typescript",
  ],

  plugins: [
    [
      "module-resolver",
      {
        alias: {
          "^@nighttrax/(.+)": "../\\1/src",
        },
      },
    ],
  ],
};
See the full example here.
Use tsconfig-paths-webpack-plugin to resolve the path aliases:
const TsconfigPathsPlugin = require("tsconfig-paths-webpack-plugin");

module.exports = {
  resolve: {
    plugins: [new TsconfigPathsPlugin()]
  }
};
See the full example here.
If you use Babel then see this example from the Babel section above.
If you use ts-jest then you can use its pathsToModuleNameMapper helper:
const { pathsToModuleNameMapper } = require("ts-jest/utils");
const { compilerOptions } = require("../../tsconfig.json");

module.exports = {
  preset: "ts-jest",

  moduleNameMapper: pathsToModuleNameMapper(compilerOptions.paths, {
    // This has to match the baseUrl defined in tsconfig.json.
    prefix: "<rootDir>/../../",
  }),
};
See the full example here.
Use craco or react-app-rewired to extend CRA's webpack config and apply the tsconfig-paths-webpack-plugin:
const TsconfigPathsPlugin = require("tsconfig-paths-webpack-plugin");

module.exports = (config) => {
  // Remove the ModuleScopePlugin which throws when we
  // try to import something outside of src/.
  config.resolve.plugins.pop();

  // Resolve the path aliases.
  config.resolve.plugins.push(new TsconfigPathsPlugin());

  // Let Babel compile outside of src/.
  const oneOfRule = config.module.rules.find((rule) => rule.oneOf);
    const tsRule = oneOfRule.oneOf.find((rule) =>
      rule.test.toString().includes("ts|tsx")
    );
  tsRule.include = undefined;
  tsRule.exclude = /node_modules/;

  return config;
};
See the full example here. For tests, see the jest example.
Extend Next's webpack config to enable compiling packages from the monorepo:
module.exports = {
  webpack: (config) => {
    // Let Babel compile outside of src/.
    const tsRule = config.module.rules.find(
      (rule) => rule.test && rule.test.toString().includes("tsx|ts")
    );
    tsRule.include = undefined;
    tsRule.exclude = /node_modules/;

    return config;
  },
};
See the full example here.
Include the path aliases in both tsconfig.json and tsconfig.build.json and tell NestJS where to find the main.js file:
{
  "collection": "@nestjs/schematics",
  "sourceRoot": "src",
  "entryFile": "examples/nestjs/src/main"
}
See the full example here.


