WeScan
WeScan makes it easy to add scanning functionalities to your iOS app!
It's modelled after UIImagePickerController, which makes it a breeze to use.
Features
- Fast
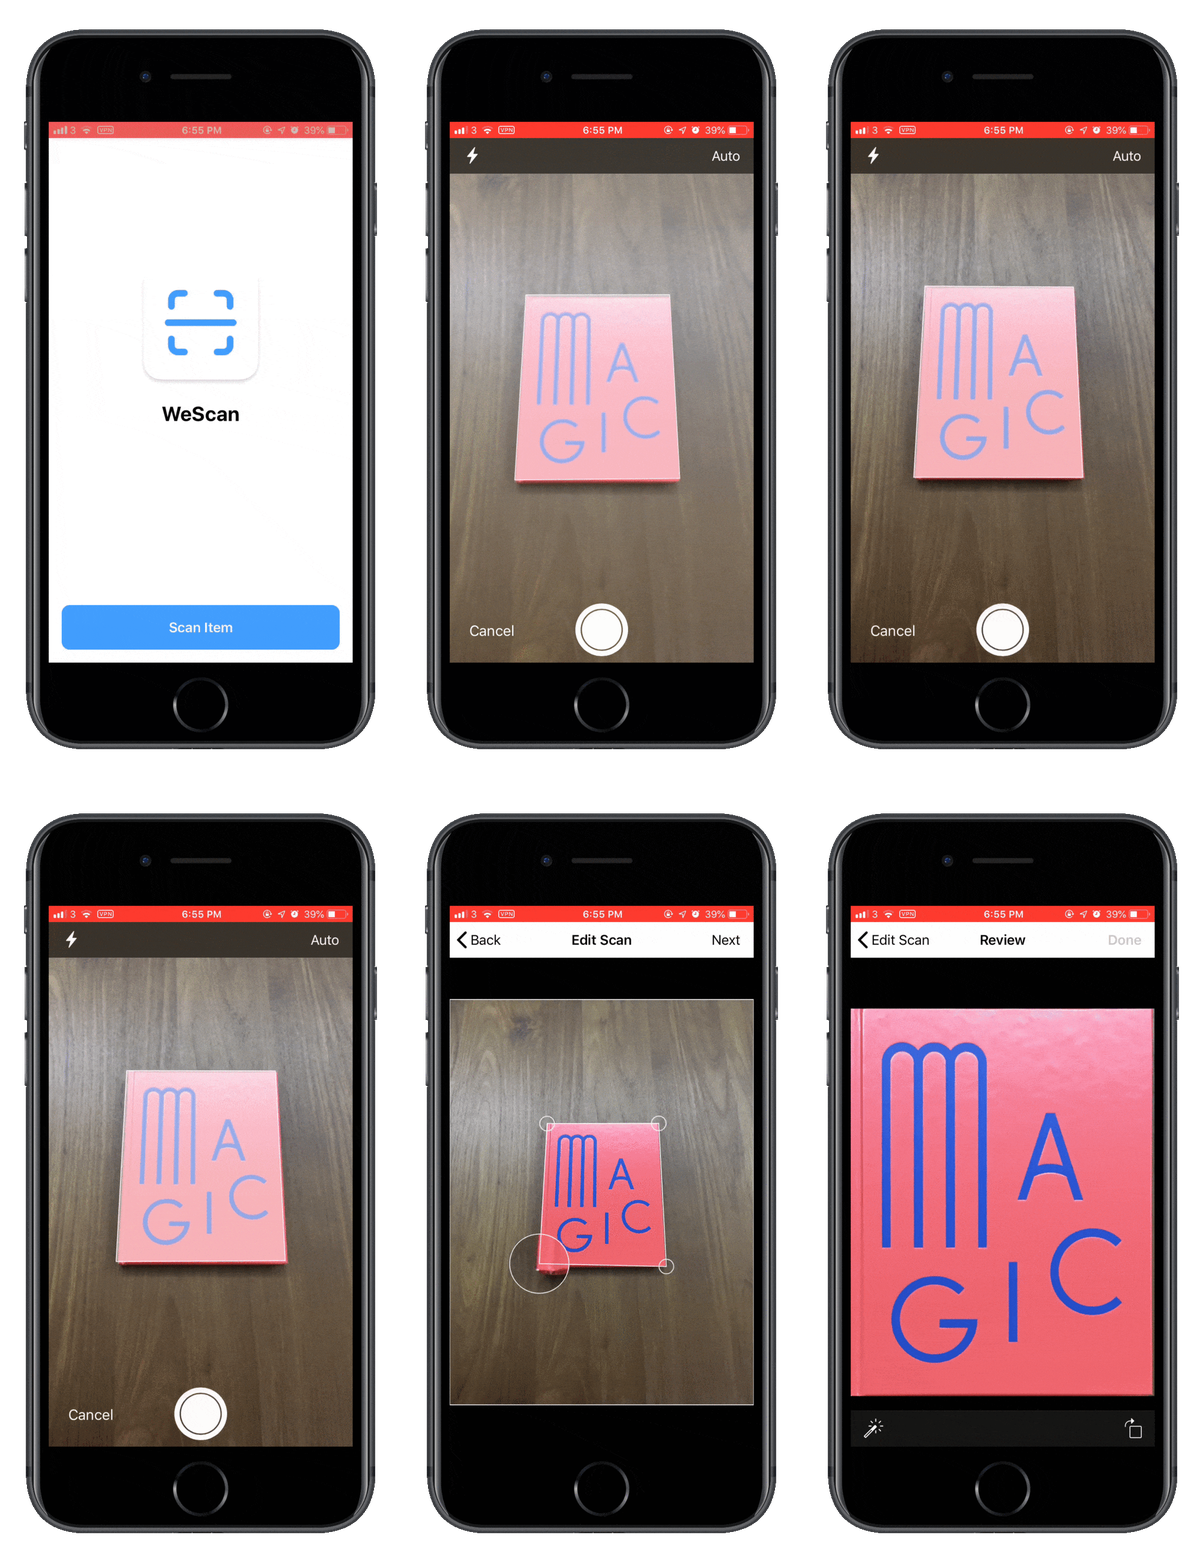
- Live scanning of documents
- Edit detected rectangle
- Auto scan and flash support
- Lightweight dependency
- Translated to English, Chinese, Italian, Portuguese, and French
- Batch scanning
Demo
Requirements
- Swift 4.2
- iOS 10.0+
Installation
Cocoapods
CocoaPods is a dependency manager for Cocoa projects.
To integrate WeScan into your Xcode project using CocoaPods, specify it in your Podfile:
source 'https://github.com/CocoaPods/Specs.git'
platform :ios, '10.0'
use_frameworks!

target '<Your Target Name>' do
    pod 'WeScan', '>= 0.9'
end
Then, run the following command:
$ pod installCarthage
Carthage is a decentralized dependency manager that builds your dependencies and provides you with binary frameworks.
To integrate WeScan into your Xcode project using Carthage, specify it in your Cartfile:
github "WeTransfer/WeScan" >= 0.9
Run carthage update to build the framework and drag the built WeScan.framework into your Xcode project.
Manually
Just download the project, and drag and drop the "WeScan" folder in your project.
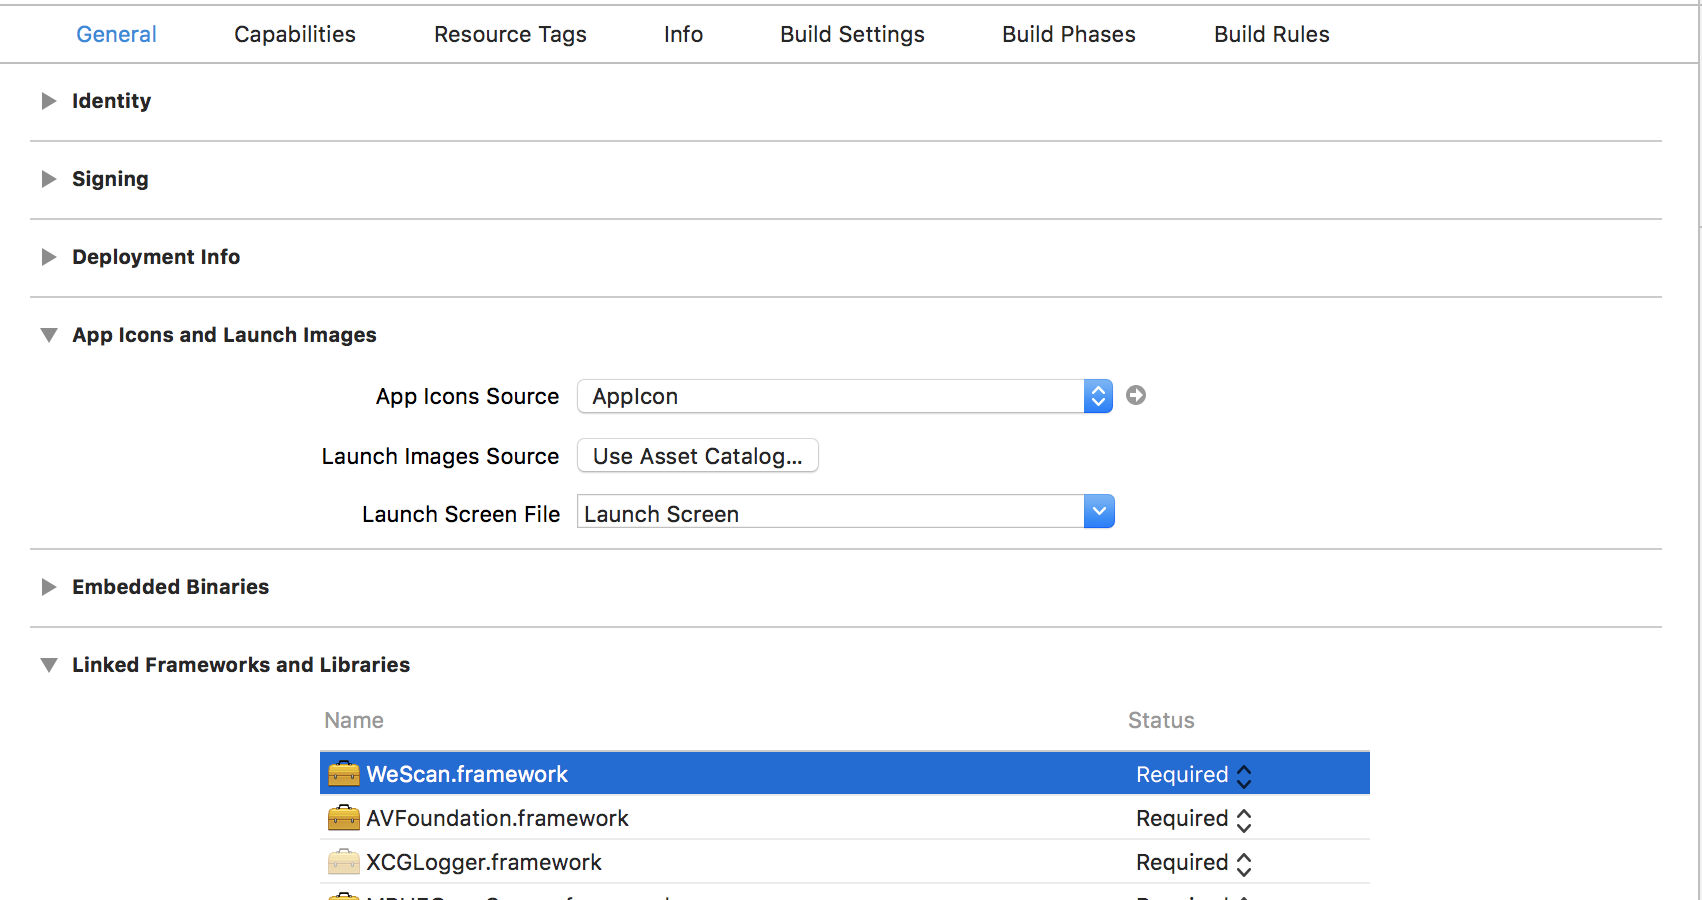
Simply add the WeScan framework in the project's Embedded Binaries and Linked Frameworks and Libraries.
Usage
Swift
- Make sure that your view controller conforms to the
ImageScannerControllerDelegateprotocol:
class YourViewController: UIViewController, ImageScannerControllerDelegate {
    // YourViewController code here
}- Implement the delegate functions inside your view controller:
func imageScannerController(_ scanner: ImageScannerController, didFailWithError error: Error) {
    // You are responsible for carefully handling the error
    print(error)
}

func imageScannerController(_ scanner: ImageScannerController, didFinishScanningWithResults results: ImageScannerResults) {
    // The user successfully scanned an image, which is available in the ImageScannerResults
    // You are responsible for dismissing the ImageScannerController
    scanner.dismiss(animated: true)
}

func imageScannerControllerDidCancel(_ scanner: ImageScannerController) {
    // The user tapped 'Cancel' on the scanner
    // You are responsible for dismissing the ImageScannerController
    scanner.dismiss(animated: true)
}- Finally, create and present a
ImageScannerControllerinstance somewhere within your view controller:
let scannerViewController = ImageScannerController()
scannerViewController.imageScannerDelegate = self
present(scannerViewController, animated: true)
Objective-C
- Create a dummy swift class in your project. When Xcode asks if you'd like to create a bridging header, press 'Create Bridging Header'
- In the new header, add the Objective-C class (
#import myClass.h) where you want to use WeScan - In your class, import the header (
import <yourProjectName.swift.h>) - Drag and drop the WeScan folder to add it to your project
- In your class, add
@Class ImageScannerController;
Example Implementation
ImageScannerController *scannerViewController = [[ImageScannerController alloc] init];
[self presentViewController:scannerViewController animated:YES completion:nil];
Contributing
As the creators, and maintainers of this project, we're glad to invite contributors to help us stay up to date. Please take a moment to review the contributing document in order to make the contribution process easy and effective for everyone involved.
- If you found a bug, open an issue.
- If you have a feature request, open an issue.
- If you want to contribute, submit a pull request.
License
WeScan is available under the MIT license. See the LICENSE file for more info.


