Why Zewo? • Getting Started • Support • Community • Contributing
Zewo is a set of libraries for server-side development. With Zewo you can write your web app, REST API, command line tool, database driver, etc. Our goal is to create an ecosystem around the modules and tools we provide so you can focus on developing your application or library, instead of doing everything from scratch.
Check out our organization for the modules.
Zewo is not a web framework. Zewo is a set of modular libraries for server-side Swift. It is designed so you can pick and choose the modules you want/need for the task you have at hand. Most server-side Swift projects use Grand Central Dispatch (GCD) as the concurrency library of choice. The drawback of using GCD is that its APIs are asynchronous. With async code comes callback hell and we all know it, it's no fun.
Node.js is the best example of how callbacks can be frustrating. Express.js creator TJ Holowaychuk wrote a blog post about Callback vs Coroutines in 2013 and one year later left the Node.js community in favor of Go. There were many reasons for that but one of the main reasons was the concurrency model. Sure we have futures and promises and functional reactive programming. They all mitigate the problem, but the async nature of the code will always be there.
At Zewo we use coroutines. Coroutines allow concurrency while maintaining synchronous APIs. We all learn how to program with synchronous code. We're used to reason about our code synchronously. Being able to use synchronous APIs makes the code much more readable and understandable. Coroutines are also faster than threads, because they're much lighter.
Our implementation of coroutines (which is based on libmill) is single-threaded. This means that you don't have to worry about locks or race conditions. So your code is safer by default. To use all the CPU power available all you have to do is to replicate the work according to the number of logical CPUs available. As an example, this could mean running as many processes of your server as cores in your machine. Rob Pike, one of the creators of Go had a talk called Concurrency is not Parallelism that explains this concept very well. Go also has the philosophy:
Don't communicate by sharing memory. Share memory by communicating.
Like Go, instead of sharing memory and handling state we promote the use of CSP-style concurrency using channels. This pattern brings the abstractions used on the development of distributed systems closer to the way we're used to think about communication. It also aligns well with Swift's mindset of immutability and value types. All of these things contributes to a distinct experince on the server-side Swift.
With Zewo you get:
- Modular Frameworks
- Go-style Concurrency
- Synchronous APIs
- Incredible Performance
- Safer Applications
- Scalable Systems
- Cleaner Code
- Proper Error Handling
- No Callback Hell
- No Race Conditions
The inner-most circle is the entire project, moving away from the center are folders then, finally, a single file. The size and color of each slice is represented by the number of statements and the coverage, respectively.
The swiftenv tool allows you to easily install, and switch between multiple versions of Swift. You can install swiftenv following official instructions.
brew install kylef/formulae/swiftenv --HEADOnce you have swiftenv installed, install the Swift 3.0 Release.
swiftenv install 3.0First we need to create a directory for our app.
mkdir hello && cd helloNow we select Swift 3.0 Release with swiftenv.
swiftenv local 3.0This command will create a file called .swift-version containing 3.0. swiftenv uses this file to select the correct swift binary. Now we initialize the project with the Swift Package Manager (SwiftPM).
swift package init --type executable
This command will create the basic structure for our app.
.
├── .gitignore
├── .swift-version
├── Package.swift
├── Sources
│   └── main.swift
└── Tests
Package.swift is the manifest file used by SwiftPM to configure your Swift package. Open Package.swift with your favorite editor and add HTTPServer as a dependency.
import PackageDescription

let package = Package(
    name: "hello",
    dependencies: [
        .Package(url: "https://github.com/Zewo/HTTPServer.git", majorVersion: 0, minor: 14),
    ]
)main.swift is the entry file of your application. Open main.swift and make it look like this:
import HTTPServer

let log = LogMiddleware()

let router = BasicRouter { route in
    route.get("/hello") { request in
        return Response(body: "Hello, world!")
    }
}

let server = try Server(port: 8080, middleware: [log], responder: router)
try server.start()
This code:
- Imports the
HTTPServermodule - Creates a
LogMiddlewareinstance - Creates a
BasicRouterinstance - Configures a route matching any
Requestwith GET as the HTTP method and /hello as the path. - Returns a
Responsewith"Hello, world!"as the body for requests matching the route. - Creates an HTTP server that listens on port
8080, enables logging and responds to requests using the router. - Starts the server.
Now let's build the app using SwiftPM.
swift buildAfter it compiles, let's run it.
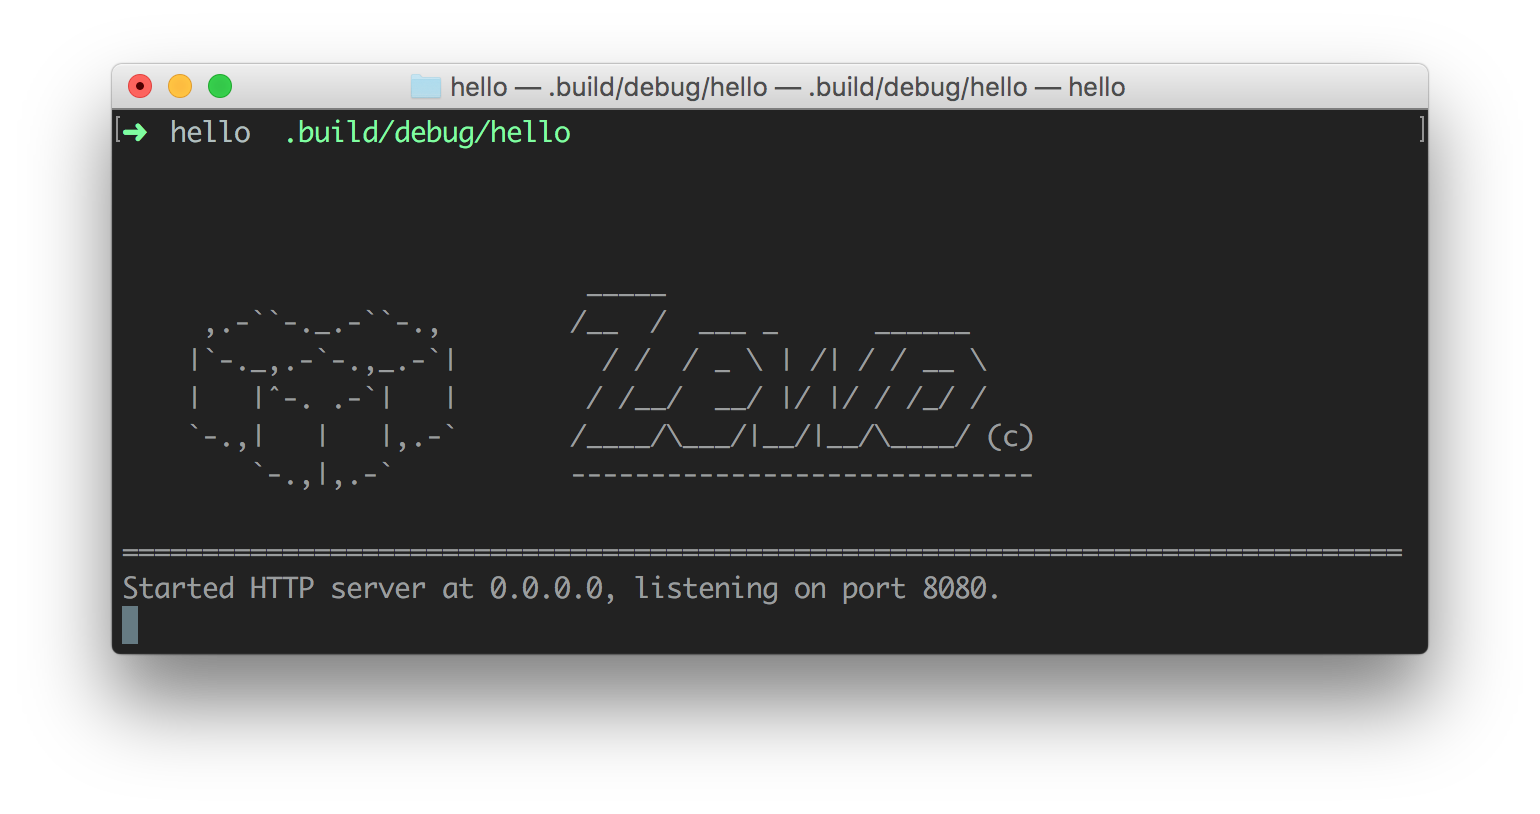
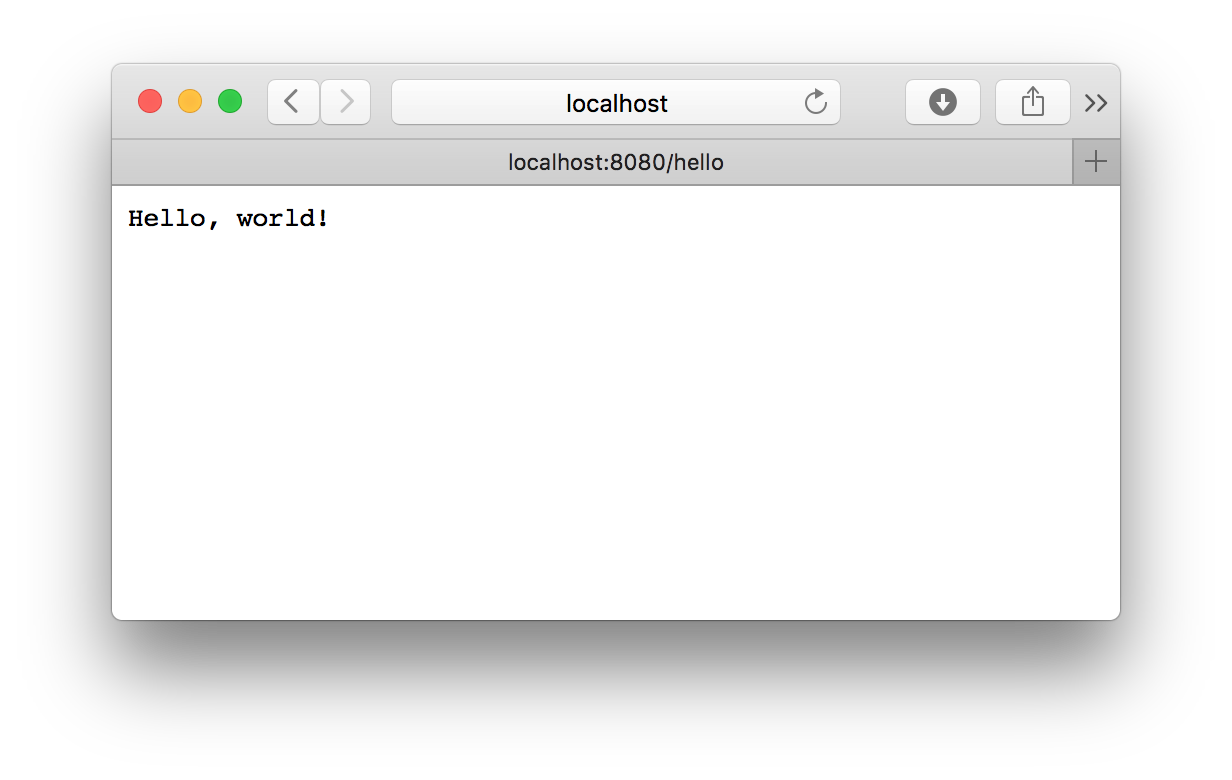
.build/debug/helloNow open your favorite browser and go to http://localhost:8080/hello. You should see Hello, world! in your browser's window. 😊
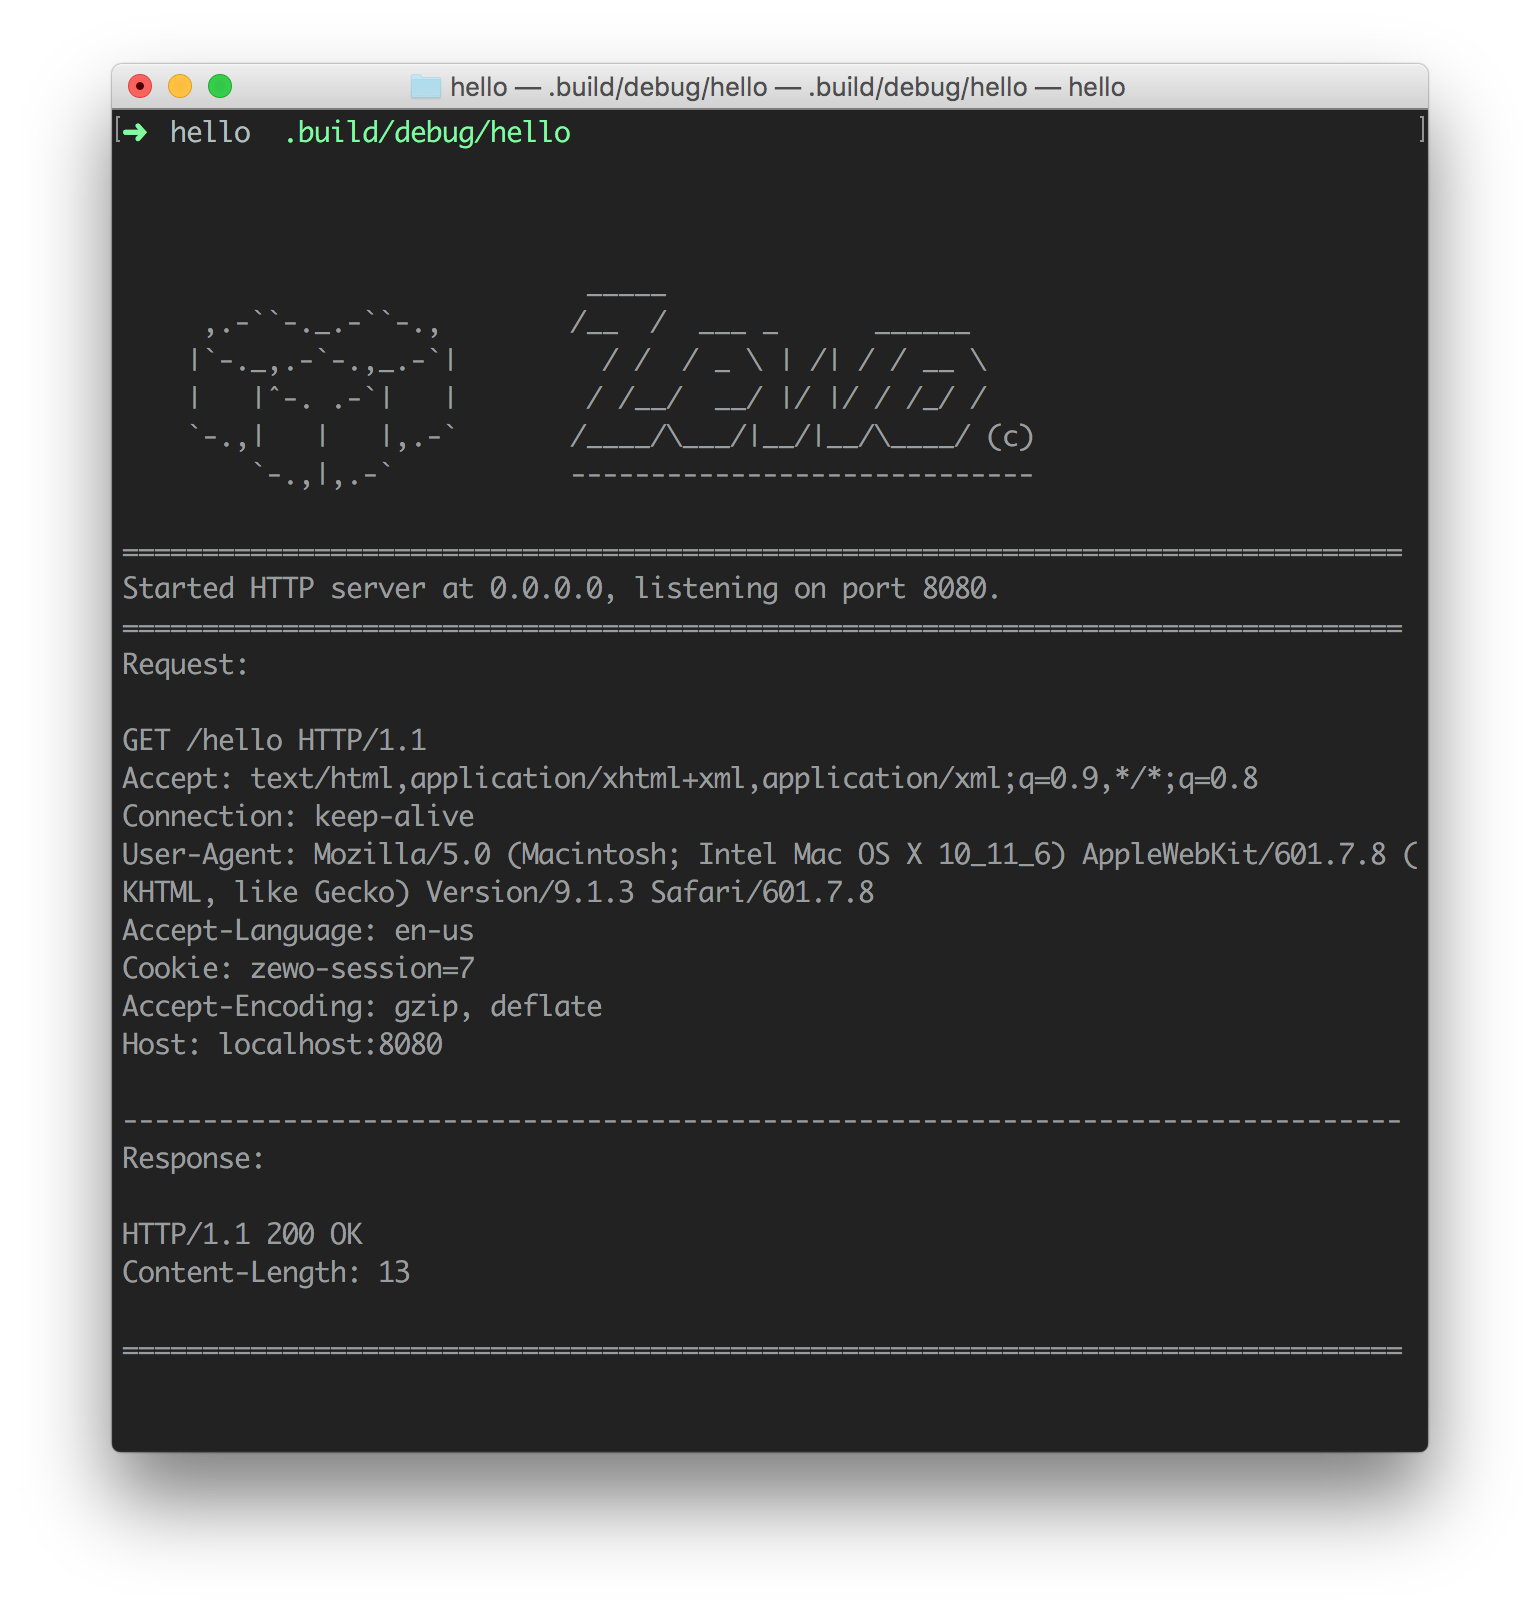
Since we configured logging the server will log the requests/responses which are receiveid/sent by the server.
Press ⌃C (Control-C) to stop the server.
Using an IDE can be a huge boost to productivity. Luckily, SwiftPM has Xcode project generation support built in.
To generate your Xcode project simply run:
swift package generate-xcodeprojOpen your Xcode project by double clicking it on Finder or with:
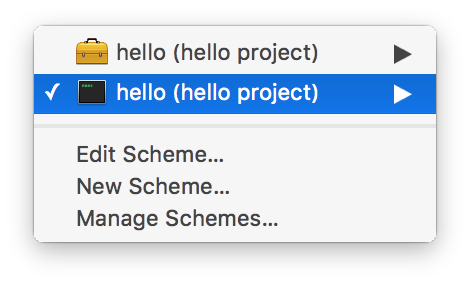
open hello.xcodeprojTo run the application select the command line application scheme hello on Xcode.
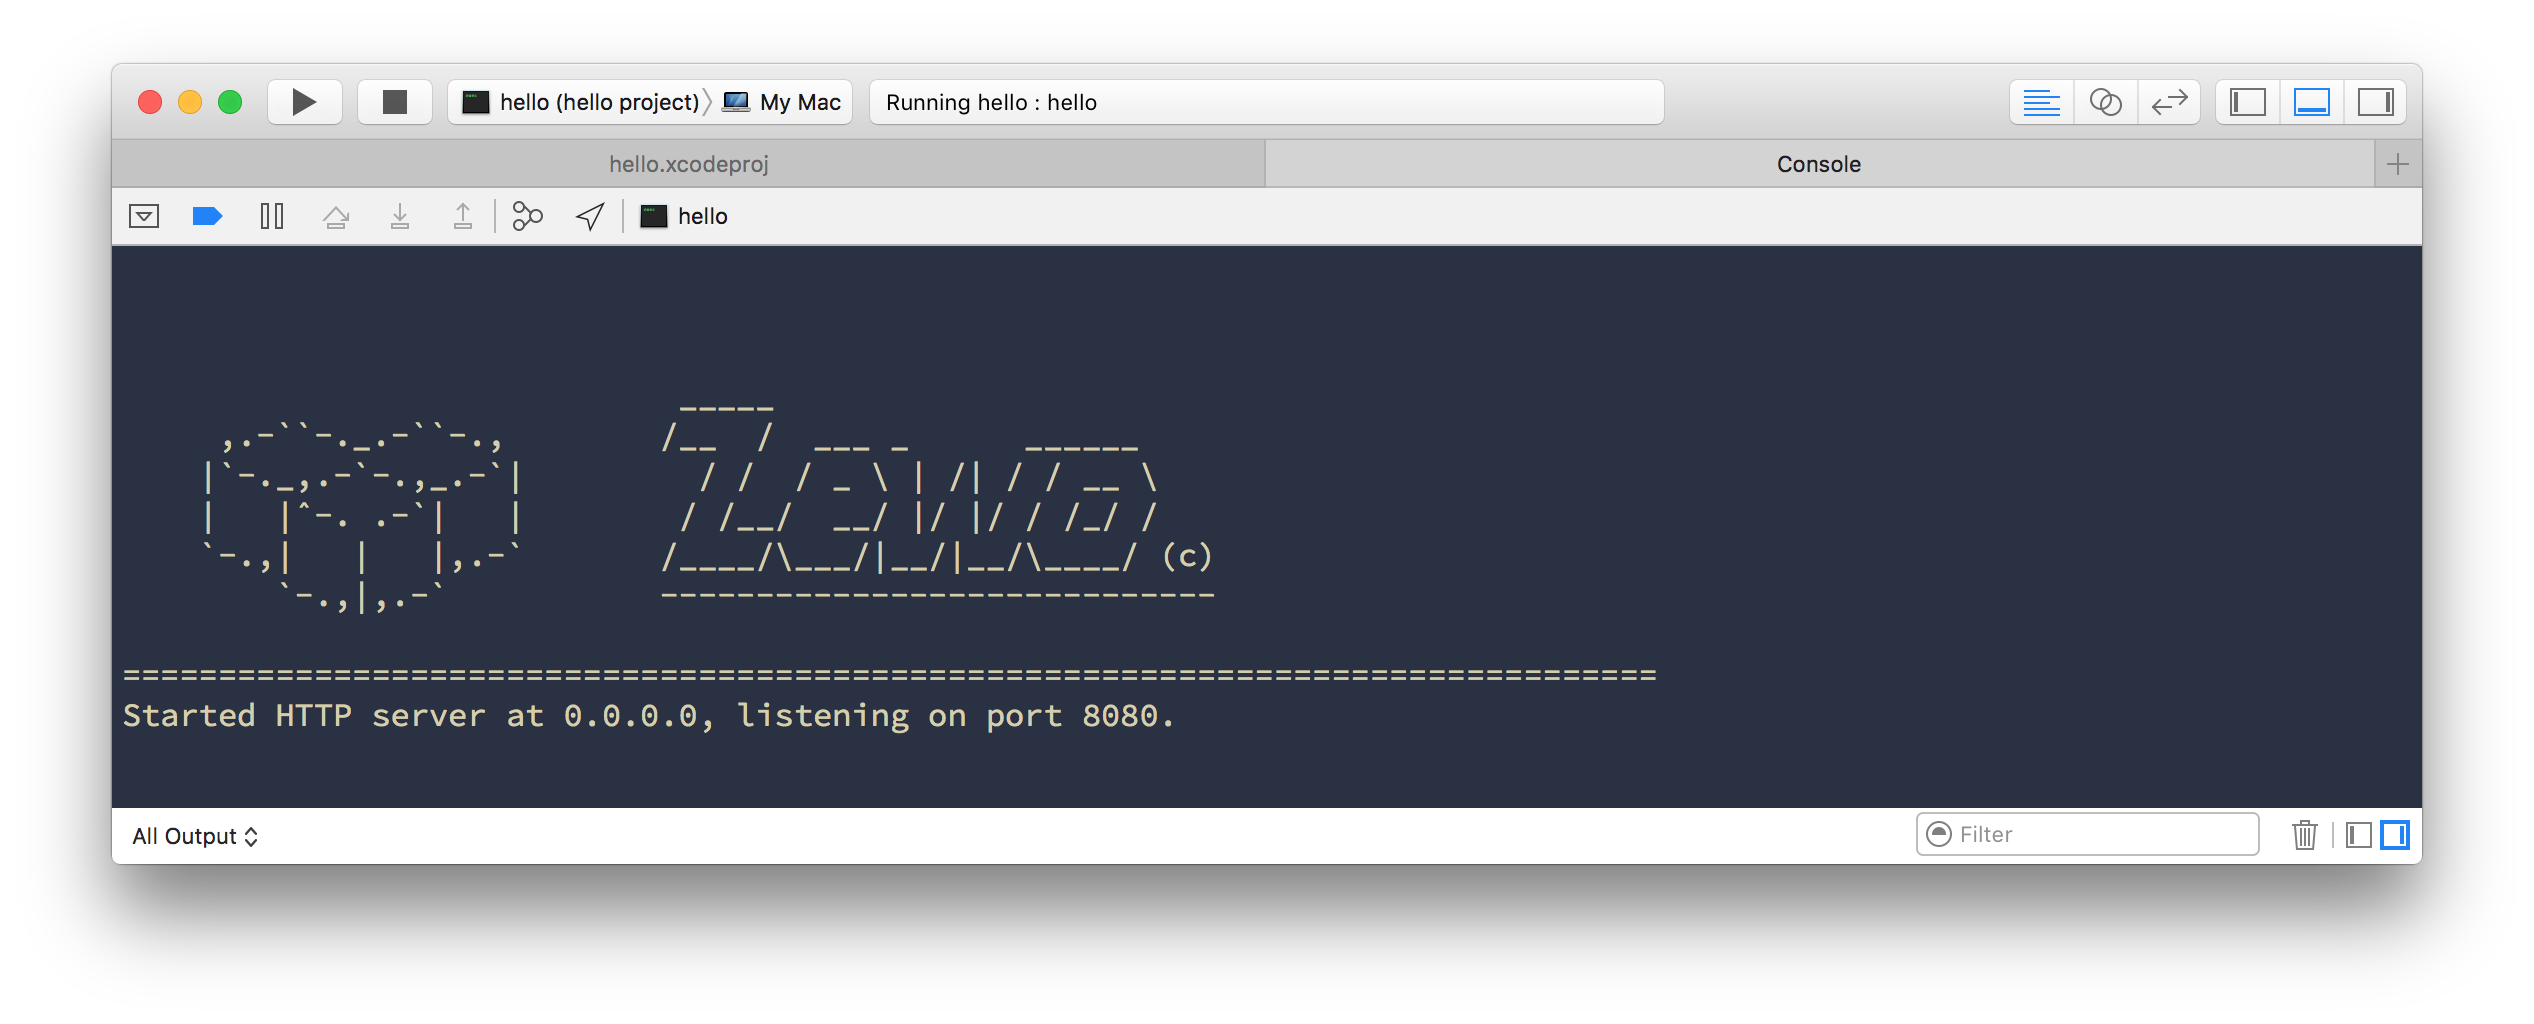
Now click the run button ► or use the shortcut ⌘R. You should see the server running directly from your Xcode.
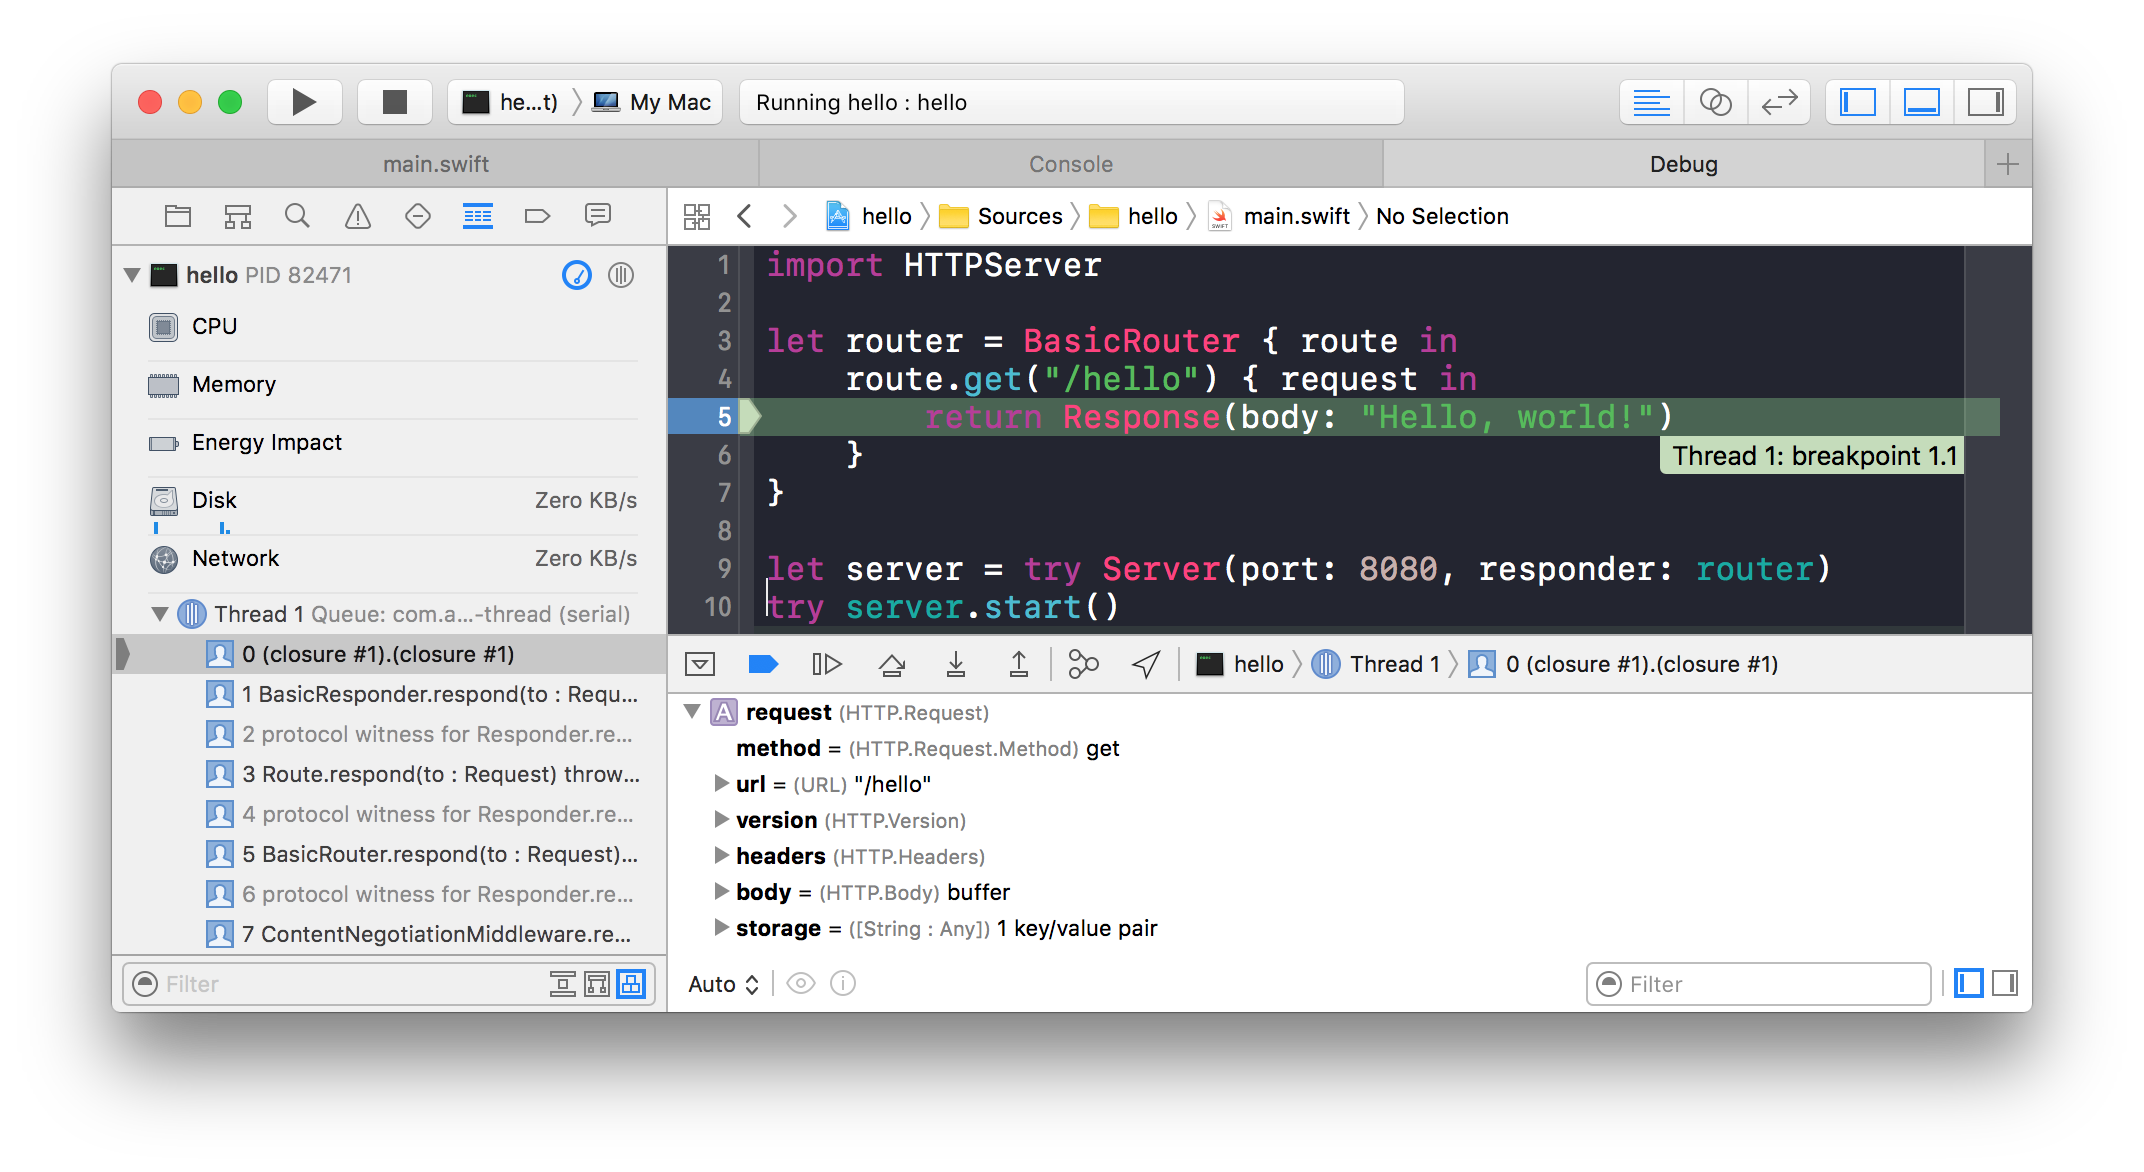
You can set breakpoints in your code and debug it as usual.
To stop the server just click the stop button ■ or use the shortcut ⌘..
Now the best part, deploying your app to production. For this we'll use Heroku which is a cloud PaaS (Platform as a Service). Heroku is great specially because it's extremely easy to use and for this example you won't have to spend a dime. So if you don't have a Heroku account sign up for free. After signing up check out the instrunctions to download and install the heroku command line.
heroku login. The part where you create your app is what we'll do here. 😉
Heroku works very tightly with git. So let's initialize our git repo. Go back to the command line and do:
git initCool, now before we commit we need to make some changes. First, create a file called Procfile at the root of your project.
touch ProcfileProcfile is the file used by Heroku to configure your application. For more information go here. Now, open Procile in your favorite editor and make it look like this:
web: hello -port $PORT
web states that our application is a web application. hello -port $PORT is simply the executable of our application. Heroku doesn't allow you to choose the port where your web application will run. So it gives you the port through the environment variable PORT. hello -port $PORT gets the PORT environment variable and passes it to our application as a command line argument. So now we have to access that argument and send it to our server.
Let's edit our main.swift to accomodate those changes. You can use Xcode or a text editor to make it look like this:
import HTTPServer

let arguments = try Configuration.commandLineArguments()
let port = arguments["port"].int ?? 8080
let log = LogMiddleware()

let router = BasicRouter { route in
    route.get("/hello") { request in
        return Response(body: "Hello, world!")
    }
}

let server = try Server(port: port, middleware: [log], responder: router)
try server.start()
We just added two lines. The first tries to parse the command line arguments passed to the application. The second tries to get the port argument as an integer, if it doesn't exists or if it's not an integer then it uses the default value 8080.
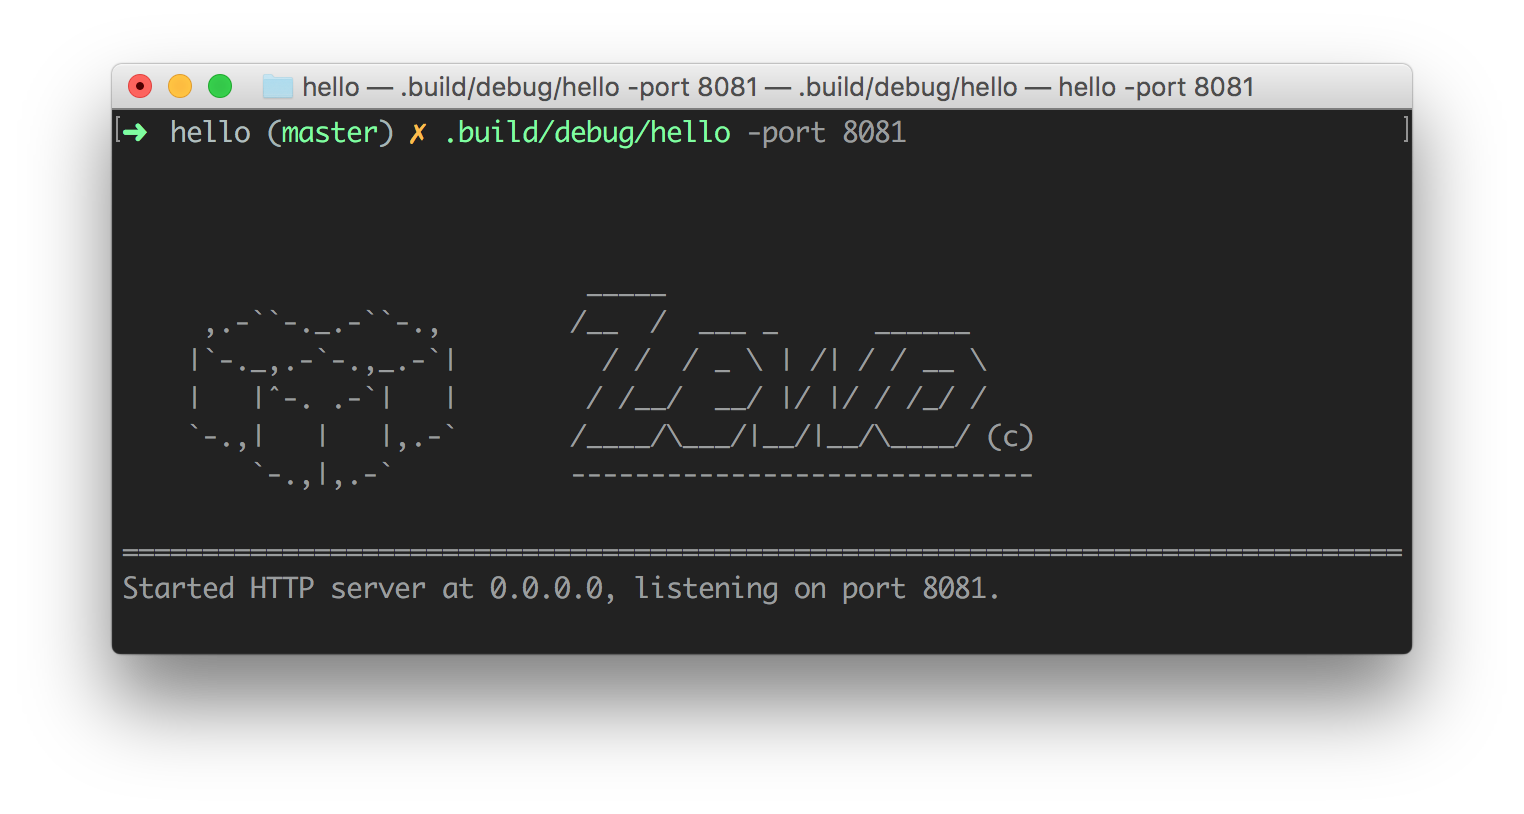
Now let's try it locally. Compile and run with Xcode or with SwiftPM.
swift build
.build/debug/hello -port 8081
Cool, it works. Let's stage our files and commit.
git add .
git commit -am "it starts"
Next step is to create the Heroku app. To use Swift on Heroku we need a swift buildpack. We'll use heroku-buildpack-swift, a buildpack created by @kylef, the same dude that created swiftenv. Now that we know which buildpack to use we just need to run:
heroku create {your-heroku-app-name} --buildpack https://github.com/kylef/heroku-buildpack-swift.git{your-heroku-app-name} for a nice name. Maybe something like hello-zewo-1969?
This command will create an app in your account at Heroku (don't worry it's free) and set up a git remote called heroku. All we have to do now it's push to this remote.
git push heroku masterHeroku will use the buildpack to install swiftenv then Swift and its dependencies and finally it will compile and start your app using the Procfile. In the end you'll have something like this:
remote: -----> Launching...
remote:        Released v5
remote:        https://hello-zewo-1969.herokuapp.com/ deployed to Heroku
remote:
remote: Verifying deploy... done.
That's it. Your app is now live! 😎 You can check mine on https://hello-zewo-1969.herokuapp.com/hello.
Check out our organization for more. You can also take a look at our documentation. If you have any doubts you can reach us at our slack. We're very active and always ready to help.
If you have any trouble create a Github issue and we'll do everything we can to help you. When stating your issue be sure to add enough details and reproduction steps so we can help you faster. If you prefer you can join our Slack and go to the #help channel too.
We have an amazing community of open and welcoming developers. Join us on Slack to get to know us!
Yo! Want to be a part of Zewo? Check out our Contribution Guidelines.
Support us with a monthly donation and help us continue our activities. [Become a backer]
Become a sponsor and get your logo on our website Zewo.io and on our README on Github with a link to your site. [Become a sponsor]
All Zewo modules are released under the MIT license. See LICENSE for details.


