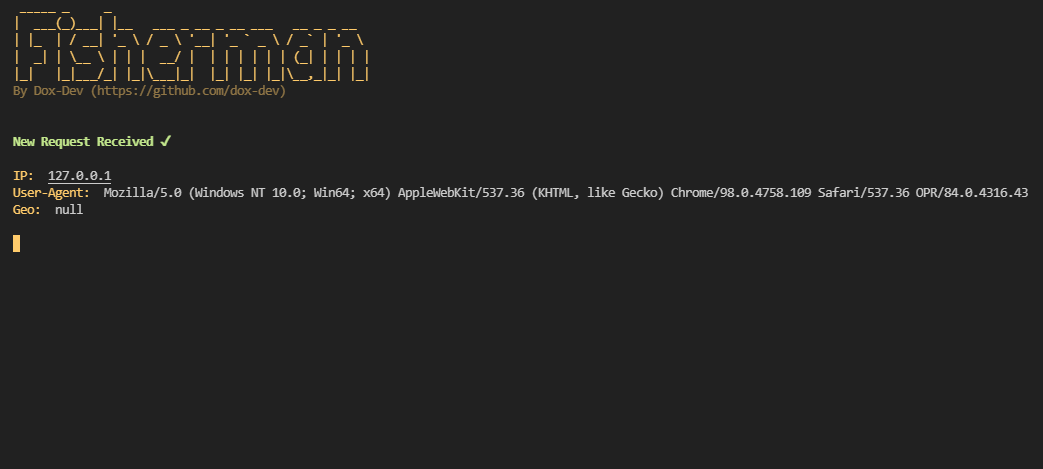
Fisherman is a simple express.js server, that collects basic client's data on every connection.
-
Showing Client's Data
Including:
• IP Address
• Geolocation
• Web Browser
• Operating System - Easy to use (ready to use in less than 15 minutes)
- Secure (even though it's a simple server, we will develop better and better security)
- Clarity of use (because of used colors pallete)
- Node.js (and npm)
-
NPM Dependencies
• Express.js
• GeoIP-Lite
• Ngrok
sudo apt-get update  # Update apt-get
sudo apt-get install nodejs npm git  # Install all dependencies
git clone https://github.com/dox-dev/fisherman.git  # Clone Fisherman repository
cd fisherman  # Enter Fisherman directory
/usr/bin/npm install --save # npm will install all required dependencies- Install Node.js
- Download repository zip file and extract it to another folder
- Open the folder, where you extracted repository files with Command Prompt
- Run
npm install --saveto install all required dependencies
To use Fisherman you need to have Ngrok account To create one, just visit dashboard.ngrok.com/signup and follow all instructions.
After creating free Ngrok account, go to dashboard.ngrok.com/get-started/your-authtoken and copy your auth token.
Then open app.js file and paste your auth token into the "token" variable. Right here:
const app = express()
const port = 8080


// Your ngrok auth token (Get it here: https://dashboard.ngrok.com/get-started/your-authtoken)
const token = 'PUT YOUR AUTH TOKEN HERE'
When you'll add your authentication token, you're all set to go. Right now you can upload your index.html file into /public/ directory.
And that's it! Now you can start your Fisherman server, by typing:
.\fisherman.sh #Windowsor
sh fisherman.sh #Linuxinto your Command-Line.
- Better Routing
- Faster Response Time
- Better Security
- More Feedback From Client's Connection


