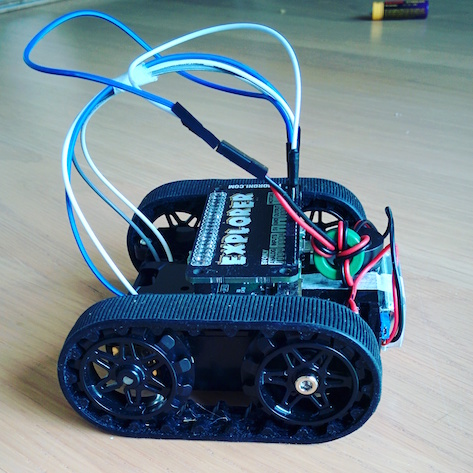
Use a Wiimote and explorer pHAT to control your Polulu Zumo Robot!
If you're here from having read the magazine tutorial series "Build an Explorer Robot" then thanks for stopping by.
You will find the code for part 3 of the tutorial here:
If you haven't got that far yet, then please feel free to experiement with the guide below and let me know how you get on.
You can get in touch with me on Twitter @alexelisuk or over on the blog. If you find a problem. with part of this repositiory then please raise an issue.
Basics:
- Raspberry PI (i.e. the PI Zero)
- pHAT explorerhat from Pimoroni
- Bluetooth USB dongle (£1 type is OK)
- Wiimote
Robot-parts:
- Zumo robot kit from Pimoroni
- 2x 1:50 micro metal gear-motors
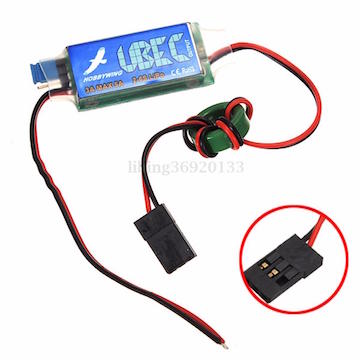
- 1x 3A Hobbywing UBEC 5v
- 4x Jumper cables
Solder the UBEC's input wires (red/black) to the AA battery terminals.
Connect the UBEC's output wires to the 5v/GND on the explorerhat. This will now supply 5v to the PI itself.
Take your 4x jumper cables and cut off one end of each wire, then solder the wires to the micro metal gear-motors.
Connect the male end of your jumper cables into Motors [1 +/- and 2 +/-]
Clone the repo:
cd /home/pi/
git clone https://github.com/alexellis/zumopi.git
apt-get install bluez
Install explorerhat
curl get.pimoroni.com/explorerhat | bash
Because the PI Zero has one USB port we need to start our software automatically.
systemctl enable cron
crontab -e
Enter this:
@reboot /home/pi/zumopi/start.sh