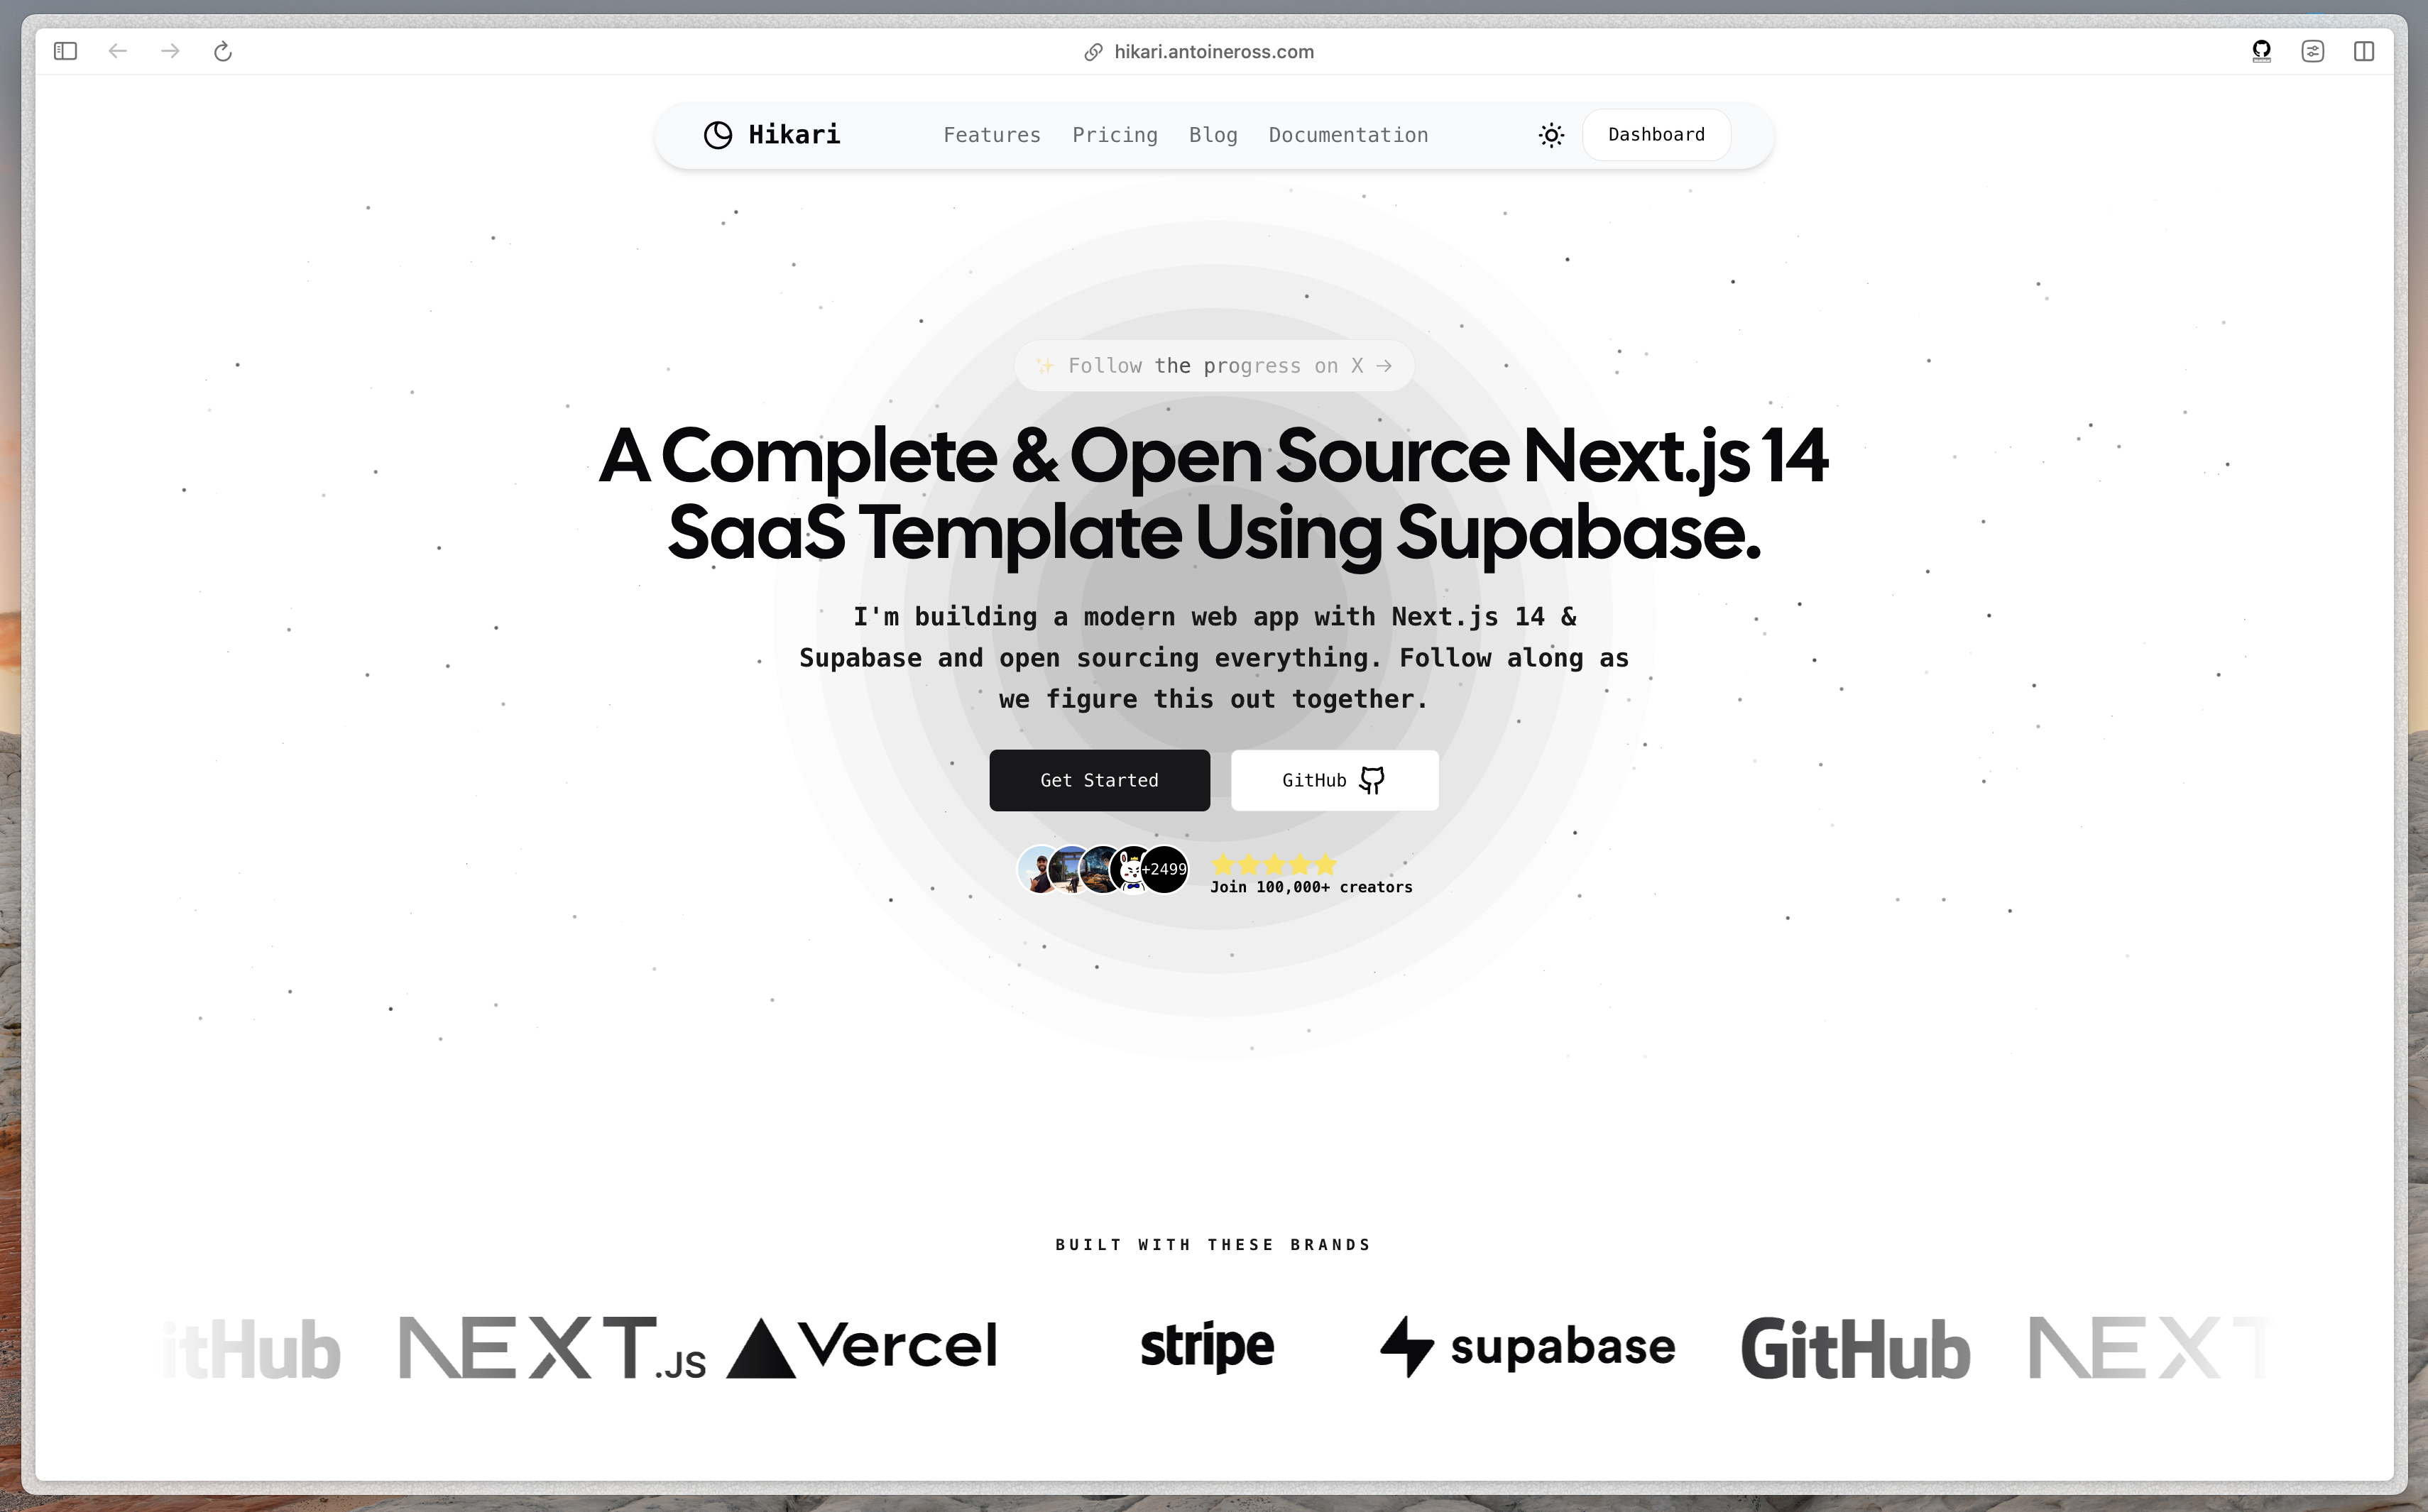
The all-in-one starter kit for high-performance SaaS applications.
Warning This app is a work in progress. I'm building this in public. You can follow the progress on Twitter @antoineross__. See the features below.
- A complete Auth Package: Secure user management and authentication with Supabase
- Powerful data access & management tooling on top of PostgreSQL with Supabase
- Integration with Stripe Checkout and the Stripe customer portal
- Automatic syncing of pricing plans and subscription statuses via Stripe webhooks
- Features included in the pricing plans, just follow the format
- A complete landing page with Hero Section, Navigation (2), Logo Clouds (centered, infinite horizontal scroll), Pricing Table (2), Testimonials (2: Regular, Fading), FAQ, Contact, Footer (2), Dashboard
When deploying this template, the sequence of steps is important. Follow the steps below in order to get up and running.
Follow this guide to set up an OAuth app with GitHub and configure Supabase to use it as an auth provider.
In your Supabase project, navigate to auth > URL configuration and set your main production URL (e.g. https://your-deployment-url.vercel.app) as the site url.
Next, in your Vercel deployment settings, add a new Production environment variable called NEXT_PUBLIC_SITE_URL and set it to the same URL. Make sure to deselect preview and development environments to make sure that preview branches and local development work correctly.
If you haven't already done so, clone your Github repository to your local machine.
Ensure you have pnpm installed and run:
pnpm installIt's highly recommended to use a local Supabase instance for development and testing. We have provided a set of custom commands for this in package.json.
First, you will need to install Docker. You should also copy or rename:
.env.local.example->.env.local.env.example->.env
Next, run the following command to start a local Supabase instance and run the migrations to set up the database schema:
pnpm supabase:startThe terminal output will provide you with URLs to access the different services within the Supabase stack. The Supabase Studio is where you can make changes to your local database instance.
Copy the value for the service_role_key and paste it as the value for the SUPABASE_SERVICE_ROLE_KEY in your .env.local file.
You can print out these URLs at any time with the following command:
pnpm supabase:statusTo link your local Supabase instance to your project, run the following command, navigate to the Supabase project you created above, and enter your database password.
pnpm supabase:linkIf you need to reset your database password, head over to your database settings and click "Reset database password", and this time copy it across to a password manager! 😄
🚧 Warning: This links our Local Development instance to the project we are using for production. Currently, it only has test records, but once it has customer data, we recommend using Branching or manually creating a separate preview or staging environment, to ensure your customer's data is not used locally, and schema changes/migrations can be thoroughly tested before shipping to production.
Once you've linked your project, you can pull down any schema changes you made in your remote database with:
pnpm supabase:pullYou can seed your local database with any data you added in your remote database with:
pnpm supabase:generate-seed
pnpm supabase:reset
🚧 Warning: this is seeding data from the production database. Currently, this only contains test data, but we recommend using Branching or manually setting up a preview or staging environment once this contains real customer data.
You can make changes to the database schema in your local Supabase Studio and run the following command to generate TypeScript types to match your schema:
pnpm supabase:generate-typesYou can also automatically generate a migration file with all the changes you've made to your local database schema with the following command:
pnpm supabase:generate-migrationAnd push those changes to your remote database with:
pnpm supabase:pushRemember to test your changes thoroughly in your local and staging or preview environments before deploying them to production!
Use the Stripe CLI to login to your Stripe account:
pnpm stripe:loginThis will print a URL to navigate to in your browser and provide access to your Stripe account.
Next, start local webhook forwarding:
pnpm stripe:listenRunning this Stripe command will print a webhook secret (such as, whsec_***) to the console. Set STRIPE_WEBHOOK_SECRET to this value in your .env.local file. If you haven't already, you should also set NEXT_PUBLIC_STRIPE_PUBLISHABLE_KEY and STRIPE_SECRET_KEY in your .env.local file using the test mode(!) keys from your Stripe dashboard.
In a separate terminal, run the following command to start the development server:
pnpm devNote that webhook forwarding and the development server must be running concurrently in two separate terminals for the application to work correctly.
Finally, navigate to http://localhost:3000 in your browser to see the application rendered.
Archive all test mode Stripe products before going live. Before creating your live mode products, make sure to follow the steps below to set up your live mode env vars and webhooks.
To run the project in live mode and process payments with Stripe, switch Stripe from "test mode" to "production mode." Your Stripe API keys will be different in production mode, and you will have to create a separate production mode webhook. Copy these values and paste them into Vercel, replacing the test mode values.
Afterward, you will need to rebuild your production deployment for the changes to take effect. Within your project Dashboard, navigate to the "Deployments" tab, select the most recent deployment, click the overflow menu button (next to the "Visit" button) and select "Redeploy" (do NOT enable the "Use existing Build Cache" option).
To verify you are running in production mode, test checking out with the Stripe test card. The test card should not work.