A plugin for tmux that allows users to select actions from a customizable popup menu. Inspired by the likes of vscode-which-key, emacs-which-key, and which-key.nvim, this plugin aims to make users more effective at using tmux by reducing keyboard shortcut memorization and increasing feature discoverability.
Key presses
| Key | Action |
|---|---|
| w | Windows menu |
| / | Split horizontal |
| Key | Action |
|---|---|
| p | Panes menu |
| h | Left pane |
- An action menu with many of the common tmux commands
- Mnemonic layout for easy memorization
- Easily customizable and extensible via YAML configuration
- Support for user macros (multiple commands in one action)
- Transient states (menus that stay open for repeated commands)
- Runs in pure tmux script for speed
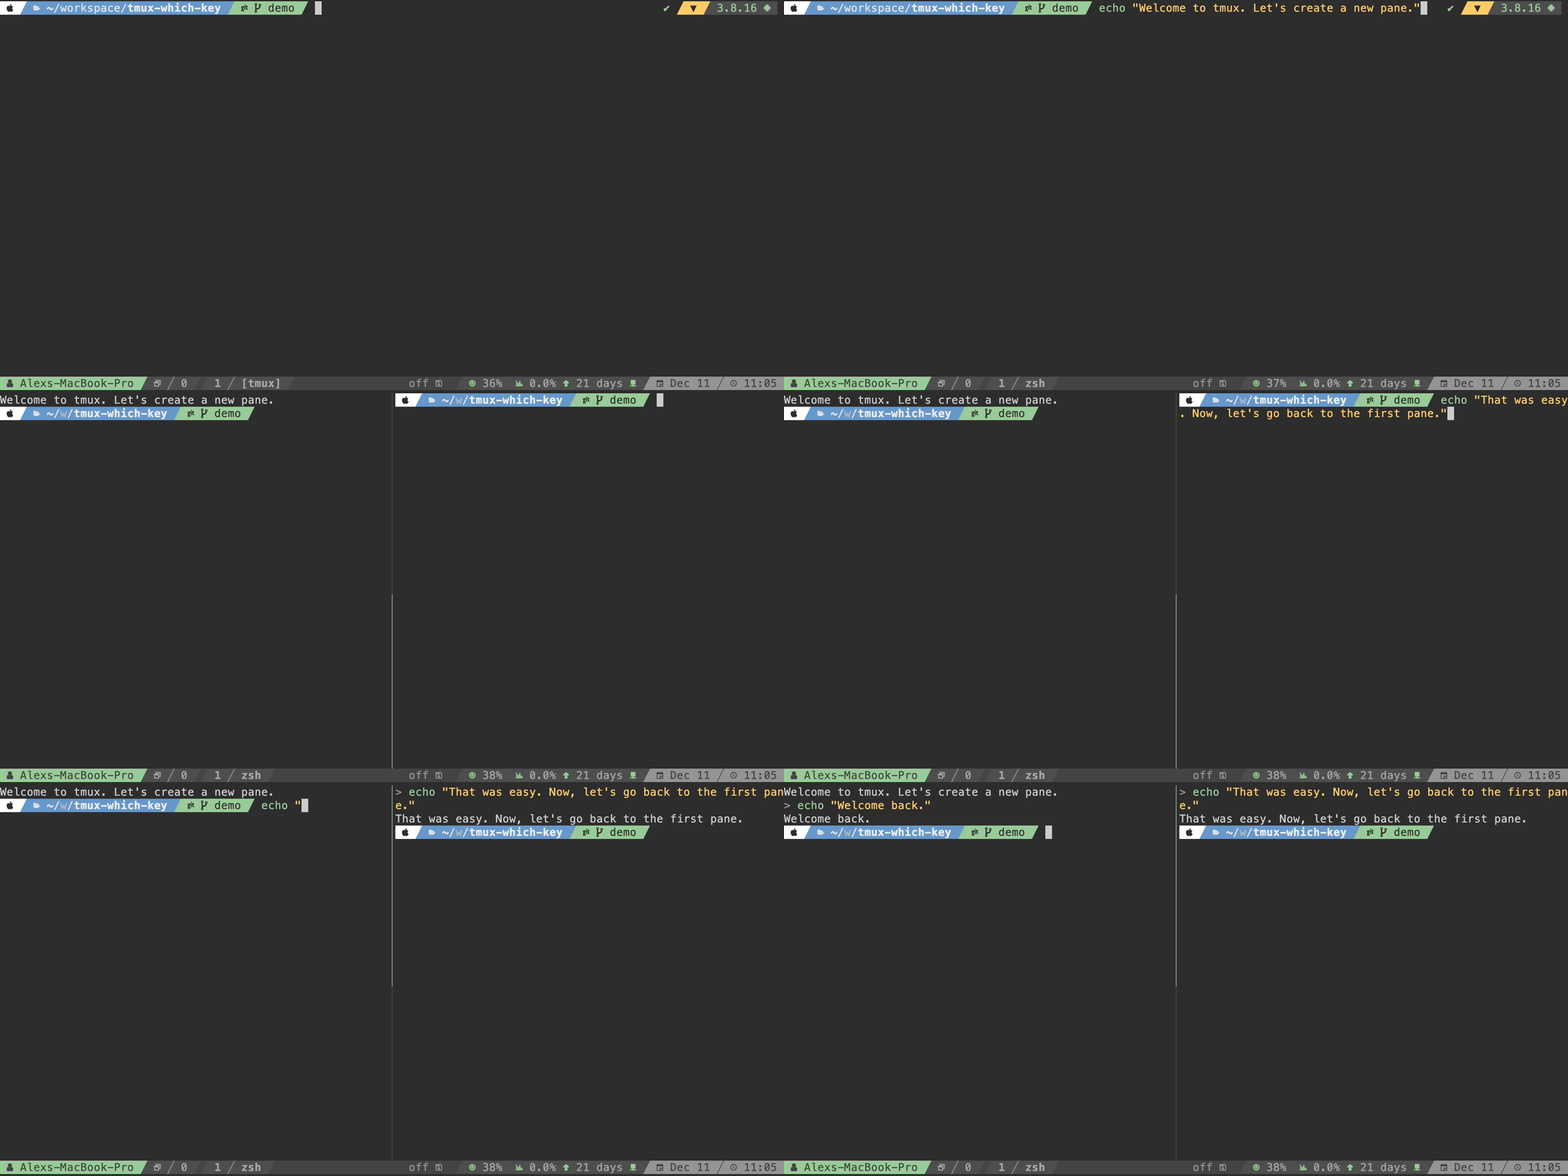
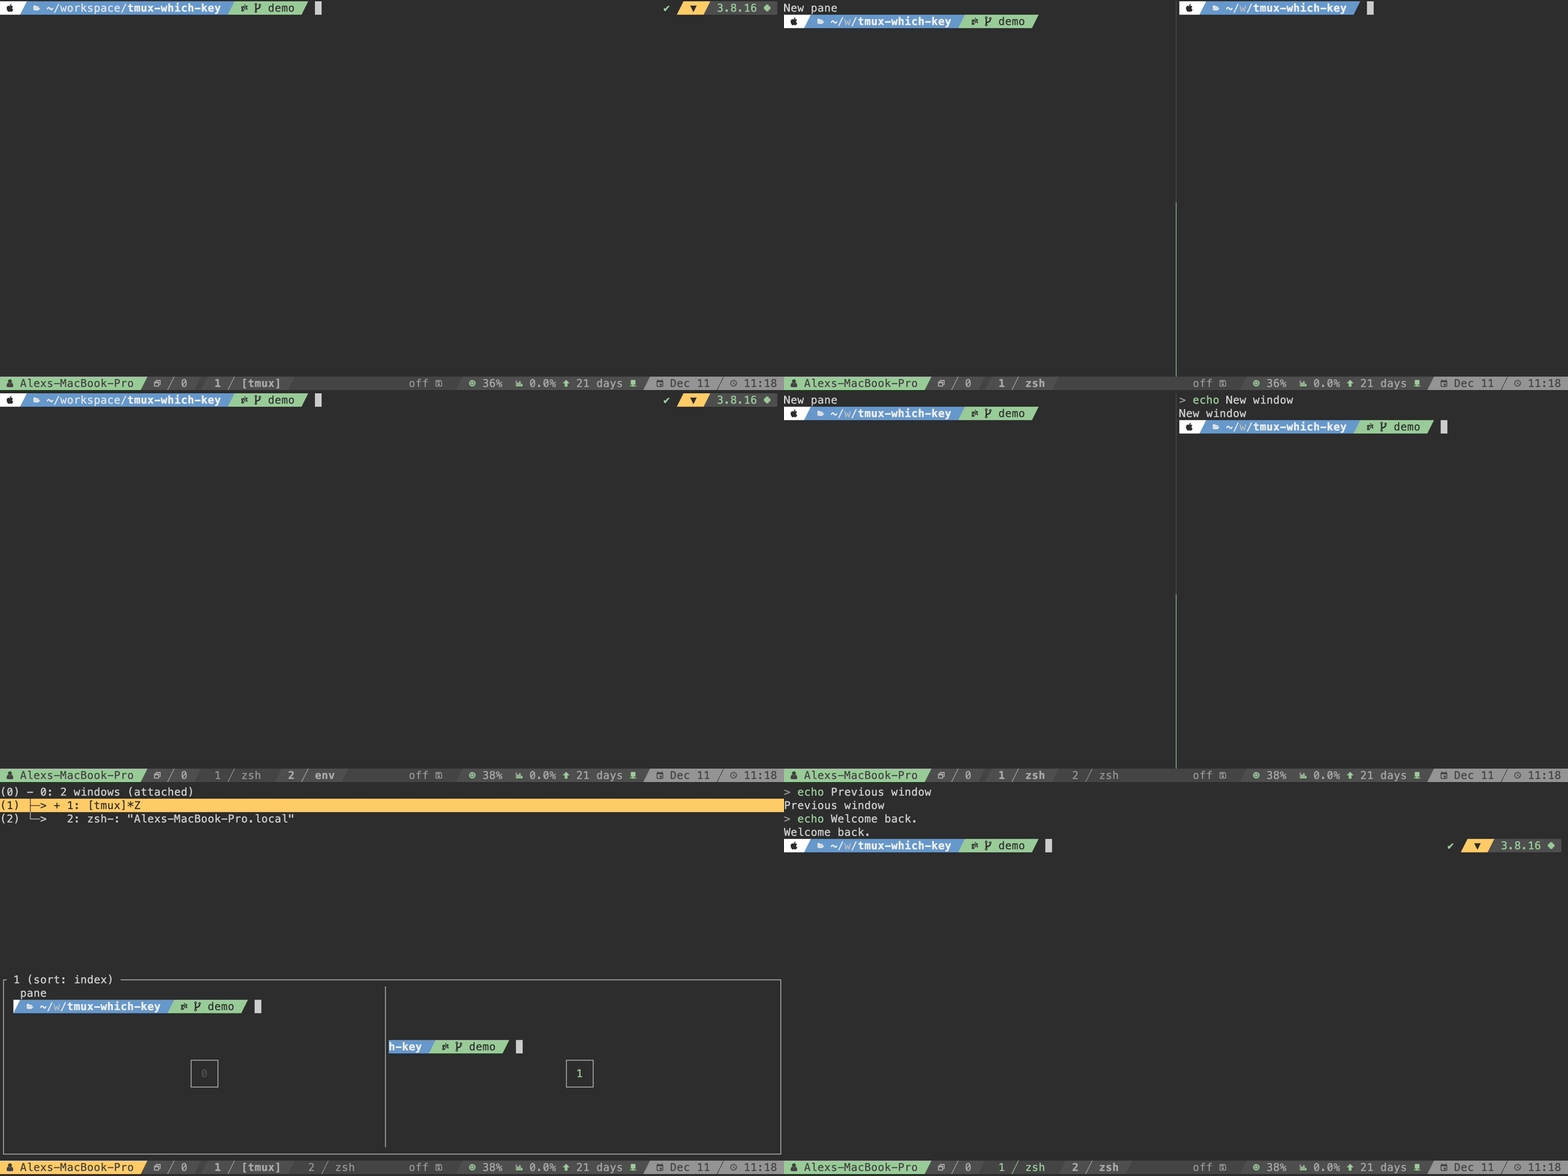
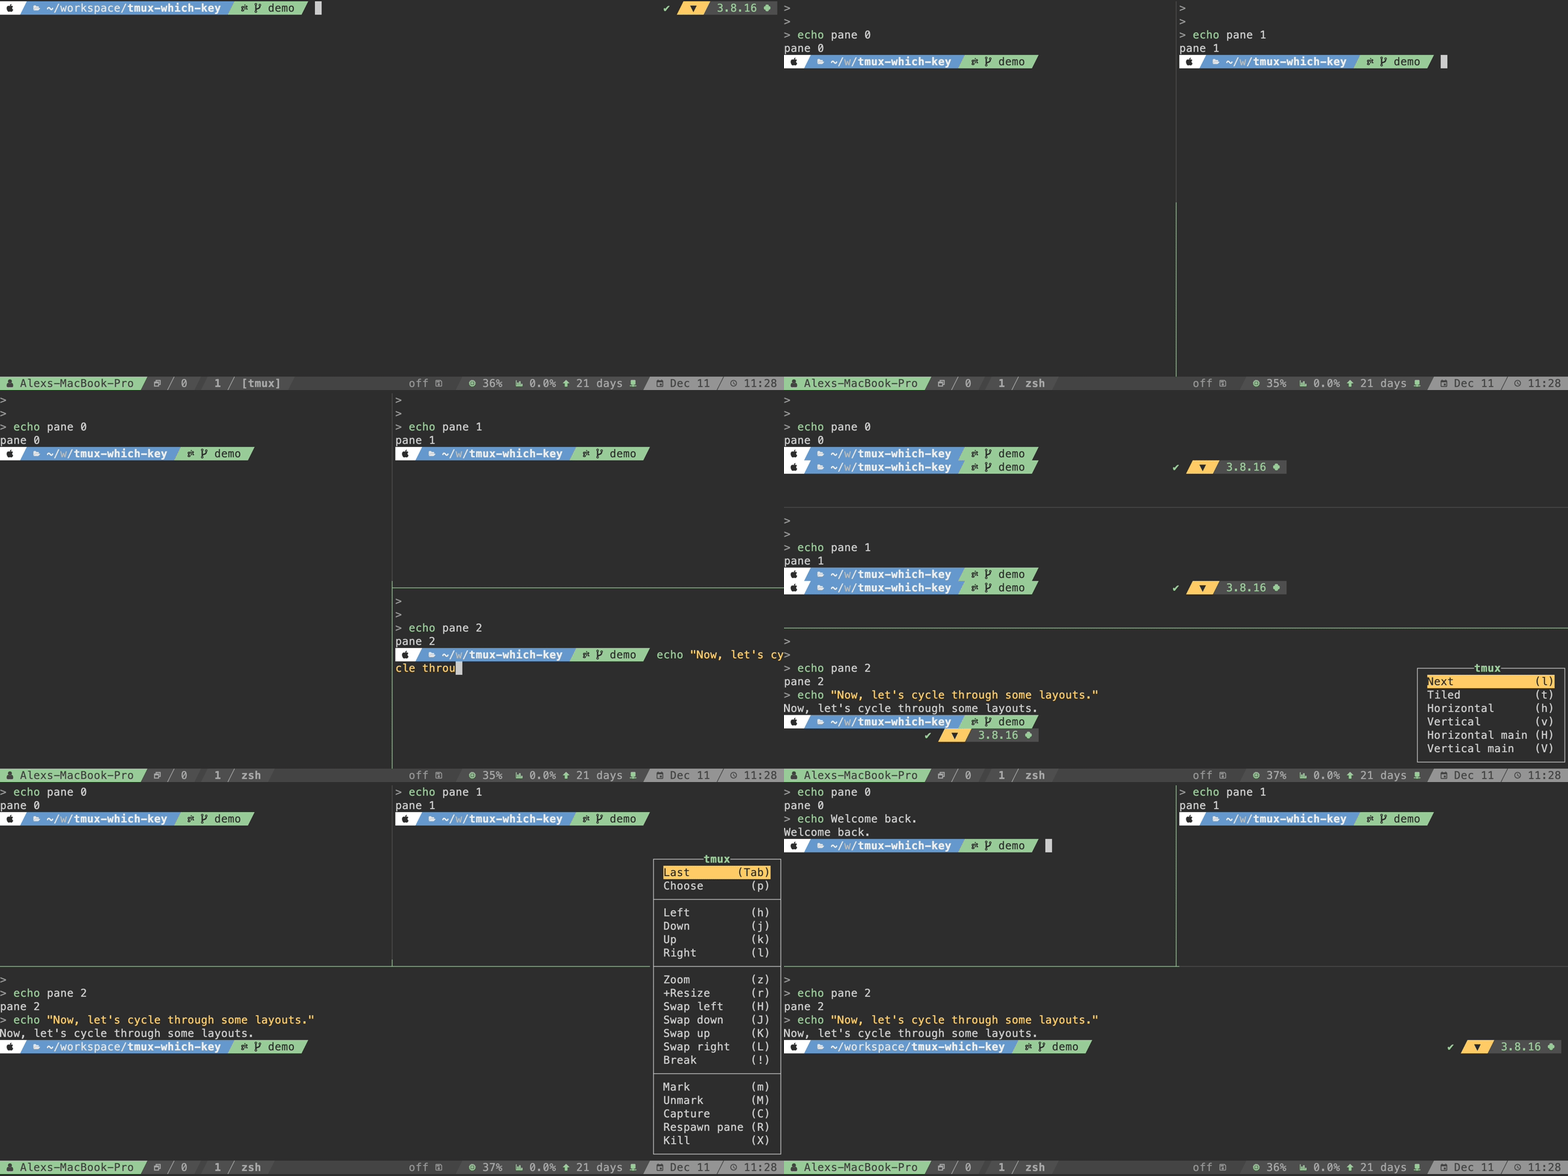
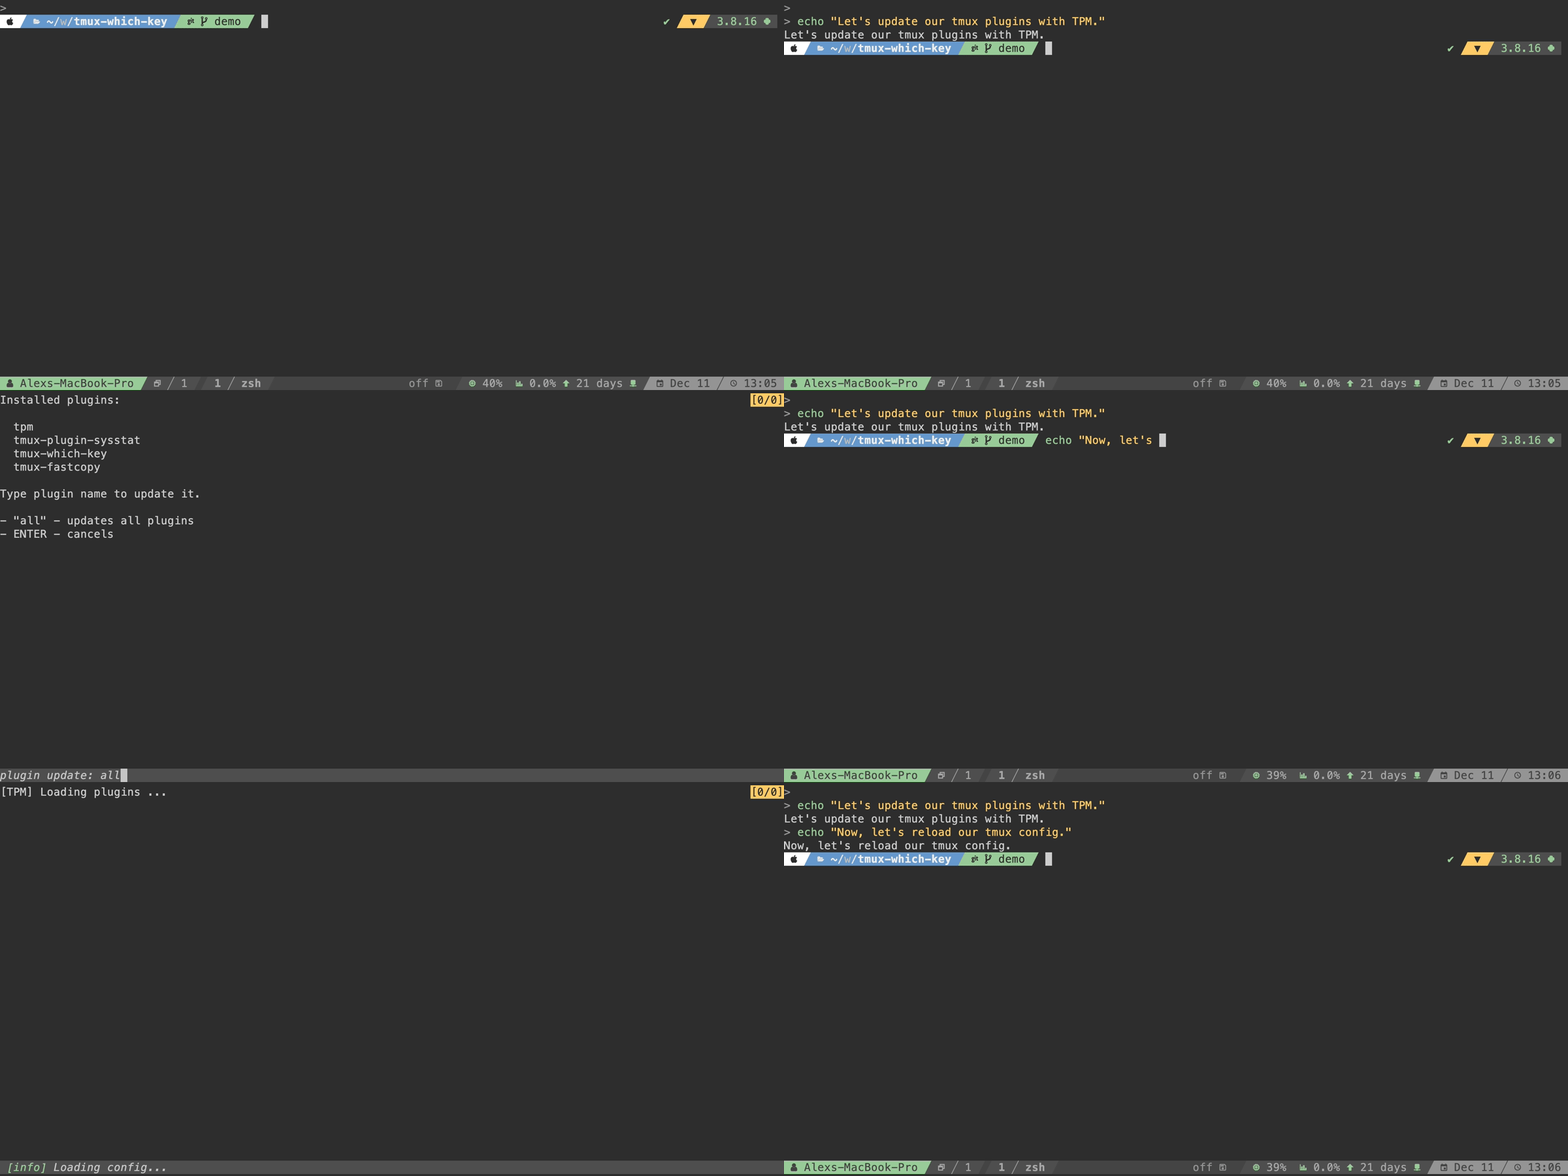
Here are a few examples of the plugin in action:
Navigation
Key presses
Key Action w Windows menu / Split horizontal
Key Action w Windows menu c Create window
Key Action w Windows menu p Previous window
Key Action w Windows menu w Select window 2 Window 2
Changing layouts
Key presses
Key Action w Windows menu / Split horizontal
Key Action w Windows menu - Split vertical
Key Action w Windows menu l Layouts menu l (6 times) Next layout
Key Action p Panes menu p Select pane 0 Pane 0
User macros
Key presses
Key Action C Client menu P Plugins menu u Update plugins
Key Action C Client menu r Reload
Requirements:
- tmux>=3.0
- python>=3.8 (optional)
TPM (Tmux Plugin Manager)
Add the plugin to the list of TPM plugins in your ~/.tmux.conf:
set -g @plugin 'alexwforsythe/tmux-which-key'Hit prefix + I to install and load the plugin. You'll be presented
with a wizard to complete the installation.
Installation steps
- Clone this repository flag using the
--recursiveflag:
git clone --recursive https://github.com/alexwforsythe/tmux-which-key $HOME/.tmux/plugins/- Register the plugin in your
~/.tmux.conf:
run-shell $PATH_TO_PLUGIN/plugin.sh.tmux- Reload your tmux config to load the plugin:
tmux source-file $HOME/.tmux.confOnce you've installed the plugin and reloaded your tmux config, you can open the action using:
- The default root keybinding ctrl + space, or
- The default prefix keybinding
prefix+ space
Menus can be customized either by:
- Editing
config.yaml(requires python3), or - Editing
plugin/init.tmuxdirectly
Note
This method requires python3 to be installed on your system. Most Unix systems
ship with it installed by default these days, so it shouldn't be a problem for
most users. If you don't have python3 installed and aren't willing to use it,
you'll need to edit plugin/init.tmux directly.
The default configuration is defined in config.example.yaml. Here's the
structure:
# The starting index to use for the command-alias option, used for macros
# (required). This value must be at least 200
command_alias_start_index: 200
# The keybindings that open the action menu (required)
keybindings:
  prefix_table: Space # The keybinding for the prefix key table (required)
  root_table: C-Space # The keybinding for the root key table (optional)
# The menu title config (optional)
title:
  style: align=centre,bold # The title style
  prefix: tmux # A prefix added to every menu title
  prefix_style: fg=green,align=centre,bold # The prefix style
# The menu position (optional)
position:
  x: R
  y: P
# tmux-only environment variables that can be used in commands and macros
# (optional)
custom_variables:
  my_var: my_value
# User-defined macros that can be triggered by the menu (optional)
macros:
  restart-pane: # The macro name
    # The macro commands
    - "respawnp -k -c #{pane_current_path}"
    - display "#{log_info} Pane restarted"
# The root menu items (required)
items:
  - name: Next pane
    key: space # The key that triggers this action
    command: next-pane # A command to run
  - name: Respawn pane
    key: R
    macro: restart-pane # A custom macro (defined above)
  - separator: true # A menu separator
  - name: +Layout # A submenu
    key: l
    menu: # The submenu items
      - name: Next
        key: l
        command: nextl
transient: true # Whether to keep the menu open until ESC is pressedBy default, the menu is rebuilt from config.yaml each time TPM initializes the
plugin. If you aren't using the YAML configuration or want to reduce the
plugin's impact on tmux startup time, you can disable this behavior by adding
this to your ~/.tmux.conf before loading the plugin:
set -g @tmux-which-key-disable-autobuild=1
# ...
set -g @plugin 'alexwforsythe/tmux-which-key'Changes the location of configuration and init files to use XDG directories. By default, these paths will be used instead of this plugin's installation directory:
$XDG_CONFIG_HOME/tmux/plugins/tmux-which-key/config.yaml$XDG_DATA_HOME/tmux/plugins/tmux-which-key/init.tmux.
The relative path from XDG_*_HOME can be changed using the
@tmux-which-key-xdg-plugin-path option for additional customization.
set -g @tmux-which-key-xdg-enable=1
set -g @tmux-which-key-xdg-plugin-path=tmux/plugins/tmux-which-key # default

# ...

set -g @plugin 'alexwforsythe/tmux-which-key'
This allows the plugin to also be used with immutable or declarative operating systems.
Example Home Manager Nix Config
{
  lib,
  pkgs,
  ...
}: let
  tmux-which-key =
    pkgs.tmuxPlugins.mkTmuxPlugin
    {
      pluginName = "tmux-which-key";
      version = "2024-01-10";
      src = pkgs.fetchFromGitHub {
        owner = "alexwforsythe";
        repo = "tmux-which-key";
        rev = "<commit hash>";
        sha256 = lib.fakeSha256;
      };
      rtpFilePath = "plugin.sh.tmux";
    };
in {
  xdg.configFile = {
    "tmux/plugins/tmux-which-key/config.yaml".text = lib.generators.toYAML {} {
      command_alias_start_index = 200;
      # rest of config here
    };
  };
  programs.tmux.plugins = [
    {
      plugin = tmux-which-key;
      extraConfig = ''
        set -g @tmux-which-key-xdg-enable 1;
      '';
    }
  ];
}You can customize the action menu by editing plugin/init.tmux directly.
Tip
I strongly recommend using YAML to customize your action menu because editing tmux script can be error-prone and difficult to debug.
You can open tmux-which-key from the command line by running its tmux alias:
tmux show-wk-menu-rootYou can trigger the menu with Space from vicmd mode--similarly to
Spacemacs or
VSpaceCode--by adding a ZLE widget
and keybinding to your ~/.zshrc:
tmux-which-key() { tmux show-wk-menu-root ; }
zle -N tmux-which-key
bindkey -M vicmd " " tmux-which-keyMenus will silently fail to open if the number of items causes them to exceed the height of the terminal. If you run into this issue frequently, consider breaking your menu into multiple submenus.
tmux-which-key uses tmux command-alias to execute certain actions, such as
macros, quickly. command-alias is a global option, though, so these actions
can collide with user aliases or ones defined by other plugins.
This plugin's aliases start at index 200 by default, but if there are already
aliases mapped in this range, you can change the default starting index in
config.yaml.


