Weave your frames into matplotlib animations.
- The main idea behind matplotloom is to describe how to generate each frame of your animation from scratch, instead of generating an animation by modifying one existing plot. This simplifies generating animations. See the examples below and how the code inside the
forloops is plain and familiar matplotlib. It also ensures that every feature can be animated and that the generation process can be easily parallelized. - matplotlib has two tools for making animations:
FuncAnimationandArtistAnimation. But to use them you have to write your plotting code differently to modify an existing frame. This makes it difficult to go from plotting still figures to making animations. And some features are non-trivial to animate. - celluloid is a nice package for making matplotlib animations easily, but as it relies on
ArtistAnimationunder the hood it does come with some limitations such as not being able to animate titles. It also hasn't been maintained since 2018. - Plotting many frames (hundreds to thousands+) can be slow but with matplotloom you can use a parallel
Loomto plot each frame in parallel, speeding up the animation process significantly especially if you can dedicate many cores to plotting.
- You have to call
loom.save_frame(fig)for each frame. While theLoomobject can be made to do this automatically it would have to create and own theFigureinstance and I wanted full control over the creation of theFigure.
matplotloom is published on PyPI so you can install matplotloom via pip
pip install matplotloomor poetry
poetry add matplotloomor conda
conda install matplotloommatplotloom requires Python 3.9+ and is continuously tested on Linux, Windows, and Mac. Ensure you have ffmpeg installed so that animations can be generated.
import numpy as np
import matplotlib.pyplot as plt
from matplotloom import Loom

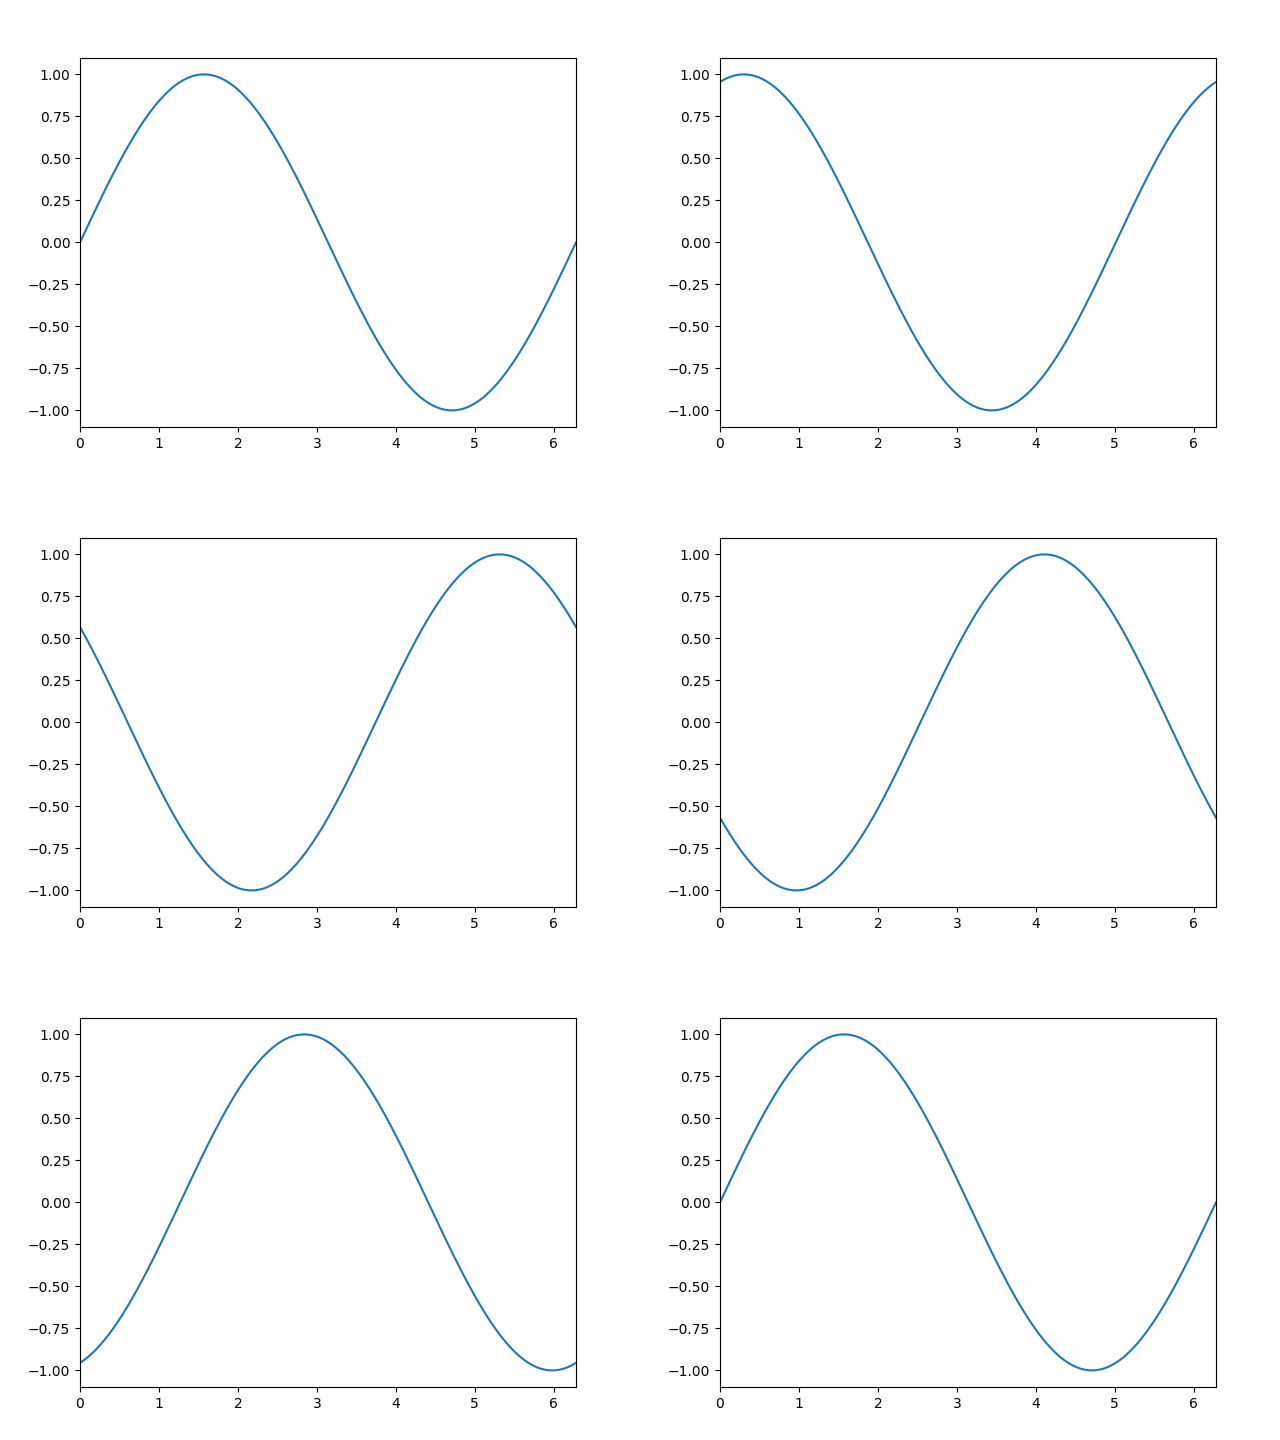
with Loom("sine_wave_animation.gif", fps=30) as loom:
    for phase in np.linspace(0, 2*np.pi, 100):
        fig, ax = plt.subplots()

        x = np.linspace(0, 2*np.pi, 200)
        y = np.sin(x + phase)

        ax.plot(x, y)
        ax.set_xlim(0, 2*np.pi)

loom.save_frame(fig)import numpy as np
import matplotlib.pyplot as plt
from matplotloom import Loom
with Loom("rotating_circular_sine_wave.mp4", fps=10) as loom:
for i in range(36):
fig, ax = plt.subplots(figsize=(12, 8), subplot_kw={"projection": "3d"})
X = np.arange(-5, 5, 0.25)
Y = np.arange(-5, 5, 0.25)
X, Y = np.meshgrid(X, Y)
R = np.sqrt(X**2 + Y**2)
Z = np.sin(R)
surf = ax.plot_surface(X, Y, Z, cmap="coolwarm")
ax.view_init(azim=i*10)
ax.set_zlim(-1.01, 1.01)
fig.colorbar(surf, shrink=0.5, aspect=5)
loom.save_frame(fig)rotating_circular_sine_wave.mp4
By passing parallel=True when creating a Loom, you can save frames using loom.save_frame(fig, frame_number) which allows you to plot and save all your frames in parallel. One easy way to leverage this is by using joblib to parallelize the for loop. For example, here's how you can parallelize the simple sine wave example:
import numpy as np
import matplotlib.pyplot as plt
from matplotloom import Loom
from joblib import Parallel, delayed

def plot_frame(phase, frame_number, loom):
    fig, ax = plt.subplots()

    x = np.linspace(0, 2*np.pi, 200)
    y = np.sin(x + phase)

    ax.plot(x, y)
    ax.set_xlim(0, 2*np.pi)

    loom.save_frame(fig, frame_number)

with Loom("parallel_sine_wave.gif", fps=30, parallel=True) as loom:
    phases = np.linspace(0, 2*np.pi, 100)

    Parallel(n_jobs=-1)(
        delayed(plot_frame)(phase, i, loom)
        for i, phase in enumerate(phases)
    )