In this lab, you will:
- Build and deploy a simple Guestbook application
- Autoscale the Guestbook application using Horizontal Pod Autoscaler
- Perform Rolling Updates and Rollbacks
Guestbook is a simple web application that we will build and deploy with Docker and Kubernetes. The application consists of a web front end which will have a text input where you can enter any text and submit. For all of these we will create Kubernetes Deployments and Pods. Then we will apply Horizontal Pod Scaling to the Guestbook application and finally work on Rolling Updates and Rollbacks.
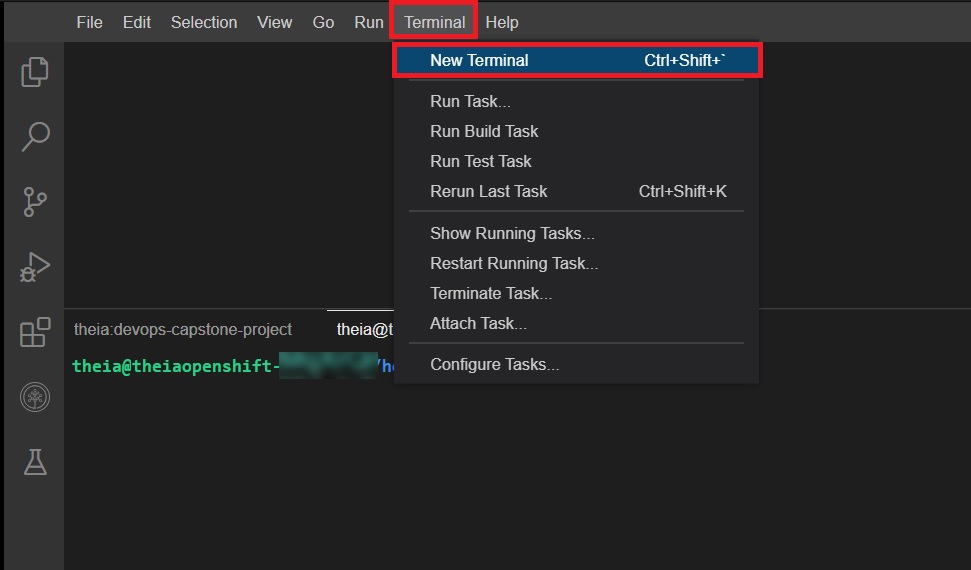
- If a terminal is not already open, open a terminal window by using the menu in the editor:
Terminal > New Terminal.
Note: Please wait for some time for the terminal prompt to appear.
- Change to your project folder.
Note: If you are already on the
/home/projectfolder, please skip this step.
cd /home/project
- Clone the git repository that contains the artifacts needed for this lab.
[ ! -d 'guestbook' ] && git clone https://github.com/ibm-developer-skills-network/guestbook

- Change to the directory for this lab.
cd guestbook
- List the contents of this directory to see the artifacts for this lab.
ls
::page{title="Build the guestbook app"}
To begin, we will build and deploy the web front end for the guestbook app.
- Change to the
v1/guestbookdirectory.
cd v1/guestbook
- Dockerfile incorporates a more advanced strategy called multi-stage builds, so feel free to read more about that here.
Complete the Dockerfile with the necessary Docker commands to build and push your image. The path to this file is guestbook/v1/guestbook/Dockerfile.
Hint!
The FROM instruction initializes a new build stage and specifies the base image that subsequent instructions will build upon.The COPY command enables us to copy files to our image.
The ADD command is used to copy files/directories into a Docker image.
The RUN instruction executes commands.
The EXPOSE instruction exposes a particular port with a specified protocol inside a Docker Container.
The CMD instruction provides a default for executing a container, or in other words, an executable that should run in your container.
Copy the code of the completed dockerfile with you. You will be prompted to submit it in the text box in the Peer Assignment.
- Export your namespace as an environment variable so that it can be used in subsequent commands.
export MY_NAMESPACE=sn-labs-$USERNAME

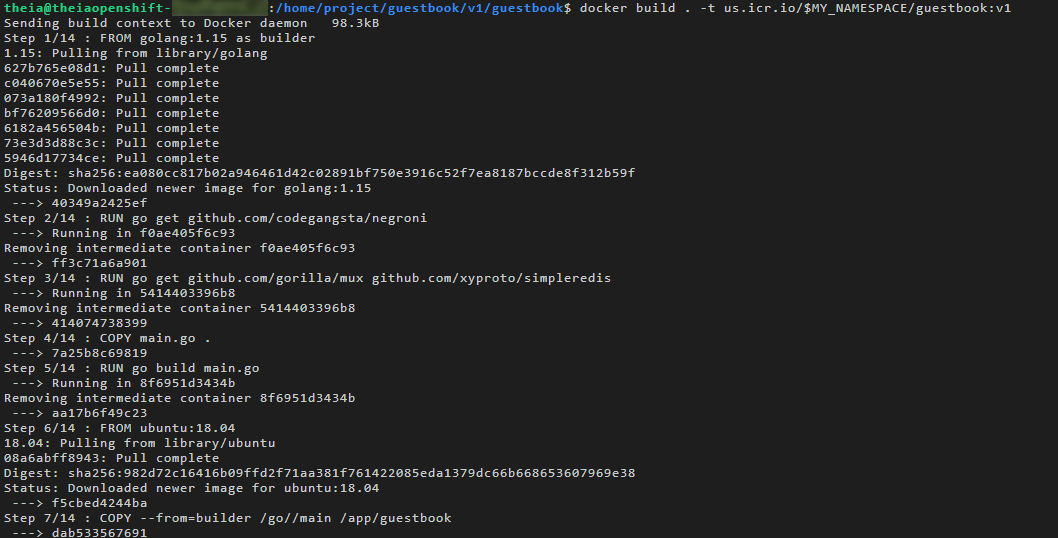
- Build the guestbook app using the Docker Build command.
Hint!
docker build . -t us.icr.io/$MY_NAMESPACE/guestbook:v1
- Push the image to IBM Cloud Container Registry.
Hint!
docker push us.icr.io/$MY_NAMESPACE/guestbook:v1

Note: If you have tried this lab earlier, there might be a possibility that the previous session is still persistent. In such a case, you will see a 'Layer already Exists' message instead of the 'Pushed' message in the above output. We recommend you to proceed with the next steps of the lab.
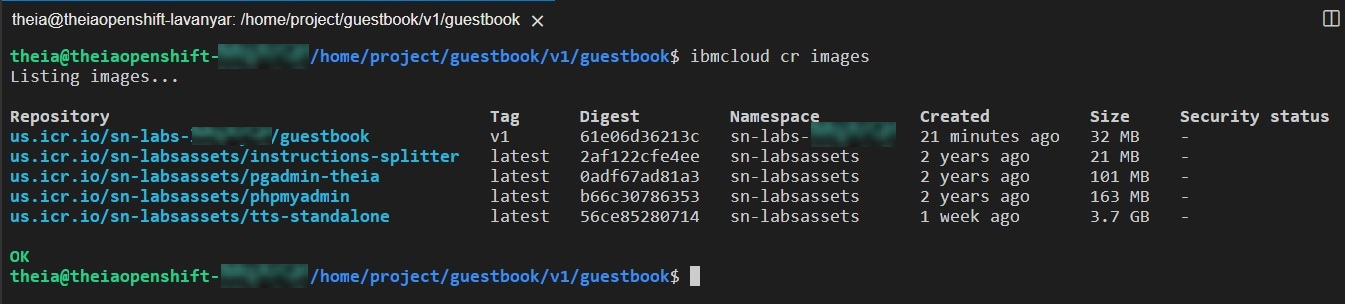
- Verify that the image was pushed successfully.
ibmcloud cr images
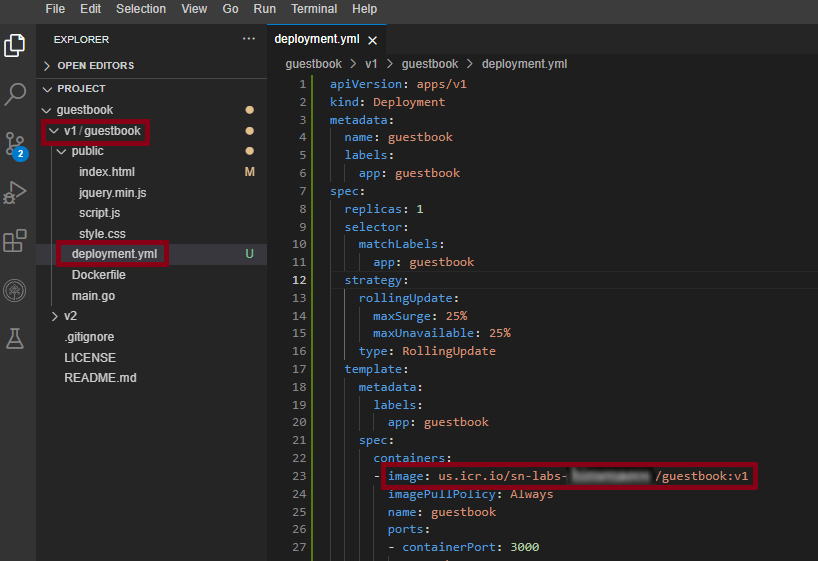
- Open the
deployment.ymlfile in thev1/guestbookdirectory & view the code for the deployment of the application:
apiVersion: apps/v1
kind: Deployment
metadata:
  name: guestbook
  labels:
    app: guestbook
spec:
  replicas: 1
  selector:
    matchLabels:
      app: guestbook
  strategy:
    rollingUpdate:
      maxSurge: 25%
      maxUnavailable: 25%
    type: RollingUpdate
  template:
    metadata:
      labels:
        app: guestbook
    spec:
      containers:
      - image: us.icr.io/<your sn labs namespace>/guestbook:v1
        imagePullPolicy: Always
        name: guestbook
        ports:
        - containerPort: 3000
          name: http
        resources:
          limits:
            cpu: 50m
          requests:
            cpu: 20m
Note: Replace
<your sn labs namespace>with your SN labs namespace. To check your SN labs namespace, please run the commandibmcloud cr namespaces
- It should look as below:
- Apply the deployment using:
kubectl apply -f deployment.yml

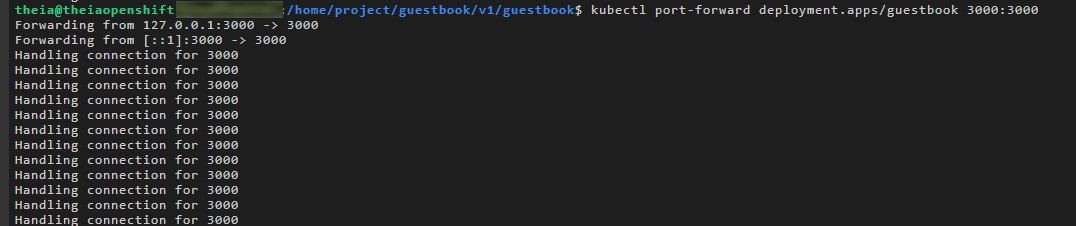
- Open a New Terminal and enter the below command to view your application:
kubectl port-forward deployment.apps/guestbook 3000:3000
- Launch your application on port 3000. Click on the Skills Network button on the right, it will open the “Skills Network Toolbox�. Then click the Other then Launch Application. From there you should be able to enter the port and launch.

- Now you should be able to see your running application. Please copy the app URL which will be given as below:
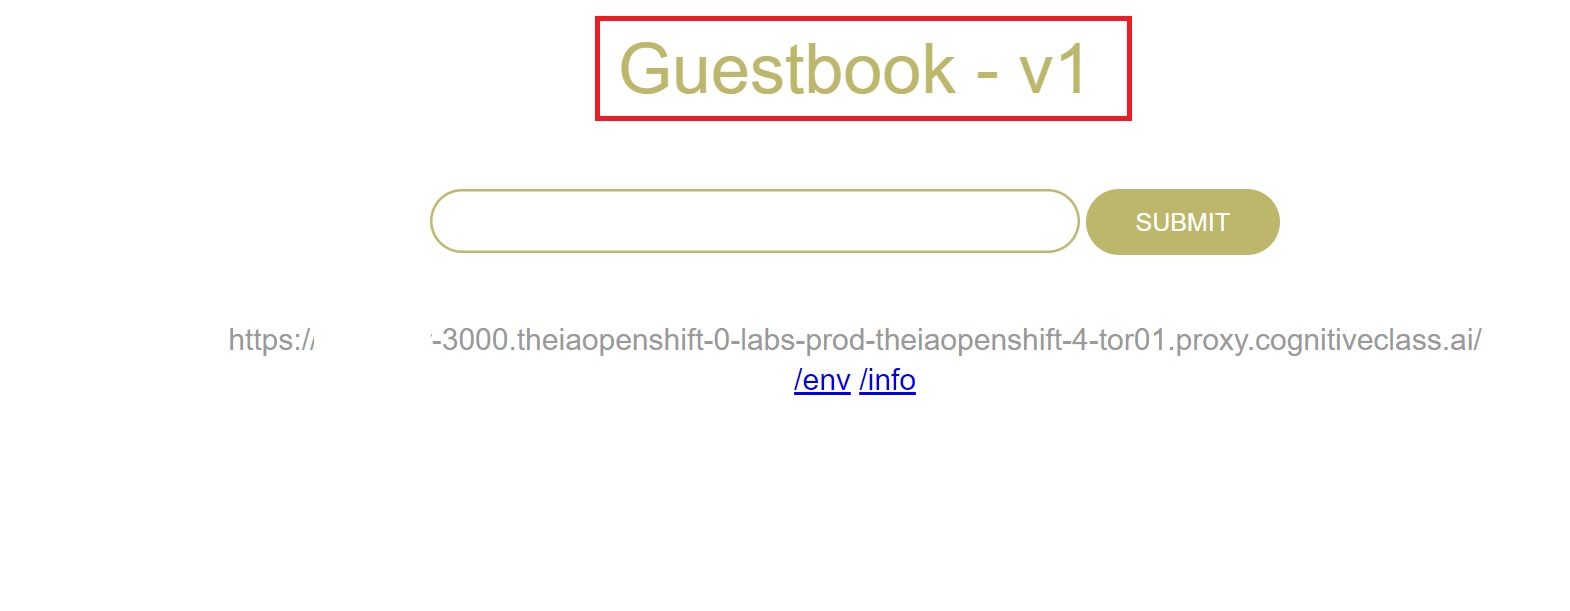
- Try out the guestbook by putting in a few entries. You should see them appear above the input box after you hit Submit.
::page{title="Autoscale the Guestbook application using Horizontal Pod Autoscaler"}
- Autoscale the Guestbook deployment using
kubectl autoscale deployment
Hint!
kubectl autoscale deployment guestbook --cpu-percent=5 --min=1 --max=10

- You can check the current status of the newly-made HorizontalPodAutoscaler, by running:
kubectl get hpa guestbook
The current replicas is 0 as there is no load on the server.
- Open another new terminal and enter the below command to generate load on the app to observe the autoscaling (Please ensure your port-forward command is running. In case you have stopped your application, please run the port-forward command to re-run the application at port 3000.)
kubectl run -i --tty load-generator --rm --image=busybox:1.36.0 --restart=Never -- /bin/sh -c "while sleep 0.01; do wget -q -O- <your app URL>; done"
- Please replace your app URL in the
<your app URL>part of the above command.
Note: Use the same copied URL which you obtained in step 11 of the previous task.
The command will be as below:

Note: In case you get a
Load generator already existserror, please suffix a number afterload-generatoreg.load-generator-1,load-generator-2.
- You will keep getting an output similar as below which will indicate the increasing load on the app:
Note: Continue further commands in the 1st terminal
- Run the below command to observe the replicas increase in accordance with the autoscaling:
kubectl get hpa guestbook --watch

- Run the above command again after 5-10 minutes and you will see an increase in the number of replicas which shows that your application has been autoscaled.

- Run the below command to observe the details of the horizontal pod autoscaler:
kubectl get hpa guestbook

- Please close the other terminals where load generator and port-forward commands are running.
Note: Please run all the commands in the 1st terminal unless mentioned to use a new terminal.
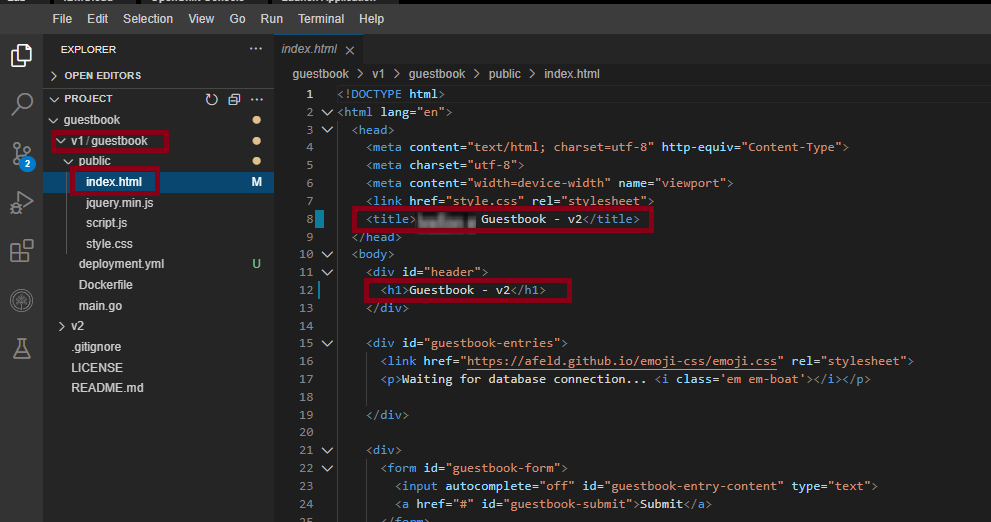
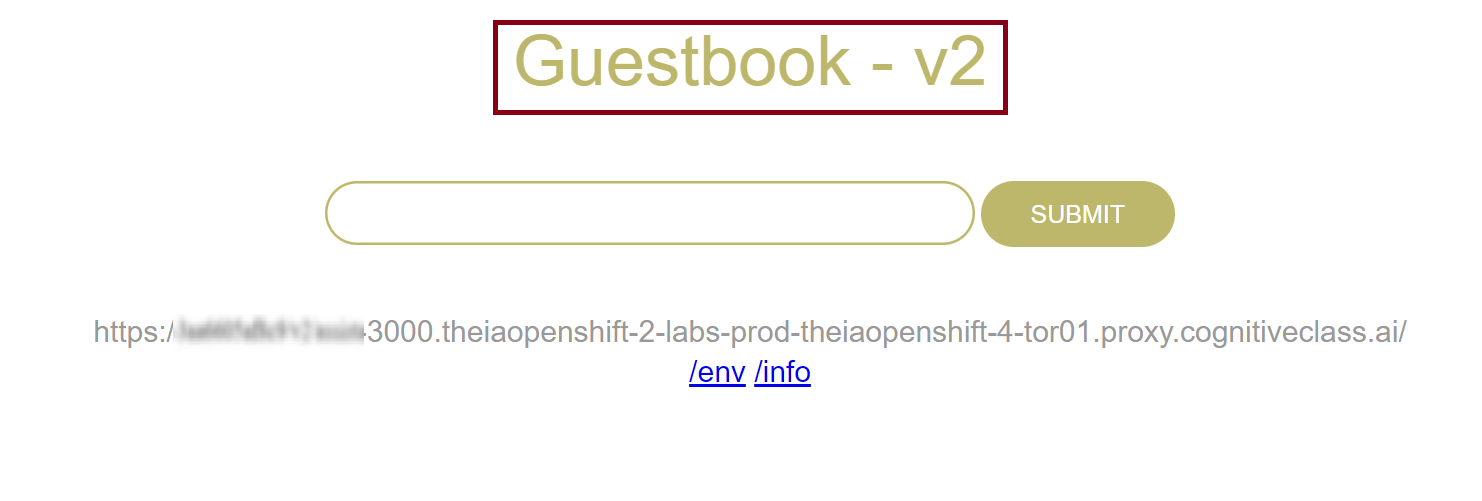
- Please update the title and header in
index.htmlto any other suitable title and header like Guestbook - v2 & Guestbook - v2.
Hint!
- Run the below command to build and push your updated app image:
Hint!
docker build . -t us.icr.io/$MY_NAMESPACE/guestbook:v1 && docker push us.icr.io/$MY_NAMESPACE/guestbook:v1
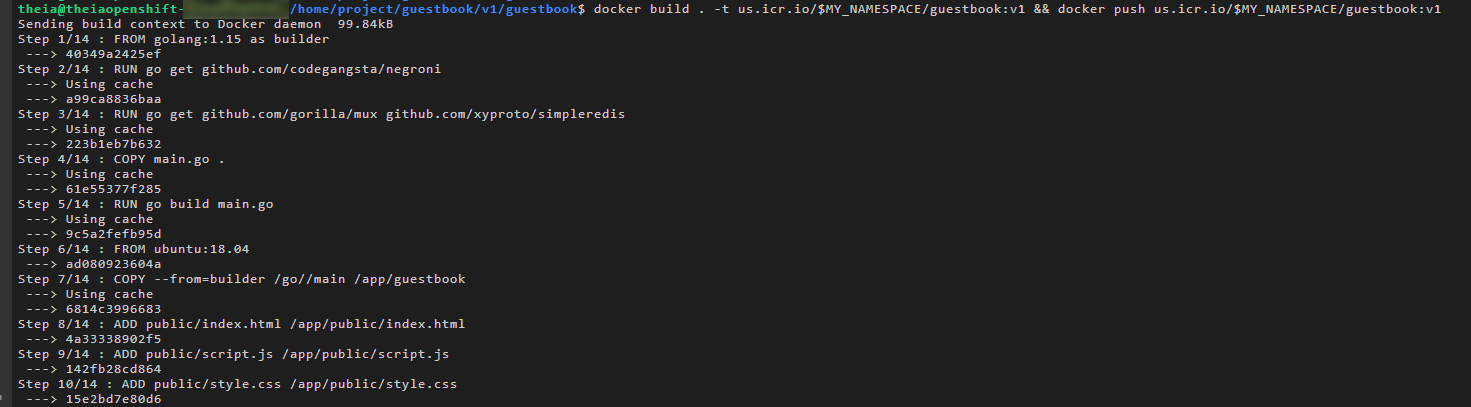
📷 Take a screenshot of your updated image and save it as a .jpg or .png with the filename
upguestbook.png. You will be prompted to upload the screenshot in the Peer Assignment.
- Update the values of the CPU in the
deployment.ymlto cpu: 5m and cpu: 2m as below:
Hint!
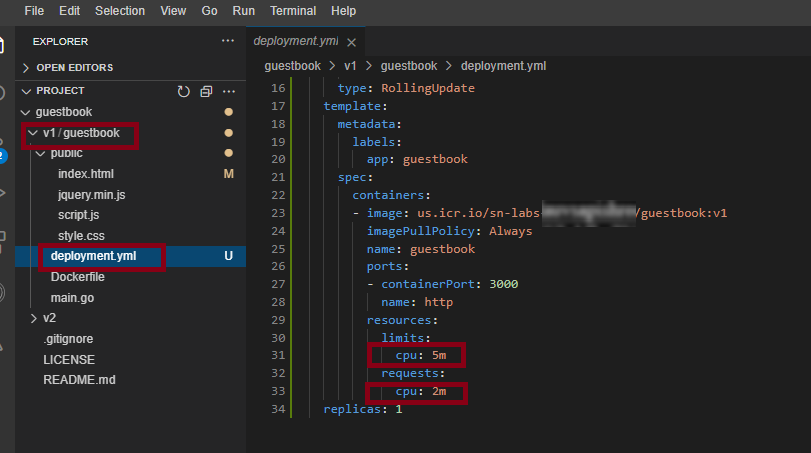
- Apply the changes to the
deployment.ymlfile.
Hint!
kubectl apply -f deployment.yml
- Open a new terminal and run the port-forward command again to start the app:
kubectl port-forward deployment.apps/guestbook 3000:3000

- Launch your application on port 3000. Click on the Skills Network button on the right, it will open the “Skills Network Toolbox�. Then click the Other then Launch Application. From there you should be able to enter the port and launch.
- You will notice the updated app content as below:
Note: Please stop the application before running the next steps.
- Run the below command to see the history of deployment rollouts:
kubectl rollout history deployment/guestbook

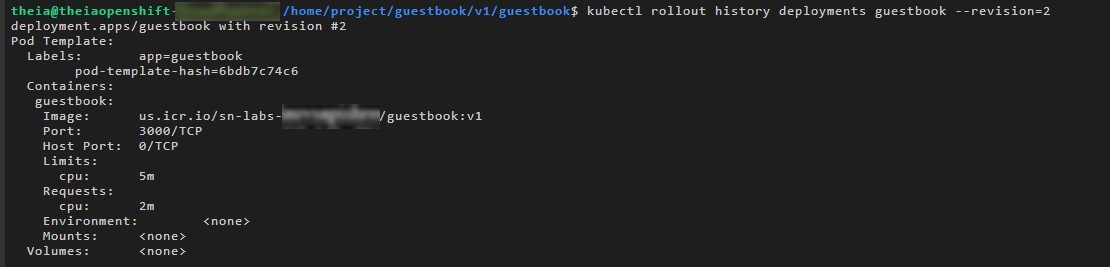
- Run the below command to see the details of Revision of the deployment rollout:
kubectl rollout history deployments guestbook --revision=2
- Run the below command to get the replica sets and observe the deployment which is being used now:
kubectl get rs

- Run the below command to undo the deploymnent and set it to Revision 1:
kubectl rollout undo deployment/guestbook --to-revision=1

- Run the below command to get the replica sets after the Rollout has been undone. The deployment being used would have changed as below:
kubectl get rs