NestJS REST API Gateway + gRPC microservices
This project is a monorepo containing a REST API gateway with gRPC back-end microservices all written using the NestJS Framework and TypeScript. This project is mainly used for learning/trial purposes only.
Architecture Overview
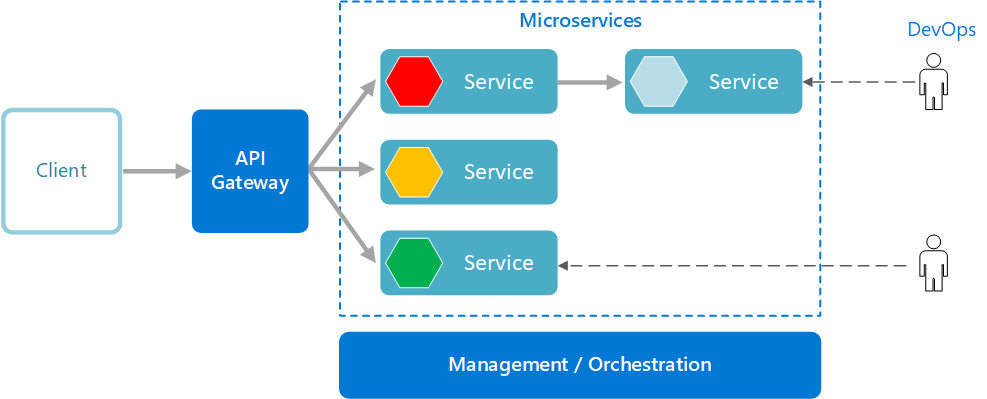
The REST API acts as a gateway/proxy for the different microservices it exposes. The controllers of the REST API make calls to the gRPC servers/microservices in the back-end. The gRPC microservices then handles the request to connect to databases or any other service it needs to serve requests.
Diagram
A diagram of the architecture is shown below.
Design Patterns
This architecture implements the following Microservice Design Patterns:
- Microservice Architecture
- Subdomain Decomposition
- Externalized Configuration
- Remote Procedure Invocation
- API Gateway
- Database per Service
Layers
API Layer
NestJS + Express acts as the API Layer for the architecture. It takes care of listening for client requests and calling the appropriate back-end microservice to fulfill them.
Microservice Layer
gRPC was chosen as the framework to do the microservices. Protocol buffers was used as the data interchange format between the client (REST API) and the server (gRPC microservices). NestJS is still the framework used to create the gRPC Microservices.
Persistence Layer
PostgreSQL is used as the database and Sequelize is used as the Object-Relational Mapper (ORM).
Deployment
Deployment is done with containers in mind. A Docker Compose file along with Dockerfiles for each project are given to run the whole thing on any machine. For production, it's always recommended to use Kubernetes for these kinds of microservices architecture to deploy in production. Istio takes care of service discovery, distributed tracing and other observability requirements.
Project Structure
.
├── _proto
├── api-gateway
│   └── src
│       ├── _proto
│       ├── comments
│       ├── commons
│       ├── health-check
│       ├── organizations
│       ├── users
│       └── utils
├── docs
├── microservices
│   ├── comments-svc
│   │   └── src
│   │       ├── _proto
│   │       ├── comments
│   │       ├── commons
│   │       └── database
│   ├── organizations-svc
│   │   └── src
│   │       ├── _proto
│   │       ├── commons
│   │       ├── database
│   │       └── organizations
│   └── users-svc
│       └── src
│           ├── _proto
│           ├── commons
│           ├── database
│           └── users
└── scripts
Project Organization
-
_proto- This directory consists of all the gRPC Service Definitions/Protocol Buffers. -
api-gateway- This directory consists of the API Gateway project. All code relating to the API Gateway resides here. -
docs- This directory consists of all files relating to documentation. The OpenAPI Specification for the REST API and the gRPC Service Definitions/Protocol Buffers documentation can be found here. -
microservices- This directory consists of all microservice projects. -
microservices/comments-svc- This directory consists of all files/code relating to the Comments Microservice project. -
microservices/organizations-svc- This directory consists of all files/code relating to the Organizations Microservice project. -
microservices/users-svc- This directory consists of all files/code relating to the Users Microservice project. -
scripts- This directory consists of shell scripts that automates building and running the whole project.
How to Run
- System Requirements - must be Linux/Mac
- Node.js - v12 Recommended
- Docker - latest
- Docker Compose - latest
-
On the Terminal, go into the project's root folder (
cd /project/root/folder) and executenpm start. The start script will install all npm dependencies for all projects, lint the code, compile the code, build the artifacts (Docker images) and run them viadocker-compose. -
Once the start script is done, the API Gateway will listening on http://localhost:3000
-
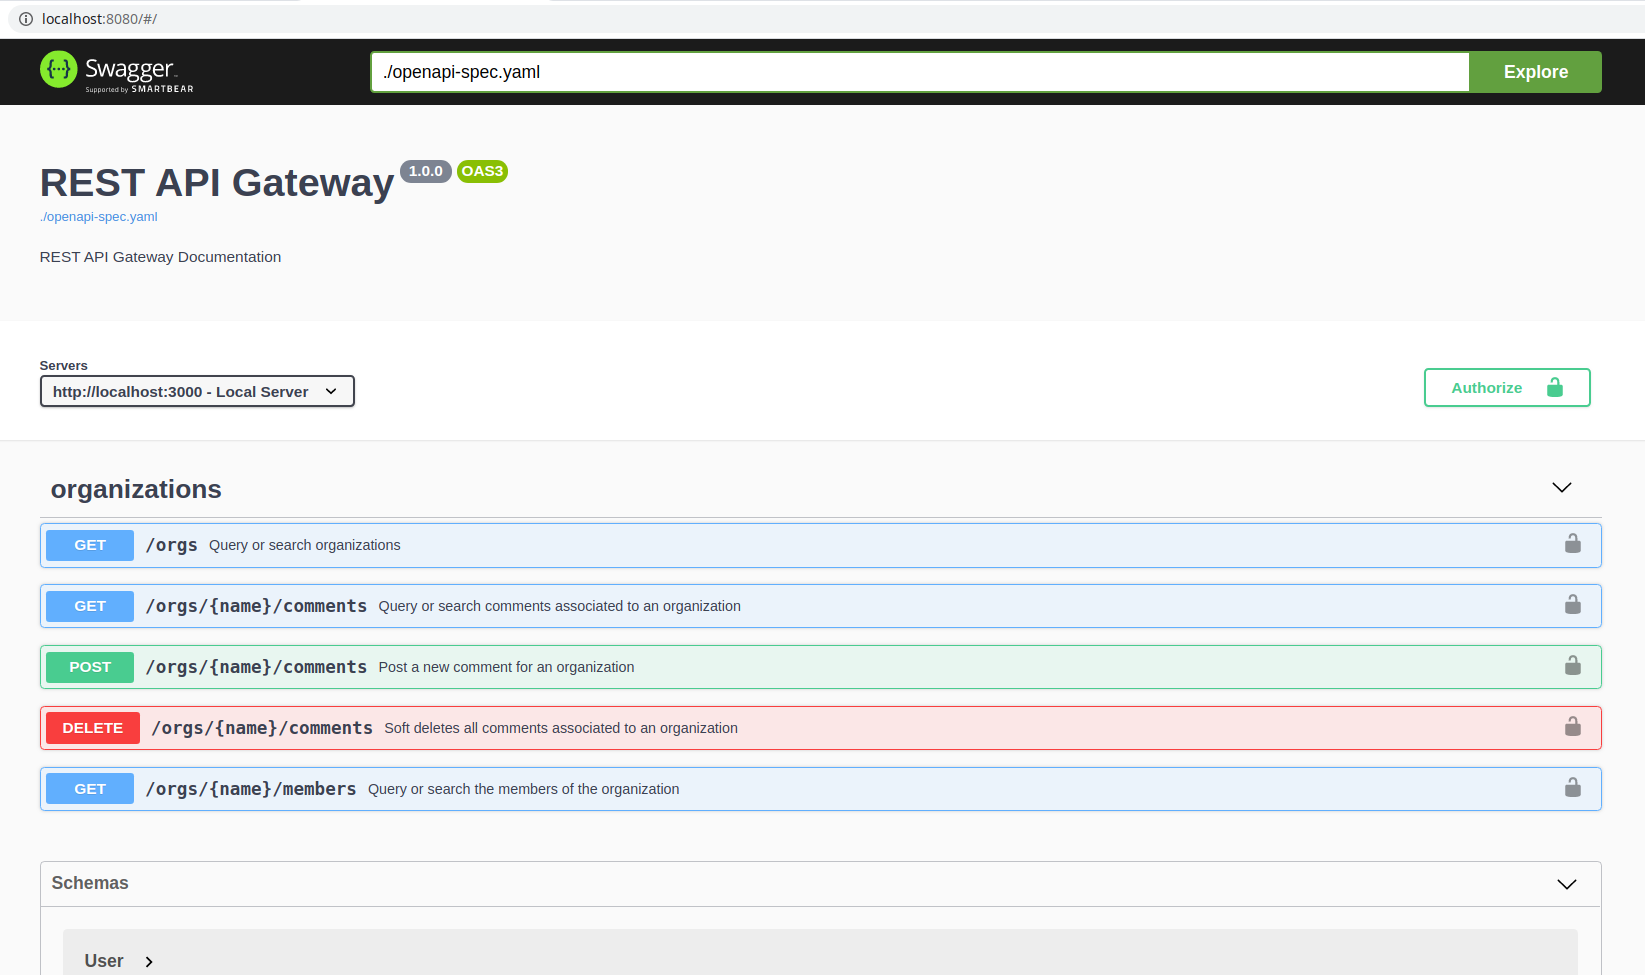
To test the API, head to the Swagger UI running at http://localhost:8080
Roadmap
General
- Use RxJS Observables instead of Promises
- Add Integration Tests
- Add CI/CD Pipeline
- Add Kubernetes Manifests
- Pre-populate DBs
- Distributed Tracing
API Gateway
- Add authentication
- Add authorization
- Add event sourcing
- Add request/input data validation
- Improve error handling
Microservices
- Add health checks
- Add caching
- Improve error handling

