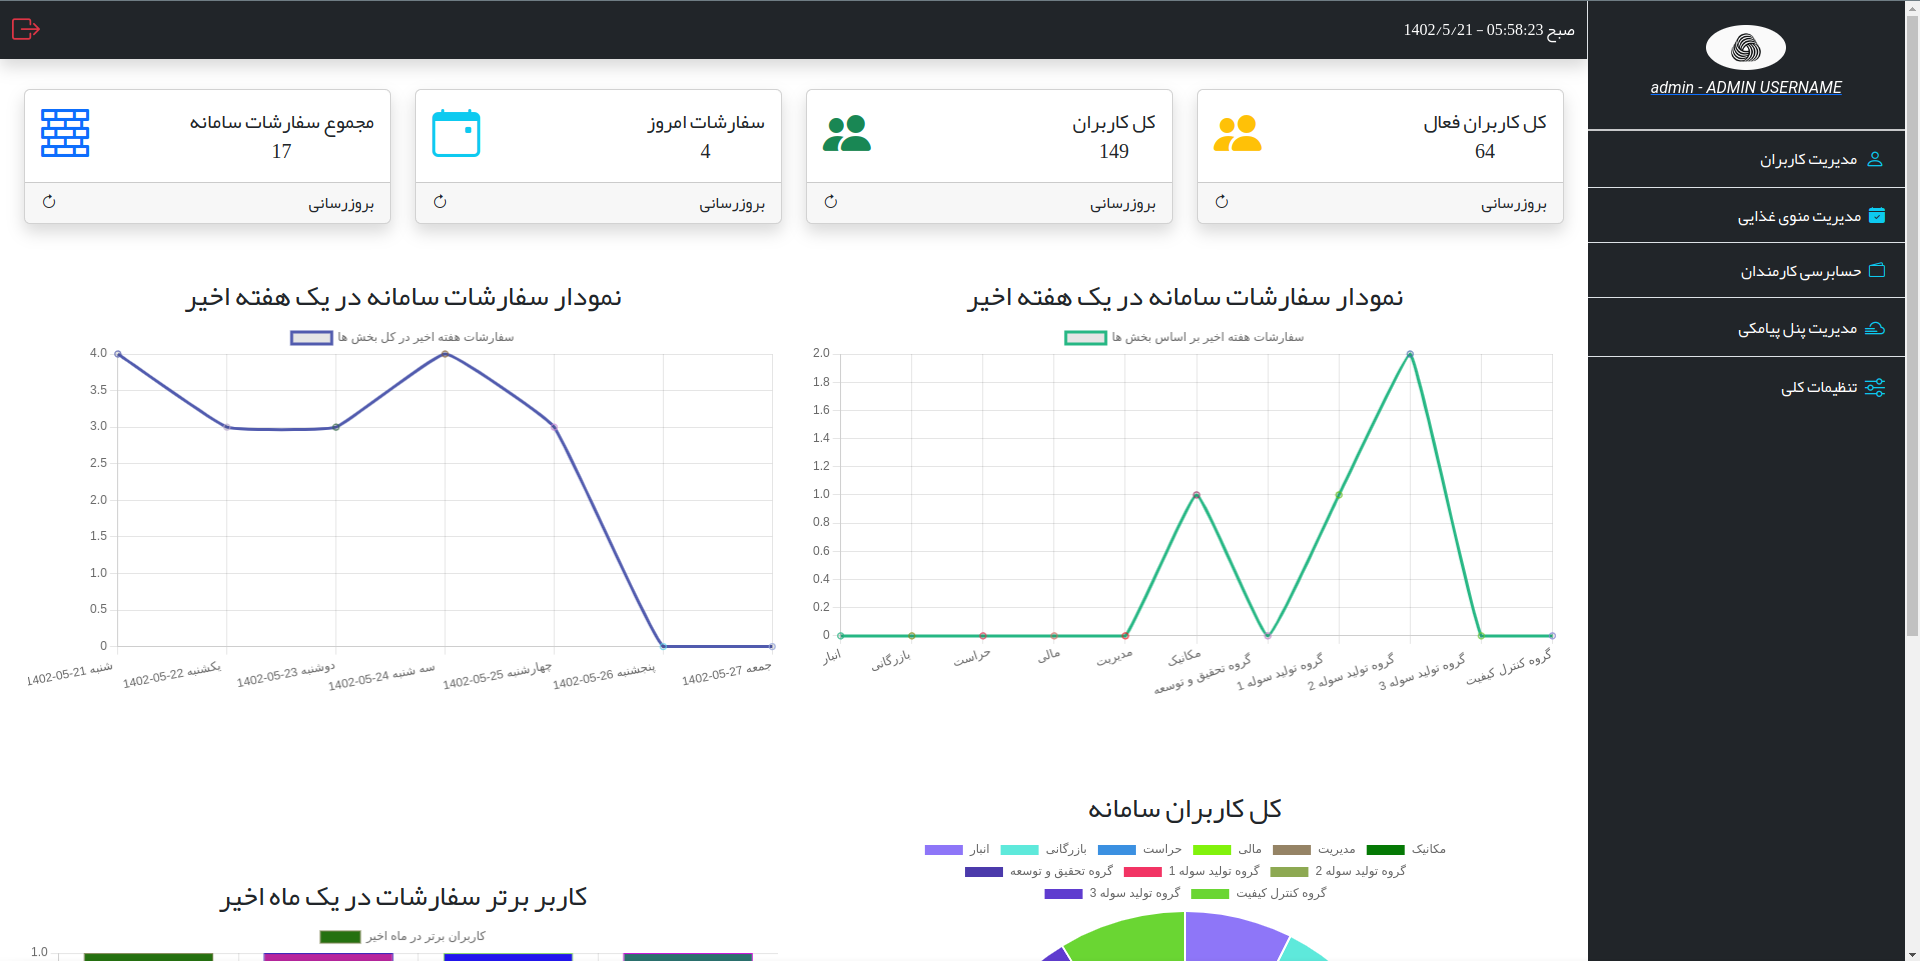
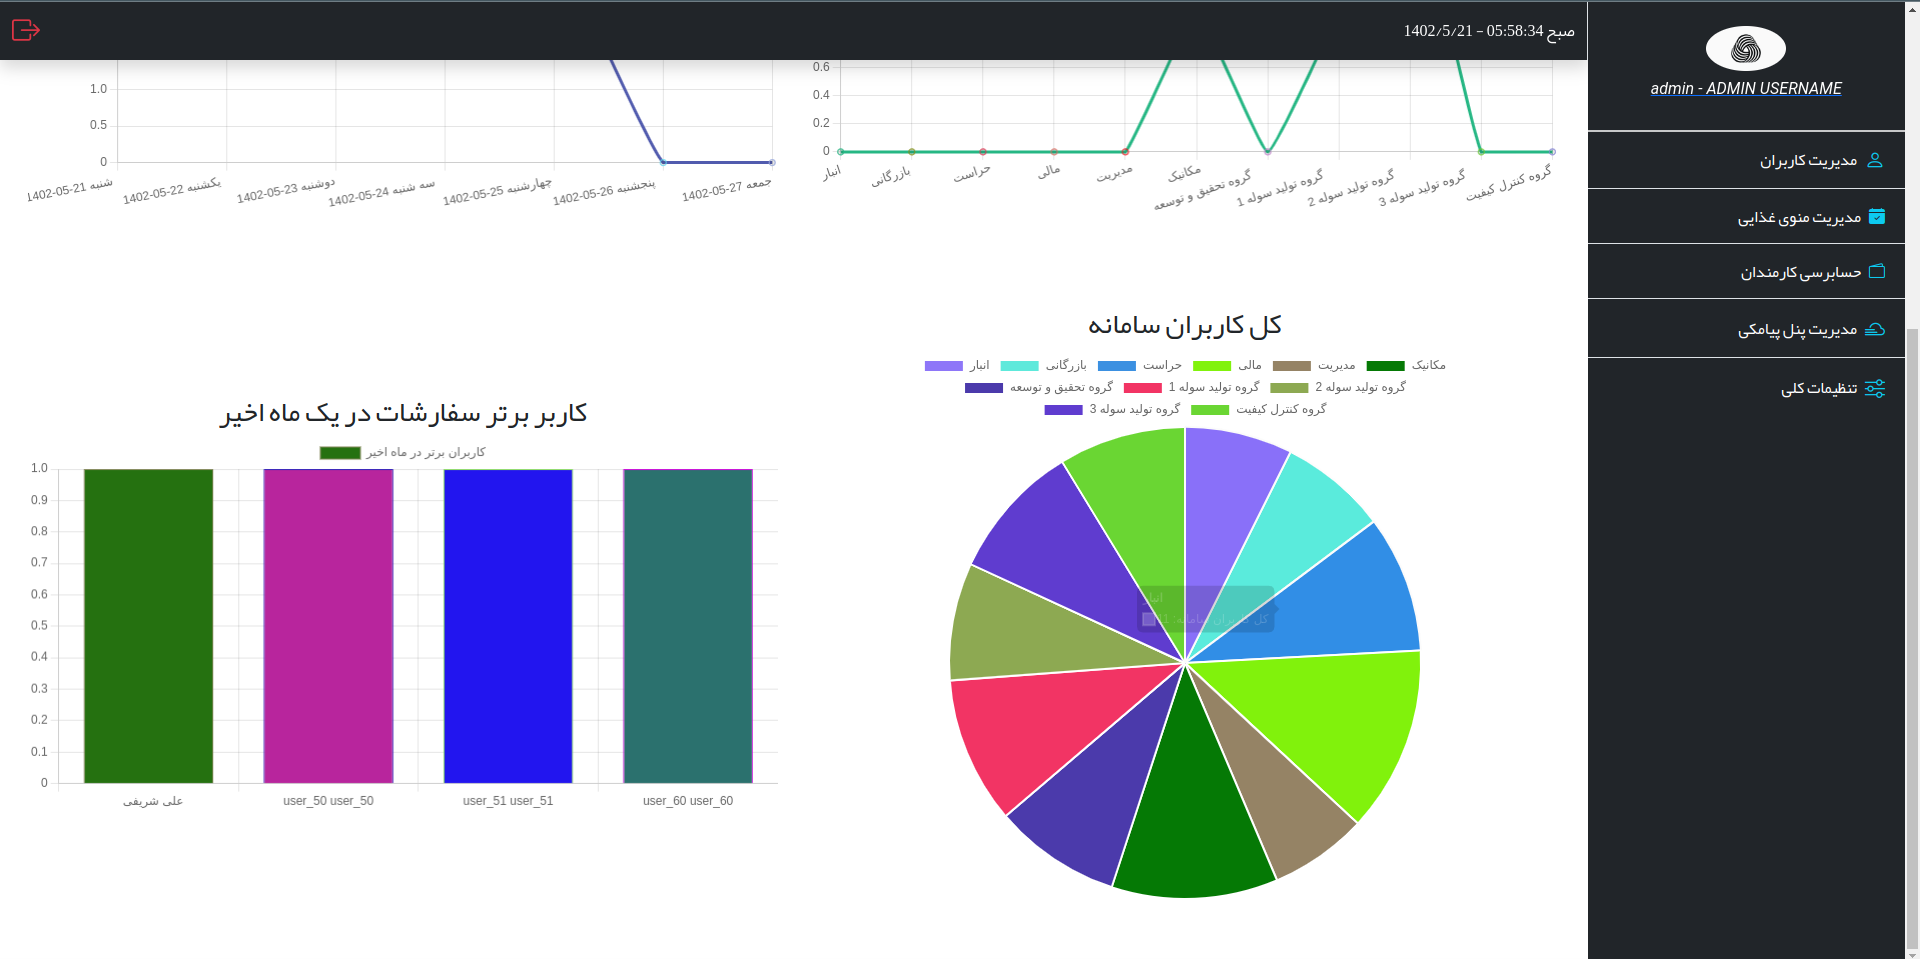
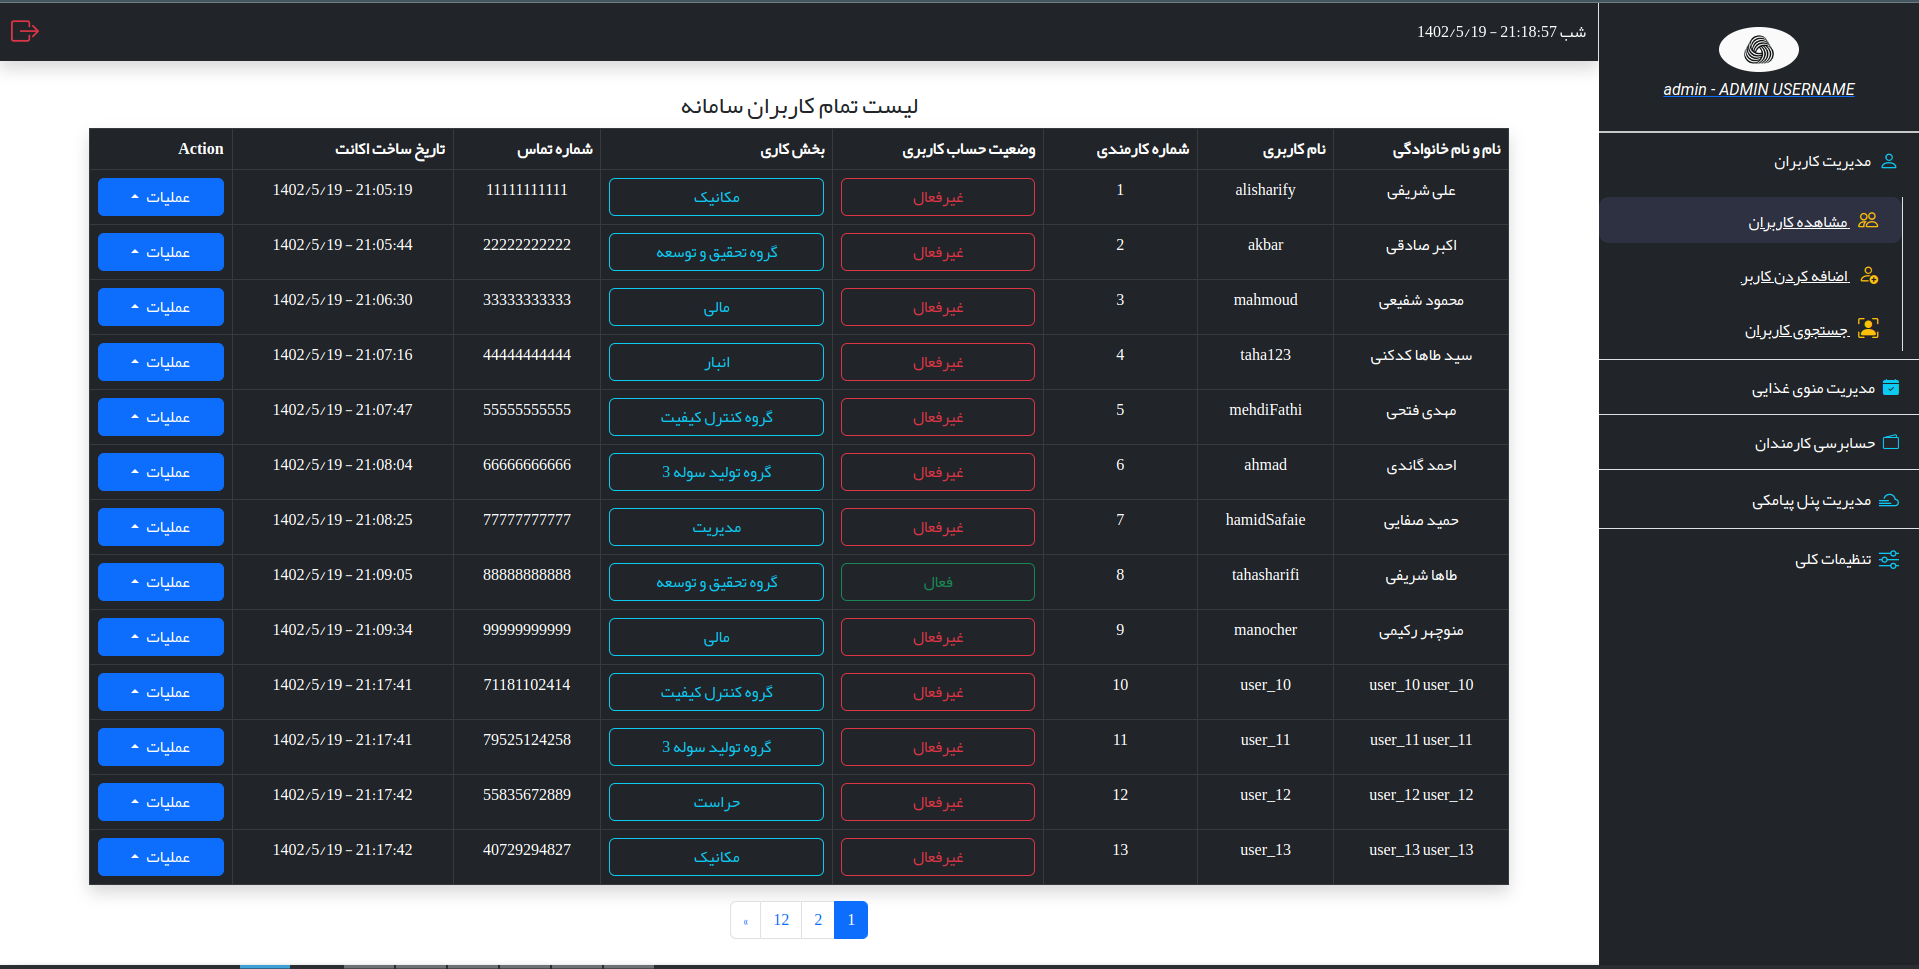
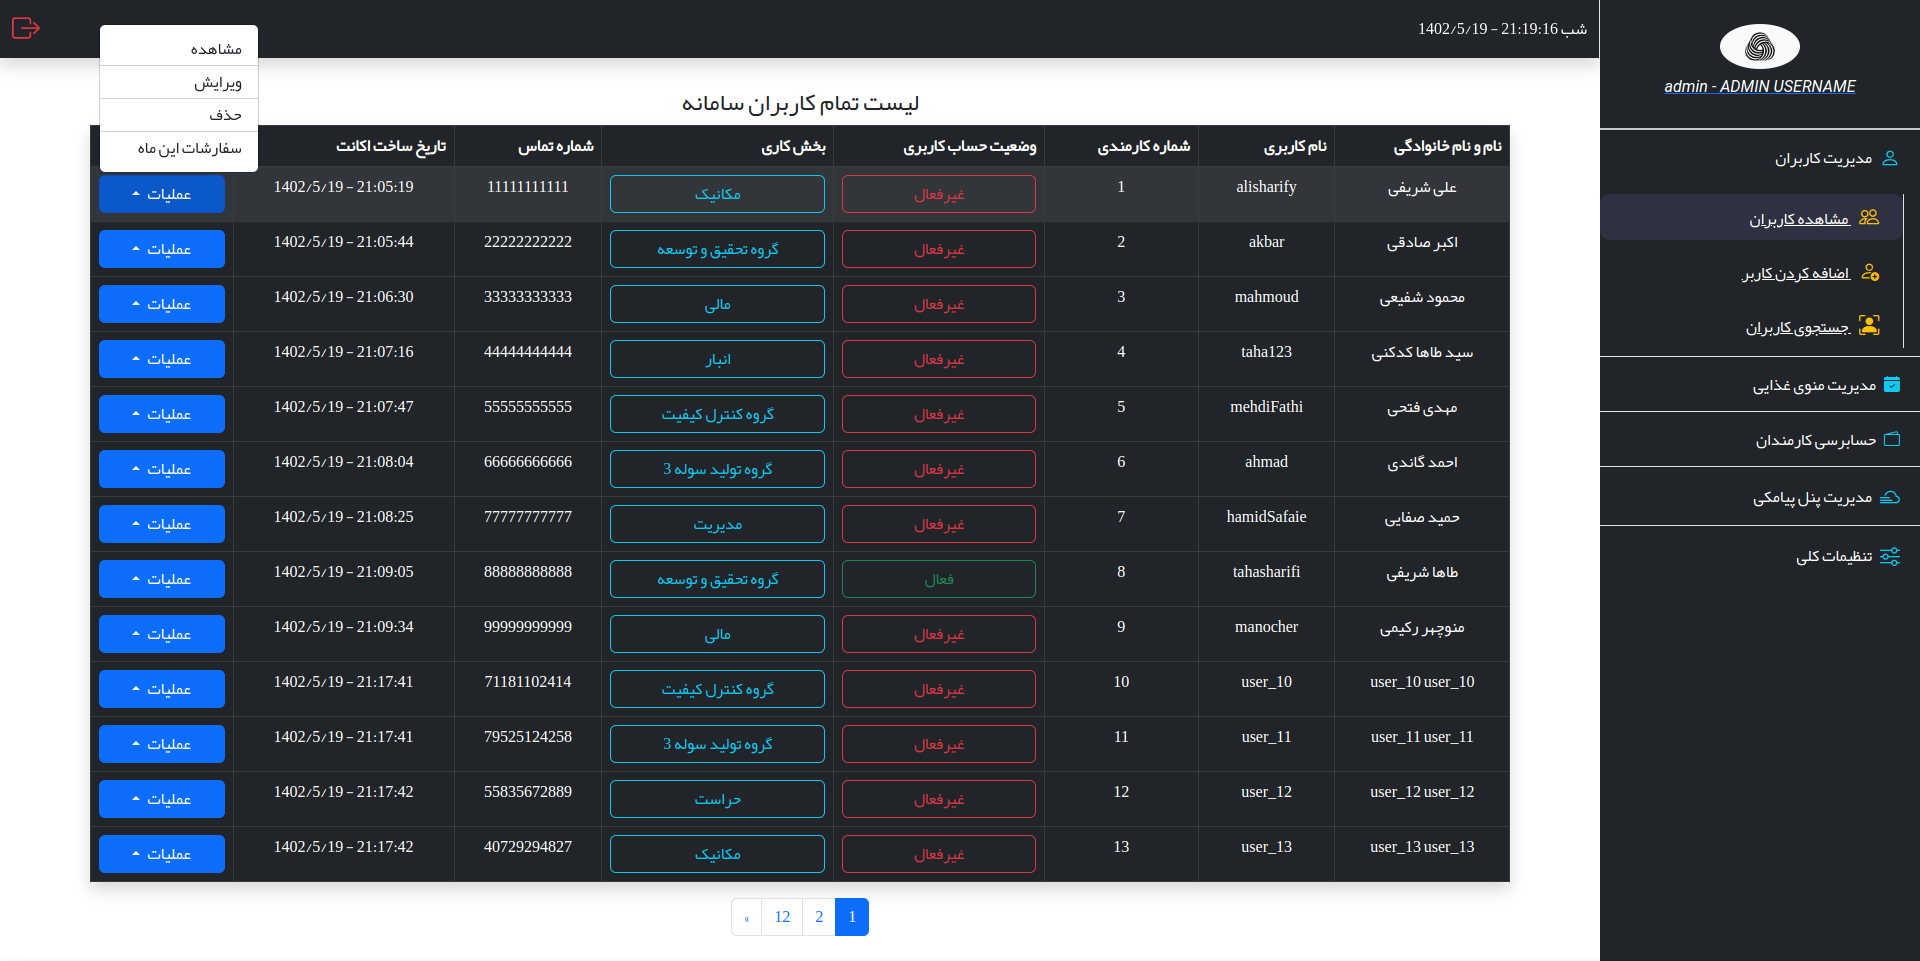
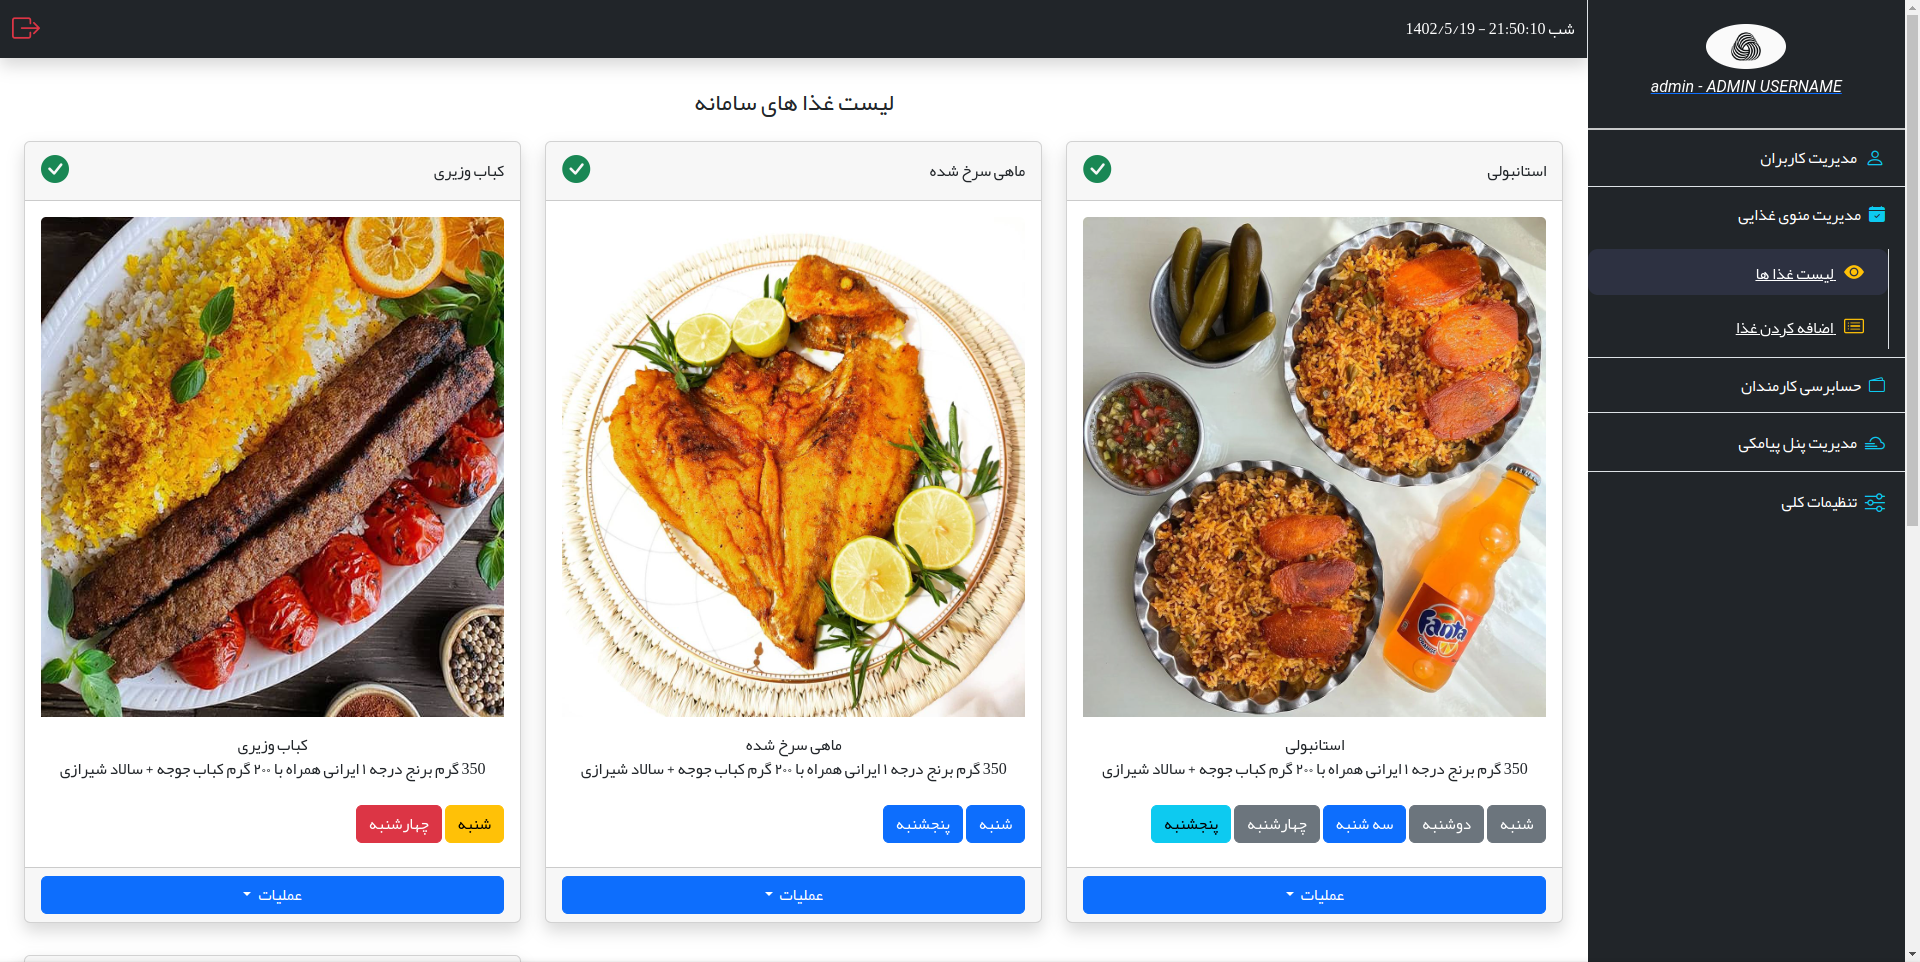
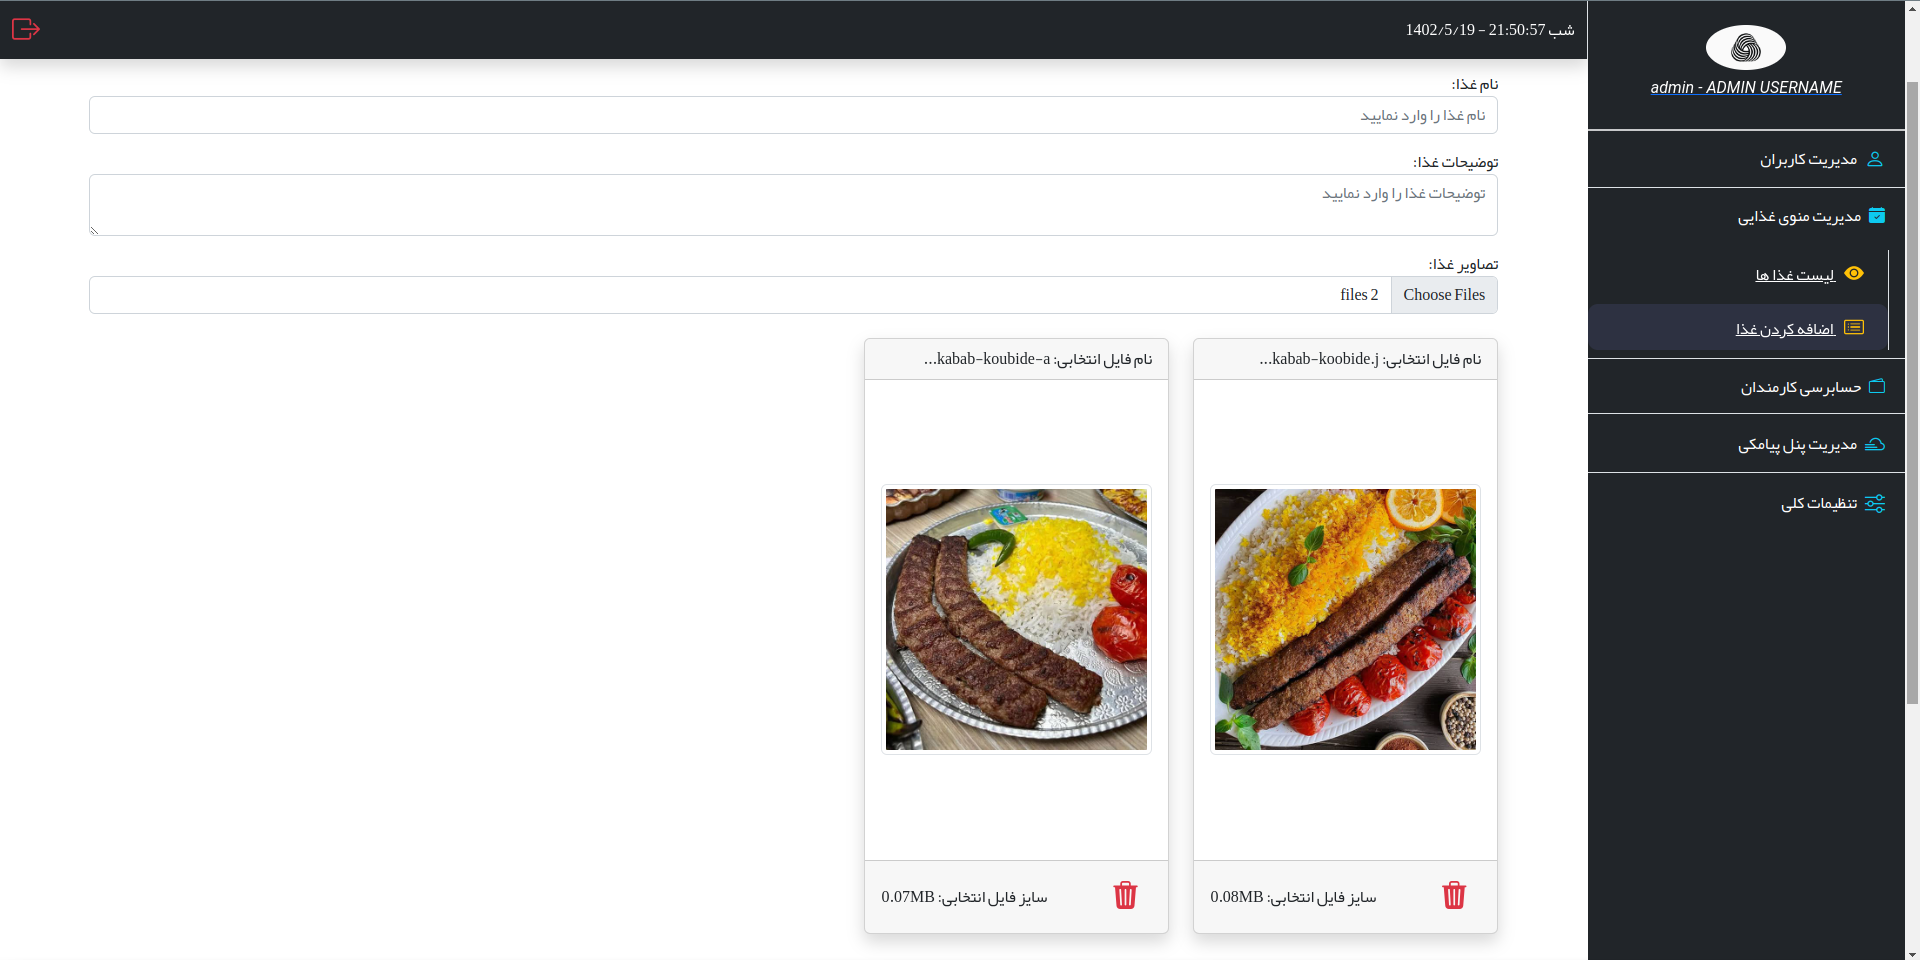
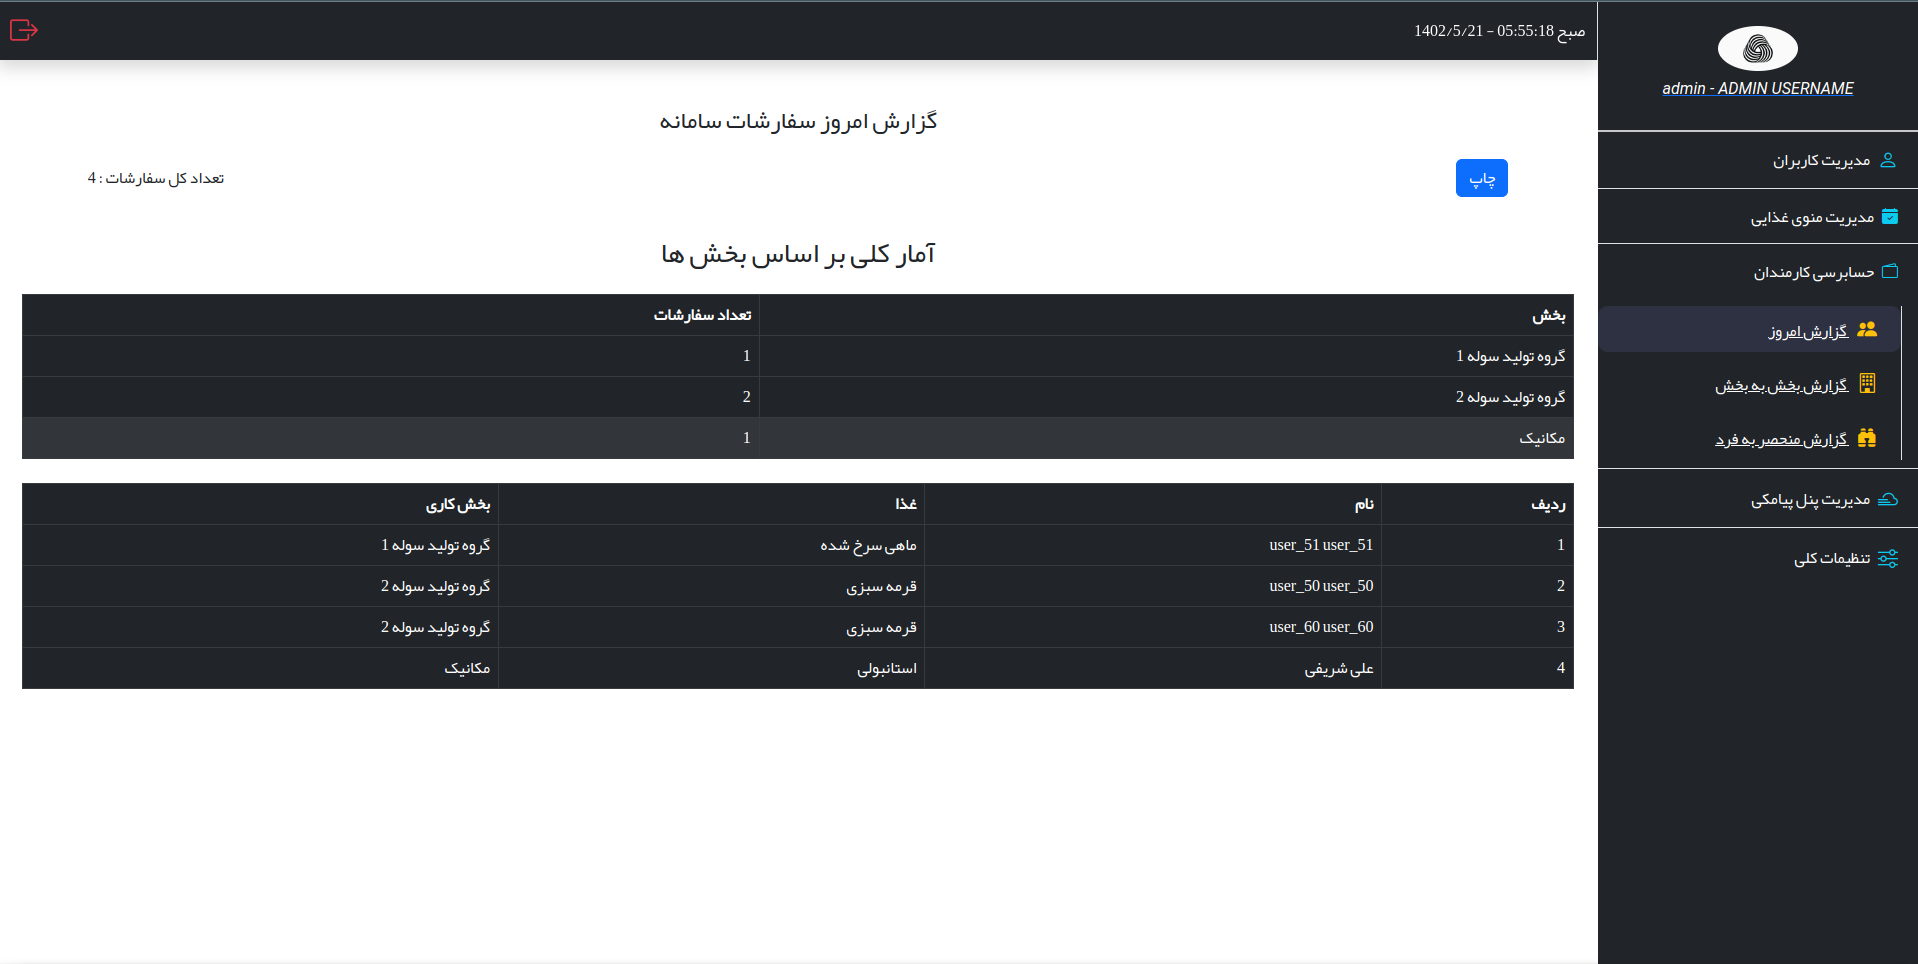
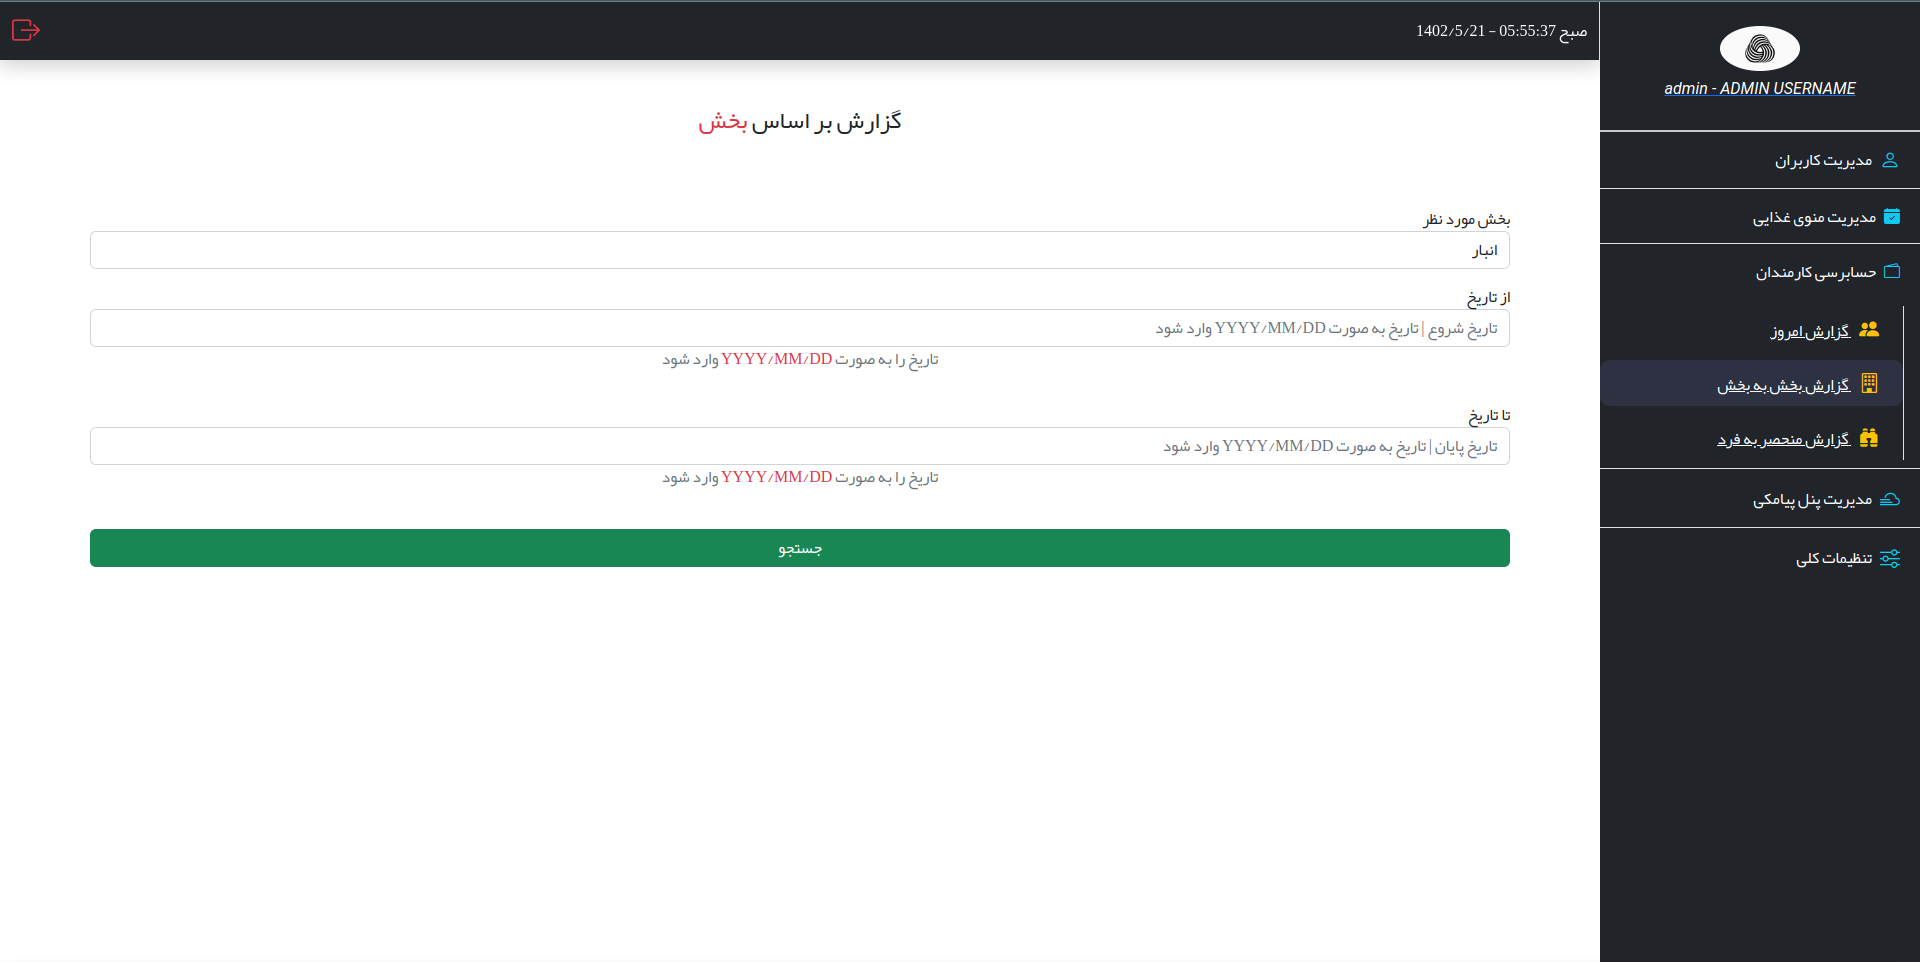
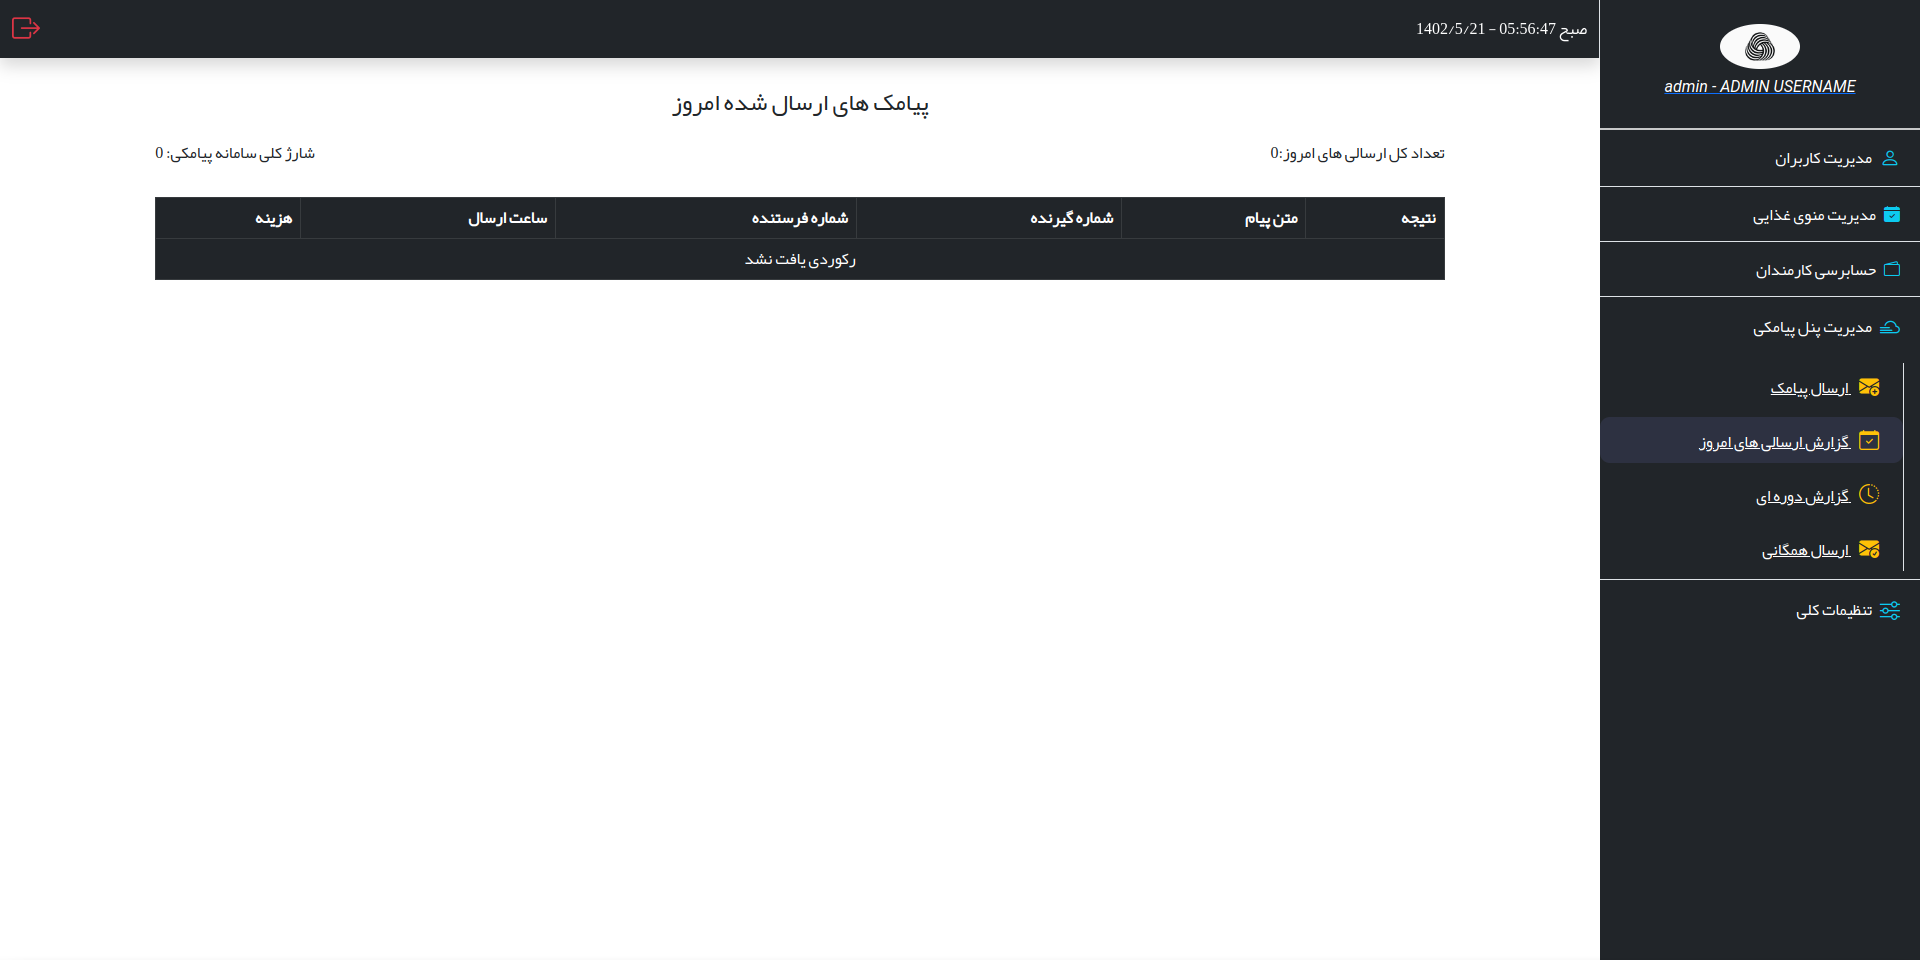
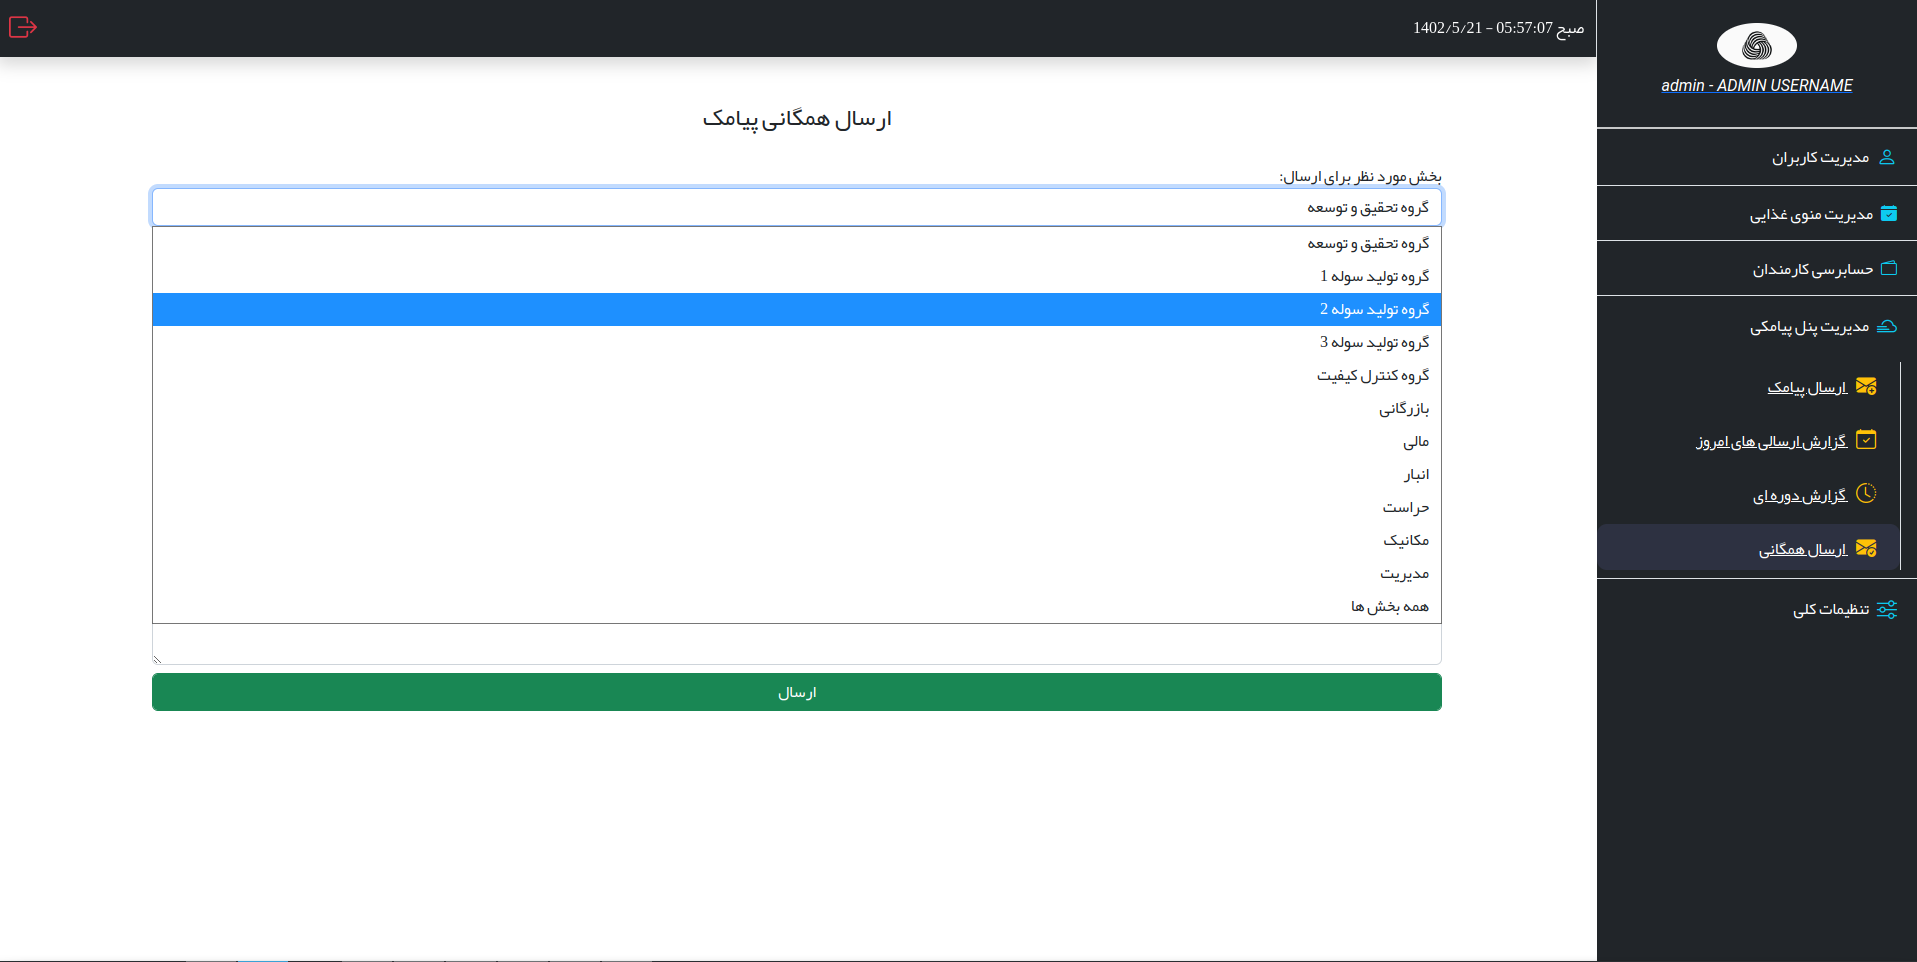
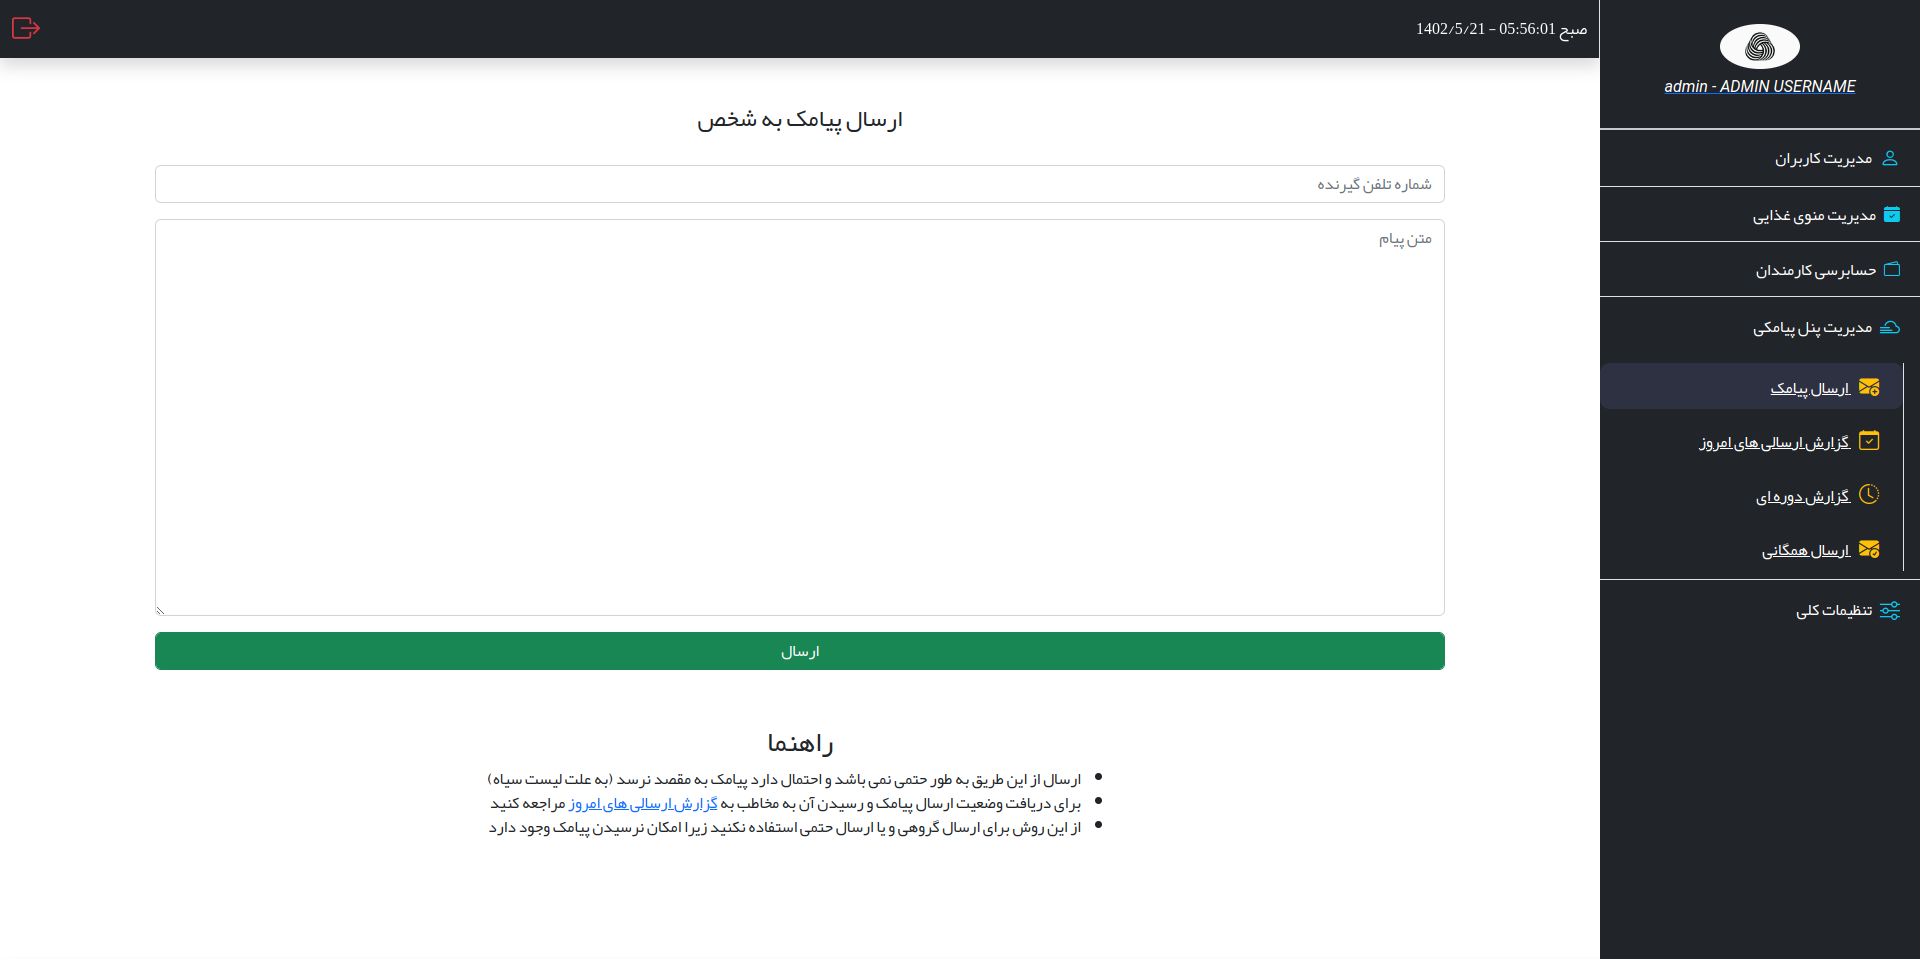
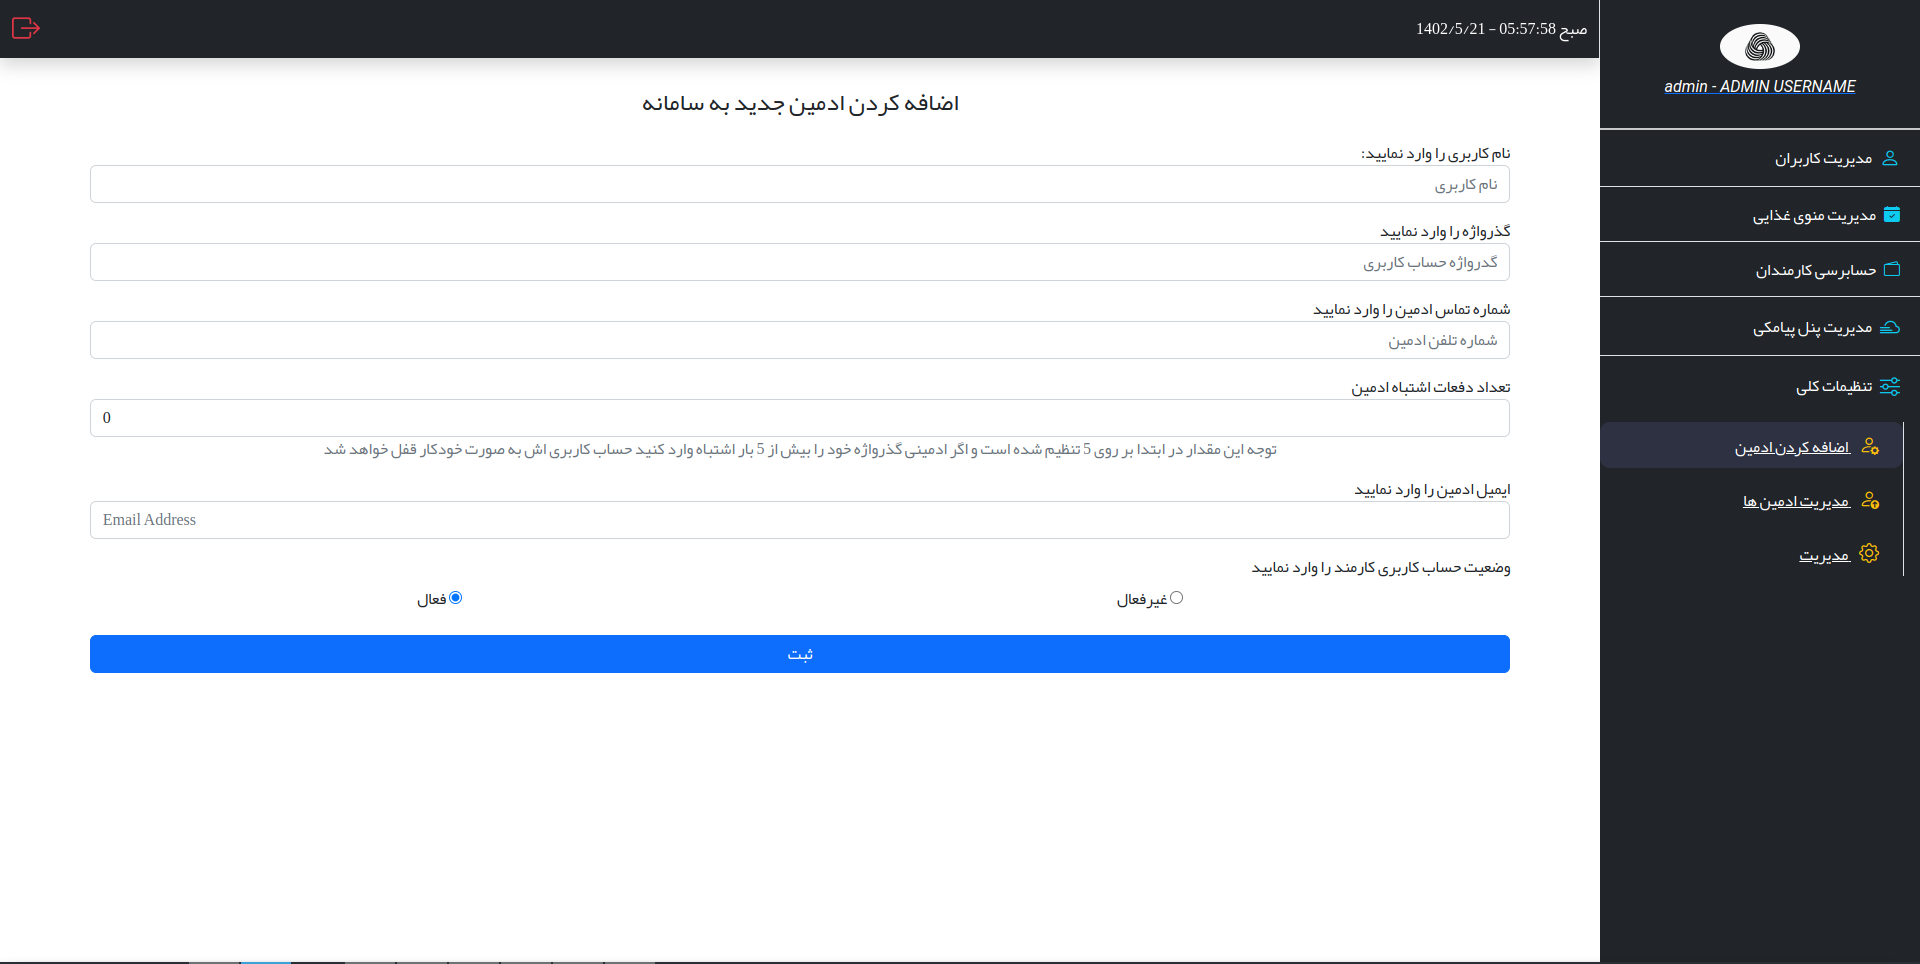
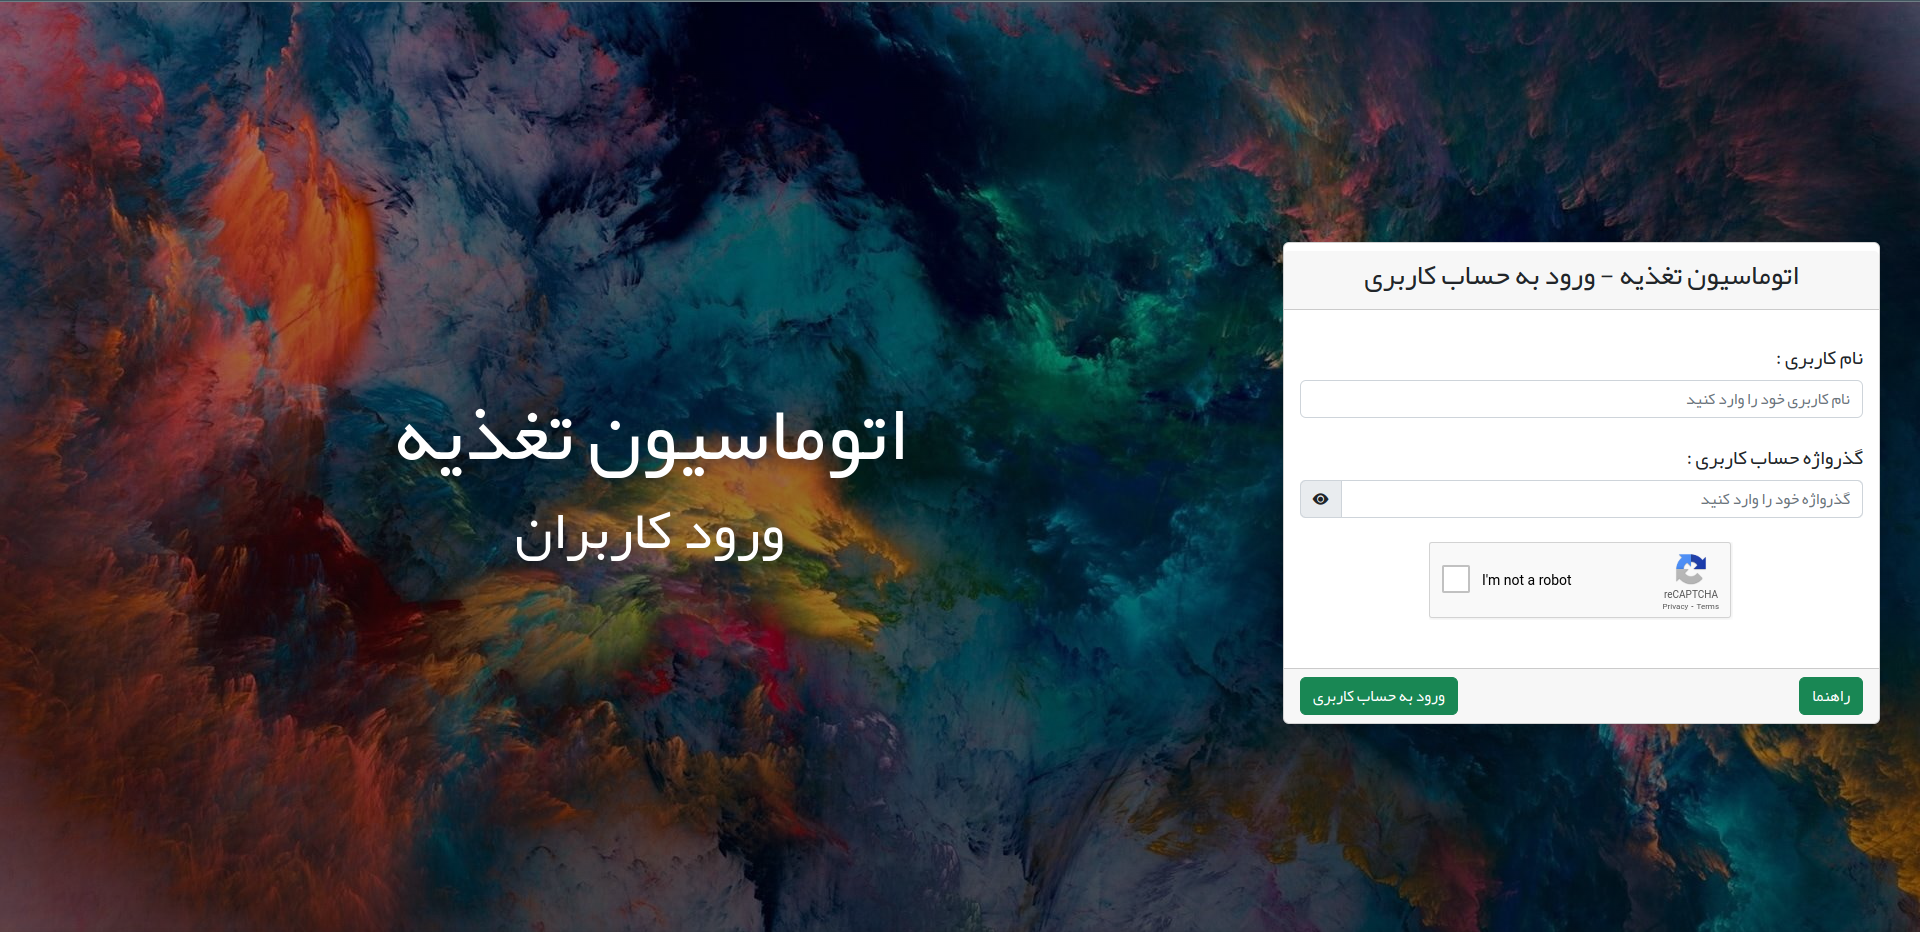
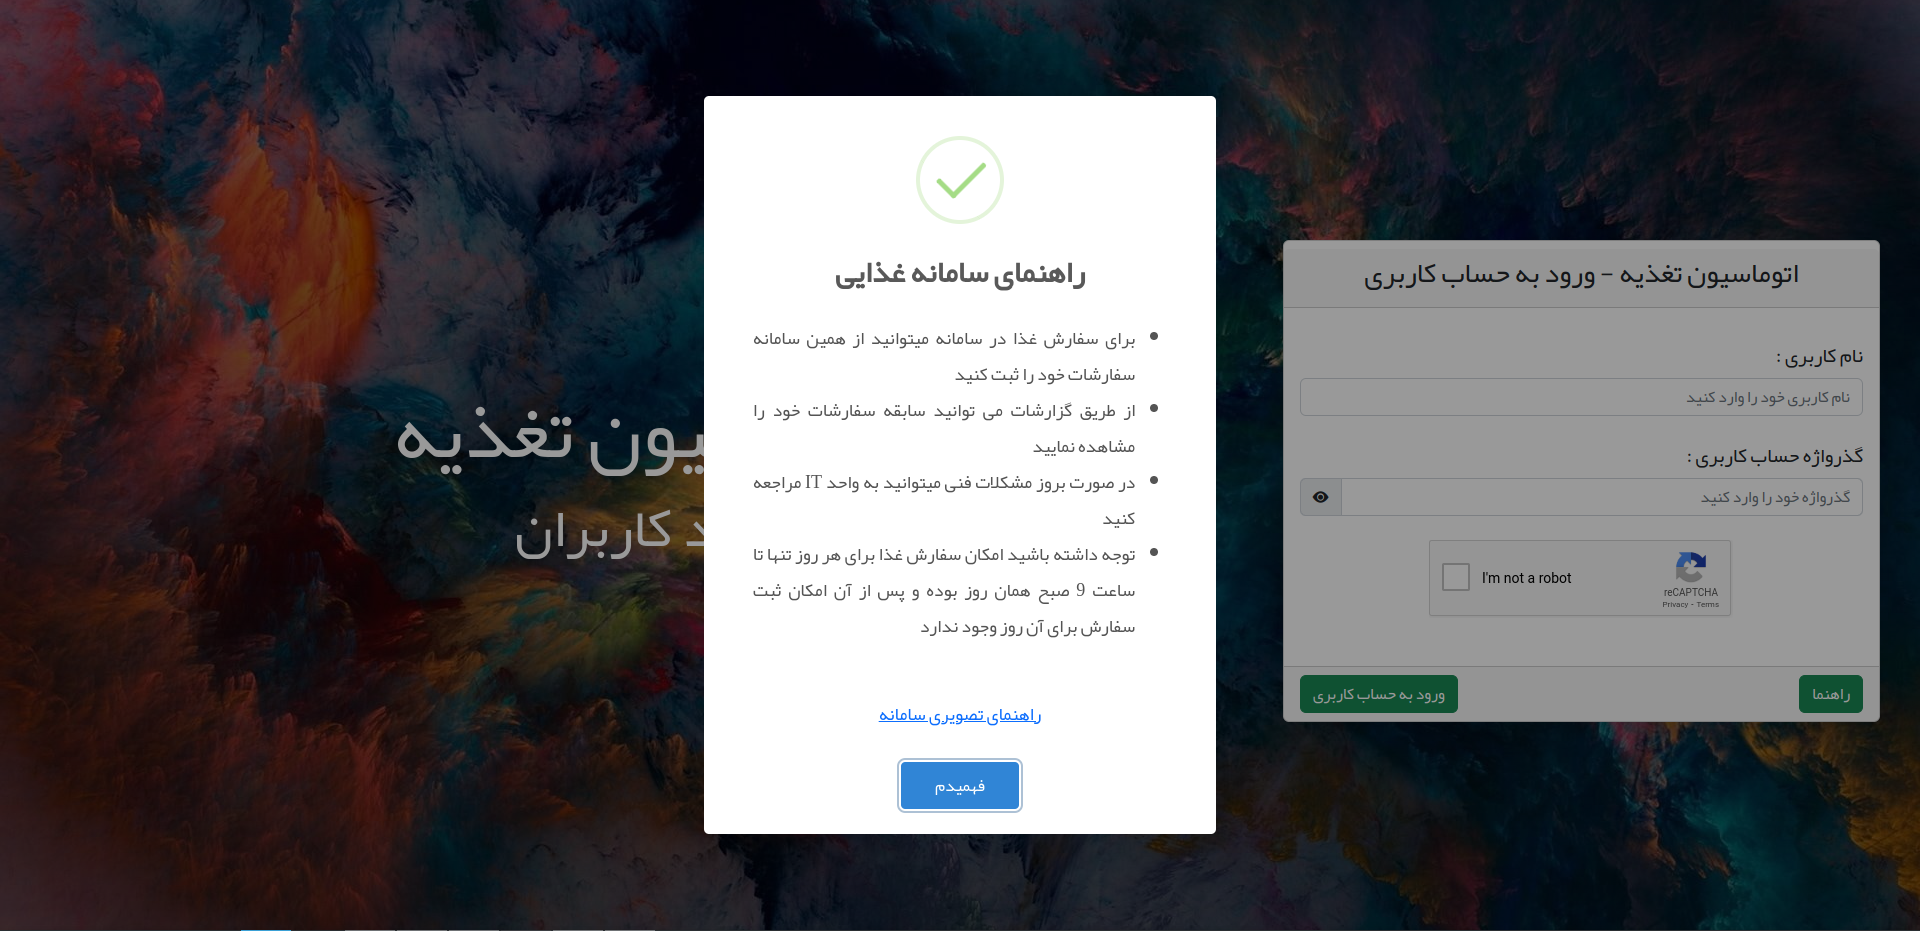
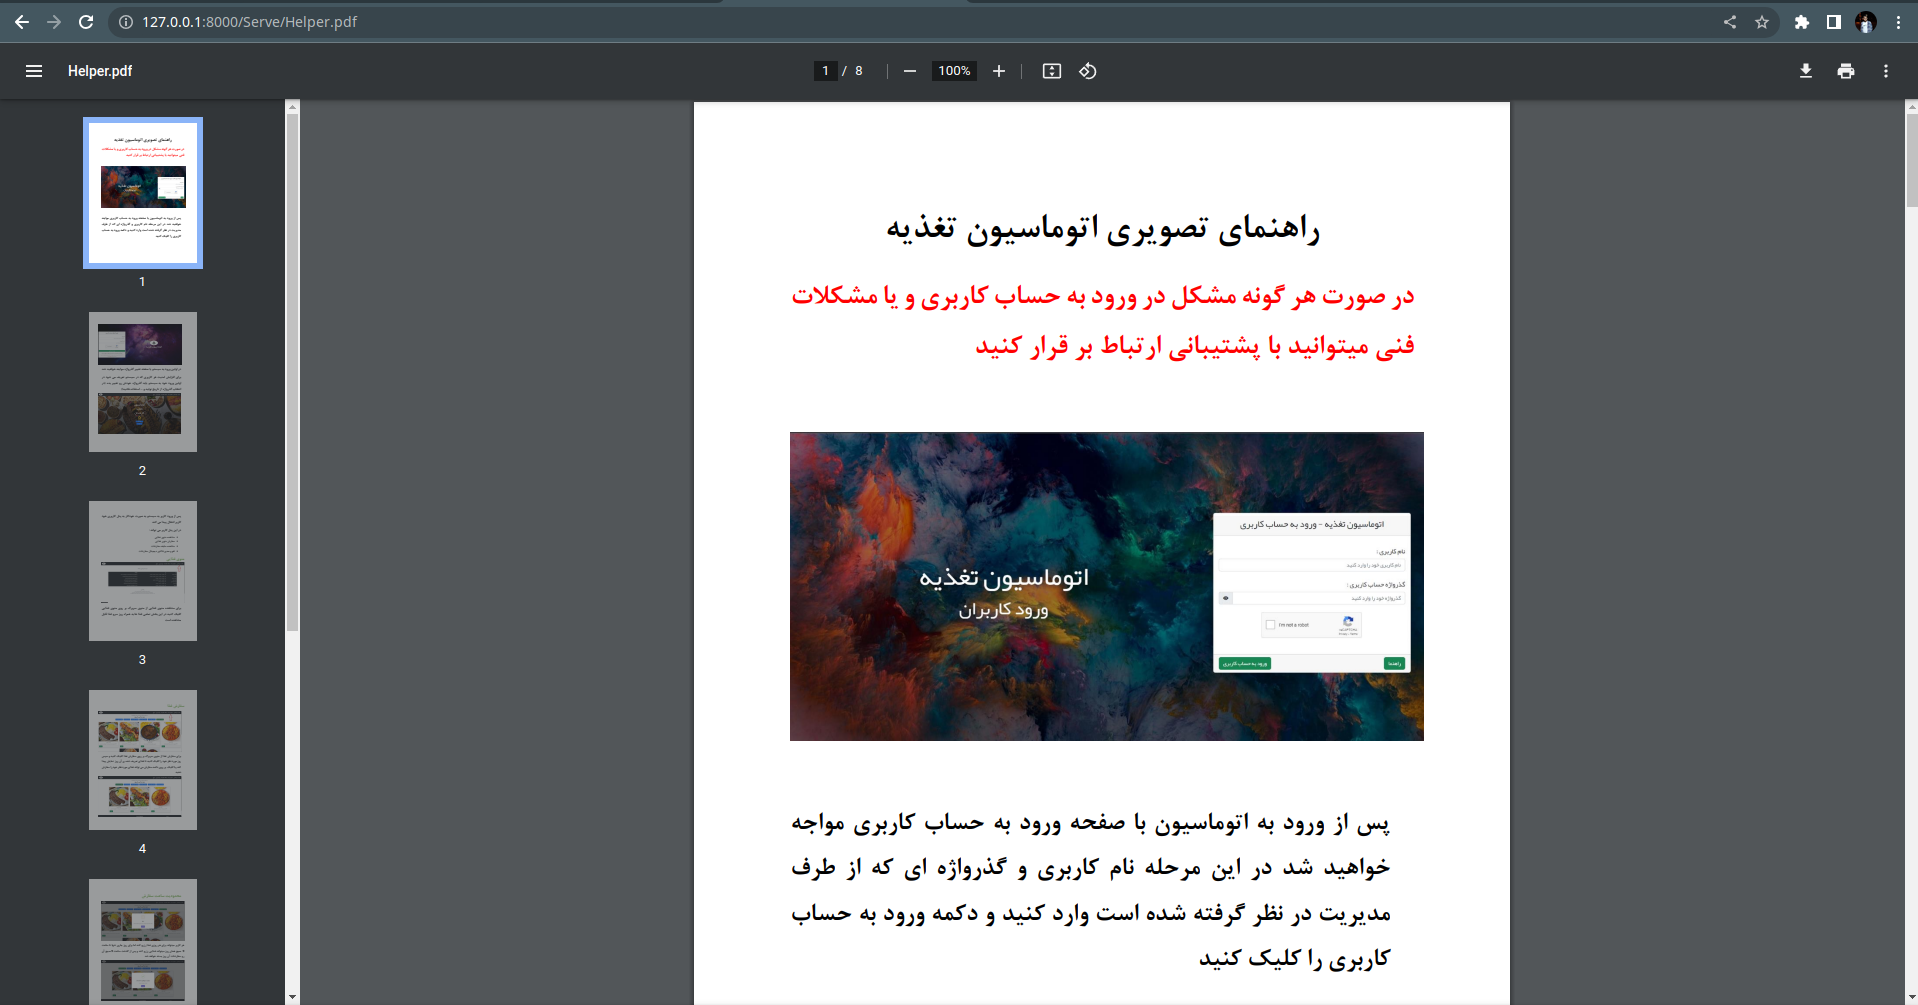
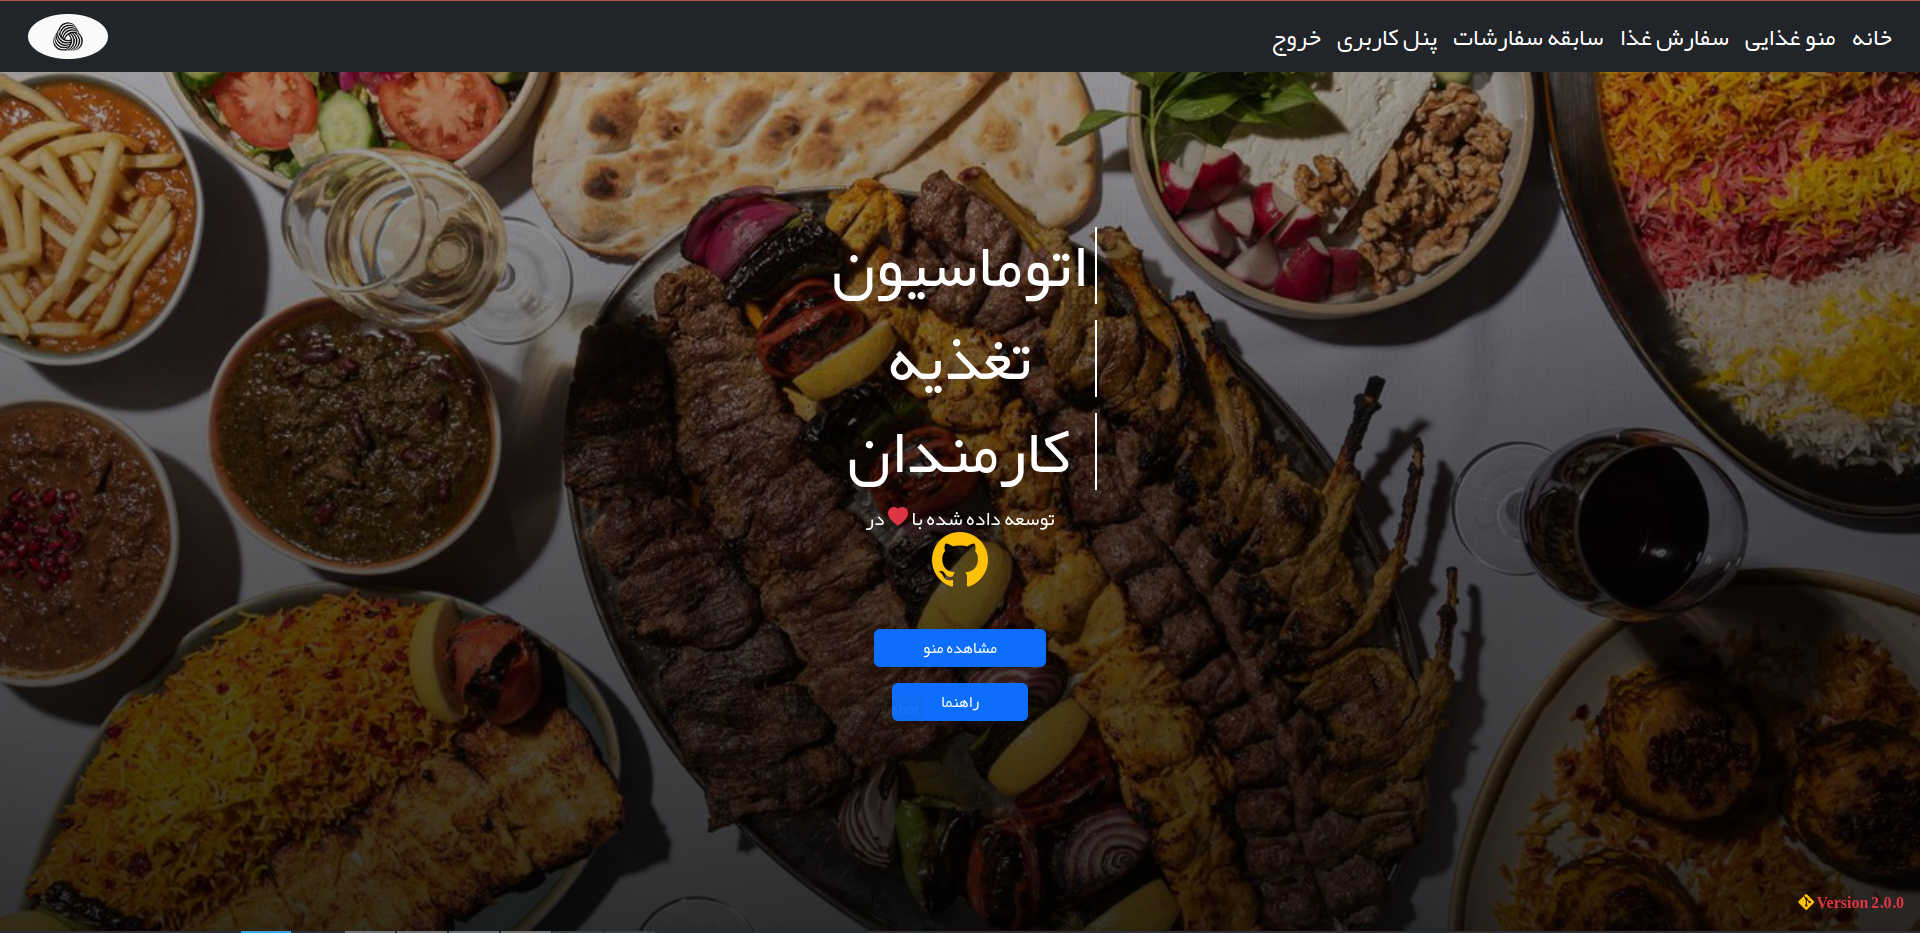
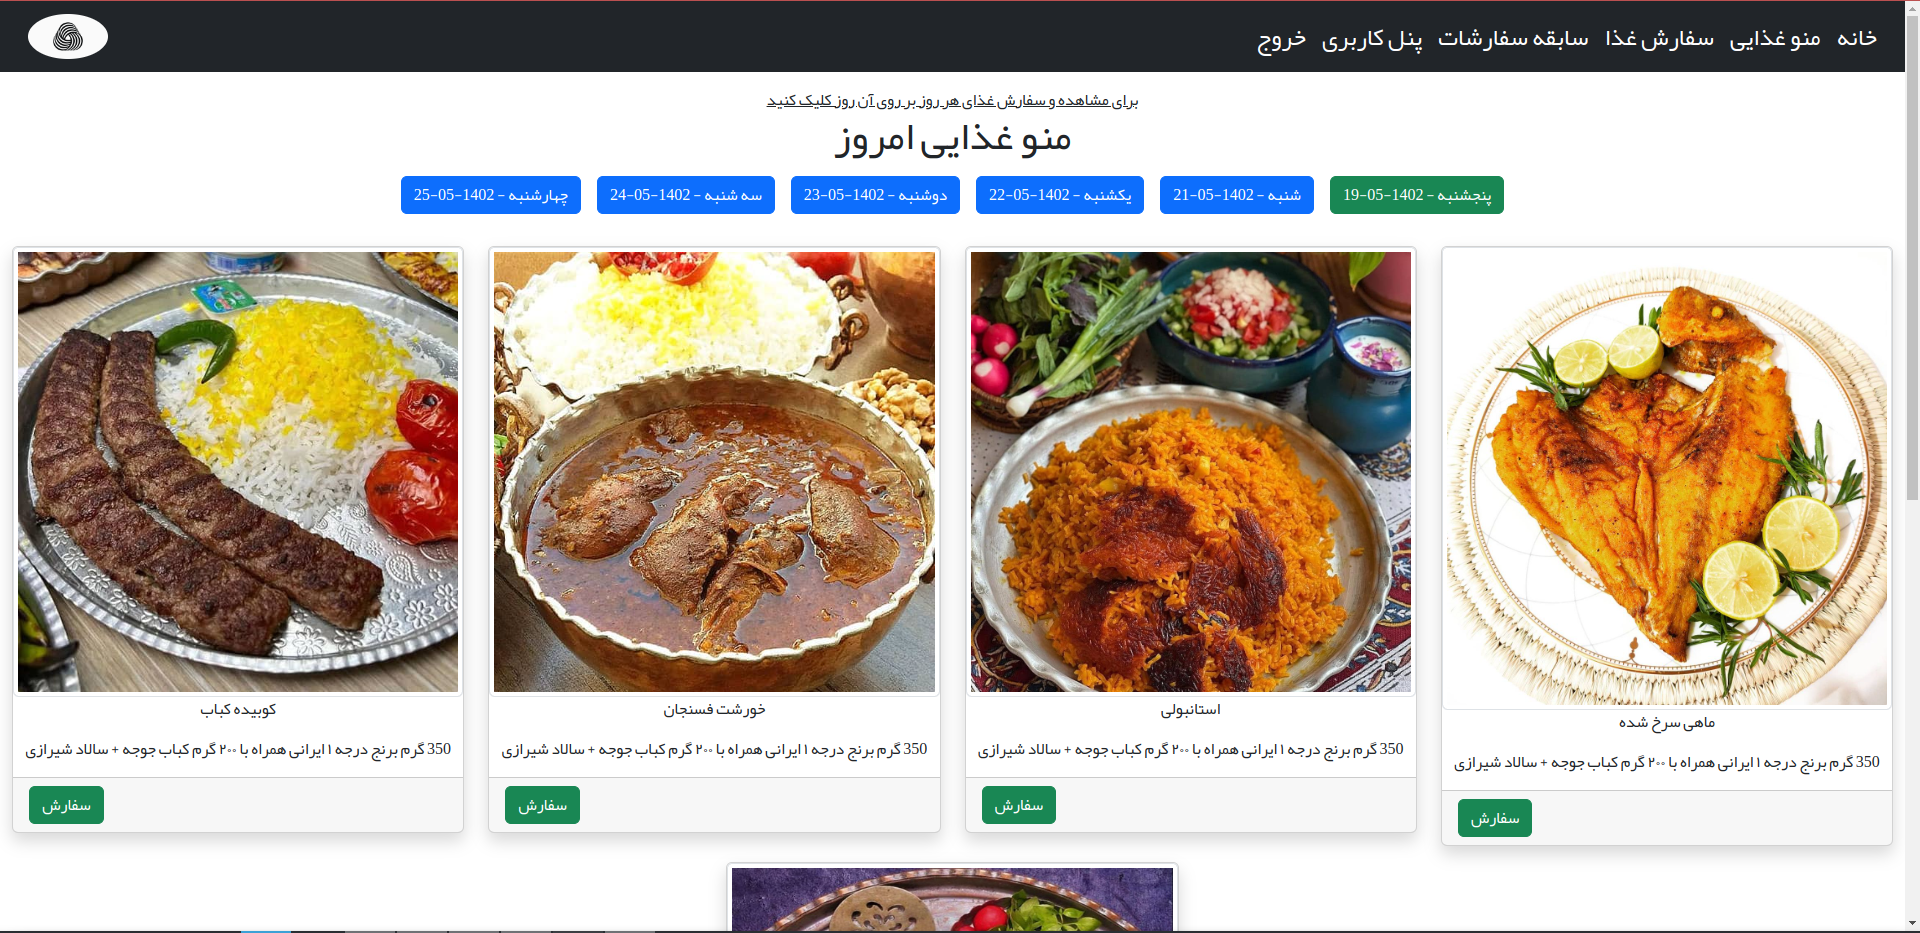
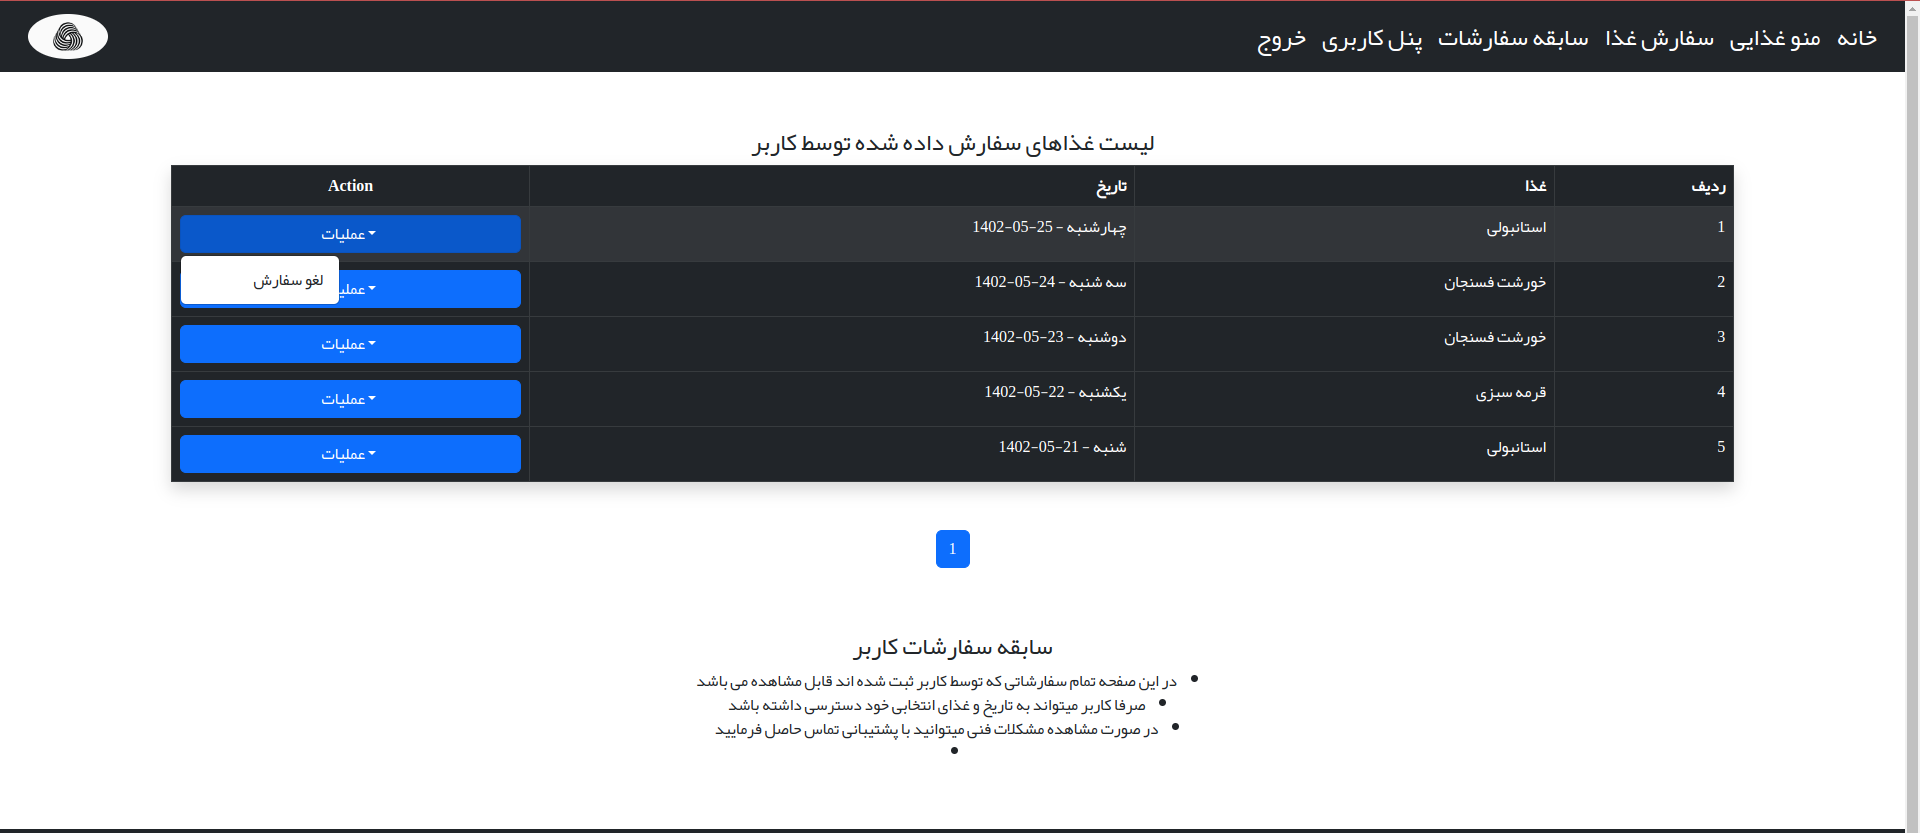
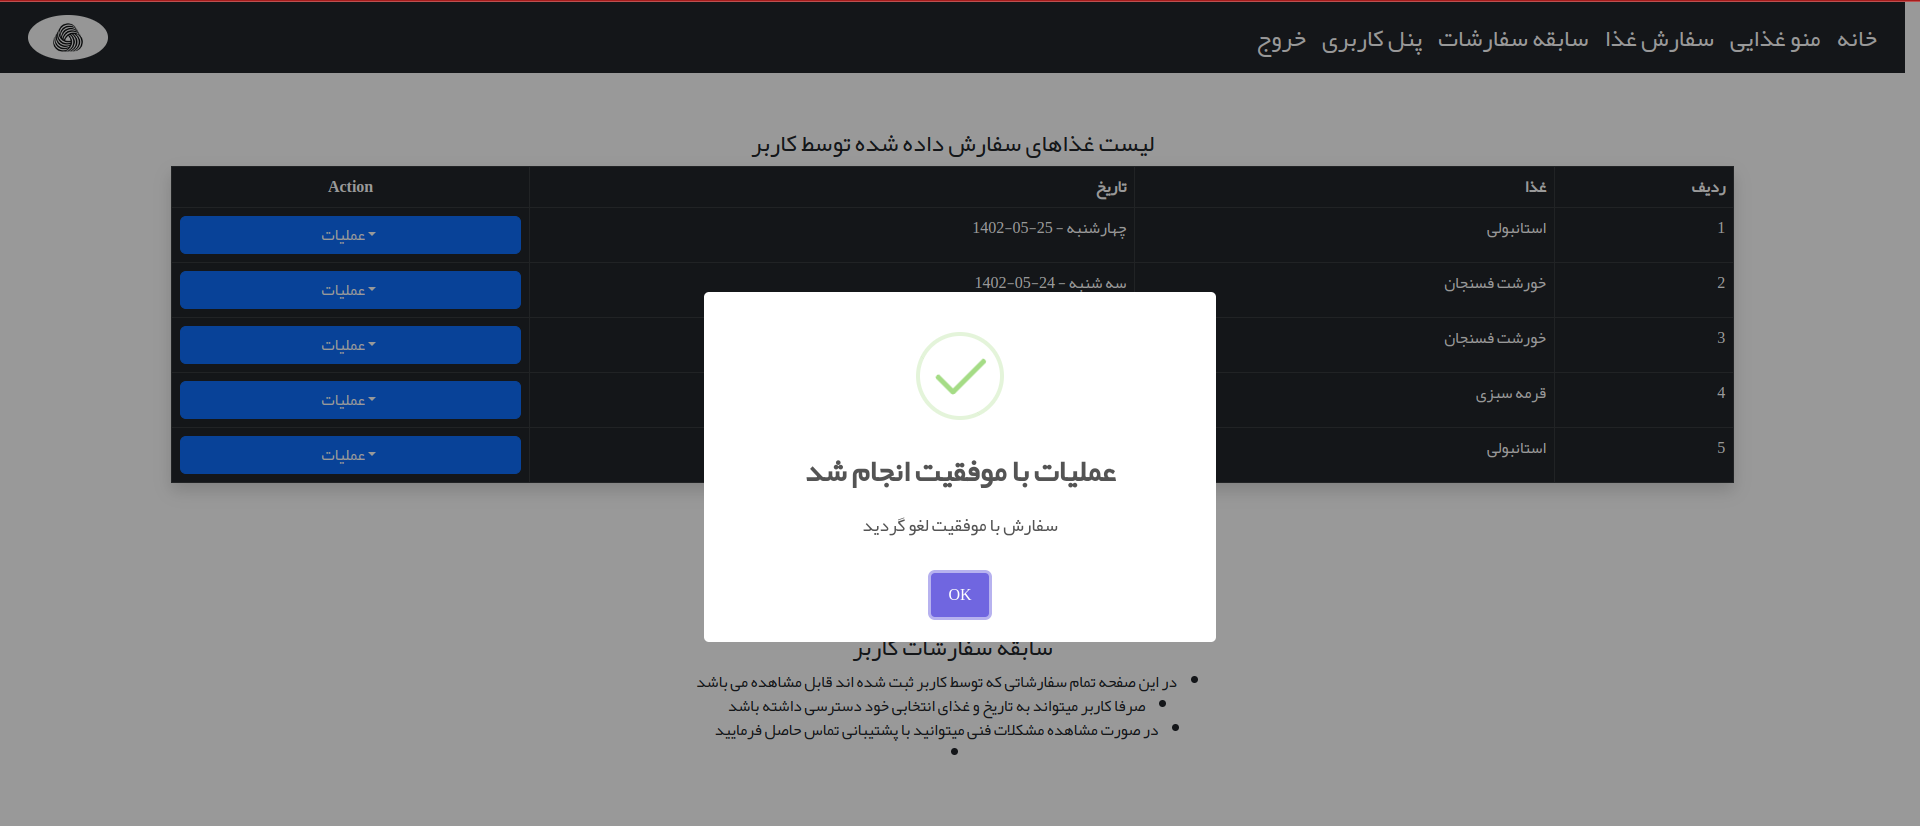
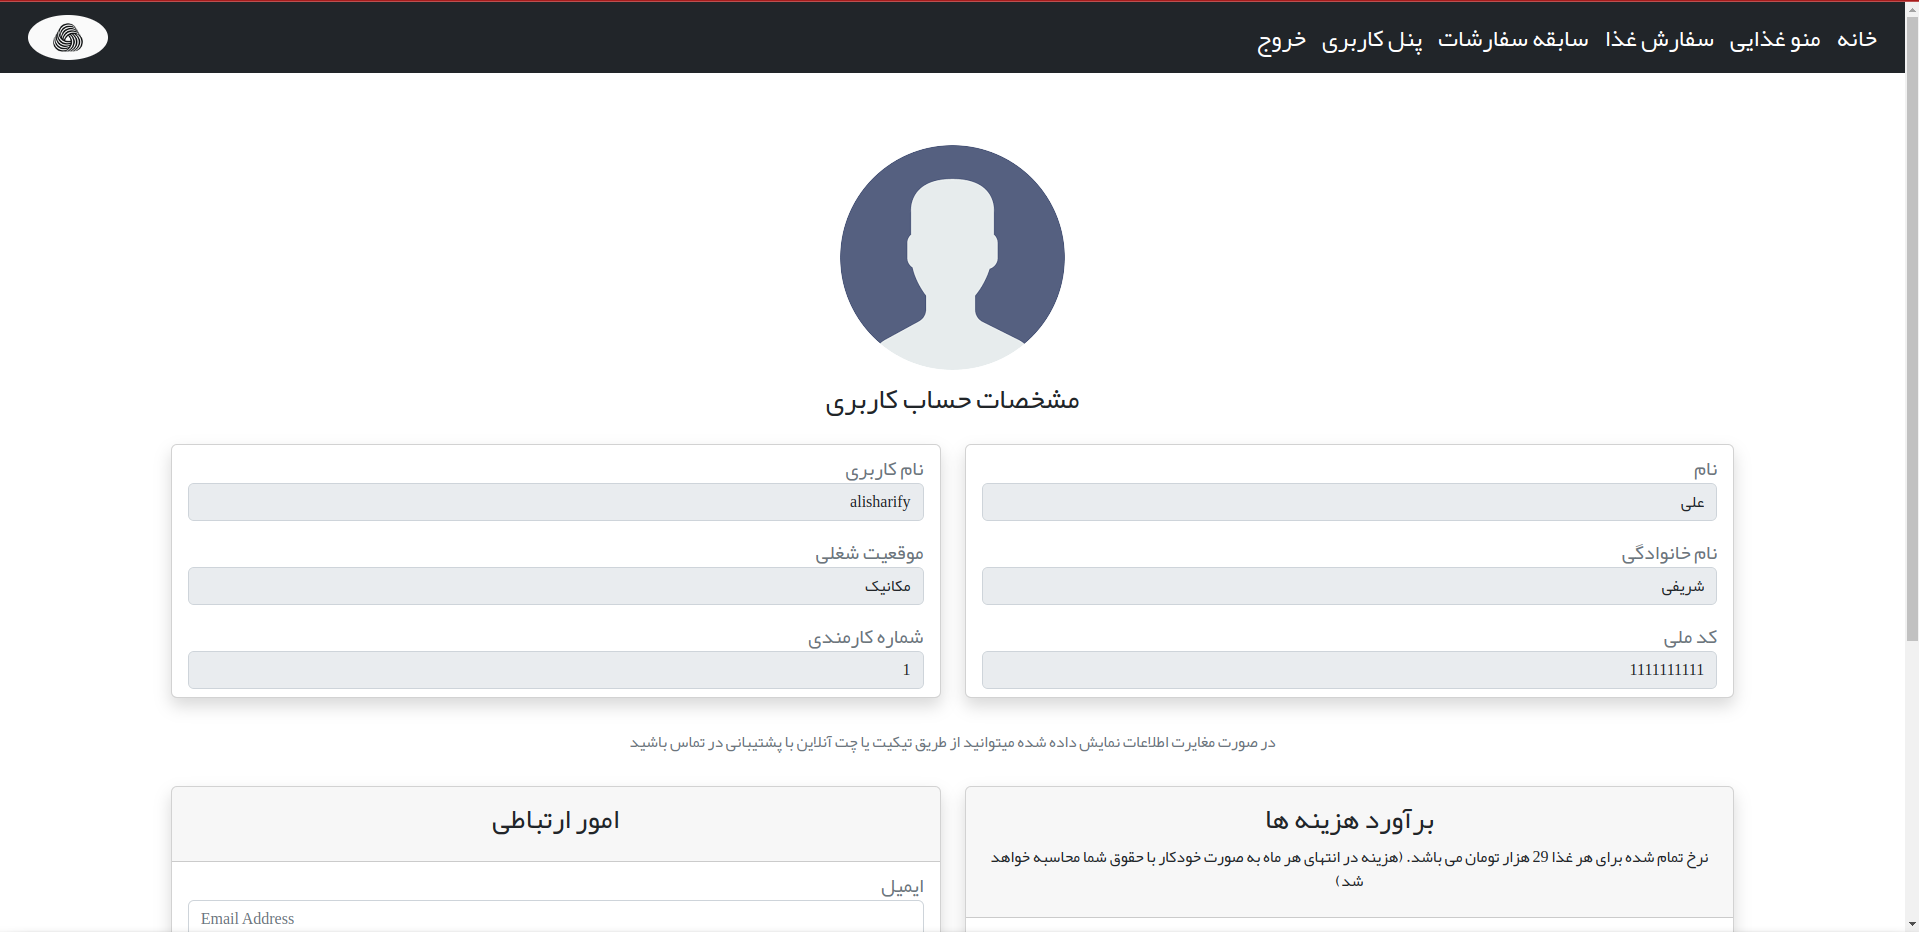
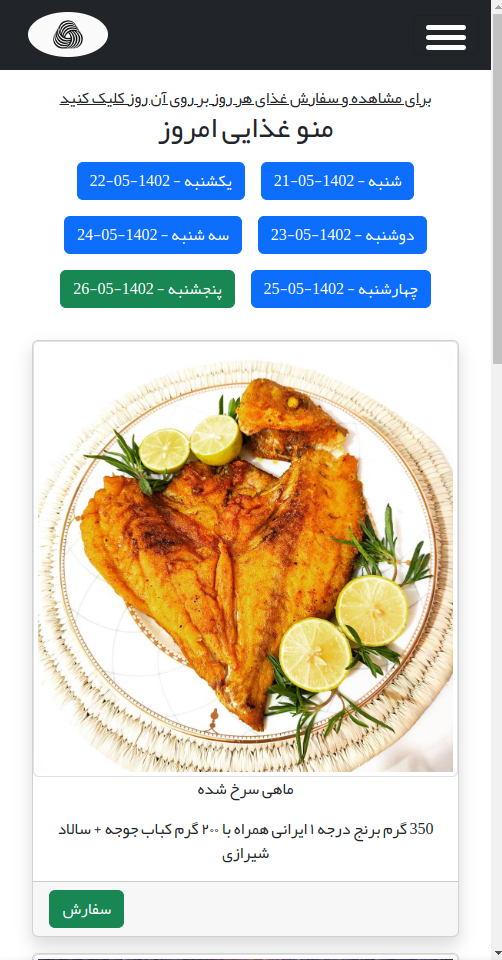
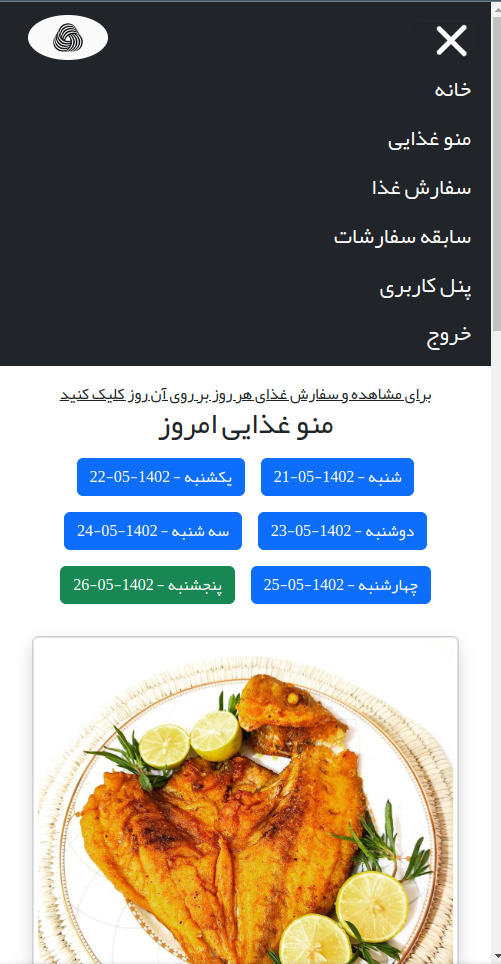
سیستم اتوماسیون تغذیه یا سلف سرویس در واقع یک نوع از سیستم جامع تحویل غذا است که پرسنل و دانشجویان می توانند به منظور سفارش و صرف غذا در سازمان های دولتی و خصوصی و همچنین دانشگاه ها از این سیستم استفاده کنند.
Tech Stack:
  python3
      jinja2
      sms_ir-python
      requests
      Khayyam
      celery
  Flask
    Flask-Captcha2
    Flask-Sqlalchemy
    Flask-Session
    Flask-Wtf
    Flask-Migrate
    Flask-RQ
    Flask-Mail
  Redis
  Mysql
    PyMySQL
  Html
  Css
      Bootstrap 5.2
      Bootstrap Icon 1.10
  Javascript
      Chart js
      Moment js
      SweetAlert2 js
      Jquery js
      PersianDatePicker js
Persian Version of readme Click
  Python3 -m venv venv
  or
  python -m vevn venv
  source ./venv/bin/active
  or
  .\venv\Scripts\activate.bat
pip install -r requirements.txt
- before starting the app, you should do some steps
- first create your own config file with below command:
cp .env.sample .env
copy .env.sample .env
-
then open the .env file and fill in all the required fields
-
the required files include the database configuration, admin configuration, and SecretKey
-
after these steps you have to run below commands for SMS_IR config file
cp FoodyConfig/StaticConfig/SMS_IR_Config.py.sample FoodyConfig/StaticConfig/SMS_IR_Config.py
copy FoodyConfig/StaticConfig/SMS_IR_Config.py.sample FoodyConfig/StaticConfig/SMS_IR_Config.py
-
and then open FoodyConfig/StaticConfig/SMS_IR_Config.py and replace your template id (FROM SMS_IR) with fake one in file
-
then init and migrate db with below commands:
# remember at this point you should create a database (utf8mb4_persian_ci) # and also put the database name in .env file before running the below commands flask db init flask db migrate flask db upgrade -
to change the sections, simply open FoodyConfig/StaticConfig/Sections.py and replace all Sections with your own Company Sections (this required a little bit knowledge of Python Dict )
-
one last command is init settings:
flask create init_setting -
this command update database with setting file
-
simply run the following command :
  flask run [--port int:portNumber] [--debug] [ --reload ] [-- with-threads OR --without-threads]
  or
  python app.py
for creating admin Account go to root of project and run below commands :
flask create superuser [--help]
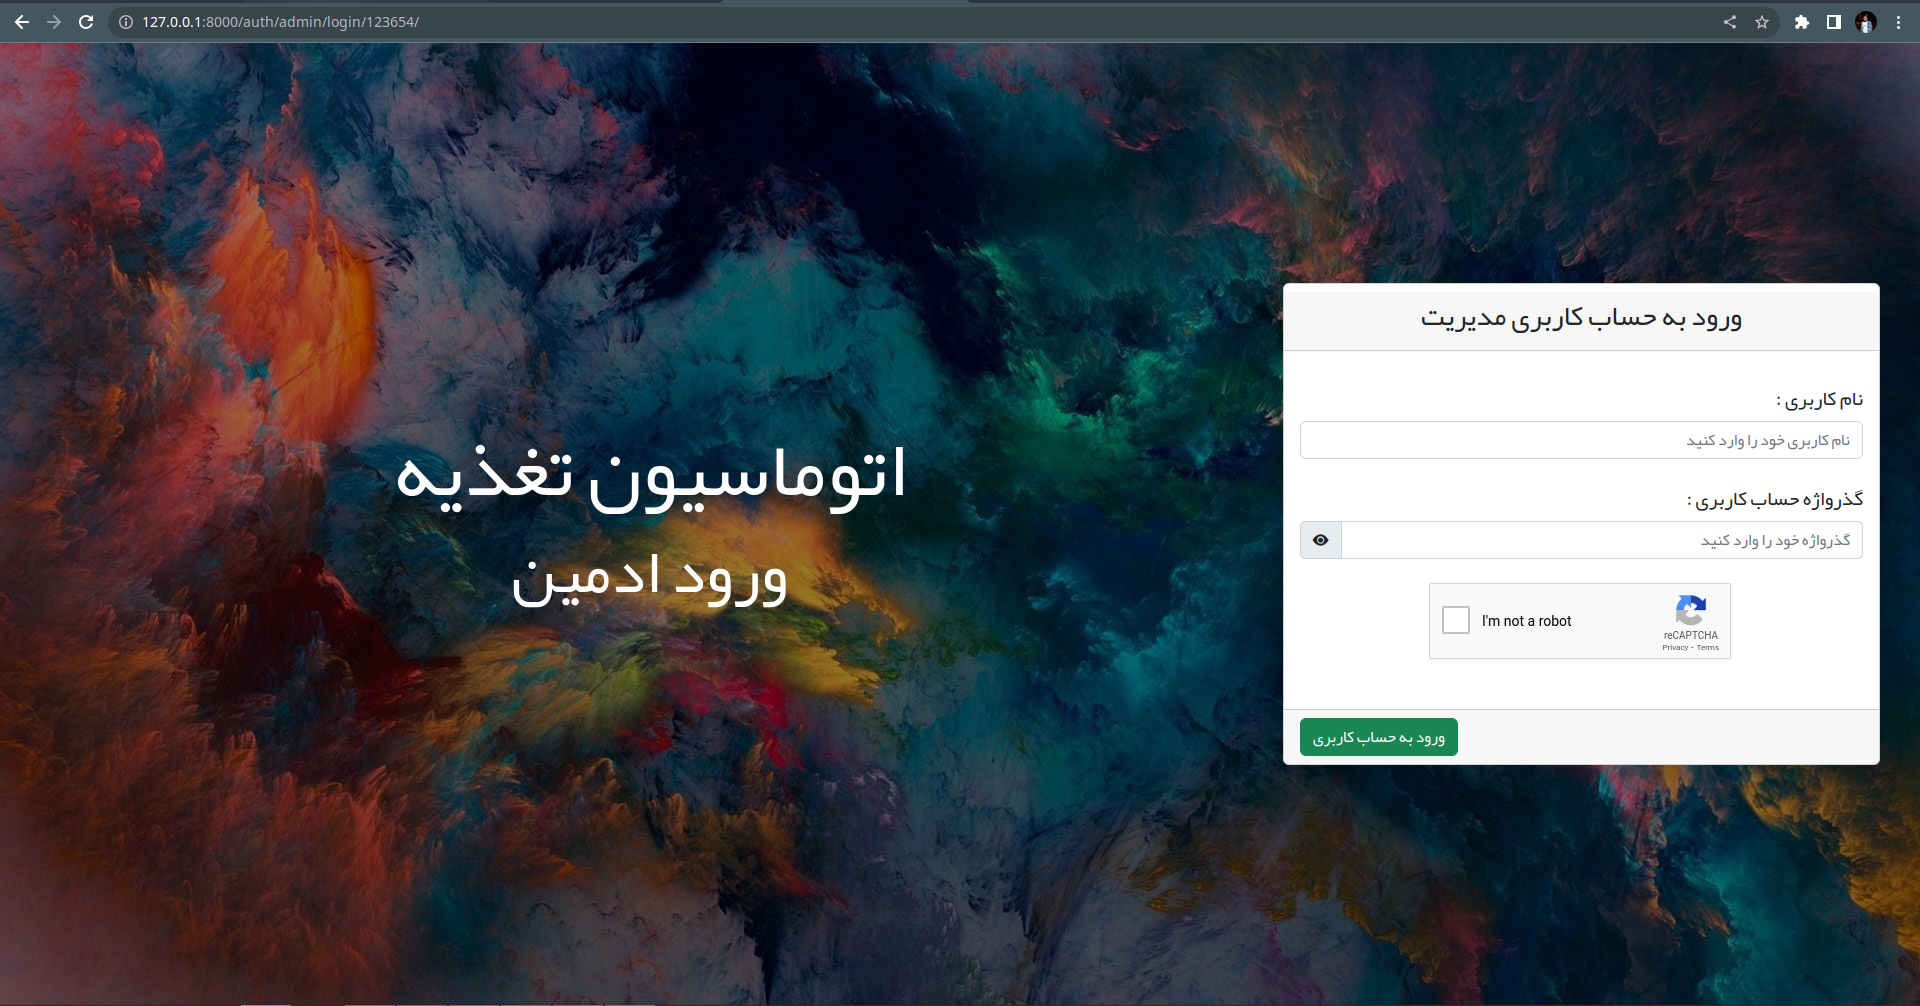
For the admin panel URL, there is a key in the .env file called ADMIN_LOGIN_TOKEN. You should remember that token because you have to pass that token to a special endpoint every time you want to log in to the admin panel.
- www.domain.tld/auth/admin/login/
- 127.0.0.1:8000/auth/admin/login/
The default token is 123654. So, the admin URL login with the default token is:
- www.domain.tld/auth/admin/login/123654
- 127.0.0.1:8000/auth/admin/login/123654
When the application is running with Debug=True (APP-DEBUG property in the .env file), the application itself serves static files locally. However, when the debug mode is set to False, the application no longer serves static files, and Nginx serves them for you. Therefore, if the app's debug mode is set to False, you need to create a reverse proxy and add some configuration to your web server so that the app can render static files correctly.
this web application configure for deploying to liara.ir if you want to use another pass Service provider make sure, to change nginx config
this app required a disk Volume to save images food
for this app configure to point to a disk called #Media
so don't forget to create a Disk for this (recommended size: 1G)
flask create init_setting [--help]
this command is super important because this command insert all sections,days in database
when ever you add new item to sections you have to run this command
flask create superuser [--help]
Use this command for adding new admin to database
flask create fakeuser [--help]
adding Fake users to app [for development purpose]
flask status users [--help]
this command show you information about users in app (all users, active users, ...)
flask status admins [--help]
this command show you information abut admins in app (all admins, active admins, ...)
flask status orders [--help]
this command show you information abot orders (all orders, today orders, ...)


