pip3 install -r requirements.txtBefore running, let's check usage.py out:
- Import sys lib for give argument from command line:
import sys- Import cv2:
import cv2- Import face_blurer lib to blur the faces:
import face_blurer- Get given argument:
image_path = sys.argv[1]- Read image from given path:
image = cv2.imread(image_path)- Blur the faces in image:
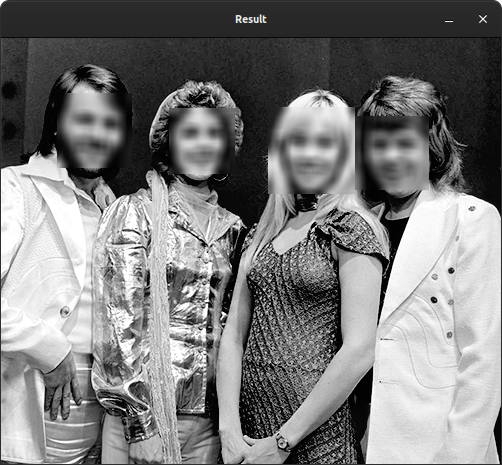
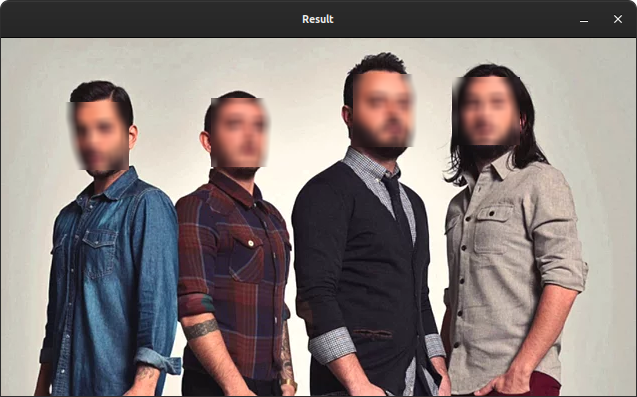
image = face_blurer.blur_face(image)- Finally write result image to directory and show it on window:
cv2.imwrite("result.jpg", image)

cv2.imshow("Result", image)
cv2.waitKey(0)NOTE: When running of usage.py you have to give image as parameter. It shown below.
For Linux:
python3 usage.py img.pngFor Windows:
python usage.py img.pngBefore running, let's check usage_live.py out:
- Import libraries as above
- Realize default steps for real time caturing
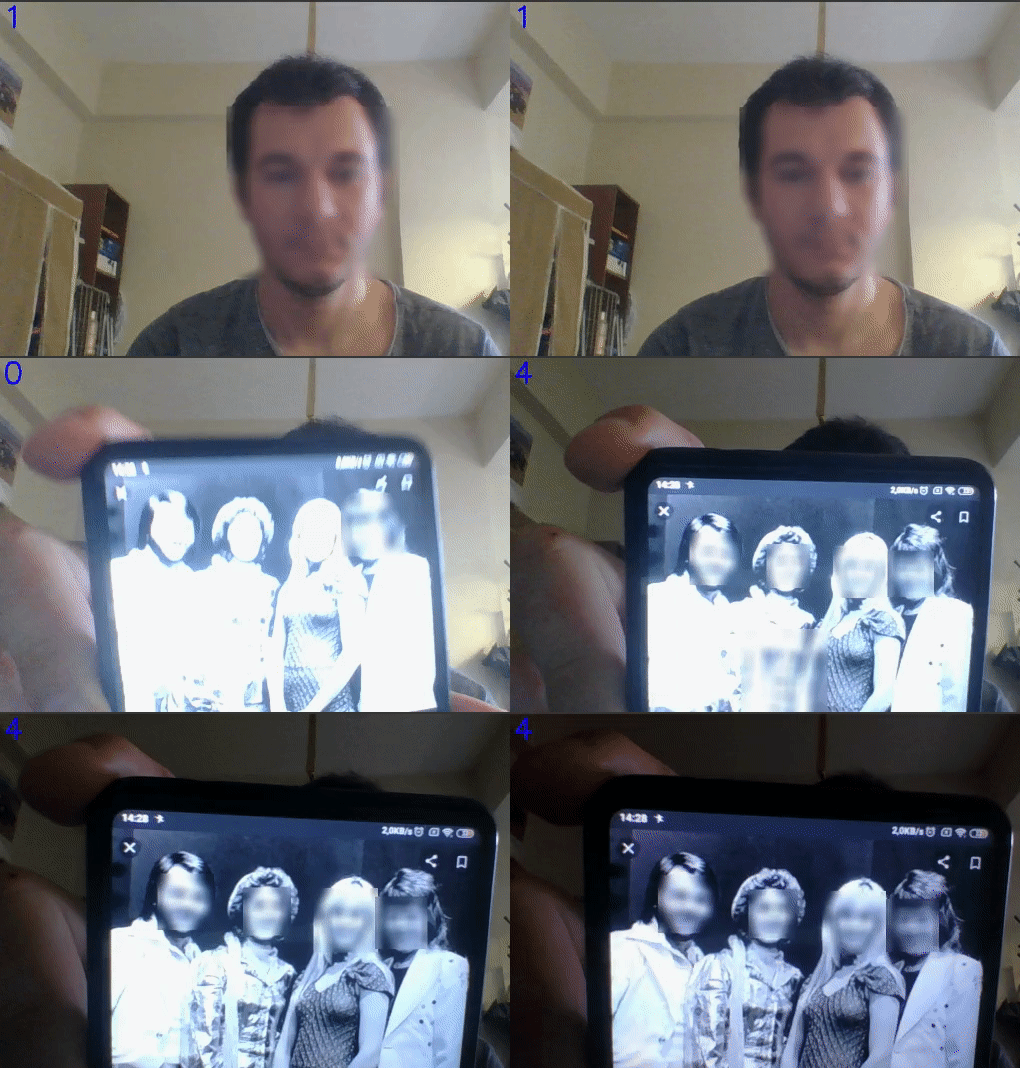
- Blur each frame before showing:
frame = face_blurer.blur_face(frame, 3)- Get number of faces for each frame:
num_of_faces_frame = face_blurer.num_of_faces(frame)- Show number of faces for each frame:
frame = cv2.putText(frame, str(num_of_faces_frame),
(50, 50), cv2.FONT_HERSHEY_SIMPLEX, 2, (255, 0, 0), 3)- At final step, show result frame by frame:
cv2.imshow('frame', frame)blur_face() method parameters:
blur_face(image_path, level=1)- first parameter is image
- level of bluring, default is '1' (0 = low, 1 = mid, 2 = high)
num_of_faces method parameters:
This method return number of faces in given image.
num_of_faces(image)- it just get a parameter, image


