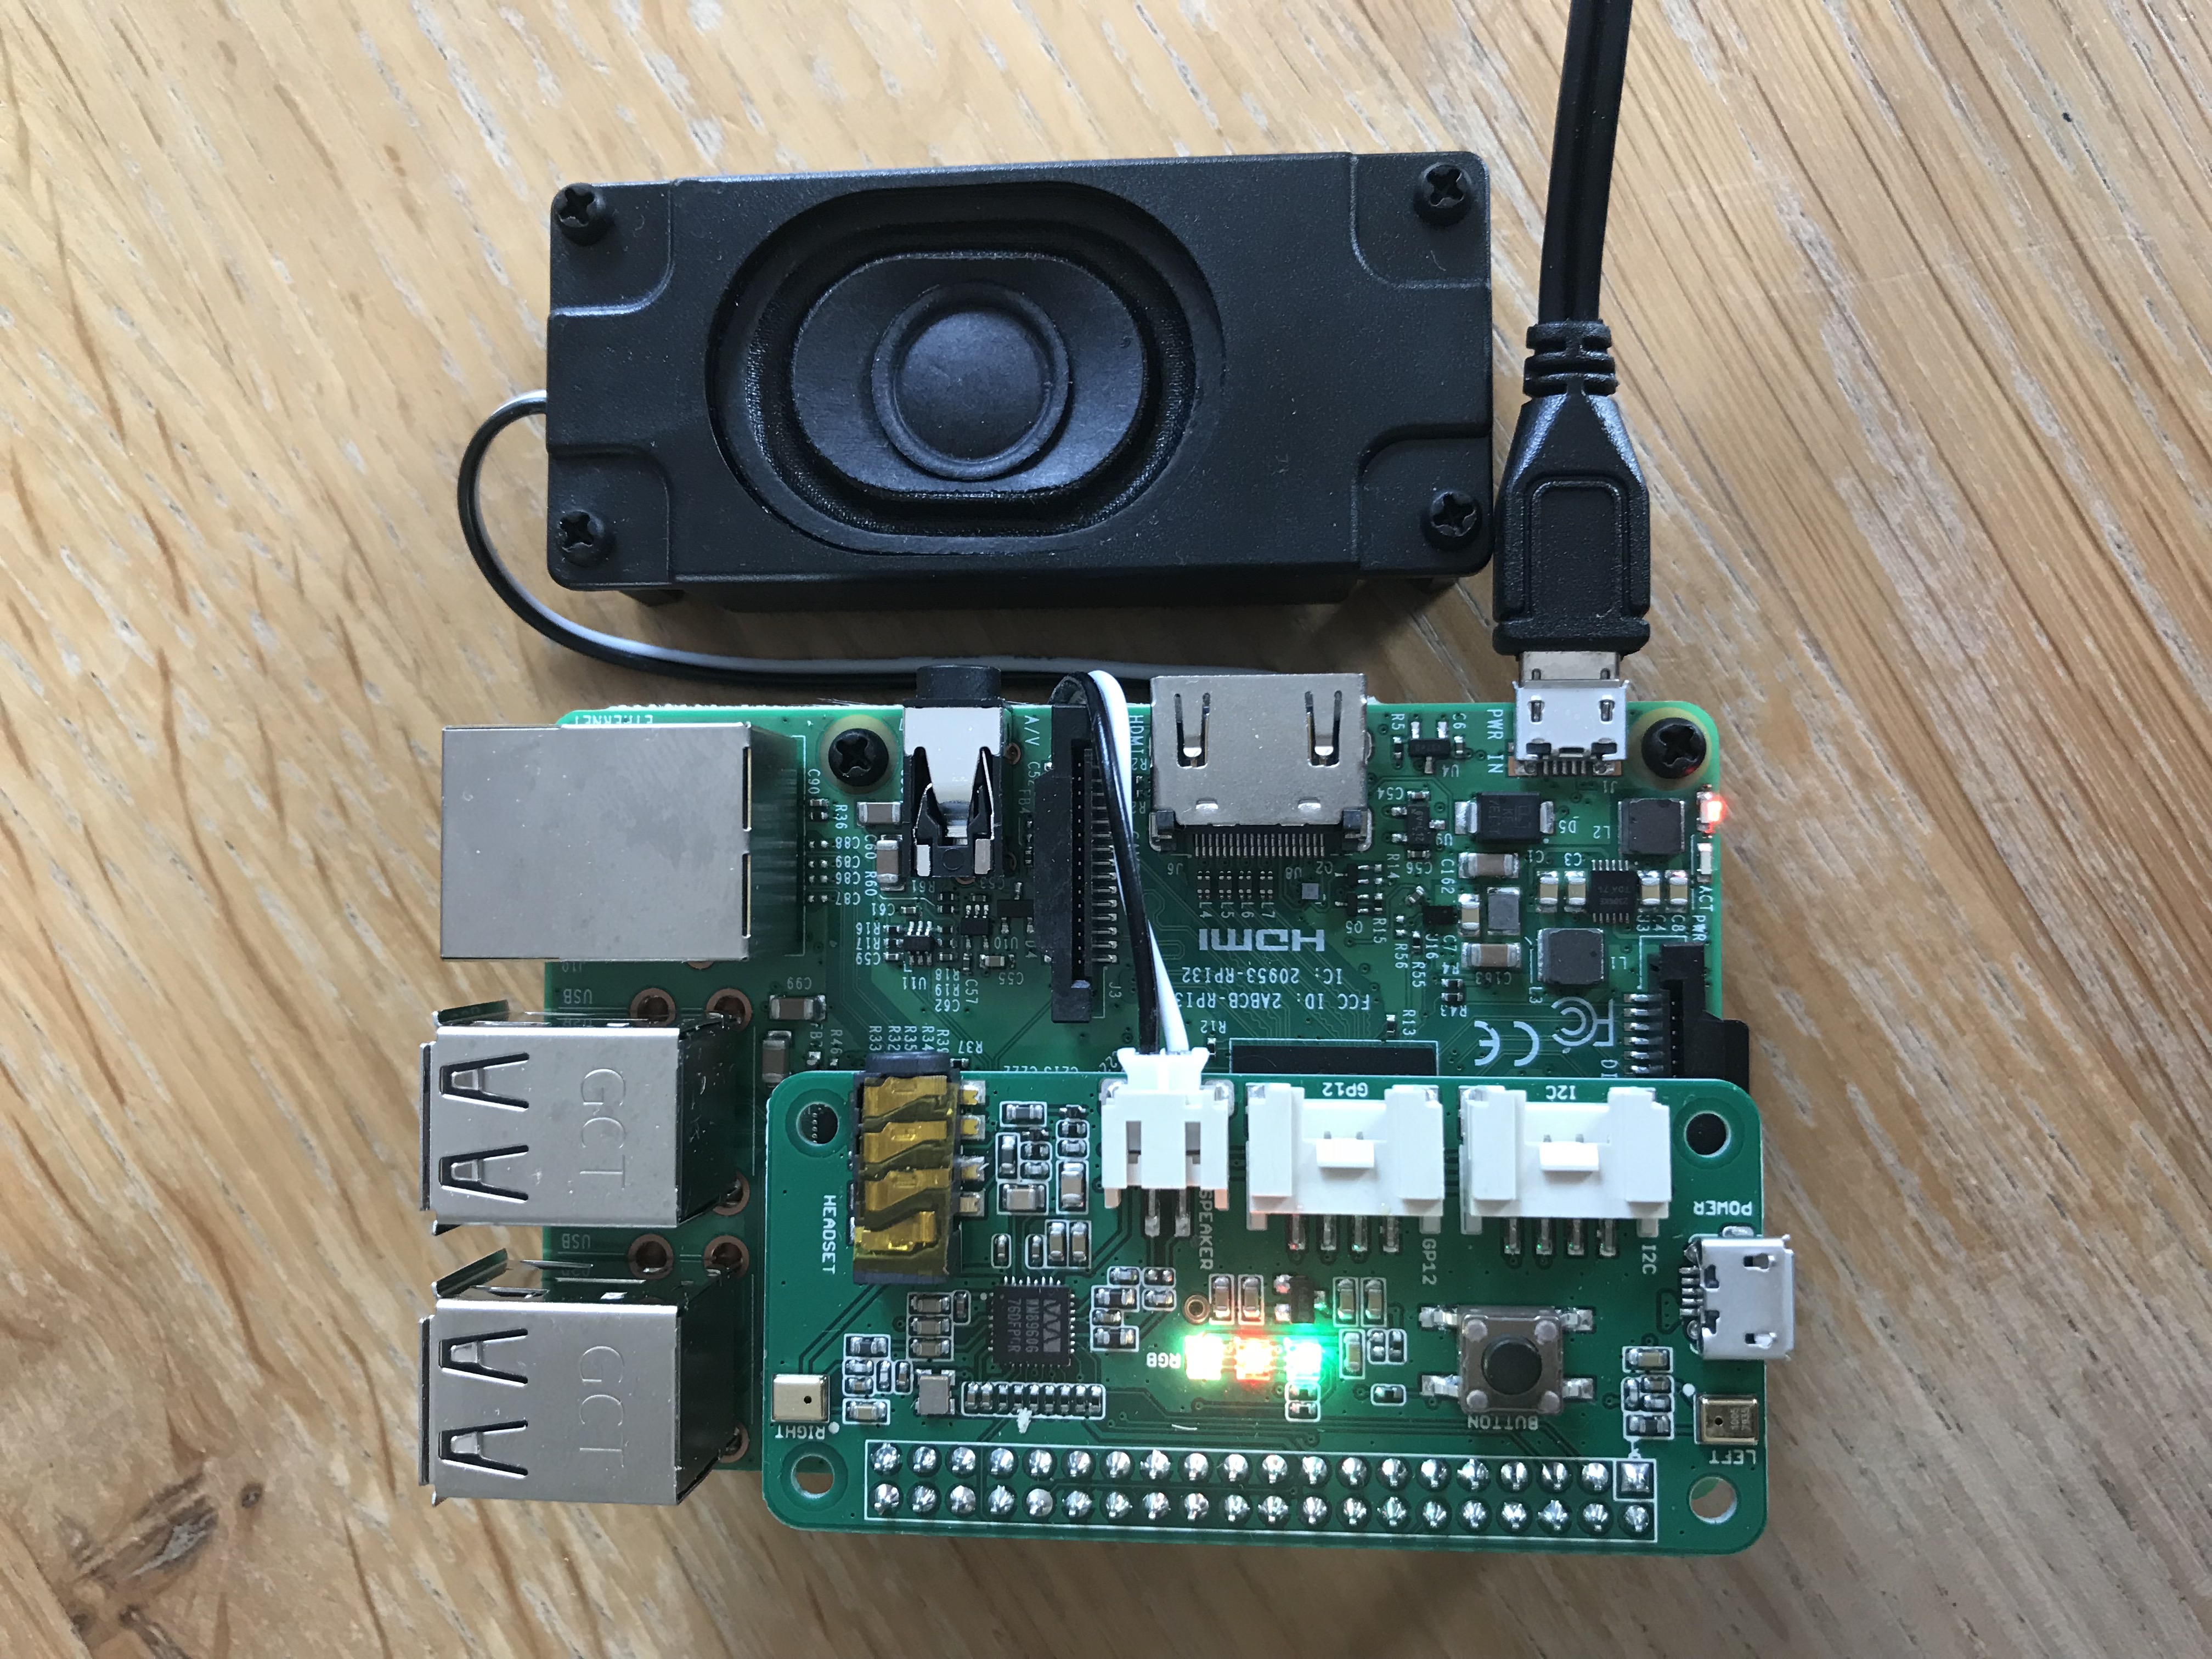
- Raspberry 3b+
- reSpeaker 2-mics phat
- a speaker compatible with the phat speaker connector
A good bundle that contains everything your need : https://makers.snips.ai/kit/
My kit
We will reach AWS Alexa voice service from a raspberry pi. To do so we will:
- Create a Alexa product to get all we need to reach Alexa AVS API
- Setup a raspberry with Raspian Stretch lite
- Install the reSpeaker driver and test GPIO for LEDs and action button
- Setup a python environment with all libs we will need
- Install Snowboy for hotword detection (to wake-up your assistant),
- Install a python AVS client
- Install python libraries to link together hotword detection and AVS
- Play with it!
By following this tutorial https://github.com/alexa/avs-device-sdk/wiki/Create-Security-Profile:
You should be able to collect these information:
- product Id
- client name
- client Id
- client secret
- AmazonId
After having flashed Raspian Stretch lite on a microSD card, from my Mac I go :
cd /Volumes/boot

touch ssh

vi wpa_supplicant.conf
Add this:
ctrl_interface=DIR=/var/run/wpa_supplicant GROUP=netdev
network={
  ssid="YOUR_NETWORK_NAME"
  psk="YOUR_PASSWORD"
  key_mgmt=WPA-PSK
}
sudo apt-get update -y
sudo apt-get upgrade -y
sudo apt-get install -y git vim
mkdir coach
cd coach
git clone https://github.com/respeaker/seeed-voicecard.git
cd seeed-voicecard
sudo ./install.sh
reboot
To test the respeaker (larsen effet!!!) :
arecord -f cd -Dhw:1 | aplay -Dhw:1
To set volume:
alsamixer
To save volume settings :
sudo alsactl --file=/etc/voicecard/wm8960_asound.state store
sudo apt-get install -y mpg123 mpv
sudo apt-get install -y gstreamer1.0-plugins-good gstreamer1.0-plugins-bad gstreamer1.0-plugins-ugly gir1.2-gstreamer-1.0 python-gi python-gst-1.0 libatlas-base-dev libpcre3 libpcre3-dev
sudo apt-get install -y python-pyaudio  sox python-dev python-virtualenv portaudio19-dev
  curl -sL https://deb.nodesource.com/setup_8.x | sudo -E bash -
  sudo apt-get install -y nodejs
Swig 3.0.10 build and install:
cd coach
mkdir swig
cd swig
wget http://downloads.sourceforge.net/swig/swig-3.0.10.tar.gz
tar xvzf swig-3.0.10.tar.gz
cd swig-3.0.10/
./configure --prefix=/usr --without-clisp --without-maximum-compile-warnings
make
sudo make install
sudo install -v -m755 -d /usr/share/doc/swig-3.0.10 && sudo cp -v -R Doc/* /usr/share/doc/swig-3.0.10
cd coach
virtualenv --system-site-packages env
env/bin/python -m pip install --upgrade pip setuptools
source env/bin/activate
!!! Make sure to use the previously created python virtual env
In coach folder:
To play with the 2Mic PHAT LEDs :
pip install spidev rpi.gpio
To test LEDs:
git clone https://github.com/respeaker/mic_hat.git
cd mic_hat
python pixels.py
To test PHAT button, with the file button.py (from this repository):
python button.py
!!! Make sure to use the previously created python virtual env
In coach folder, copy the alexa.pmdl file (from this repository), or use any Snowboy model you want (personal or universal)
git clone https://github.com/Kitt-AI/snowboy.git
cd snowboy/swig/Python
make
To test snowboy with a model (i.e. alexa.pmdl), from snowboy folder :
cd examples/Python/
python ./demo.py ../../../alexa.pmdl
Then you can say the hotword from your model, snowboy should print out the detection/play a notification sound
To create your own hotword, just go here: https://snowboy.kitt.ai/
!!! Make sure to use the previously created python virtual env
In coach folder :
git clone https://github.com/xiongyihui/python-webrtc-audio-processing.git
cd python-webrtc-audio-processing/
git submodule init && git submodule update
python setup.py build
python setup.py install
!!! Make sure to use the previously created python virtual env
In user home folder create a file .avs.json base on avs.json template. Edit the file to use the information for AWS AVS
Then install avs:
pip install avs
As required by AWS, but not supported by Python AVS, to force HTTPS redirect URL with AVS, edit in your site-package/avs/auth.py, to change line 31 (https://github.com/respeaker/avs/blob/master/avs/auth.py#L31) :
redirect_uri = "https://" + self.request.host + "/authresponse"
Use alexa-auth to authenticate your device against AVS. The .avs.json should then contains more values retrieved from the OAuth2 authentication process
If you have any issue the authentication process, please make sure you have added url in the "Allowed Return URLs" of the "Web settings" in the configuration of the AWS AVS security profile.
At callback time, you will get a connection error from your raspberry, so just change the browser url with HTTP, with the ip address of your raspberry as return url in the security profile configuration. When the redirect fail in the browser (https !) just edit the url to replace https with http. And the job is done.
Run "alexa-audio-check" to check avs access to audio interface
- Run "alexa-tap"
- When you see "INFO:avs.alexa:on_ready" on the console press enter
- Say "what time is it"
- Then you should listen Alexa giving you the current time
!!! Make sure to use the previously created python virtual env
Install voice-engine from reSpeaker:
pip install voice-engine
Then add manually the compiled snowboy as a local dependencies for voice-engine:
- from python virtual env folder
- in lib/python2.7/site-packages/voice_engine
- create a folder name snowboy
- into this folder copy the content of the snowboy example for Python (used earlier) : cp -rvfL ../../../../../../snowboy/examples/Python/* ./
(-L is to copy file instead of symbolic links)
Copy the alexa-demo.py file in the "coach" folder and run it. You can adjust the path and name of the snowboy model file.
Then Alexa is waiting for the hotword to listen to you...
The same demo, with noise suppression is available with alexa-demo-with-noisesuppression.py
!!! Make sure to use the previously created python virtual env
in repository coach folder, you will find an all-one example allowing you to :
- have a hand-free alexa service
- with status notification with LEDs feedback
- to trigger alexa while just pushing the HAT button
