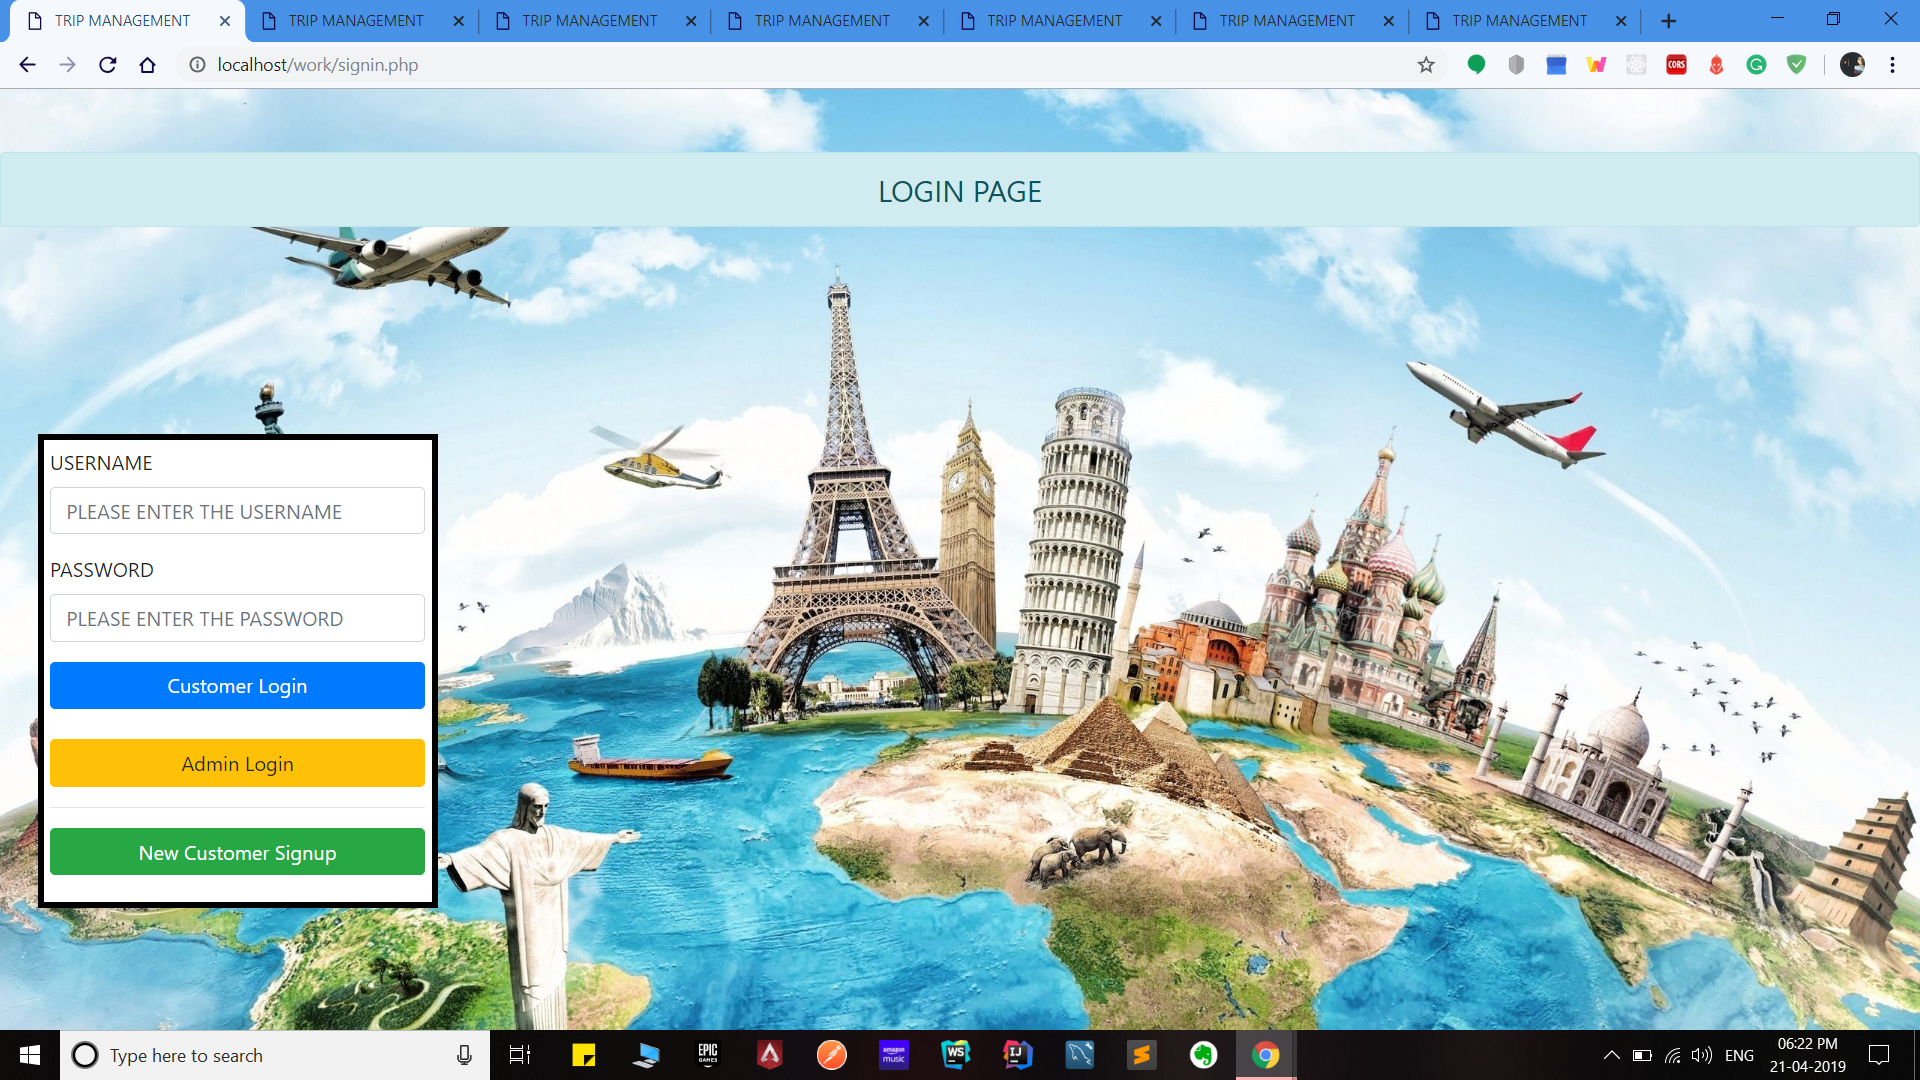
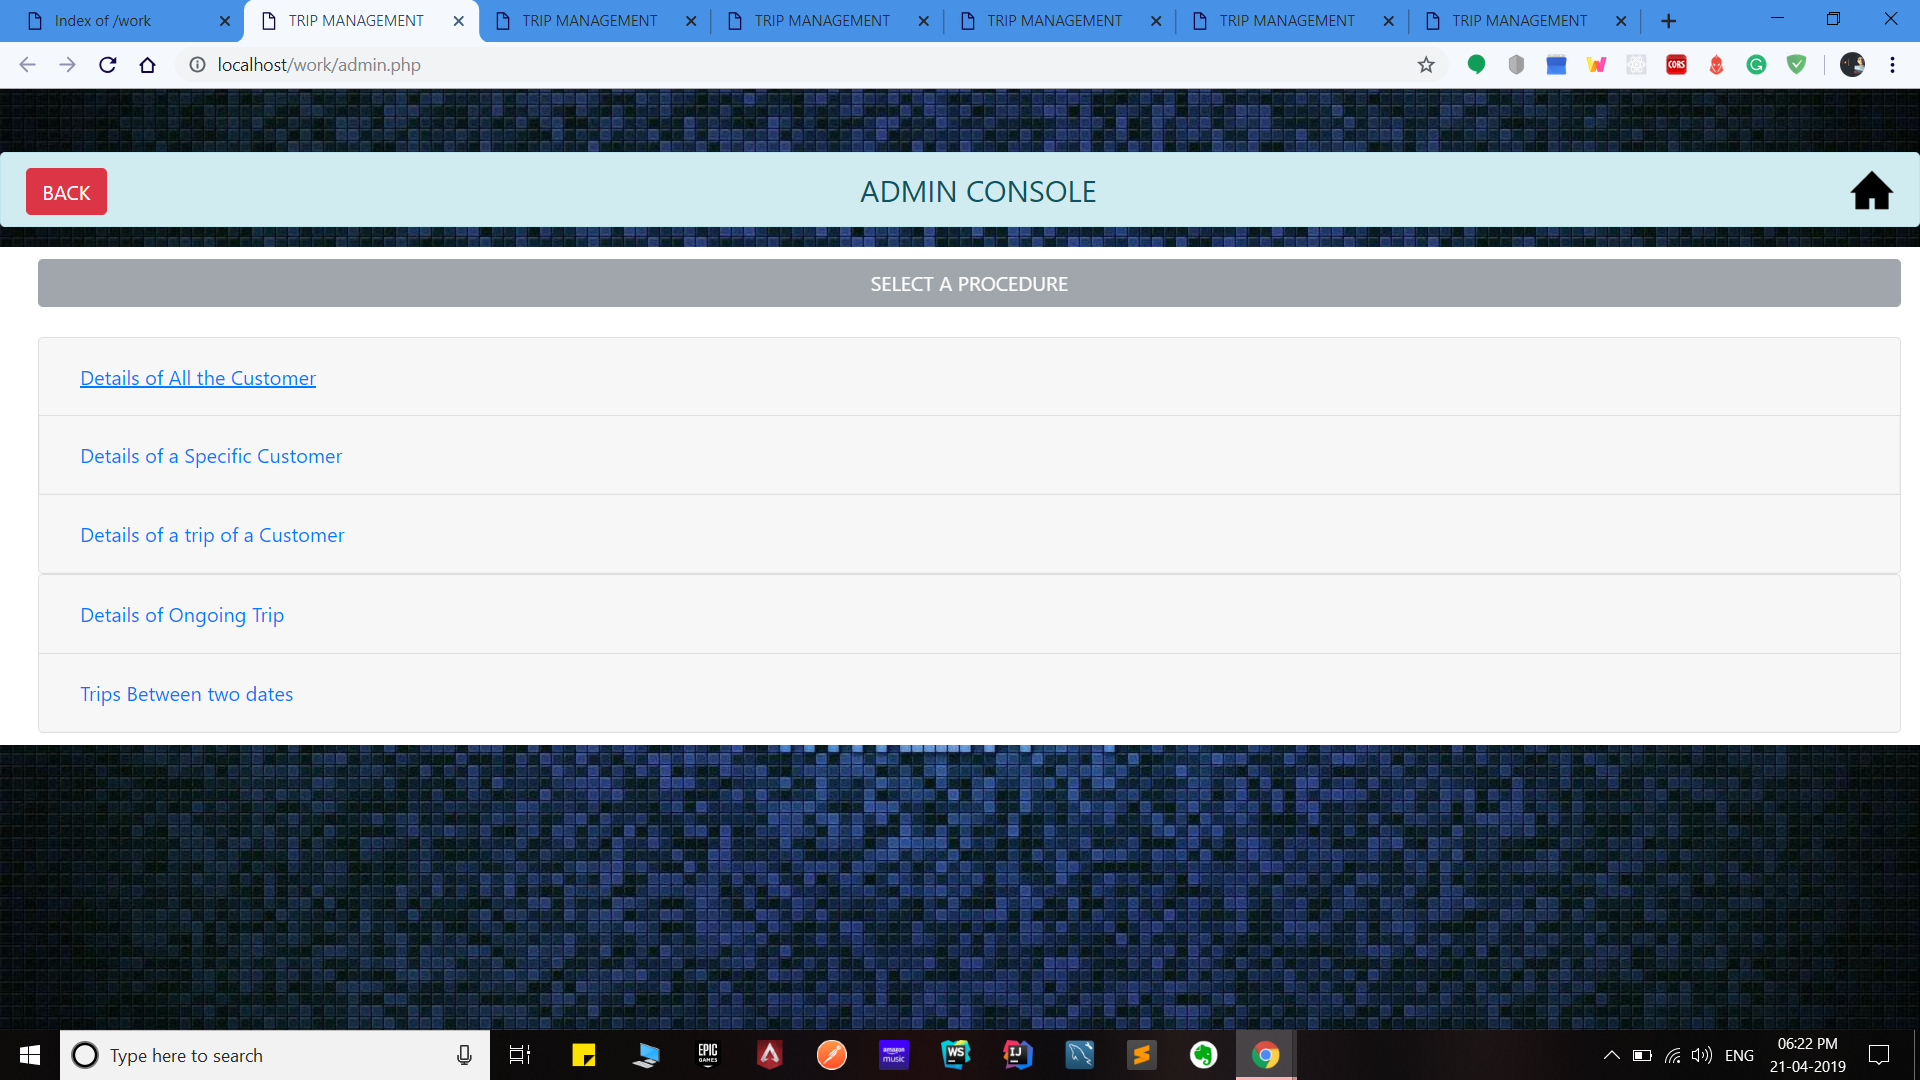
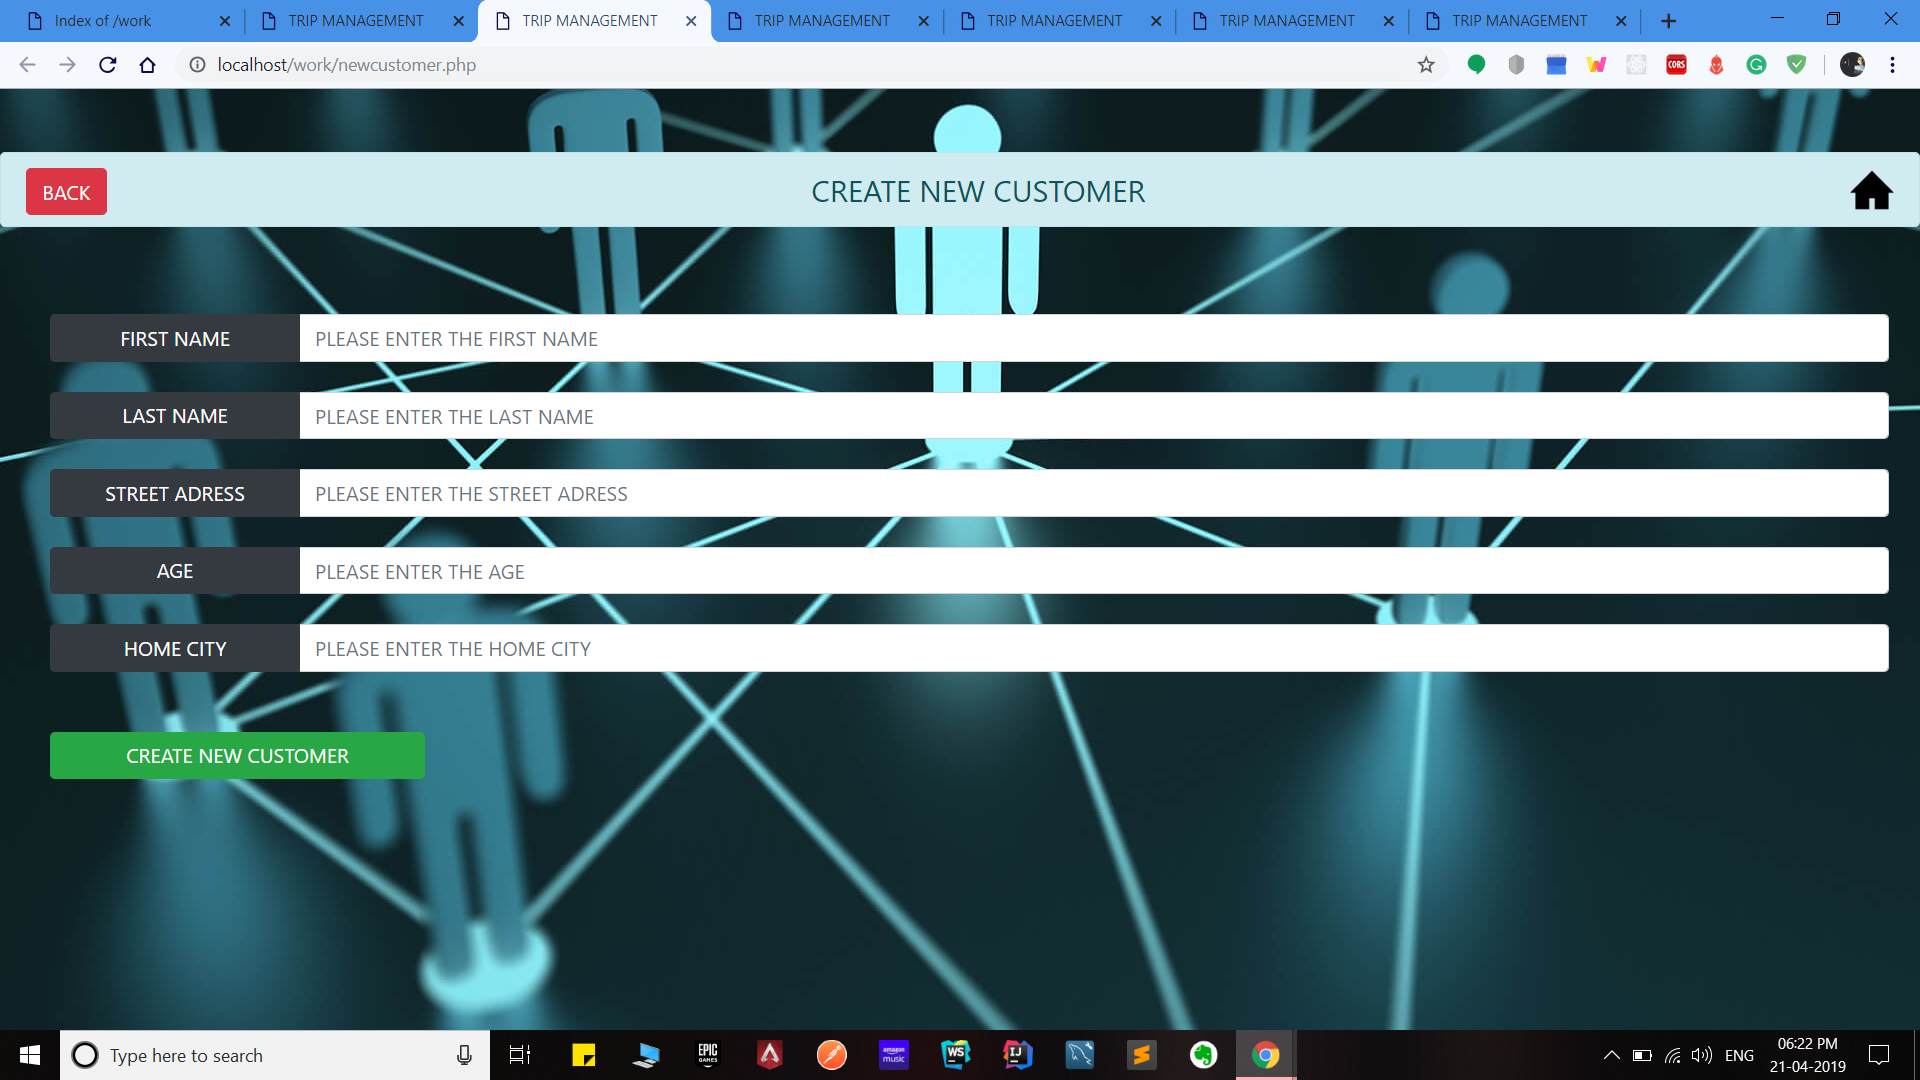
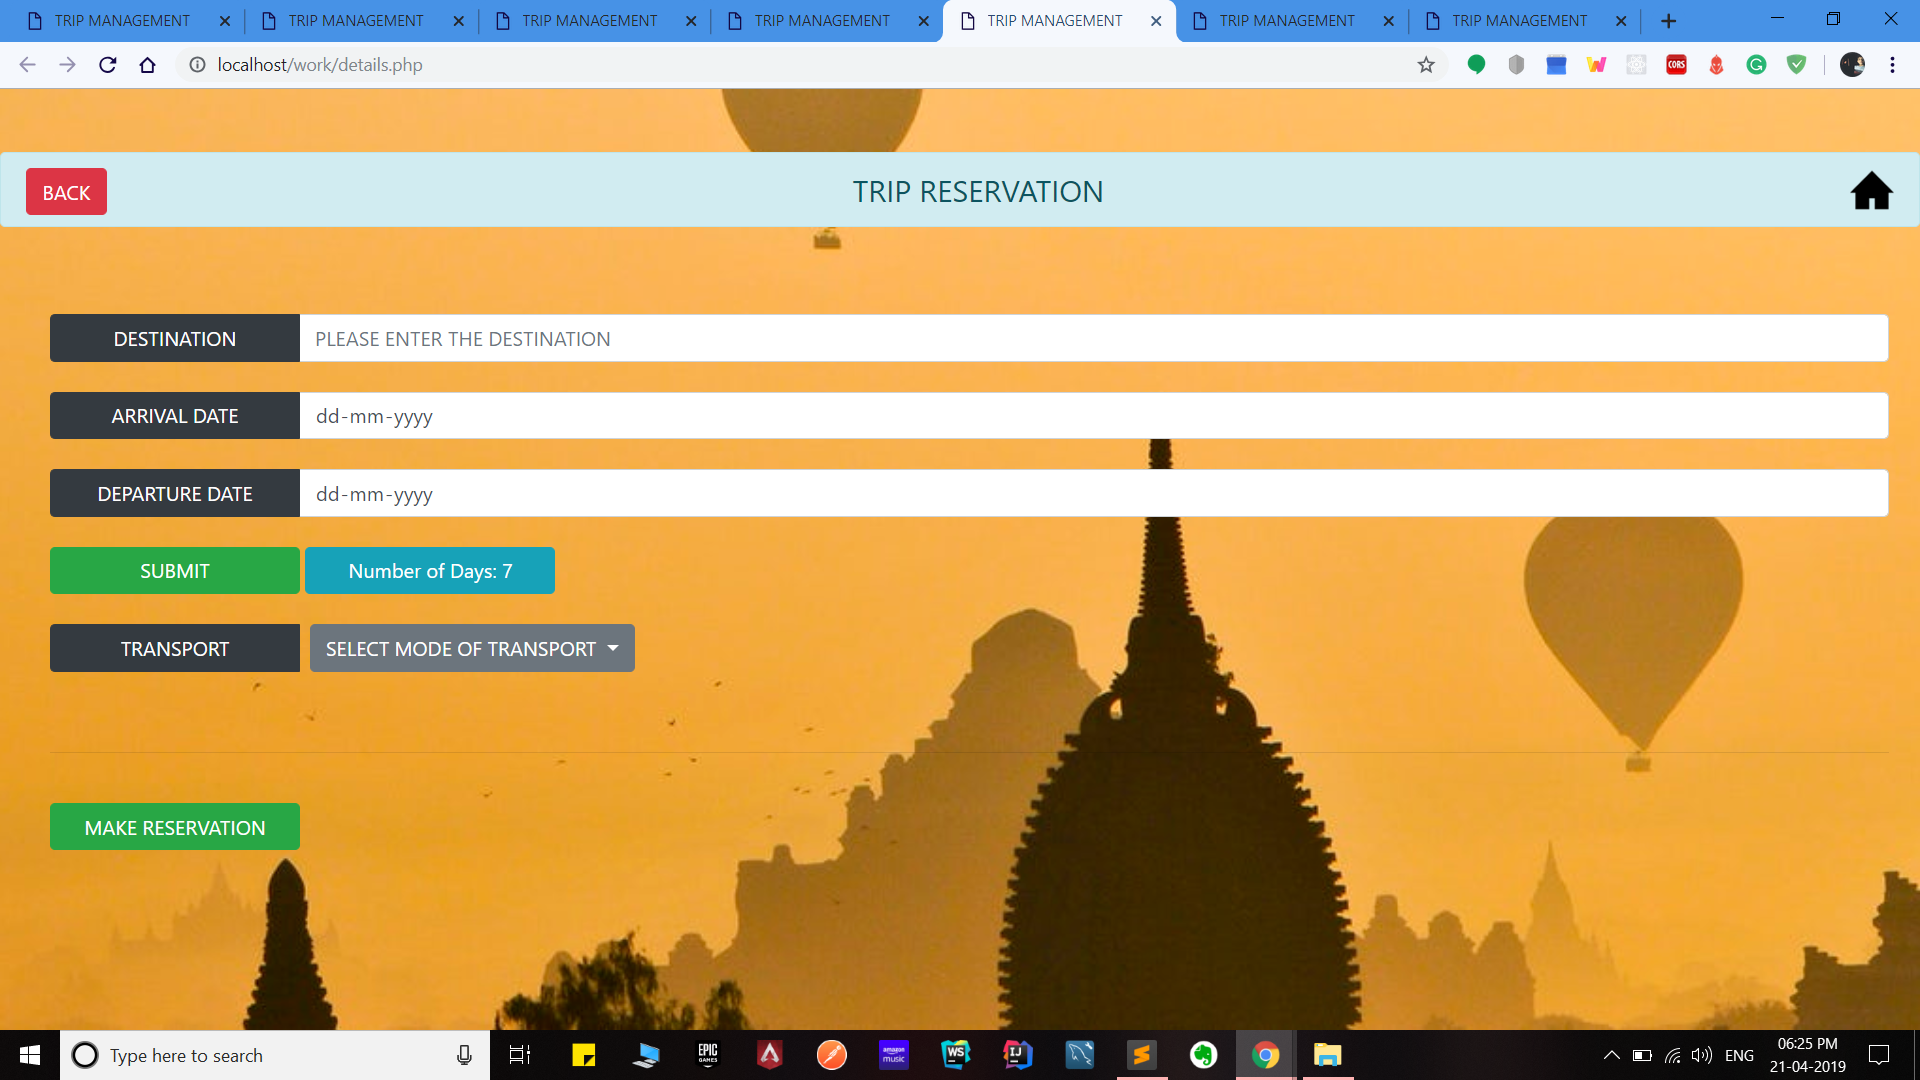
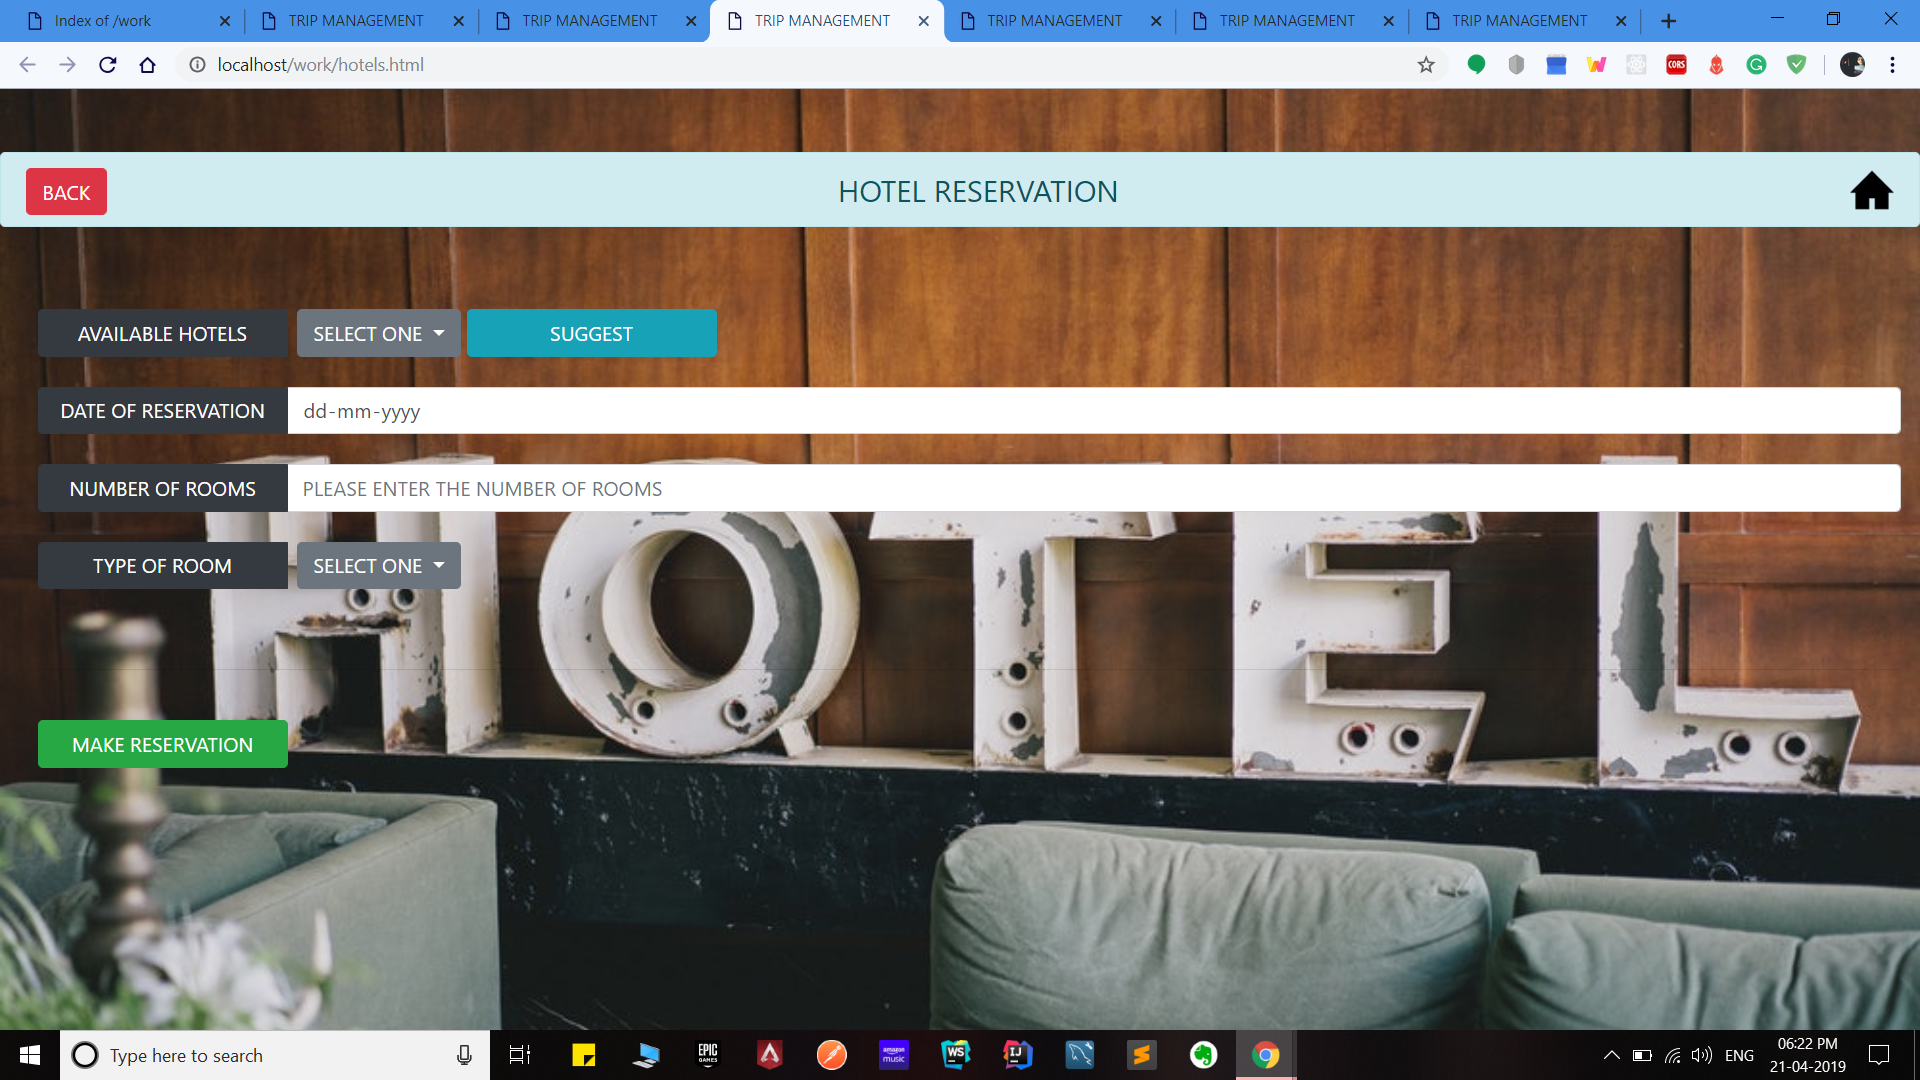
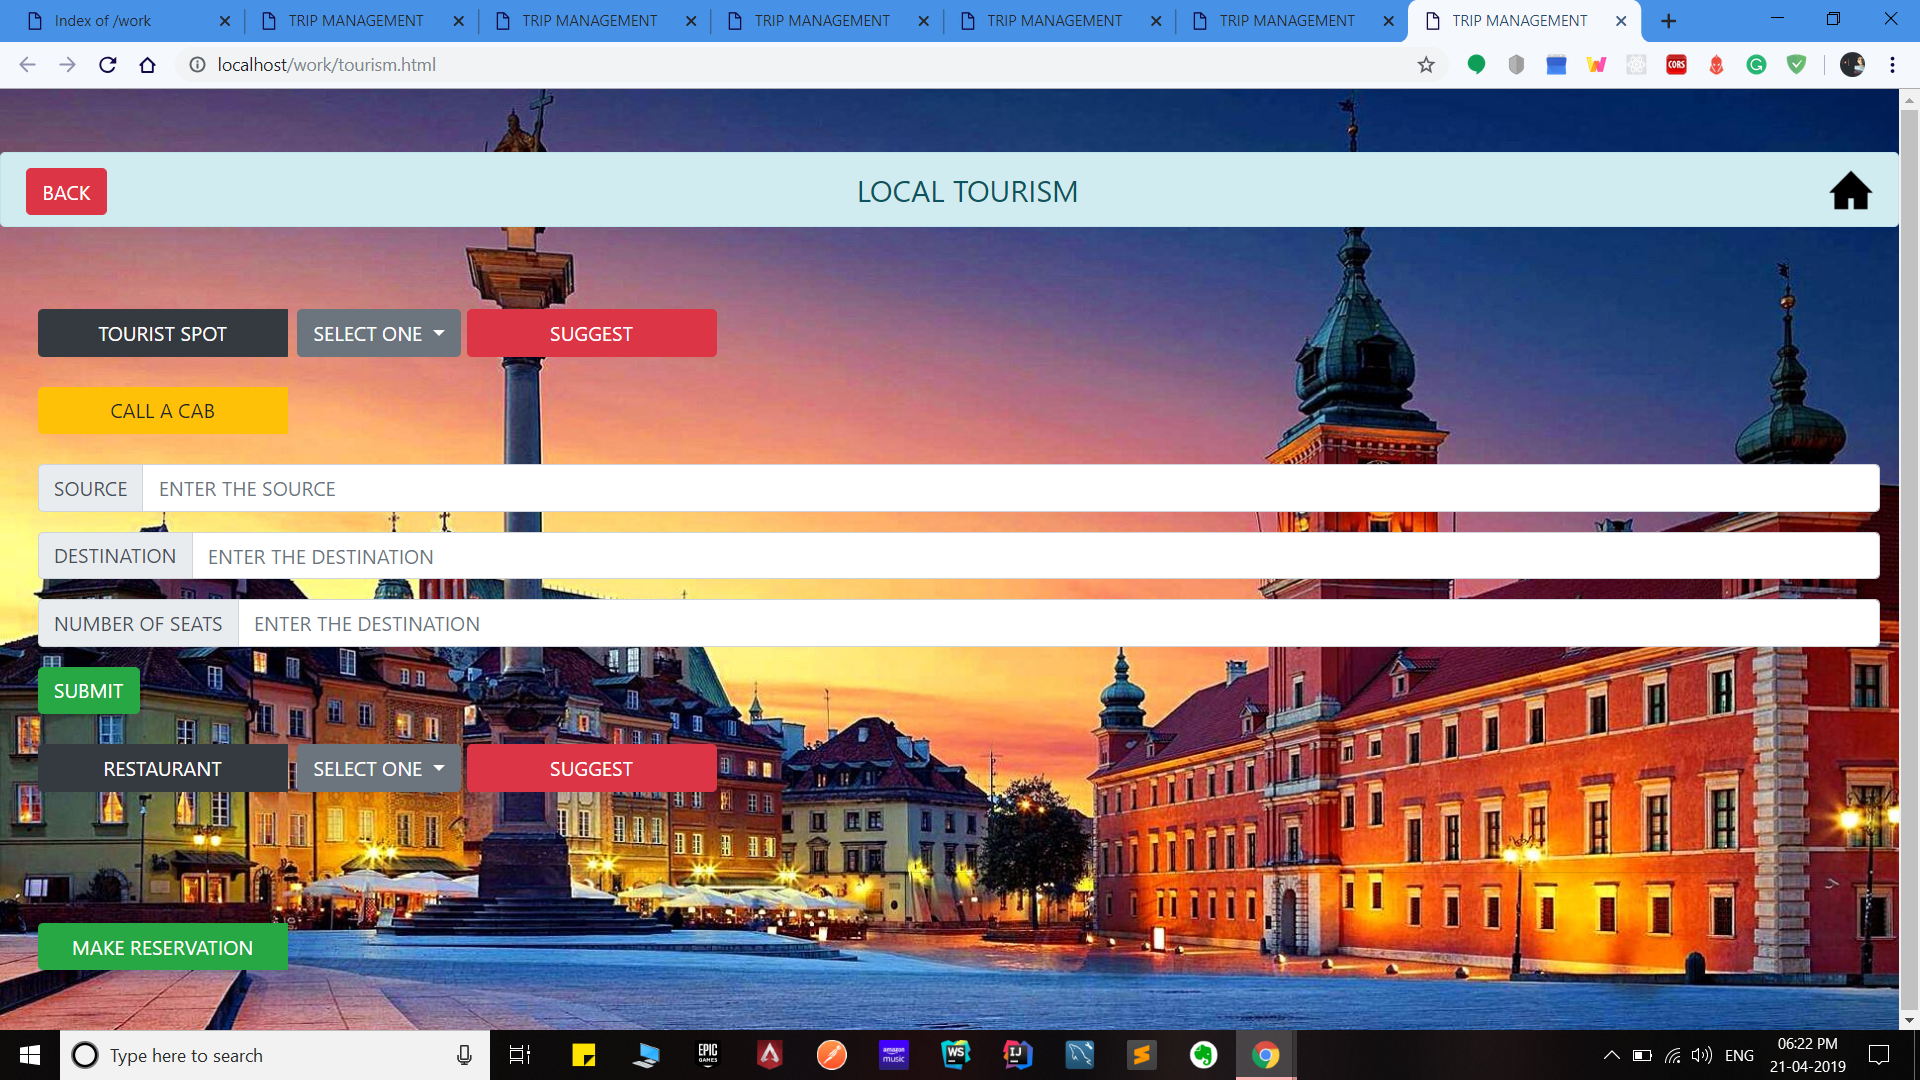
Trip Management System will record the entire journey of the customer, as well as provide the customer with services and assist them throughout the journey.
The customer can choose a means of transportation for their journey to the destination as either bus, train or airplane. The reservation for the respective mode of transportation would be recorded in the database. It would also have the schedules of all operating vehicles.
At their destination, the customer can have their hotels reserved. The database would contain a record of all the hotels across various cities. It would also record all the reservations done at a hotel.
The database would also have information about various tourist spots across the city as well as all the restaurants available, the local transport would be provided through cabs.
This repository contains all the project files and necessary details about softwares to run the project on your local machine.
NOTE : Please read installation and execution steps present at the bottom before downloading. Thank you
- Operating System: Windows XP (32 or 64 bits)
- HDD: 200 MB free space.
- Memory: 512 MB RAM.
- Full administrator Access.
-
1 : Install wamp Download wamp from here 299Mb and update google chrome download latest chrome from here.
-
2 : After installing wamp (Default directory : c:/wamp64/) , download the project and paste it in directory : (c:/wamp64/www/).
-
3 : Set your wamp username to root and no password. Instructions to change username and password
-
4 : Start wampServer64 from the desktop icon and open google chrome and type the following url without quotes: "http://localhost/phpmyadmin/" and enter root as username and press Go.
-
5 : Now first you have to Load the database in your local server and then you can run the project.
To load the database :
  - Click on +New on the left hand column
  - Give database name as "t6" (without quotes and small case)
  - After creating the database successfully, on the upper main menu panel, click on Import and then click "choose file" from file to import menu. Now browse to directory where you saved the project (expected directory: c://wamp/www/your_project_name/sql file/trip_management.sql) and click on fifa.sql and then go down and click Go (Do not change any other settings).
  - After importing successfully, loading the database is complete.
Run the project :
    - Open new tab in chrome
    - type the following url : http://localhost/your_project_name_inside_www_directory/signin.php
    - enjoy.
The Project is not complete yet. The backend database works perfectly fine. The integration with GUI has been done using php. Only a few of the pages have been integrated. You are free to fork the project and continue the integration
