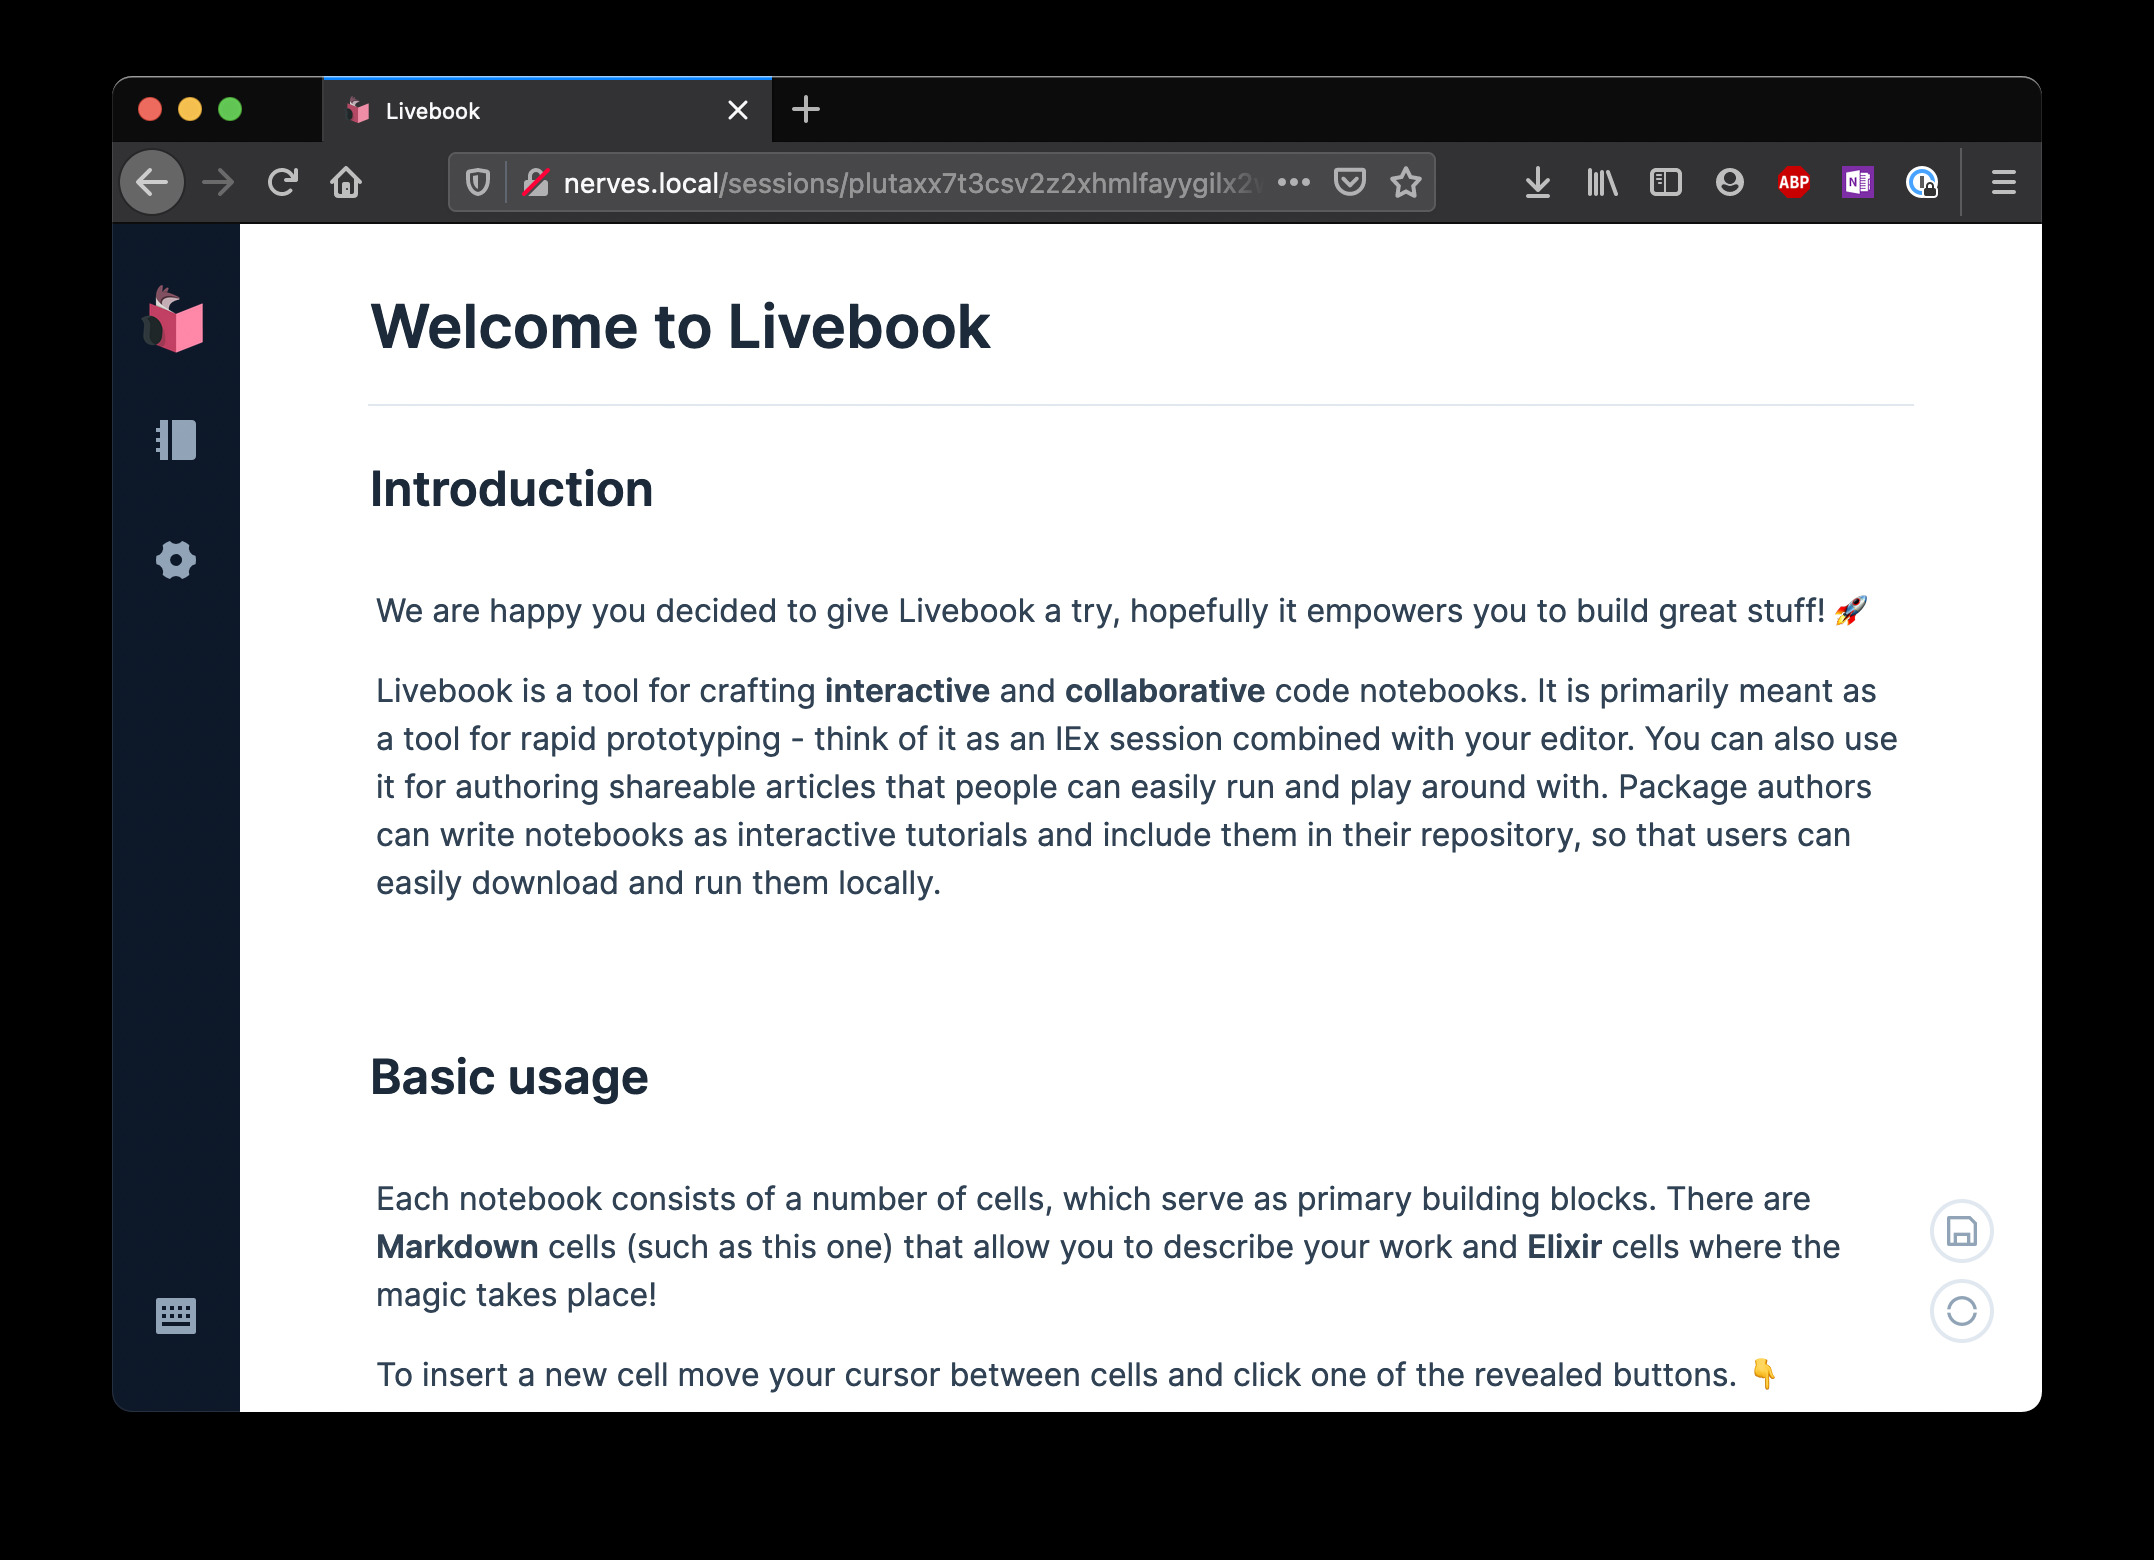
The Nerves Livebook firmware lets you try out the Nerves projects on real hardware without needing to build anything. Within minutes, you'll have a Raspberry Pi or Beaglebone running Nerves. You'll be able to run code in Livebooks and work through Nerves tutorials from the comfort of your browser.
This is a work in progress. Most of our testing is on the Raspberry Pi Zero W
To work through this tutorial, you'll need one of the following boards:
bbb- BeagleBone Black, BeagleBone Green, PocketBeagle, etc.rpi0- Raspberry Pi Zero or Zero Wrpi- The original Raspberry Pi Model Brpi2Raspberry Pi 2 Model Brpi3- Raspberry Pi 3 Model B and Model B+rpi3a- Raspberry Pi 3 Model A+rpi4- Raspberry Pi 4 Model Bosd32mp1- Octavo OSD32MP1-BRKnpi_imx6ull- Seeed Studio imx6ull (select MicroSD boot mode)
Some of these are easier than others to use. If you have a choice, the Raspberry Pi Zero and BeagleBones are nice since you can connect them to your laptop or computer by one USB cable that supplies power and networking. The other boards require an Ethernet or WiFi connection.
Find the appropriate firmware or zip file
here. If you're using
fwup to write images to MicroSD cards, download the .fw extension and if
you're using etcher, get the zip file. If you don't have a preference,
download the appropriate .fw file and follow the fwup instructions since
those will come in handy if you start using Nerves more.
Once that's done, you're ready to burn the firmware to the MicroSD card.
Navigate to the directory where you downloaded the firmware. Either fwup or
etcher can be used to burn the firmware.
To be clear, this formats your SD card, and you will lose all data on the SD card. Make sure you're OK with that.
You'll need to install fwup if you don't have it. On Mac, run brew install fwup. For Linux and Windows, see the fwup installation
instructions.
$ fwup nerves_livebook_rpi0.fw
Use 15.84 GB memory card found at /dev/rdisk2? [y/N] y
Depending on your OS, you'll likely be asked to authenticate this action. Go ahead and do so.
|====================================| 100% (31.81 / 31.81) MB
Success!
Elapsed time: 3.595 s
Now you have Nerves ready to run on your device. Skip ahead to the next section.
Start etcher, point it to the zip file, and follow
the prompts:
Eject the SD card and insert it into the device that you're using. Power up and
connect the device with a USB cable. In the case of the rpi0, the MicroUSB
does both.
After the device boots, point your browser at http://nerves.local. The password is "nerves".
At some point you'll want to create your own firmware. See the Nerves Installation and Getting Started guides for details.
To build the Nerves Livebook firmware, make sure that you have run through the Nerves installation steps. Then open a terminal window and run the following:
$ git clone https://github.com/fhunleth/nerves_livebook.git
$ cd nerves_livebook

# Set the MIX_TARGET to the desired platform (rpi0, bbb, rpi3, etc.)
$ export MIX_TARGET=rpi0
$ mix deps.get
$ mix firmware

# Option 1: Insert a MicroSD card
$ mix burn

# Options 2: Upload to an existing Nerves Livebook device
$ mix firmware.gen.script
$ ./upload.sh nerves.local
