This project is me attempting to workout what exactly I'd want out of a distributed / publically verifiable Conetent Management System (CMS) thingy, with included backend, owned or otherwise, data format, and views / viewers. It implements a blog as an example of how my ideas could work since blogs seem like a natural use case for CMSs. Meanwhile, it'd also be cool to have a place to publish my thoughts and ideas on other projects and interests, so why not build that too?
You can see the current results of this process at krondor.org!
Krondor is comprised of the following components:
- [contracts] - A single smart contract that points to the latest version of the blog, and is owned by the deployer of the contract.
- [cli] - A command line interface for interacting with the blog contract and IPFS, for deploying and updating the blog.
- [org] - A NextJS application that serves as a blog frontend, which consumes markdown files I upload to IPFS by looking at the pointer on the blog contract.
This part is long and boring -- feel free to skip if you don't care about the details of how to set this up.
You'll need the following installed to run this project:
- NodeJS
- Yarn
You can grab all the other dependencies by running
yarn installTo run (in production), you'll probably want to have access to the following services:
- IPFS
- Some IPFS daemon (optionally with Authentication). For local development, this can be a local daemon running on
127.0.0.1:5001with no authentication. But for production, you'll probably want to use an IPFS API service like Infura.
- Some IPFS daemon (optionally with Authentication). For local development, this can be a local daemon running on
- Ethereum RPC
- You'll need an ethereum RPC endpoint to deploy and interact with the contract. I recommend getting an Infura account and using their RPC endpoint for this.
- Etherscan API
- Frontend Hosting
- You'll need a place to host the frontend. I recommend Vercel, but you can use whatever you want. I'll detail a deployment with Vercel below
You'll mostly just need to configure credentials for the services and ethereum account you want to use. You can do this by copying the env.example file to .env and filling in the values. It needs the following values:
RPC_API_KEY- The API key for the RPC endpoint you want to useETHERSCAN_API_KEY- The API key for the Etherscan API you want to use. This is only used to verify the contract on Etherscan.PRIVATE_KEY- The private key of the Ethereum account you want to use to deploy the contract. This account will be the owner of the contract, and will be able to update the blog. This is only used by the CLI, and is not stored anywhere. I know this is not a good way to do this, so I'll probably change it later.IPFS_API_KEY- The api key of the IPFS API you want to use. (optional)IPFS_API_SECRET- The secret for the IPFS API you want to use. (optional)
This is annoying. but for now you also have to set up a .env file in the org directory with the following values:
NEXT_PUBLIC_API_KEY- The API key for the RPC endpoint you want to use
All other configuration is and must be public all over the repo. This includes:
eth- an object decribing what chain the contract is deployed on, and the address of the contract.ipfs- an object describing where we can write to IPFS, and gateways to read from.content_path- the path to the content directory, relative to the root of the repo. This is where the markdown files for the blog, and generated metadata, are stored.manifest_filename- the name of the manifest file, relative to the content directory. This is where the metadata for the blog is stored s.t. the frontend can have metadata about the blog's content collection.history_filename- the name of the history file, relative to the content directory. This is where a pointer to the previous version of the blog is stored, so that the frontend can have a history of the blog's content collection.
krondor.dev.json should specify a development environemnt, and krondor.json should specify a production environment. These files should be in the root of the repo and should not need to be changed.
The development environment specified in krondor.dev.json expects the following. You don't have to use it this way, but this is how I do it:
IPFS Setup
You can follow the steps here on installing and setting up IPFS on your machine. Also be sure to enable CORS as specified here.
Once you have IPFS setup, you can run the daemon with
ipfs daemonThe API endpoint should be 127.0.0.1:5001/api/v0 on poand the gateway should be 127.0.0.1:8080/ipfs/
Ethereum Setup
At this point you should have an Ethereum account configured in youe .env file. I've configured krondor.dev.json to use Sepolia testnet, so make sure you have some test ETH from their faucet.
Once you have an account, deploying the contract is as simple as running
cd contracts
# Build the contracts
yarn build
# Test the contracts
yarn test
# Deploy the contracts to the testnet
yarn deploy:dev
This will deploy the contract to the testnet, and update krondor.dev.json with the address of the contract.
You should see something like this:
you@Your-Laptop contracts % yarn deploy:dev
yarn run v1.22.19
$ NODE_ENV=development npx hardhat run --network default scripts/deploy.ts
Deploying blog contract to network: sepolia
Gas estimate:  755299
Gas price:  2468586060
Would you like to deploy? (y/n)
y
Blog deployed to: <contract_address>
Gas used: 755299
Saving contract address to file...
Done!
✨  Done in 29.26s.
Once that's done, you can verify the contract on Etherscan by running
yarn verify:dev <contract_address>Frontend Setup
Once you have the contract deployed and your configuration properly updated, you can run the frontend with
cd org
yarn dev
This will start the frontend on localhost:3000 by default. Open that up in your browser and you should see the blog!

Let's take a look at the blog now:
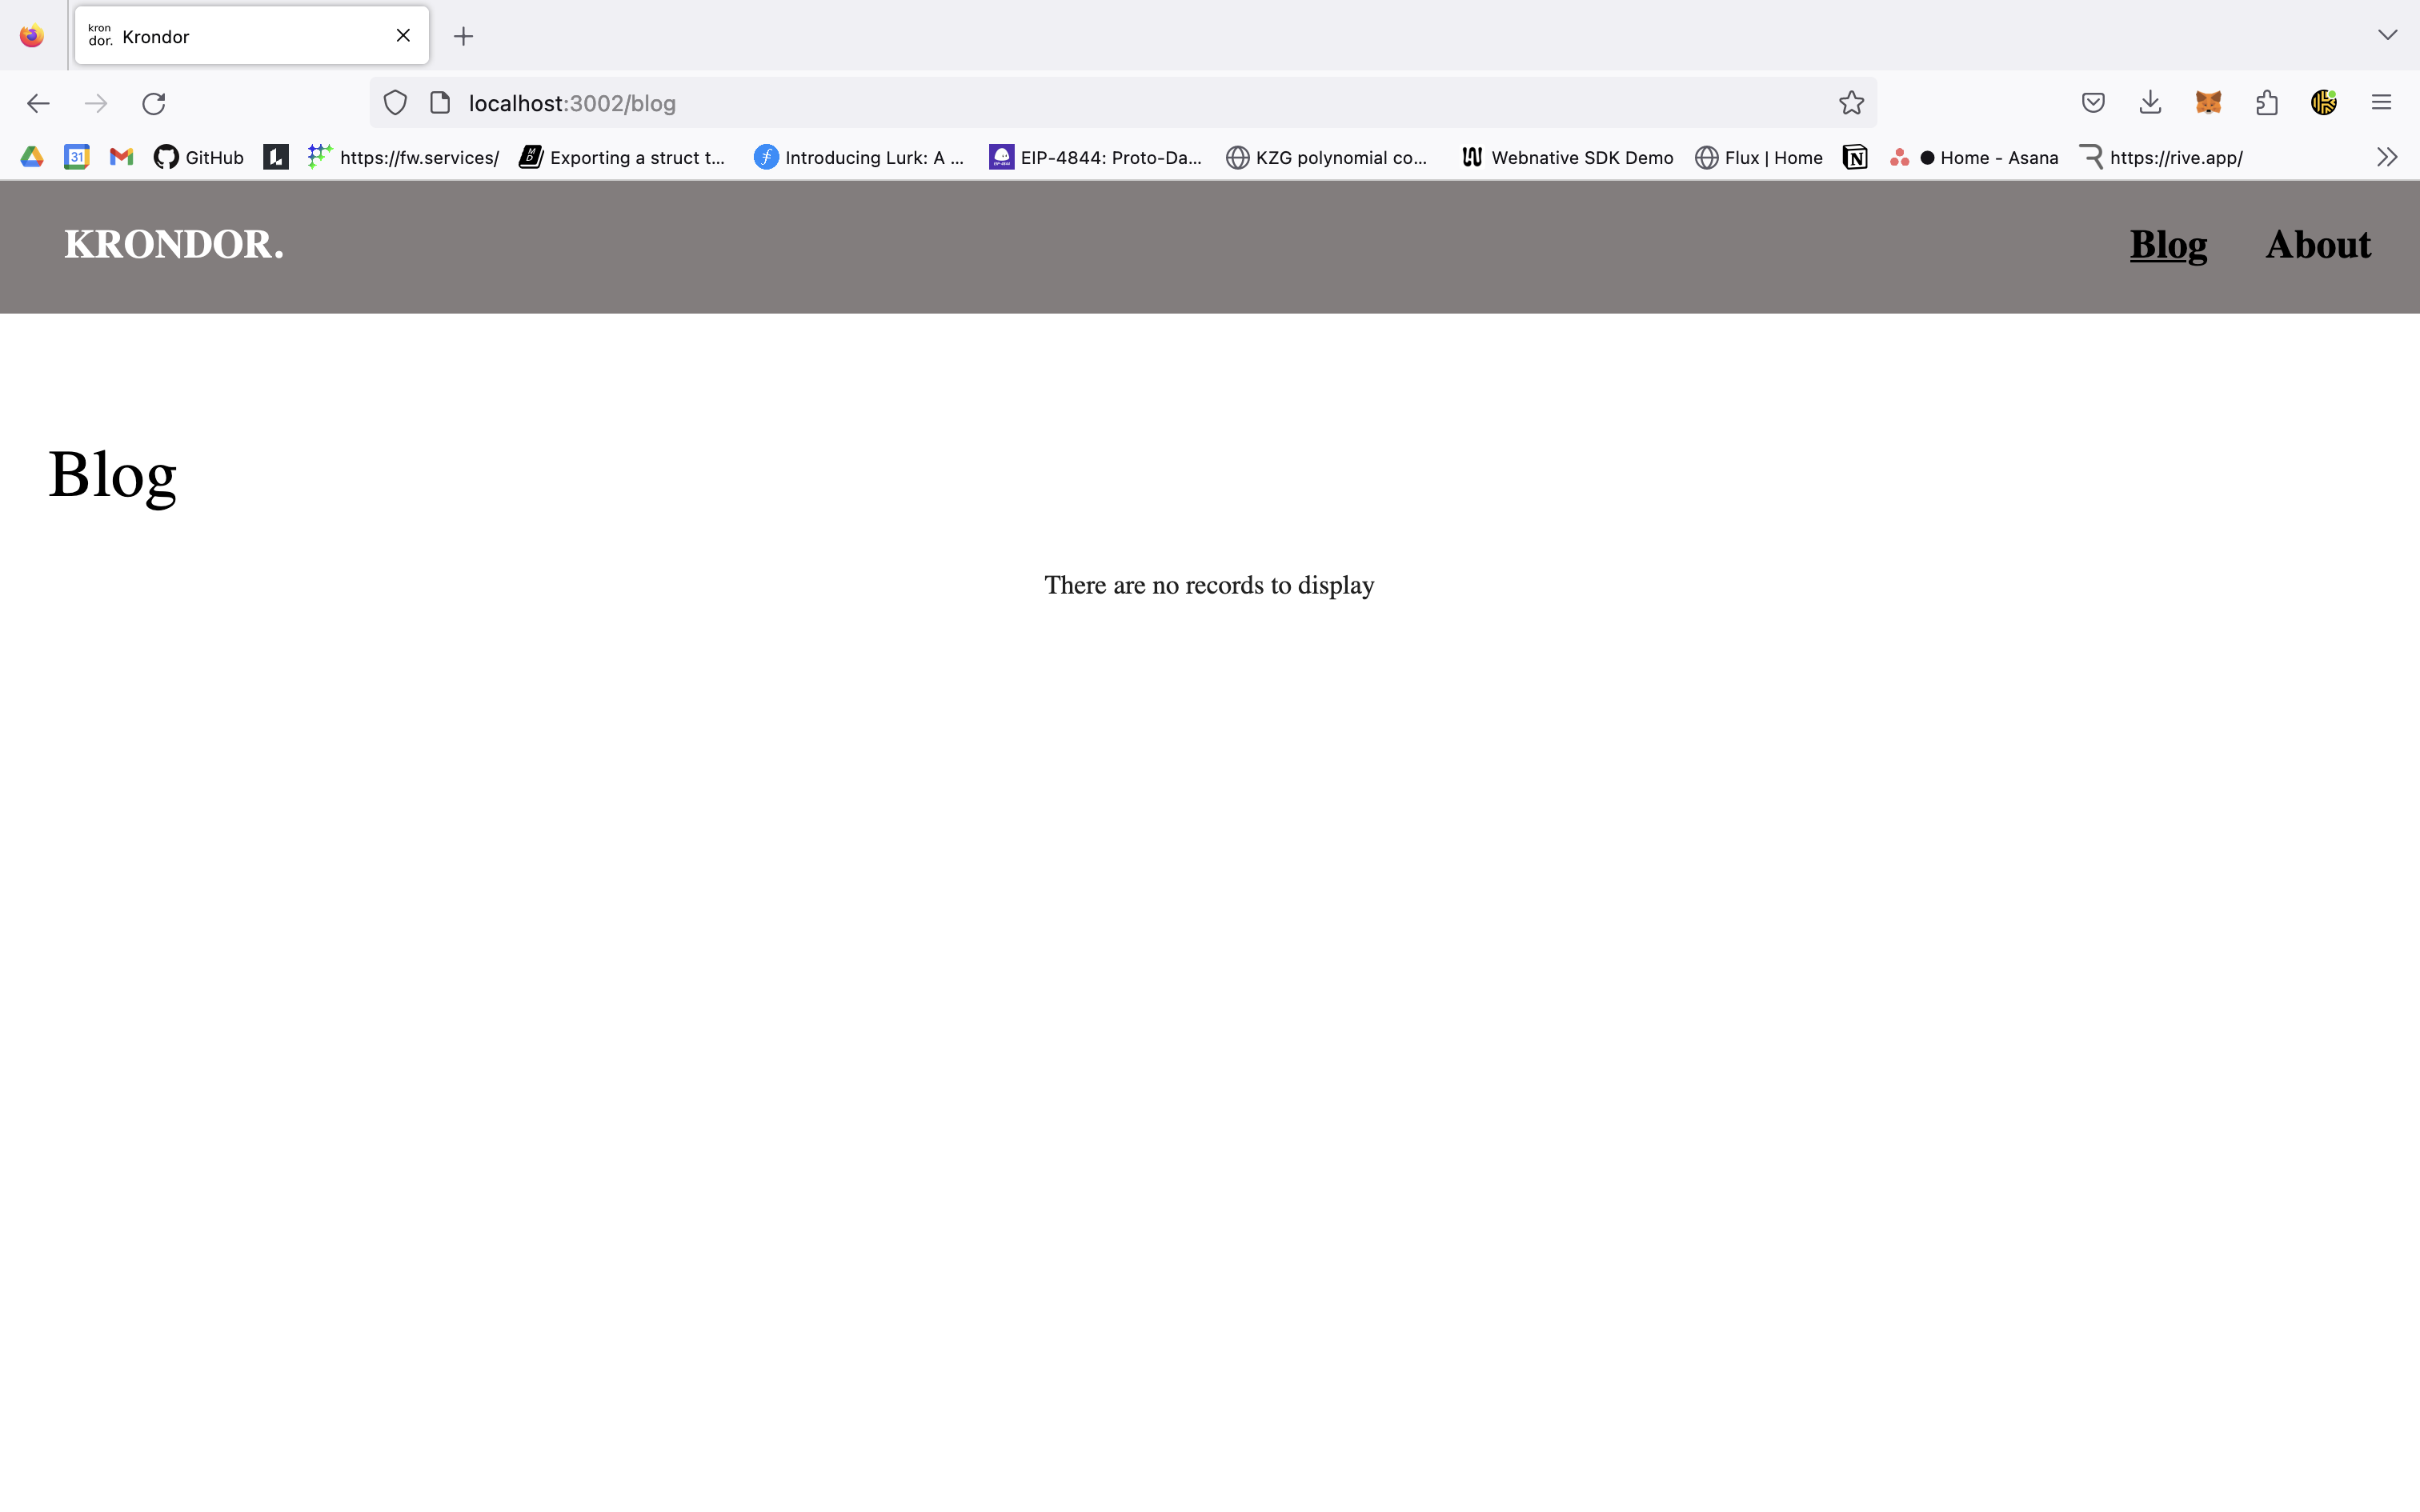
It's empty! Let's fix that by uploading some content.
Updating content
Content is managed by the CLI tool. Try running it with
yarn cliYou should see the help menu:
A commander based CLI for managing blog content

Options:
  --prod              Whether to use the prod config (default: false)
  -h, --help          display help for command

Commands:
  init                Initialize a new directory for blog content
  add <name> <title>  Add a new blog post to the local manifest...
  update <name>       Update a blog post in the local manifest
  remove <name>       Remove a blog post from the local manifest
  publish             Publish the local manifest to Eth and IPFS
  sync <dir>          Pull the latest content from IPFS and Eth to a specified directory
  help [command]      display help for command
You can update the content by adding and editing to the directory configured in krondor.dev.json pointed at by content_path -- this directory must exist!
Start working in the content_path directory by running
yarn cli initThis initializes the content_path directory with empty manifest and history files.
Try adding a new blog post by running
yarn cli add my-first-post "My First Post"This adds a new blog post to the manifest with the title "My First Post" and creates a new markdown file in the content_path directory named "my-first-post'. You can edit this file with your favorite text editor and add some content.
The file should look something like this:
# My First Post

2023-06-26T00:16:34.431Z
Let's update the content by adding some text to the post:
# My First Post

2023-06-26T00:16:34.431Z

This is my first post! I'm so excited to be writing this! I've been working on this blog for a while now, and I'm finally ready to share it with the world. I hope you enjoy reading it as much as I enjoyed writing it.
Once you're done, be sure to update the manifest with the changes by running
yarn cli update my-first-postAfter that you can publish the manifest to IPFS and the contract by running
yarn cli publishYou should be walked through the process of publishing the manifest to IPFS and the contract:
Publishing posts to Eth and IPFS...
Using dev config
Publishing posts to IPFS
Updating history
Root CID:  bafybeid5ragww6unfov5rrqn5wss3t27t2pcv3a4zl63d3iwh52ixgabmq
Publishing Root CID to Eth
Estimated gas: 95425
Estimated gas price: 2593823085
Proceed? (y/n)y
Submitting txn to sepolia ...
Sending transaction ...
Mining transaction ...
https://sepolia.etherscan.io/tx/0xd984f220cfddffe0d2c6efb38aa6ef8d302e65959fe65b90398a097e57d75827
Mined in block 3768147
Succeeded with 95425 gas used
Done!
✨  Done in 11.94s.
Once that's done, you can refresh the page and see your new post!
Seeing your posts
Let's take a look at the blog now:
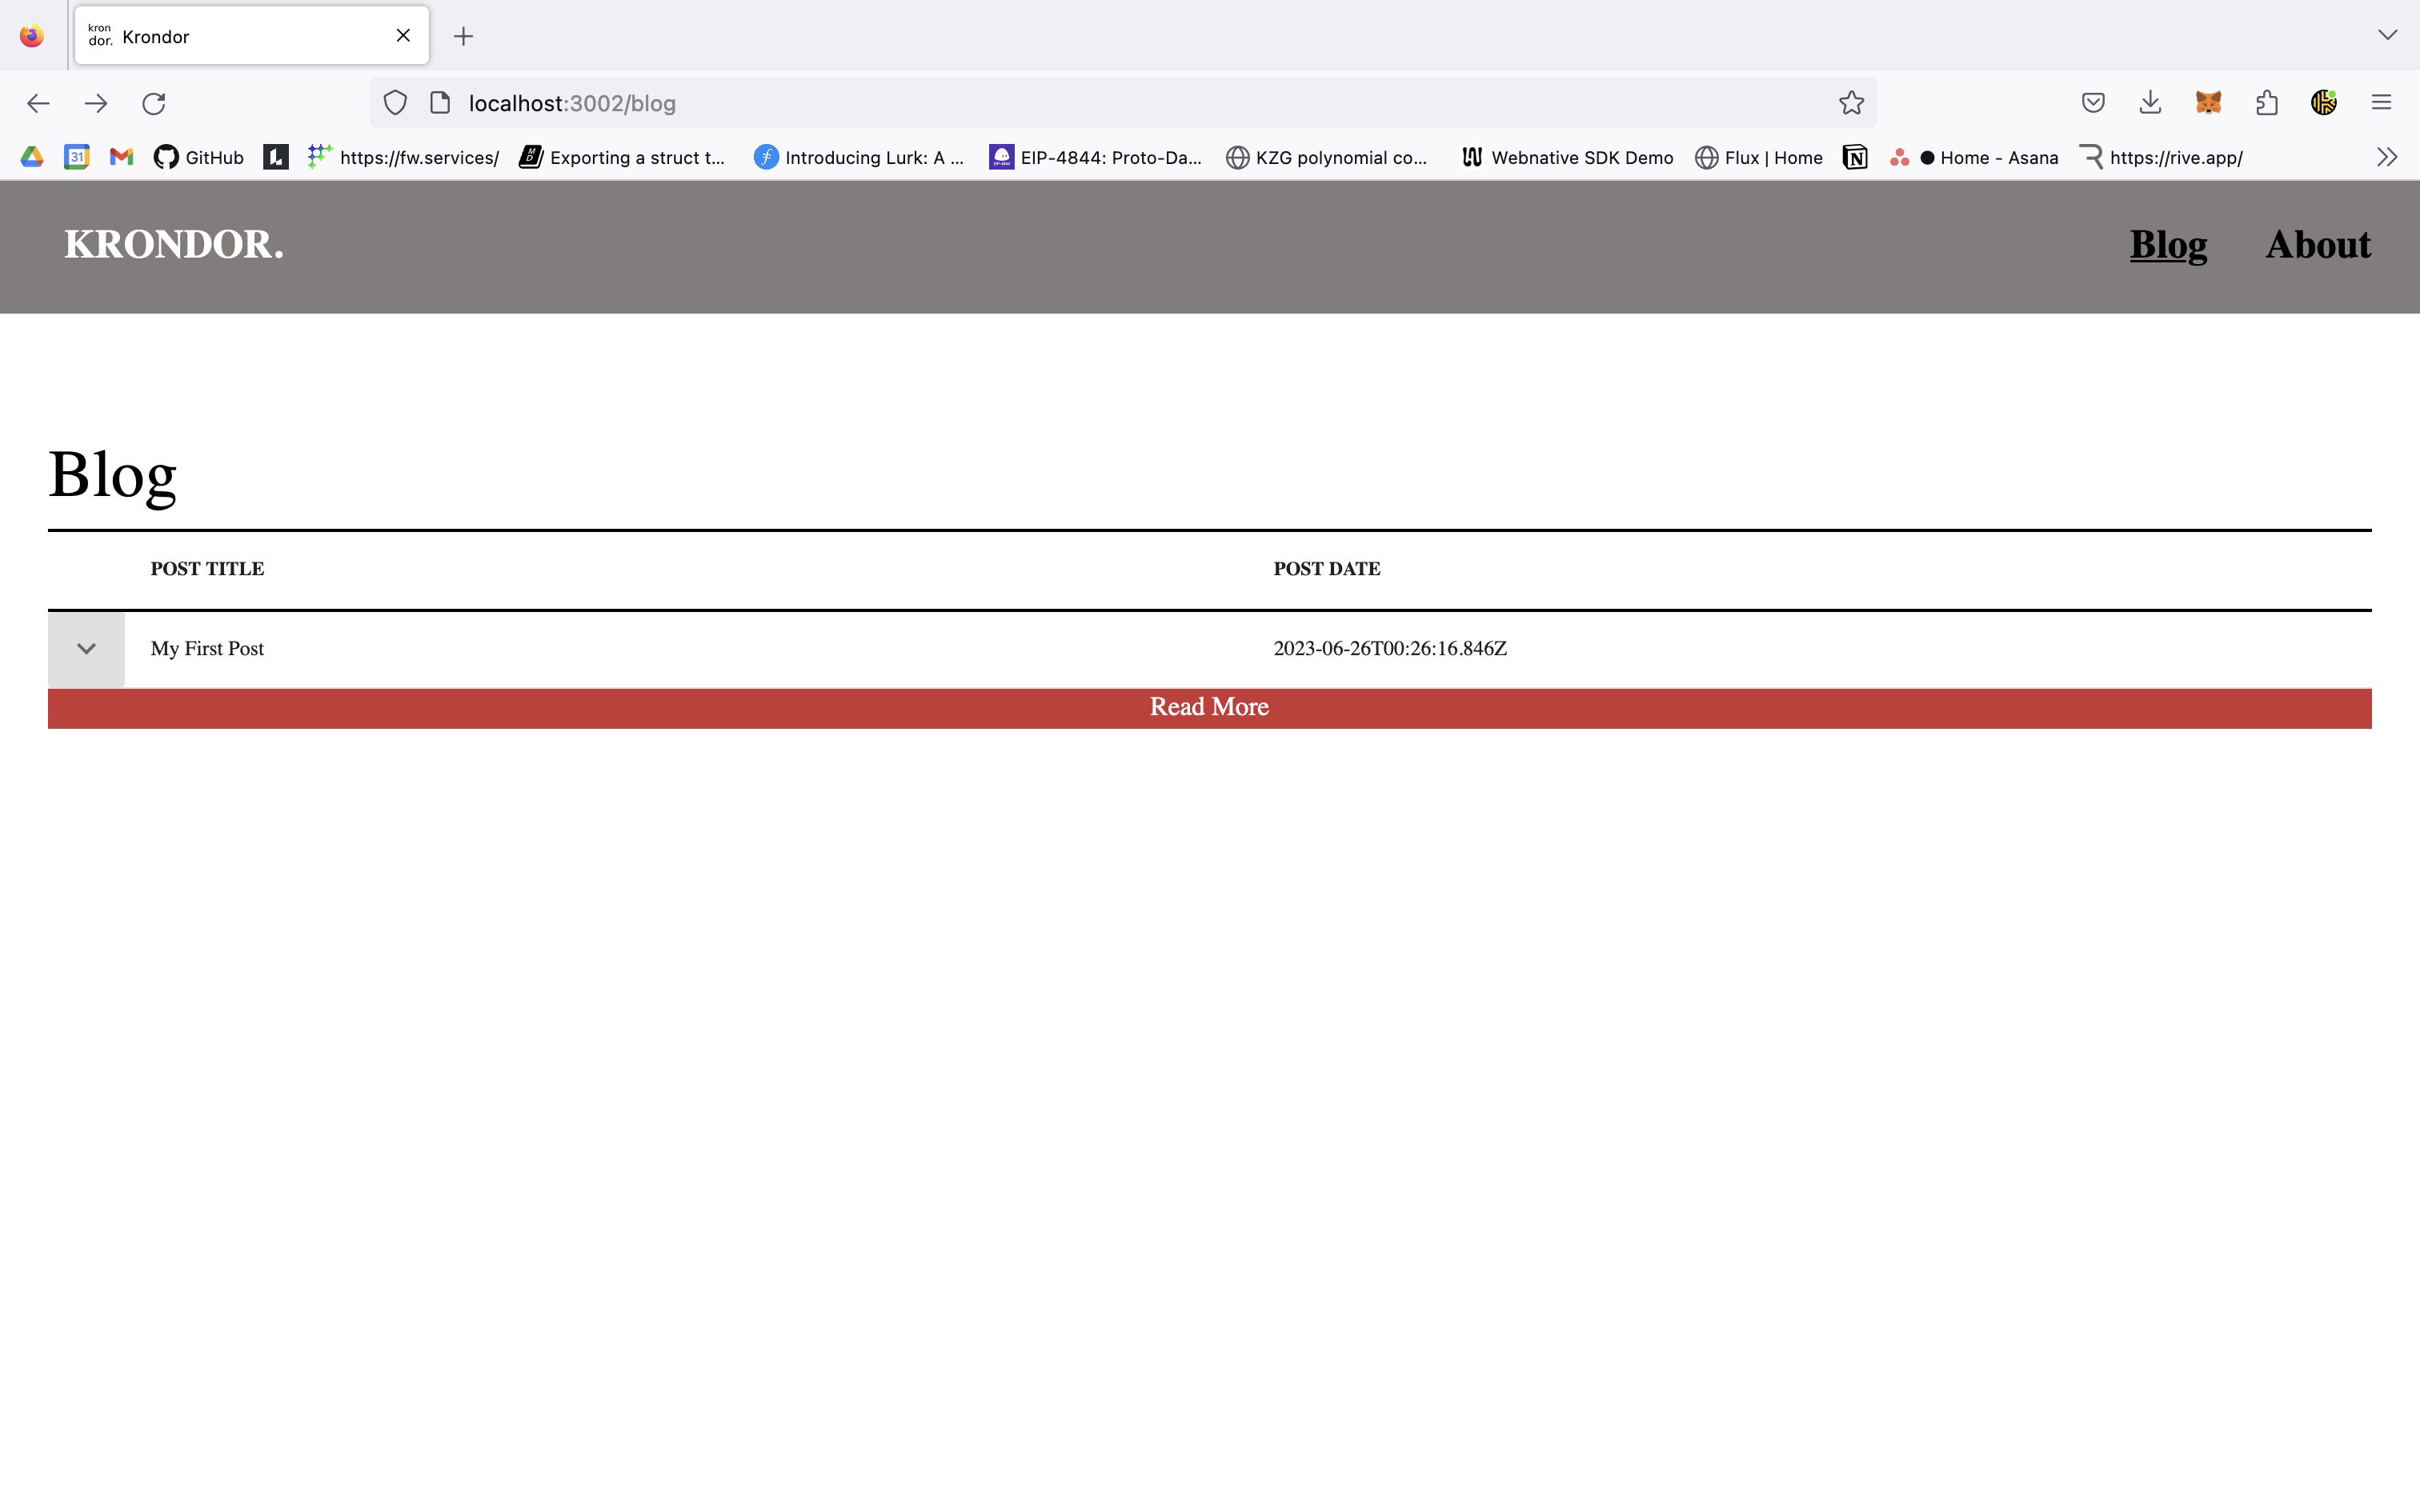
You can see your new post! Click on it to see the post page:
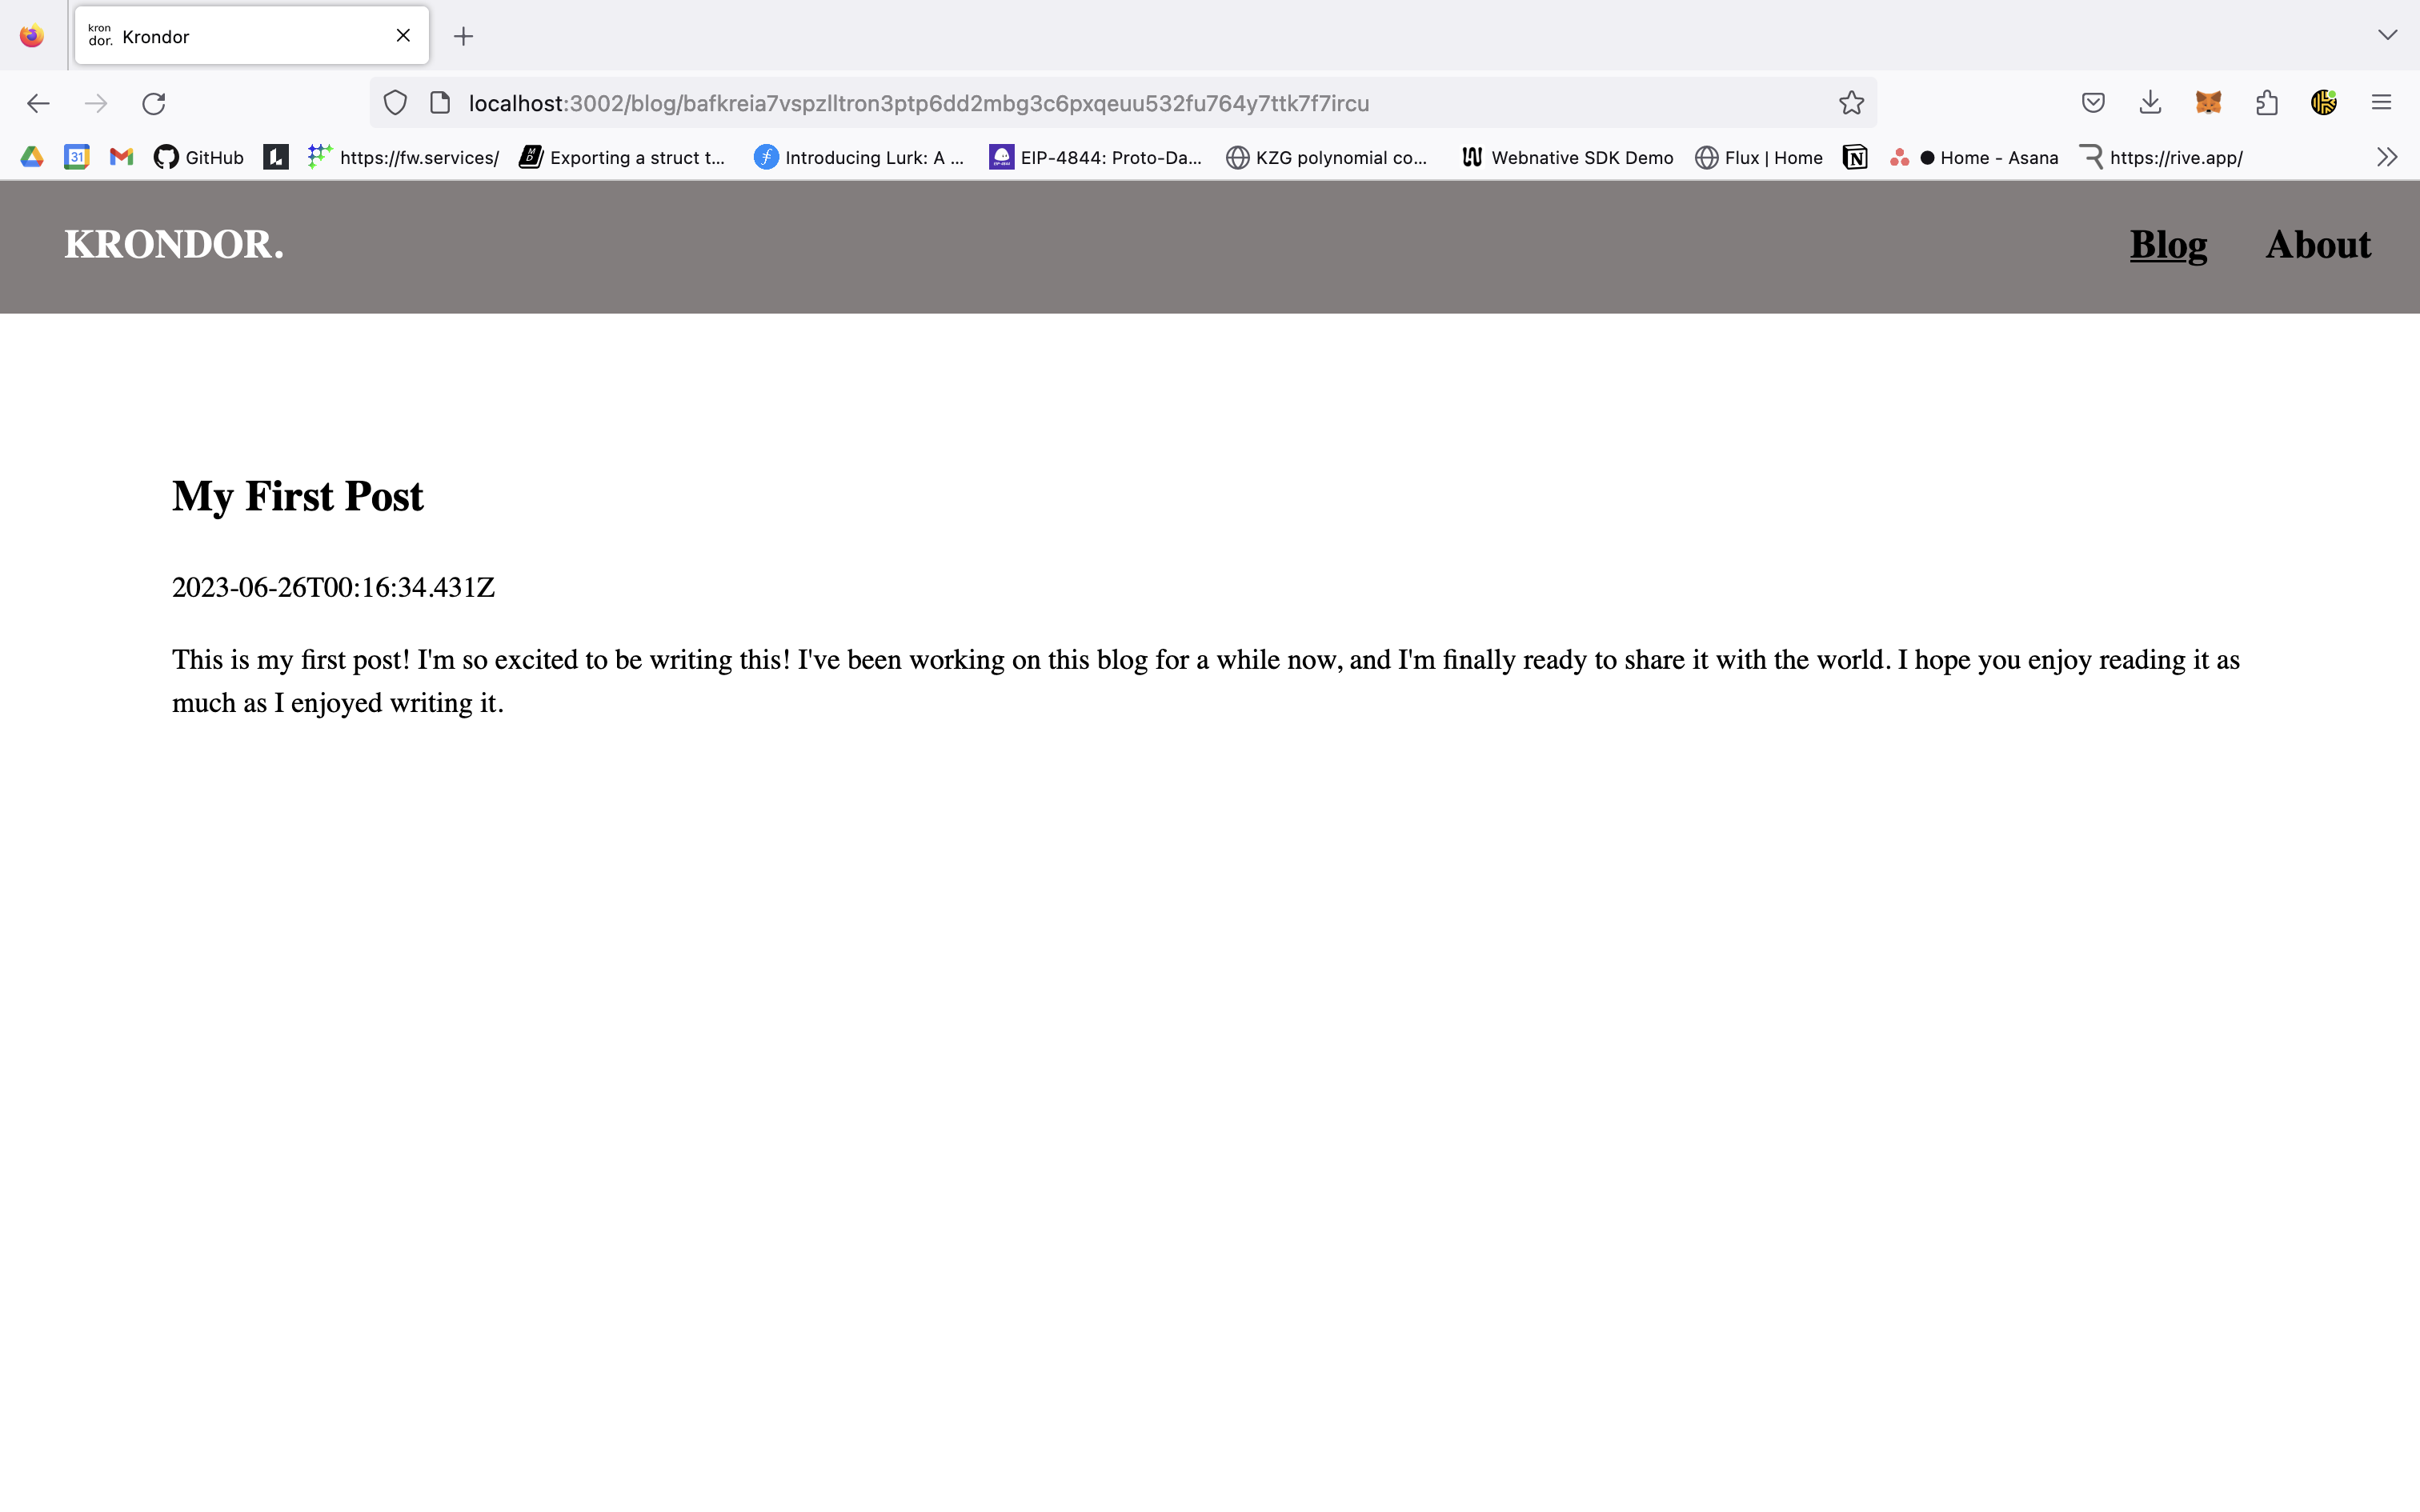
You can see the content you added to the markdown file! Cool!
You're now ready to experiment with adding content, making changes to the project, and deploying it to production!
The environment specified in krondor.json expects the following. You don't have to use it this way, but this is how I do it:
IPFS Setup
If you've setup Infura as an IPFS API, there's nothing else you need to do here, just make your credentials are set in .env. If you're using a local daemon, you'll need to make sure it's running and that CORS is enabled.
There's no gauanrtees that APIs other than Infura will work, but you can try them if you want.
Ethereum Setup
At this point you should have an Ethereum account configured in youe .env file. I've configured krondor.json to use Ethereum's mainnet, so make sure you have some ETH in your account. oof it's like $17 dollars to deploy the contract to mainnet and $2 dollars to write to the contract on mainnet at time of writing, so this will also point to Sepolia!
Deploying the contract is as simple as running, similar to above:
cd contracts
yarn build
yarn test
And deploying with:
yarn deployYou should see the contract deployed to the mainnet, and the address updated in krondor.json.
Verify the contract on Etherscan by running
yarn verify <contract_address>Frontend Setup
Once you have the contract deployed and your configuration properly updated, you can run the frontend with
cd org
yarn build
yarn start
This will start the frontend on localhost:3000 by default. Open that up in your browser and you should see the blog!
Make sure you're server has access to your RPC_API_KEY
If you set up deplpyments on Vercel like I did, you only need to:
- set the
NEXT_PUBLIC_RPC_API_KEYas a secret in the Vercel dashboard - set the build output directory to
org/.nextin the Vercel dashboard - set the build command to
cd org && yarn buildin the Vercel dashboard - set the install command to
yarn installin the Vercel dashboard
If you setup git hooks, then your frontend will be automatically deployed to Vercel on every push to main!
Update Content
In order to update or add content to production, you'll need to update the content in the content_path directory, and then run cli commands with the --prod flag. For example, to add a new post, you'd run
yarn cli --prod add my-second-post "My Second Post"You can see the current results of this process at krondor.org!
You can look into the readmes of the different components for more information on how they work and how to use them for development and deployment. Take a look at:
Here's a list of things I want to do with this project:
- Add a way to add images to posts within IPLD
- Implement decentralized authentication / device management
- Implement onboarding blog data to Filecoin