Manage Laravel Logs With Tag & Extra Powerful Options.
Based on ChatGPT response "Loggify" is not a standard word in the English language, and it doesn't have an established definition. you can define it as something like: To streamline or enhance the process of creating and managing logs or records, especially in a digital or data-driven context. This may involve automating log generation, improving log organization, or making logs more user-friendly for analysis and monitoring purposes.
This package helps Laravel developers to store application log in redis database (for now!) and also categorize the logs with a tag system! then they can walk through in logs with tags.
Since this package use redis to store and manage logs please consider to configure laravel to works with redis. Also remember that install the redis requirement for laravel like predis.
composer require mrmmg/laravel_loggify Then Publish loggify assets & config with running
php artisan loggify:installThis command create loggify.php config file in config directory and create loggify assets in public/verndor/loggify.
The loggify.php config file is self documented with comment blocks, however I explain again:
Like Laravel config/database.php this section describe the redis connection, you can change them. By default, all logs stores in redis database 10.
'database' => [
        'redis' => [
            'client' => env('REDIS_CLIENT', 'phpredis'),

            'url' => env('REDIS_URL'),
            'host' => env('REDIS_HOST', '127.0.0.1'),
            'username' => env('REDIS_USERNAME'),
            'password' => env('REDIS_PASSWORD'),
            'port' => env('REDIS_PORT', '6379'),
            'database' => '10',
        ]
],This section is used to define loggify log channel option. You don't need to change anything in this section.
Redis is an in-memory database, and we cannot use too much memory for logs, so we can define how many seconds that the redis holds log items By Default it holds log items for 1 day (86400 seconds).
Not Implemented Yet
This option control each log tag can hold how many items.
Not Implemented Yet
This options control access to loggify web panel with laravel middlewares.
By use laravel Log Facade you can use loggify.
use Illuminate\Support\Facades\Log;

Log::channel('loggify')->info("Info Log Sample");
So where is the extra options?!
The second parameter of laravel log methods called context, the loggify use this to manage tags and extra log data. let's complete the previous example:
use Illuminate\Support\Facades\Log;

Log::channel('loggify')
            ->info("Info Log Sample", [
                'tags' => ['MY_CUSTOM_TAG']
            ]);
Done! you create a log that tagged with MY_CUSTOM_TAG! you can use as many as you want for tagging, there is no limit.
use Illuminate\Support\Facades\Log;

$user_id = \Illuminate\Support\Facades\Auth::id();
$user_type = ...;

Log::channel('loggify')
            ->info("User Logged-In", [
                'tags' => [
                    "USER_$user_id",
                    "API_VERSION_1",
                    "USER_TYPE_$user_type"
                ]
            ]);
Add extra data to log context
use Illuminate\Support\Facades\Log;

Log::channel('loggify')
            ->info("Info Log Sample", [
                'tags' => ['INFO'],
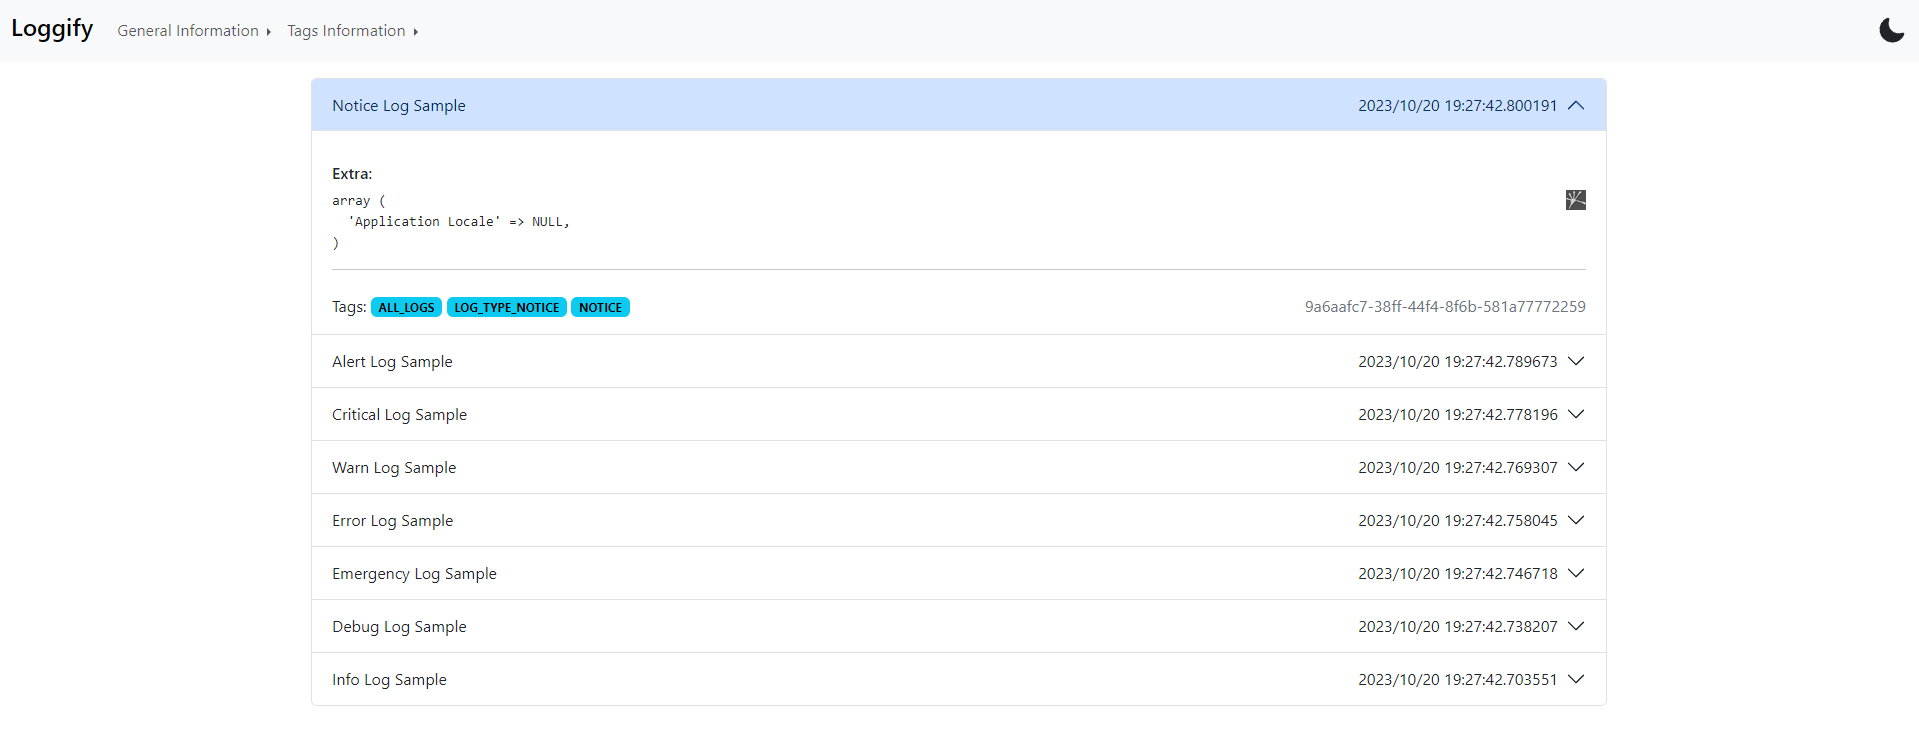
                'extra' => ['Application Locale' => config('app.locale')]
            ]);
The other context elements store as context in log stack (the default laravel behavior).
use Illuminate\Support\Facades\Log;

Log::channel('loggify')
            ->info("Info Log Sample", [
                'tags' => ['INFO'],
                'extra' => ['Application Locale' => config('app.locale')],
                'request_data' => $request->all()
            ]);
In above example the request_data stores in context but the tags and extra stores in other log part.
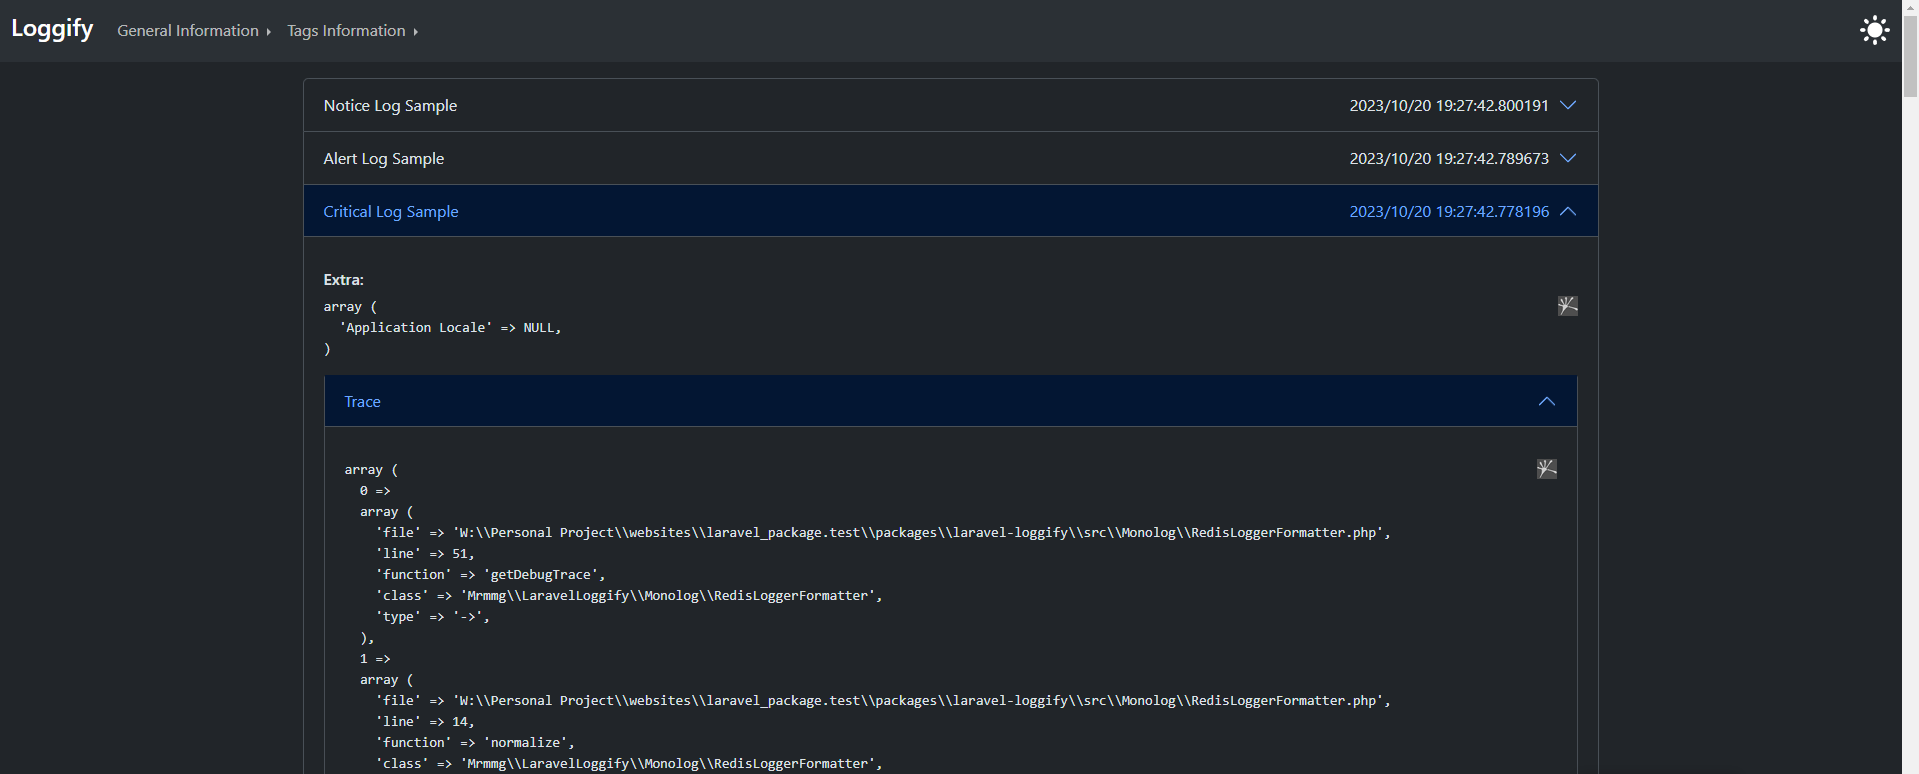
Loggify can help you to debug/find issues of you application by storing the php debug backtrace feature, you don't need to do anything, the Loggify store backtrace for log with these type
- debug
- alert
- critical
- emergency
- error
- warning
use Illuminate\Support\Facades\Log;

Log::channel('loggify')
            ->debug(...)

Log::channel('loggify')
            ->alert(...)

Log::channel('loggify')
            ->critical(...)

Log::channel('loggify')
            ->emergency(...)

Log::channel('loggify')
            ->error(...)

Log::channel('loggify')
            ->warning(...)
All above log example store the debug backtrace in database, and you can view them in Loggify web panel.
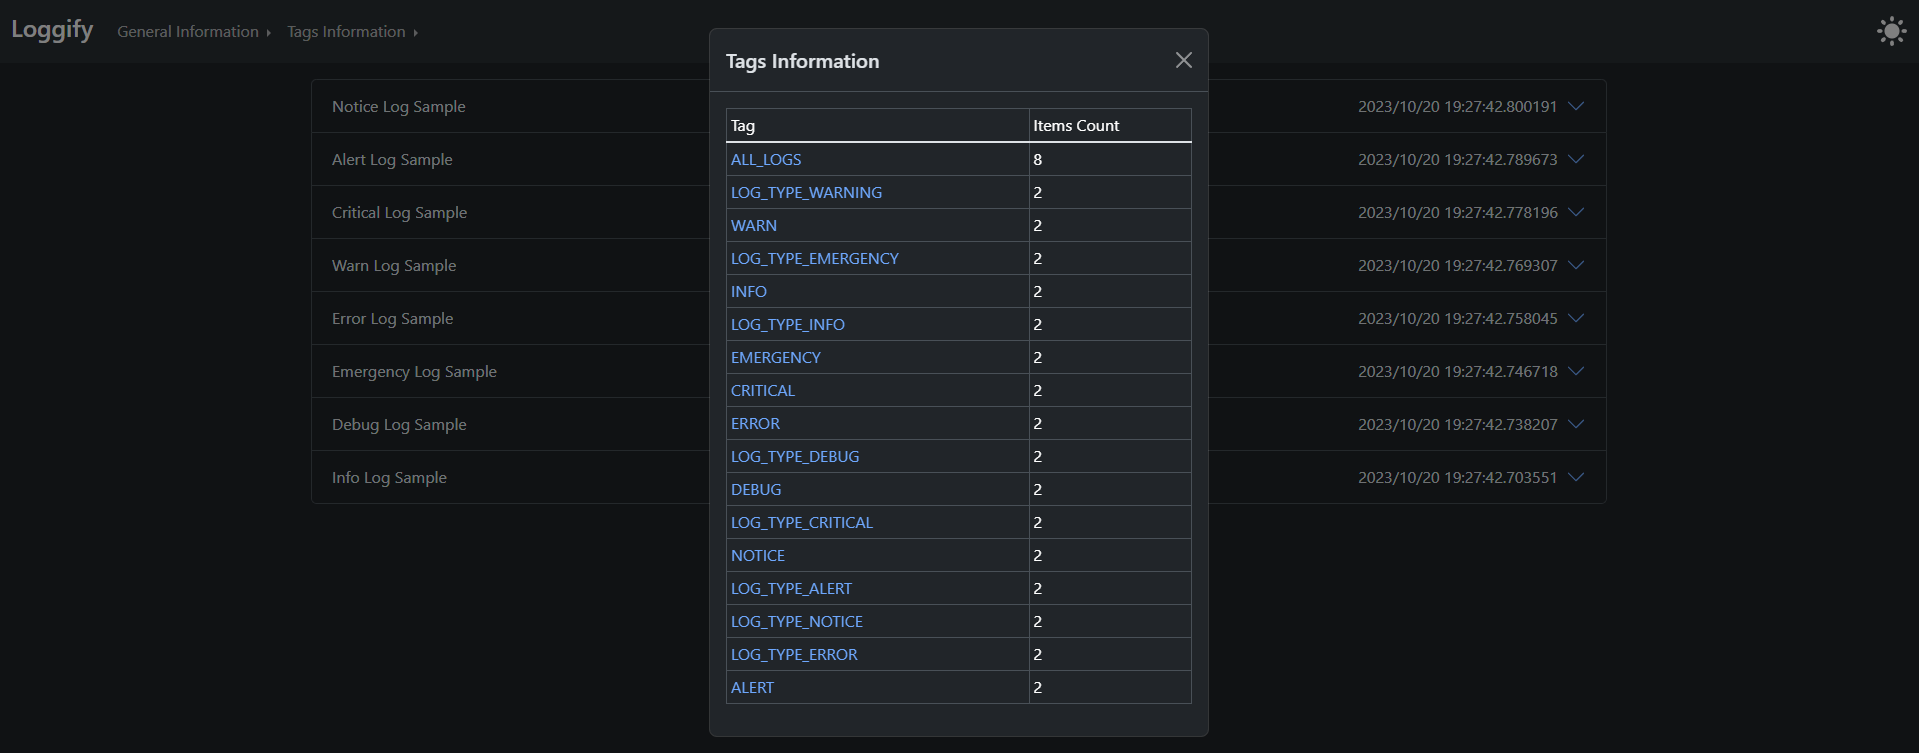
By default, Loggify add two tags to your tags, ALL_LOGS and LOG_TYPE_{laravel_log_type}. for example:
use Illuminate\Support\Facades\Log;

Log::channel('loggify')
            ->info("Info Log Sample", [
                'tags' => ['INFO'],
                'extra' => ['Application Locale' => config('app.locale')],
                'request_data' => $request->all()
            ]);
The above log can be found in web panel with ALL_LOGS, LOG_TYPE_INFO and INFO tag.
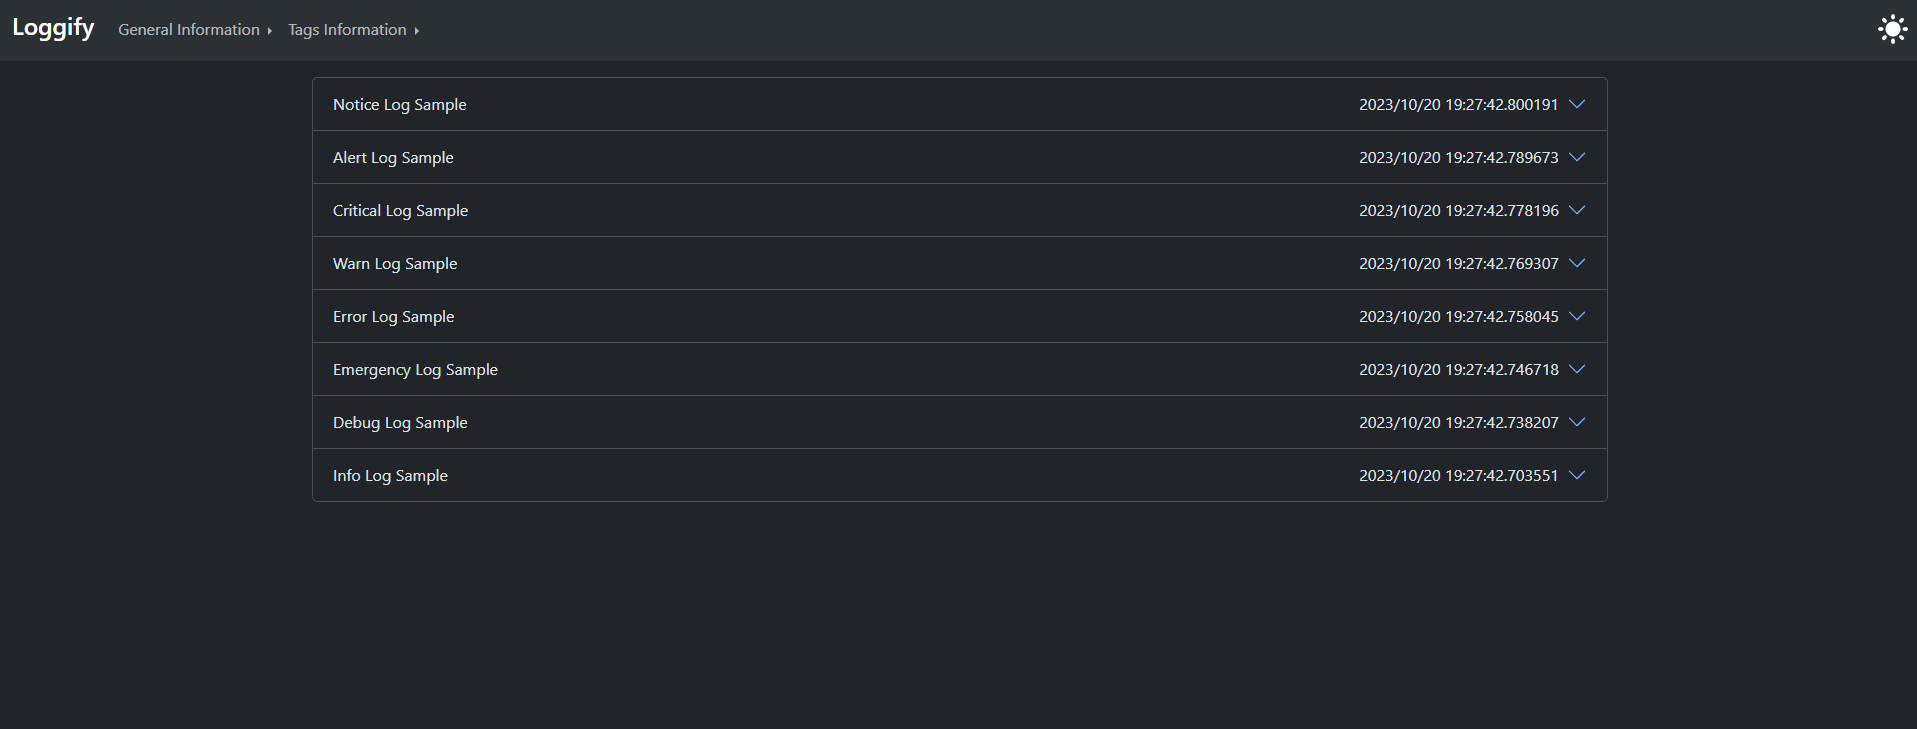
To view to stored log you can open a browser and use /loggify route to view you logs.
By passing the log tag after that url the Loggify shows the tag logs, for example /loggify/ALERT show all logs that tagged with ALERT tag.
- Implement tag items limit
- Implement access management to web panel
- Implement tests
- Make Better document and GitHub pages


