Lung disease, also known as pulmonary disease, is a broad term that refers to any condition that affects the lungs and impairs their ability to function properly. X-ray may show changes in the appearance of lungs which may be due to certain diseases. In this work, we utilize chest X-ray as input and employ two different CNN models (Resnet50 and Inception-v3) for classification task. The goal is to accurately identify if the person has Tuberculosis, Pneumonia or Healthy lungs. The performance of the two models was evaluated using the lung image of patients diagnosed with the mentioned diseases. The evaluation metrics used are accuracy, precision, and recall. This project demonstrates the potential of CNNs in the accurate and efficient diagnosis of lung diseases using chest X-ray images and highlights the importance of comparing different models for a given task
The entire dataset can be found here: https://www.kaggle.com/datasets/amitpant7/lungvision

Two models Resnet-50 and Inception V3 were trained on X-ray images from various sources to classify among Normal, Pneumonia, and Tuberculosis classes.
We compiled a dataset of lung images to train and evaluate deep-learning models for diagnosing lung infections. Initially, our dataset included 10,406 Normal, 5,775 Pneumonia, and 1,094 Tuberculosis-infected images, sourced from RSNA, Montgomery County chest X-ray set, Shenzhen chest X-ray, Qatar University, Doha, and the University of Dhaka. These images were originally in DCM format, and we converted them to PNG format to ensure compatibility with our deep learning models.

During the data cleaning process, we identified that anomalous images adversely affected our model's performance, especially leading to the misclassification of Normal images as Pneumonia. To address this, we manually removed blurry, low-resolution images, or partially contained lungs. We also checked for and removed under-penetrated and over-penetrated images, as these issues obscured critical lung details and increased the risk of missing abnormalities. After this thorough cleaning, our final dataset consisted of 7,509 Normal images, 5,775 Pneumonia, and 1,094 Tuberculosis-infected images.
We used a pretrained Resnet-50 model for further training by replacing its fully connected layers. Various configurations were tested, and based on their results, the model was fine-tuned to maximize performance.
The pre-trained model was imported from Keras with weights trained on the ImageNet dataset. We replaced the last fully connected layers with new layers, including a final output linear layer with 3 units. To prevent the earlier layers from being updated during training, we froze the weights of the convolutional layers by setting the 'trainable' attribute to False.
Our model architecture included 2 hidden layers with 1024 and 256 units, respectively, followed by a final classification layer with 3 units. Batch normalization layers were added after each dense layer to improve training stability, reduce internal covariate shift, and increase the model's ability to learn, potentially resulting in faster training and better accuracy.
Total parameters: 25,962,371 Trainable parameters: 2,368,003 Non-trainable parameters: 23,594,368 Class weights: 0.63819127, 0.8298697, 4.38474946 To enhance model performance on TB and Pneumonia, class weights were assigned during training to prevent the model from overfitting on the majority class. The class weights were computed, and with some changes in the fully connected layer and augmentation techniques, the model was retrained.
For the Inception-v3 model, we adjusted the original input shape from (229,229,3) to (224,224,3). Similar to Resnet-50, we replaced the fully connected layers with our own hidden layers and a final classification layer, implementing a comparable approach to establish a baseline for comparison.
Total parameters: 24,177,443 Trainable parameters: 2,368,003 Non-trainable parameters: 21,809,440 Class weights: 0.63819127, 0.8298697, 4.38474946 We applied the same training strategy as Resnet-50, testing different configurations. Although the results were nearly similar to the Resnet model, we noticed that Inception-v3 was highly prone to overfitting. The model configuration selected showed the highest classification accuracy among all trained Inception models to date.
Data augmentation techniques were used, and class weights were assigned and optimized to improve the model's performance in identifying pneumonia and tuberculosis.
Impact of Large Dataset and Augmentation:
We observed that our models were quickly overfitting when trained on a smaller dataset. To address this, we used a larger dataset and data augmentation techniques. This approach led to positive results:
- Overall accuracy improved for both Resnet-50 and Inception-v3 models.
- The risk of overfitting on the training data decreased. However, there was a trade-off. The accuracy for classifying normal images suffered slightly.
Performance Breakdown (Large Dataset with Augmentation):
- Resnet-50: Accuracy increased from 80% (original dataset) to 75% (large dataset with augmentation).
- Inception-v3: Accuracy increased from 81% (original dataset) to 76% (large dataset with augmentation).
While the overall accuracy improved, it's important to note the decrease in normal class accuracy for both models. Data Cleaning and Model Performance:
The most significant improvement came from cleaning the data. This resulted in a substantial increase in accuracy for all classes, particularly the normal class. Resnet-50: Overall accuracy jumped from 80% (original dataset) to 86% (cleaned dataset). Normal class accuracy showed the most significant improvement, going from 62% to 86%. Inception-v3: Overall accuracy increased from 81% (original dataset) to 89% (cleaned dataset). Normal class accuracy improved from 71% to 86%. Training Efficiency:
The graphs indicate that the models learned quickly from the cleaned data. Resnet-50's accuracy reached 80% within the first five epochs, suggesting efficient learning. Inception-v3 achieved 86% accuracy by the 5th epoch as well. In both cases, further training yielded minimal improvements, indicating the models had learned most of the relevant features from the data.


From the above table, it’s clear that the Inception-v3 performs better than Resnet-50 over almost all the parameter. The precision, recall and accuracy value for the different classes of the classification has better values with Inception-v3 rather than Resnet-50. Due to this, our final classification model has been chosen as Inception over Resnet. These images showed similar results for the dataset with bad images. When these models were trained over a proper dataset, Inception performed better and showed better results. While the difference between these two models is only of 3%, this number can’t be overlooked when we are working with medical image as a minor inconvenience in the result can result in a huge problem for both the doctors and the patients
Demo: https://youtu.be/7Qor2YACcls
People Involved in this project
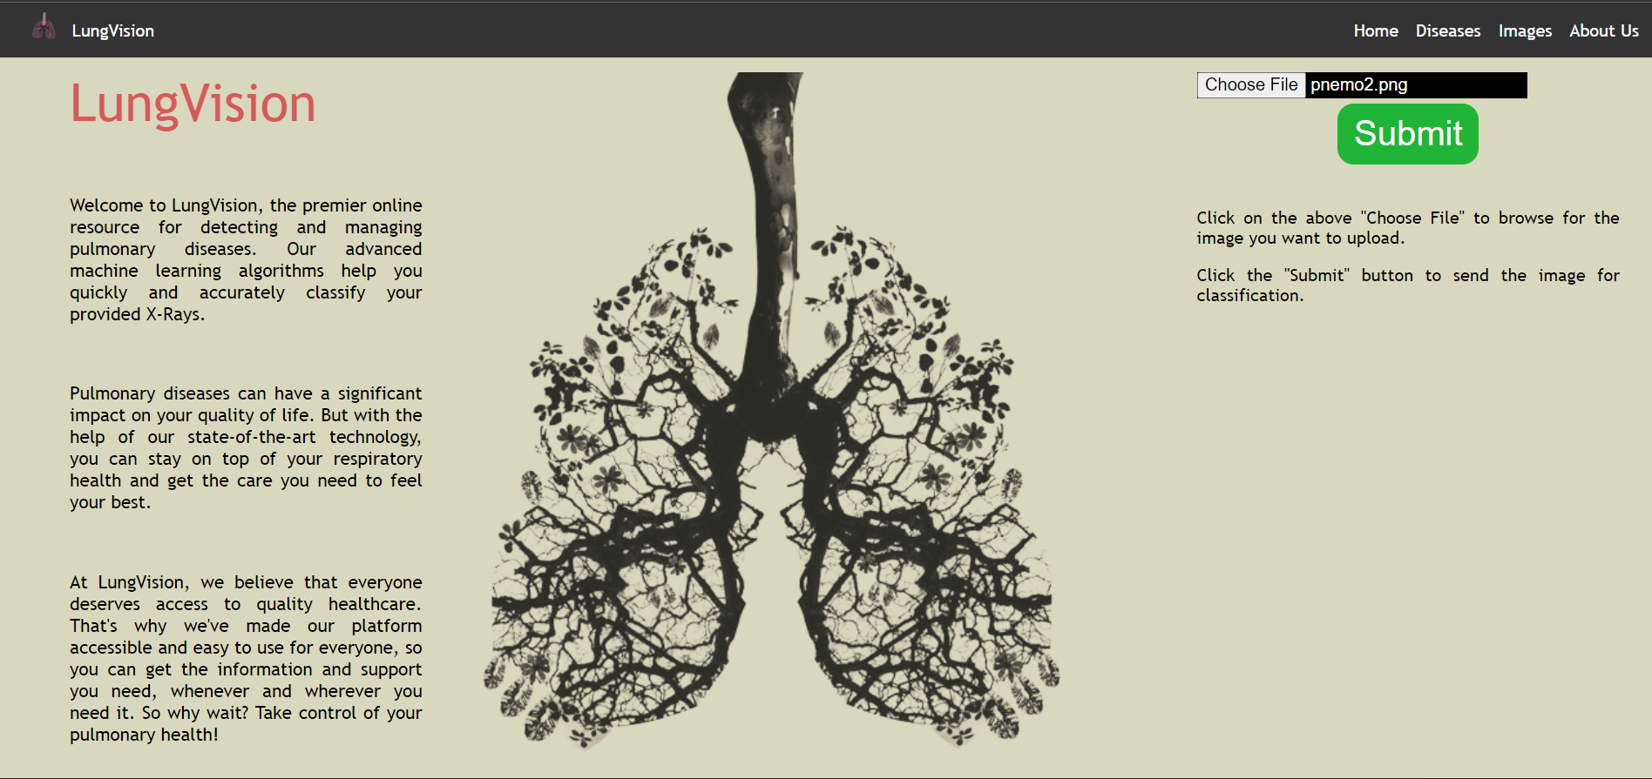
You can replicate the work and inference for new X-rays by following the procedure below.
From the root directory run:
cd backend classifierpython -m venv venvFrom the backend directory run:
On macOS:
source venv/bin/activateOn Windows:
venv\scripts\activateFrom the backend directory run:
pip install -r requirements.txtFrom the root directory run:
cd frontendnpm installTo run the application, you need to have both the backend and the frontend up and running.
From the backend directory run:
python manage.py runserverFrom the frontend directory run:
npm startGo to http://localhost:3000/ to view the application.