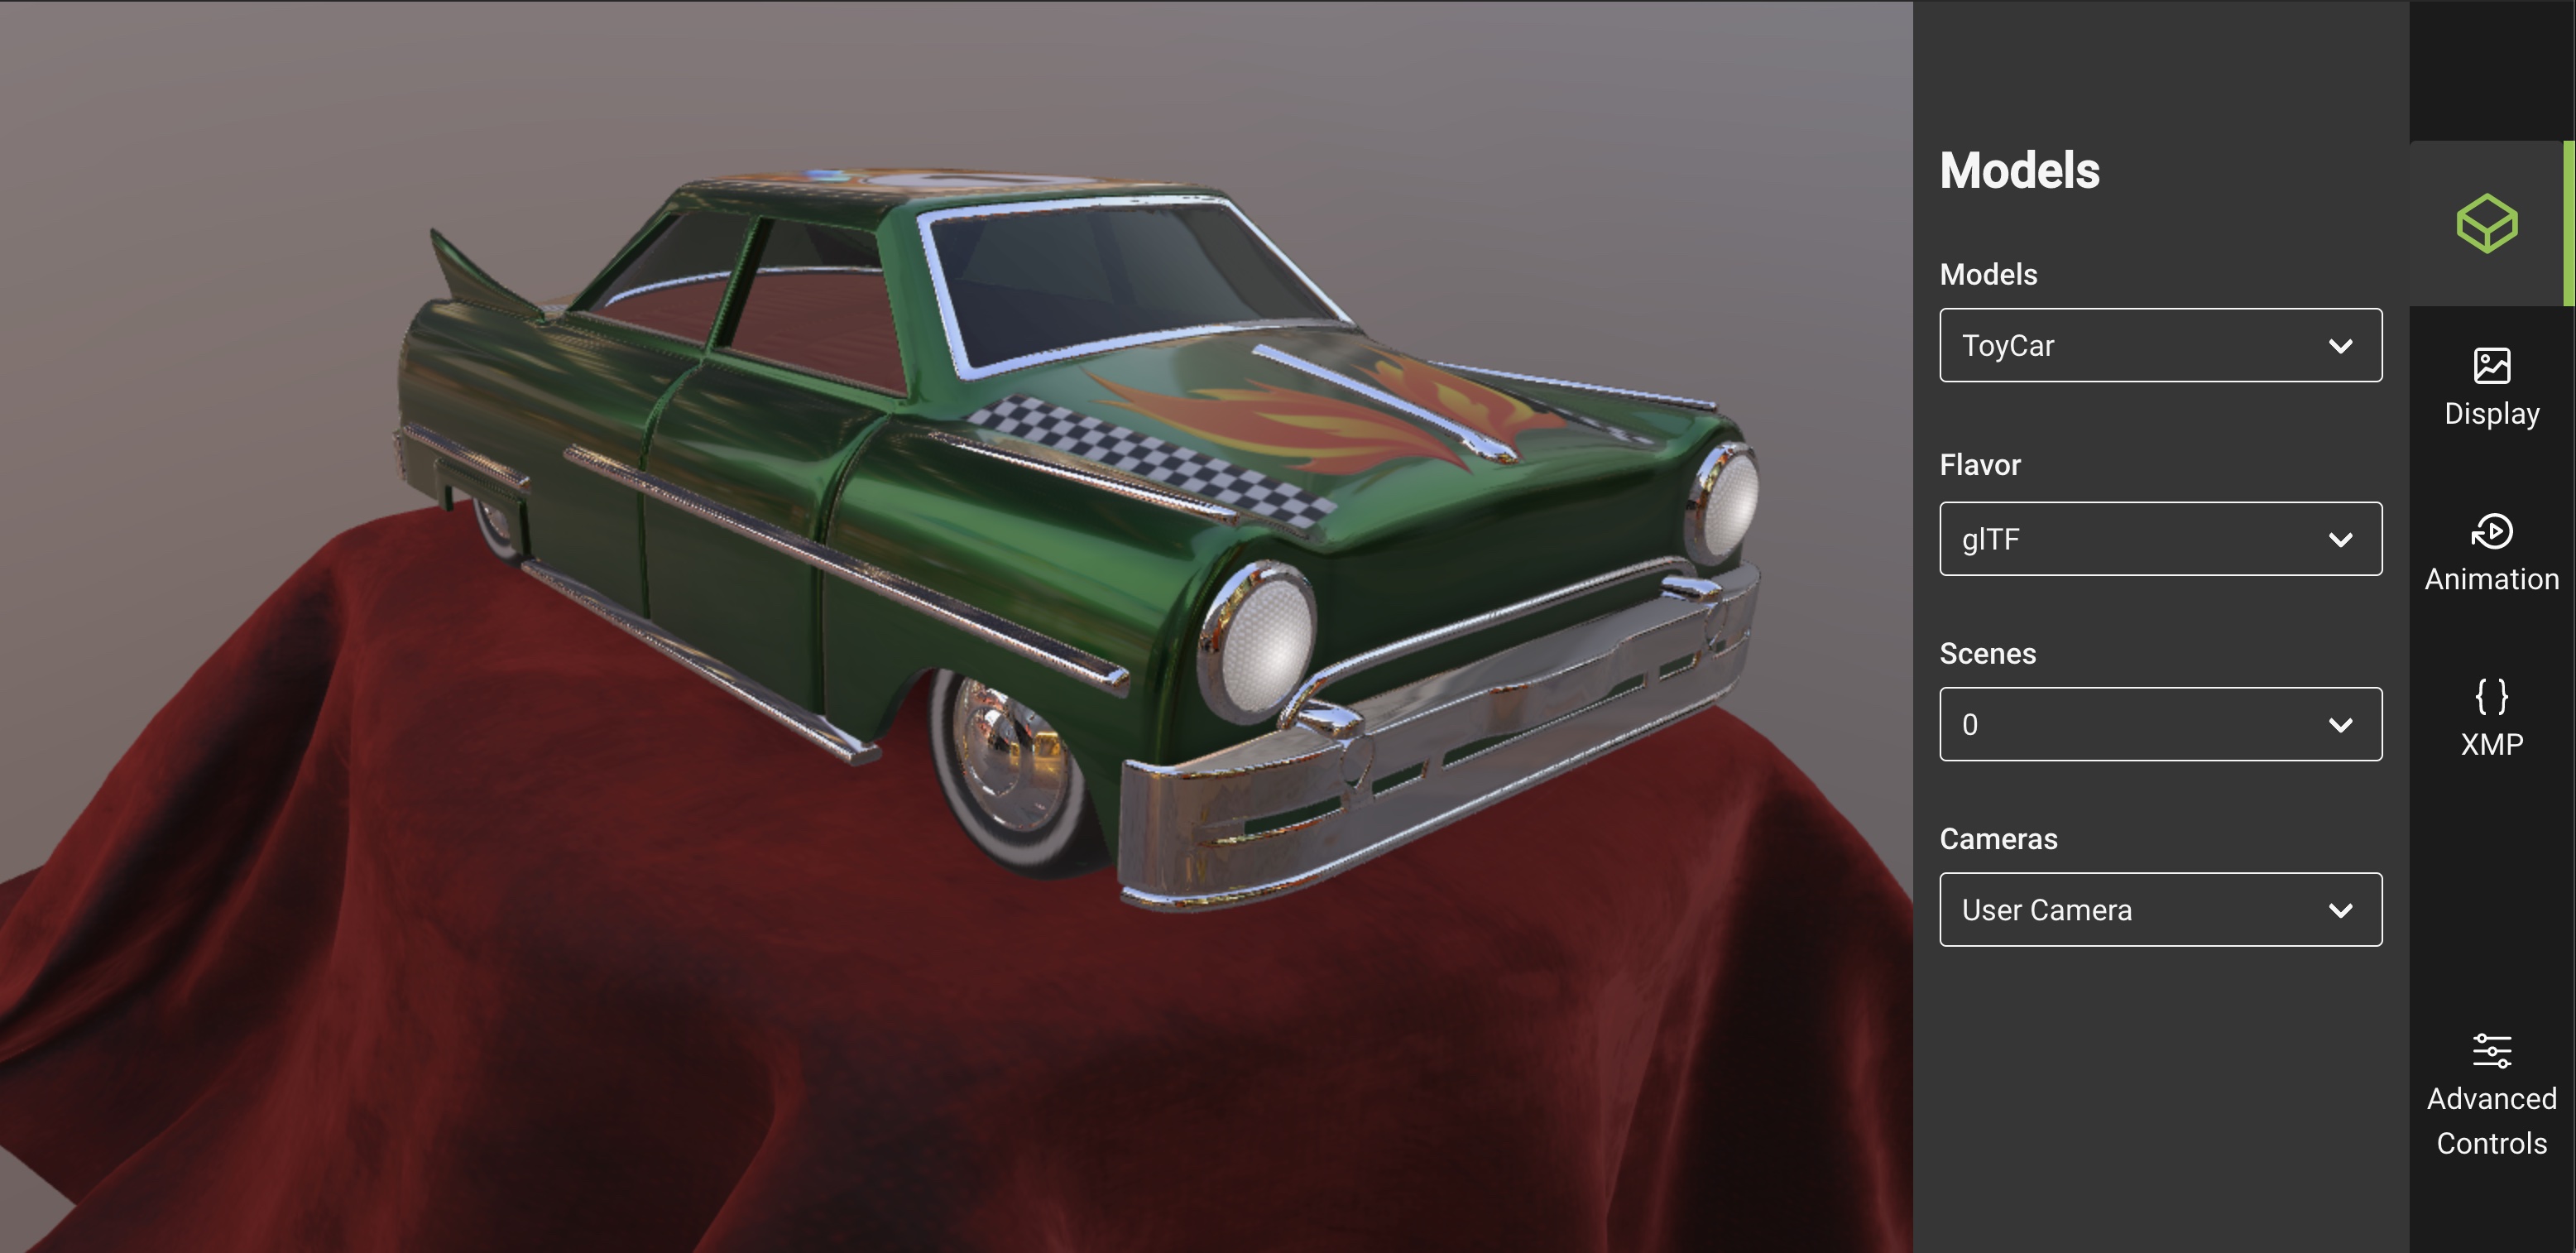
This is the official Khronos glTF 2.0 Sample Viewer using WebGL: glTF 2.0 Sample Viewer
Development for PBR next phase one
Refactored and developed by UX3D. Supported by the Khronos Group and by Google for the glTF Draco mesh compression import. Original code based on the former glTF-WebGL-PBR project. Previously supported by Facebook for animations, skinning and morphing.
- glTF 2.0
- KHR_draco_mesh_compression
- KHR_lights_punctual
- KHR_materials_clearcoat
- KHR_materials_emissive_strength
- KHR_materials_pbrSpecularGlossiness
- KHR_materials_ior
- KHR_materials_sheen
- KHR_materials_specular
- KHR_materials_transmission
- KHR_materials_unlit
- KHR_materials_variants
- KHR_materials_volume
- KHR_materials_iridescence
- KHR_materials_anisotropy
- KHR_mesh_quantization
- KHR_texture_basisu
- KHR_texture_transform
- KHR_xmp_json_ld
For local usage and debugging, please follow these instructions:
-
Make sure Git LFS is installed.
-
Checkout the
mainbranch -
Pull the submodules for the required glTF sample models and environments
git submodule update --init --recursive -
To build the npm package for publishing:
- run
npm install - run
npm run build
- run
This will create a new gltf-viewer.js and gltf-viewer.module.js in the dist directory.
glTF Sample Viewer can be used without the web app, for example for integration into a thirdparty web application or for automated testing (see Render Fidelity Tools).
The API consists of several components that in combination allow flexible configuration of the gltf viewer.
More detailed information about the API is listed in the api documentation.
The GltfView component is associated with one WebGL2 context. In practice this means it will be associated with one HTML5 Canvas. This component manages the interaction between the canvas and the GL context. For example it therefore specifies the viewport, the swapchain and can be used to schedule frame renders.
const view = new GltfView(webGl2Context);The view is also used to render frames, either on every window repaint event or on demand, e.g. when taking a frame capture.
const update = () =>
{
    view.renderFrame(state, canvas.width, canvas.height);
    window.requestAnimationFrame(update);
};
window.requestAnimationFrame(update);The GltfState encapsulates the state of the content of a GltfView. As currently some WebGL resources are stored directly in the Gltf objects, the state cannot be shared between views.
const state = view.createState();
state.sceneIndex = 0;
state.animationIndices = [0, 1, 2];
state.animationTimer.start();
The state is passed to the view.renderFrame function to specify the content that should be renderered.
ResourceLoader can be used to load external resources and make them available to the renderer.
state.gltf = await resourceLoader.loadGltf("path/to/some.gltf");You can find an example application for the gltf viewer in the app_web subdirectory of the sample viewer repository. A live demo can be found at https://github.khronos.org/glTF-Sample-Viewer-Release/.
Running a local version
Open a terminal window in the repository root an run the following commands
cd app_web
npm install
npm run dev
now you can access glTF Sample Viewer with Chrome or Firefox at the URL http://localhost:8000
The gltf sample viewer is integrated into Google's render fidelity tools. This makes it possible to compare different renderers. To run the render fidelity tools follow the instructions here and here. For information on how the gltf sample viewer was integrated see the pull request on github.
With the change from glTF 1.0 to glTF 2.0, one of the largest changes included core support for materials that could be used for physically-based shading. Part of this process involved choosing technically accurate, yet user-friendly, parameters for which developers and artists could use intuitively. This resulted in the introduction of the Metallic-Roughness Material to glTF. If you would like to read more about glTF, you can find the content at its GitHub page.
A good reference about Physically-Based Materials and its workflow can be found on the THE PBR GUIDE - PART 1 and THE PBR GUIDE - PART 2 from allegorithmic.
For implementation details and further theory, please find more information in the Real Shading in Unreal Engine 4 presentation from the SIGGRAPH 2013 course.
