NOTE: This is just a test work-in-progress repository. Things might be broken and/or poorly documented. If you find anything wrong with the scripts and/or instructions, please let me know so I can fix it in future commits
The idea of this project is to quickly create a Hadoop cluster to learn and experiment with Hadoop, Spark, etc.
The project uses Vagrant to provision the machines making up the cluster, and at present we target VirtualBox, so by default we create five virtual machines (Ubuntu Bionic 18.04) with VirtualBox, with the following software versions: Hadoop 3.2.2; Spark 3.1.2; Pig 0.17.0; Hive 3.1.2.
The configuration of the default cluster is as follows:
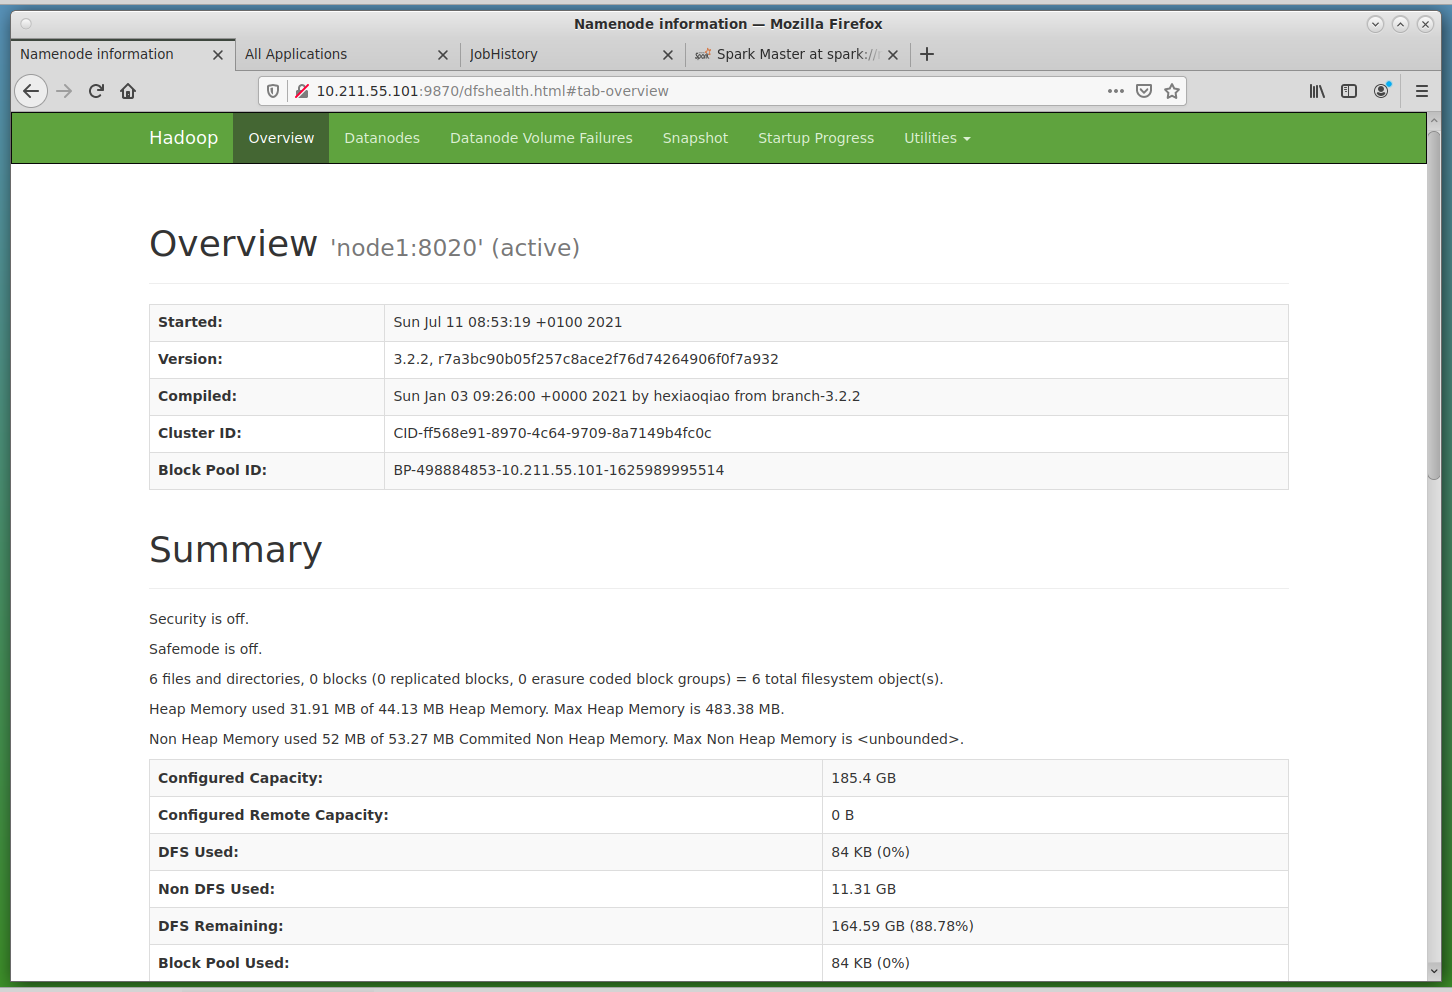
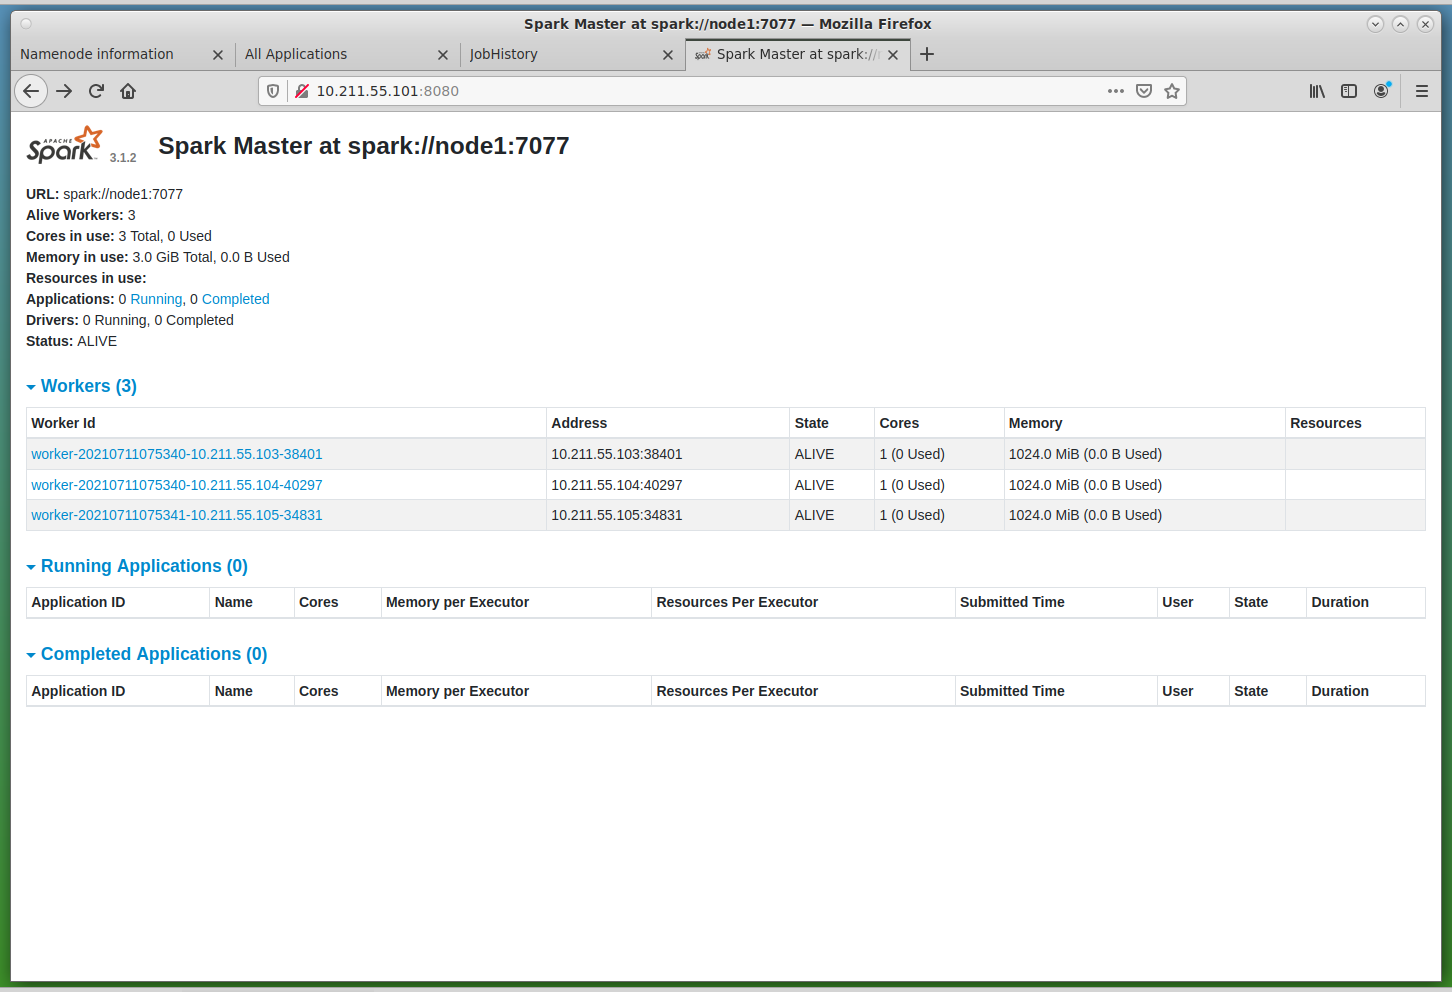
- node1 (IP: 10.211.55.101): HDFS NameNode + Spark Master
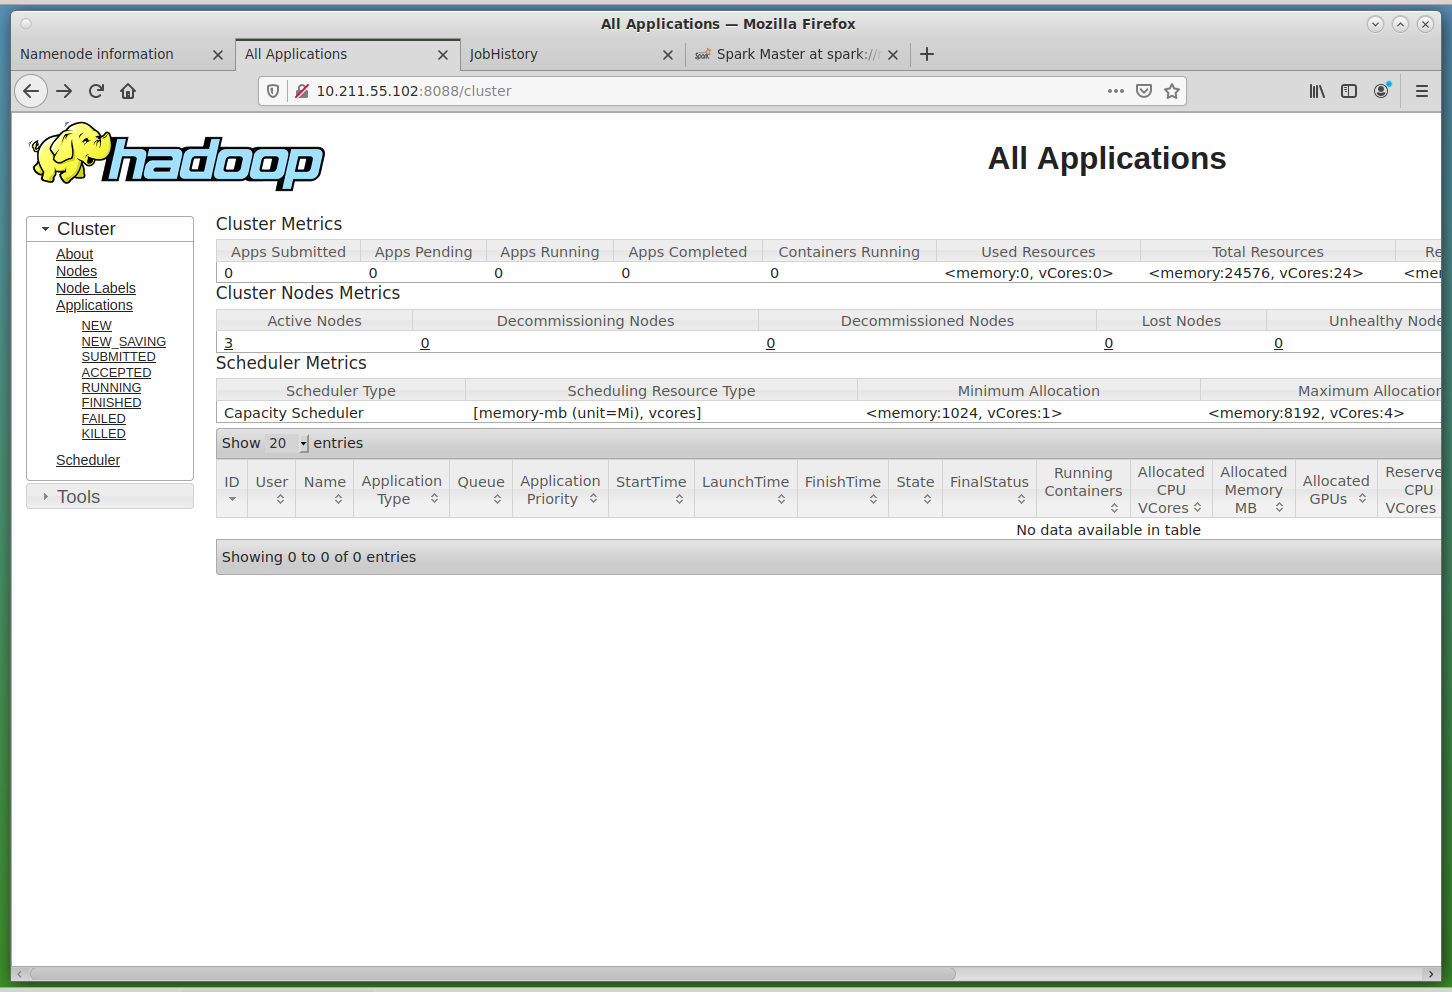
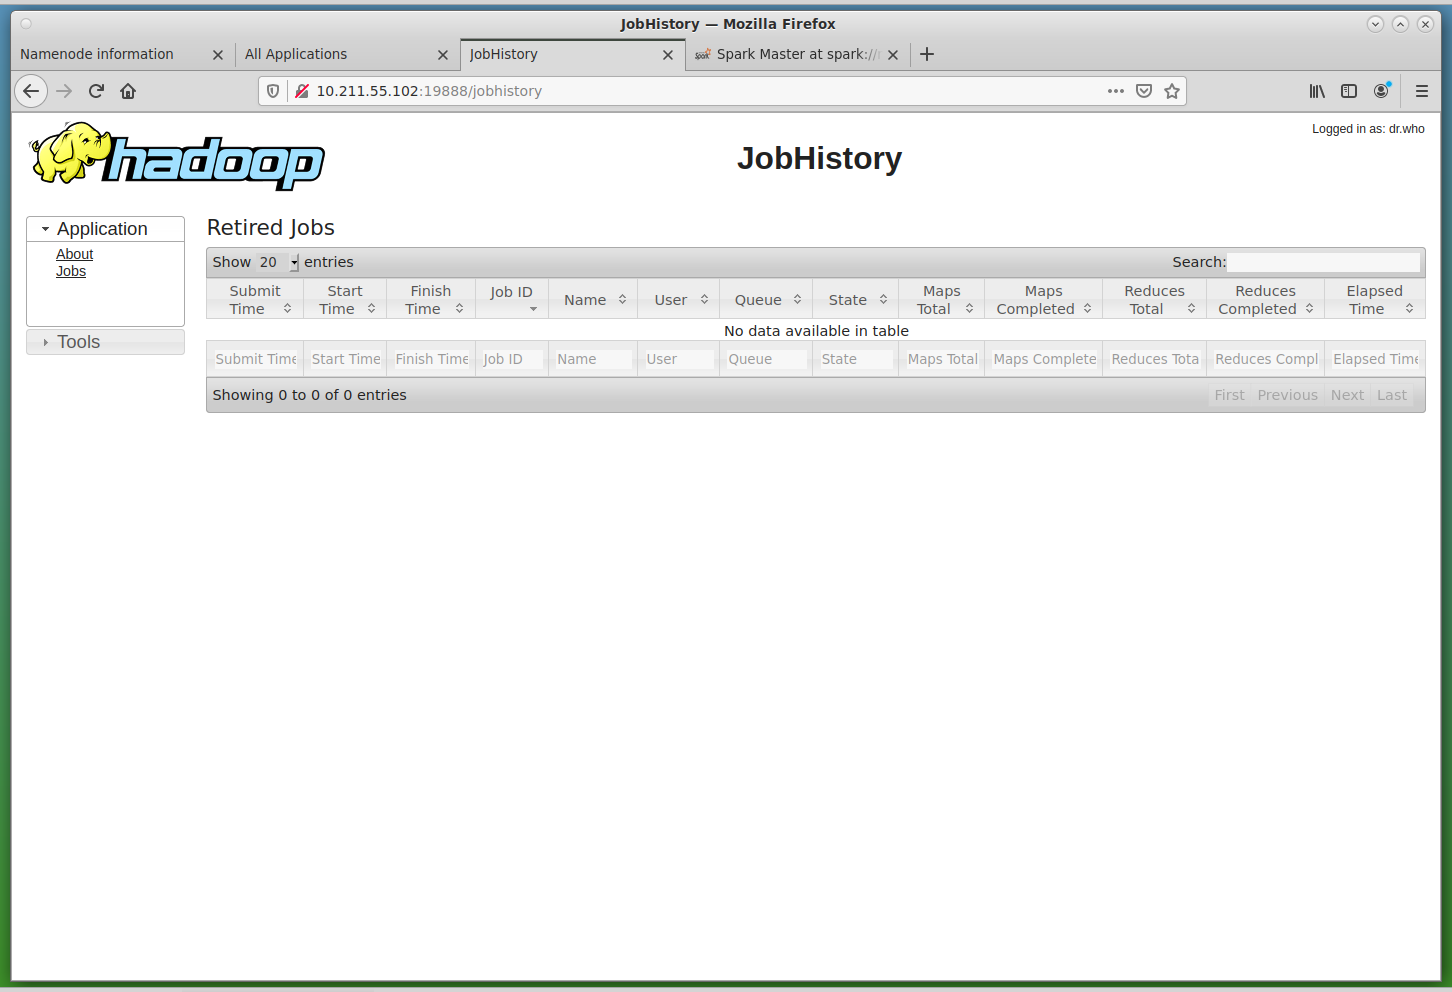
- node2 (IP: 10.211.55.102): YARN ResourceManager + JobHistoryServer + ProxyServer
- node3 (IP: 10.211.55.103): HDFS DataNode + YARN NodeManager + Spark Slave
- node4 (IP: 10.211.55.104): HDFS DataNode + YARN NodeManager + Spark slave
- node5 (IP: 10.211.55.105): HDFS DataNode + YARN NodeManager + Spark Slave
All nodes are configure to have 2GB of RAM. node1 and node2 should always be there, but you can have as many worker nodes as you want. By default, we create 3 worker nodes (for a total of 5 nodes), but you can change the total number of nodes by changing the line numNodes = 5 in the Vagrantfile file.
If the above IP address range causes problems in your network, it can easily be changed in the Vagrantfile file.
To get the cluster up-and-running, you will need to have VirtualBox (https://www.virtualbox.org/) and Vagrant (https://www.vagrantup.com/), and about 10GB of RAM (assuming you spin 5 virtual machines). This was tested with Virtualbox 6.1.22-2, and Vagrant 2.2.16, though it should work with older versions as well. Let me know if you try it).
NOTE: This project is a variation on the https://github.com/njvijay/vagrant-jilla-hadoop repository, with slightly different roles for the nodes, and using a different version of the machines' OSs, as well as up-to-date versions of Hadoop, Spark, etc.
To create the cluster, you simply do:
vagrant-hadoop$ vagrant up
The first time you run it, the software packages will be downloaded and copied to the directory resources. If you destroy and build the cluster again at a later stage, these downloaded files will be used instead, so building the cluster should be much faster.
The mirrors used to download the software packages can be changed by editing the file scripts/common.sh
If all went well, the cluster will be ready in 10-15 minutes after provisioning the five virtual machines, with a long output like:
vagrant-hadoop$ vagrant up
Bringing machine 'node5' up with 'virtualbox' provider...
Bringing machine 'node4' up with 'virtualbox' provider...
Bringing machine 'node3' up with 'virtualbox' provider...
Bringing machine 'node2' up with 'virtualbox' provider...
Bringing machine 'node1' up with 'virtualbox' provider...
==> node5: Importing base box 'hashicorp/bionic64'...
==> node5: Matching MAC address for NAT networking...
==> node5: Checking if box 'hashicorp/bionic64' version '1.0.282' is up to date...
==> node5: Setting the name of the VM: node5
==> node5: Clearing any previously set network interfaces...
==> node5: Preparing network interfaces based on configuration...
    node5: Adapter 1: nat
    node5: Adapter 2: hostonly
==> node5: Forwarding ports...
    node5: 22 (guest) => 2222 (host) (adapter 1)
==> node5: Running 'pre-boot' VM customizations...
==> node5: Booting VM...


[...]


   node1: WARNING: /usr/local/hadoop/logs does not exist. Creating.
    node1: node3: Warning: Permanently added 'node3,10.211.55.103' (ECDSA) to the list of known hosts.
    node1: node4: Warning: Permanently added 'node4,10.211.55.104' (ECDSA) to the list of known hosts.
    node1: node5: Warning: Permanently added 'node5,10.211.55.105' (ECDSA) to the list of known hosts.
    node1: ############## Starting Spark in the cluster
    node1: starting org.apache.spark.deploy.master.Master, logging to /usr/local/spark/logs/spark-root-org.apache.spark.deploy.master.Master-1-node1.out
    node1: node3: Warning: Permanently added 'node3,10.211.55.103' (ECDSA) to the list of known hosts.
    node1: node3: starting org.apache.spark.deploy.worker.Worker, logging to /usr/local/spark/logs/spark-root-org.apache.spark.deploy.worker.Worker-1-node3.out
    node1: node4: Warning: Permanently added 'node4,10.211.55.104' (ECDSA) to the list of known hosts.
    node1: node4: starting org.apache.spark.deploy.worker.Worker, logging to /usr/local/spark/logs/spark-root-org.apache.spark.deploy.worker.Worker-1-node4.out
    node1: node5: Warning: Permanently added 'node5,10.211.55.105' (ECDSA) to the list of known hosts.
    node1: node5: starting org.apache.spark.deploy.worker.Worker, logging to /usr/local/spark/logs/spark-root-org.apache.spark.deploy.worker.Worker-1-node5.out
vagrant-hadoop$
Via the scripts found in the directories scripts and resources the cluster is already provisioned and the daemons mentioned above already configured and started.
To understand how the cluster is being set-up, read: https://hadoop.apache.org/docs/stable/hadoop-project-dist/hadoop-common/ClusterSetup.html
There are several ways to check that the cluster was properly created. For example, you can directly ssh to the main node node1 and get a report on the HDFS:
vagrant-hadoop$ vagrant ssh node1
Welcome to Ubuntu 18.04.3 LTS (GNU/Linux 4.15.0-58-generic x86_64)

[...]

vagrant@node1:~$ hdfs dfsadmin -report
Configured Capacity: 199066693632 (185.40 GB)
Present Capacity: 176722231296 (164.59 GB)
DFS Remaining: 176722145280 (164.59 GB)
DFS Used: 86016 (84 KB)
DFS Used%: 0.00%
Replicated Blocks:
	Under replicated blocks: 0
	Blocks with corrupt replicas: 0
	Missing blocks: 0
	Missing blocks (with replication factor 1): 0
	Low redundancy blocks with highest priority to recover: 0
	Pending deletion blocks: 0
Erasure Coded Block Groups:
	Low redundancy block groups: 0
	Block groups with corrupt internal blocks: 0
	Missing block groups: 0
	Low redundancy blocks with highest priority to recover: 0
	Pending deletion blocks: 0

-------------------------------------------------
Live datanodes (3):

Name: 10.211.55.103:9866 (node3)
Hostname: node3
Decommission Status : Normal
Configured Capacity: 66355564544 (61.80 GB)
DFS Used: 28672 (28 KB)

[...]
But you can also connect via the web UI of the different daemons:
These are just a couple of quick examples to test the ability to run MapReduce jobs.
Learn more at: https://hadoop.apache.org/docs/stable/hadoop-mapreduce-client/hadoop-mapreduce-client-core/MapReduceTutorial.html
-
WordCount MapReduce job (in Java)
This is the standard example for MapReduce jobs. The code here comes from the following repository:
https://github.com/pagutierrez/tutorial-hadoop/blob/master/wordcount.md
and the source .java code is in tests/MapReduce/WordCount
To run it, once the cluster is up, and from node1 (run vagrant ssh node1 to get connect to it), we run the following in the MapReduce directory:
# compile the java code and pack it into wordcount.jar javac WordCount/*.java jar cvf wordcount.jar WordCount/*.class # copy all the text files in the input directory to the HDFS # the text files are novels from the Guttenberg project site hadoop fs -put input / # delete the /output directory in the HDFS # if it is the first time we run the MapReduce job this is unnecessary, # but if we try to run it several times, the job will fail if the directory exists hadoop fs -rm -r /output # submit the job to the Hadoop cluster hadoop jar wordcount.jar WordCount.WordCount /input /output # print the generated output file for inspection (we could make a copy to the # local storage using -get instead of -cat hadoop fs -cat /output/part-r-00000 -
WordCount2
The same idea as WordCount above, but a more sophisticated code, making use of more Hadoop options. This is the last example in the following webpage:
Starting again from the MapReduce directory, we run the following. See comments and commands in the WordCount example above.
cd WordCount2 javac *.java jar cvf ../wordcount2.jar *.class cd .. hadoop jar wordcount2.jar WordCount2 /input /output -
MapReduce jobs in another language (Hadoop Streaming)
The example above used Java, but we can also run jobs written in another language, thanks to Hadoop Streaming. For example, we can use Python as we do here, with code coming from the following webpage: https://www.michael-noll.com/tutorials/writing-an-hadoop-mapreduce-program-in-python/
For more info on on Hadoop Streaming, see: https://hadoop.apache.org/docs/r3.2.2/hadoop-streaming/HadoopStreaming.html
The sample Python code is in WordCount_Python (mapper.py and reducer.py).
(NOTE: Last time I tested there was a problem with the permissions of the hadoop logs directory, so manually inside node1 I change the directory and its contents to be owned by user vagrant:vagrant instead of root)
To run this Python MapReduce job, we just do:
hadoop fs -rm -r /output

mapred streaming -mapper /vagrant/tests/MapReduce/WordCount_Python/mapper.py
 -reducer /vagrant/tests/MapReduce/WordCount_Python/reducer.py -input /input
 -output /output
If we want to control the currently running jobs, we can use the following commands:
mapred job -list mapred job -kill <job_id> -
How to find how many nodes are involved in running a particular job
The sample text files in the input directory are too small, so the job ends up being processed most probably by just one node. If we want to see how parallelism kicks in, we can download enwik9.zip from http://mattmahoney.net/dc/textdata.html, which is a chunk of the English Wikipedia text, with (after unpacking) is a 1GB text file.
If this file (enwik9) is added to the HDFS input directory (see -put command above), we can re-run any of the sample WordCount versions above (either Java or Python), and we can see that now several nodes get into action.
If we go to Applications, and then click on "Application Master" (almost the last column), then we have a lot of information about the particular application.
In my particular setting, the WordCount in the first example took 7 minutes 37 seconds seconds to complete. With the Python example this took 5 minutes 53 seconds seconds to complete (though the Python code is different and does a poorer job at finding the right word divisions).
-
WordCount with Pig
Pig offers a higher-level language (Pig Latin) to create MapReduce jobs. WordCounting with Pig should be much easier than either version above.
I haven't tried it yet, but sample codes are found, for example, at: http://www.hadooplessons.info/2015/01/word-count-in-pig-latin.html and https://www.adictosaltrabajo.com/2014/04/23/pig-first-steps/
Hive is another option when we need a higher-level language (very much like SQL) to create MapReduce jobs in a much easier way. It is not really a database system, but it looks like one somehow, since we have to prepare a schema for the tables we would like, we have to import data to them from the HDFS data, and later we can analyze the data via SQL-like queries (these can be created via the web interface, so it is meant to be quite easy to operate once things are properly set).
I haven't tried it yet.
-
PySpark interactive
The WordCount example running in the interactive PySpark shell is trivial:
>>> tf = sc.textFile("/input/11-0.txt") >>> words = tf.flatMap(lambda s: [(w,1) for w in s.split(" ") ]) >>> counts = words.reduceByKey(lambda a, b: a + b) >>> counts.take(10) [('The', 106), ('Project', 79), ('Gutenberg', 22), ('eBook', 6), ('of', 605), ('Alice’s', 13), ('Adventures', 4), ('in', 406), ('Wonderland,', 2), ('by', 79)] -
Spark job, submitted to YARN
The wc.py script in tests/Spark show how to use Python with Spark, and it assumes you have the enwik9 file in the HDFS (if not, just change the file name to open in the script)
Submission is straightforward with:
spark-submit --master yarn --deploy-mode client /vagrant/tests/Spark/wc.py


