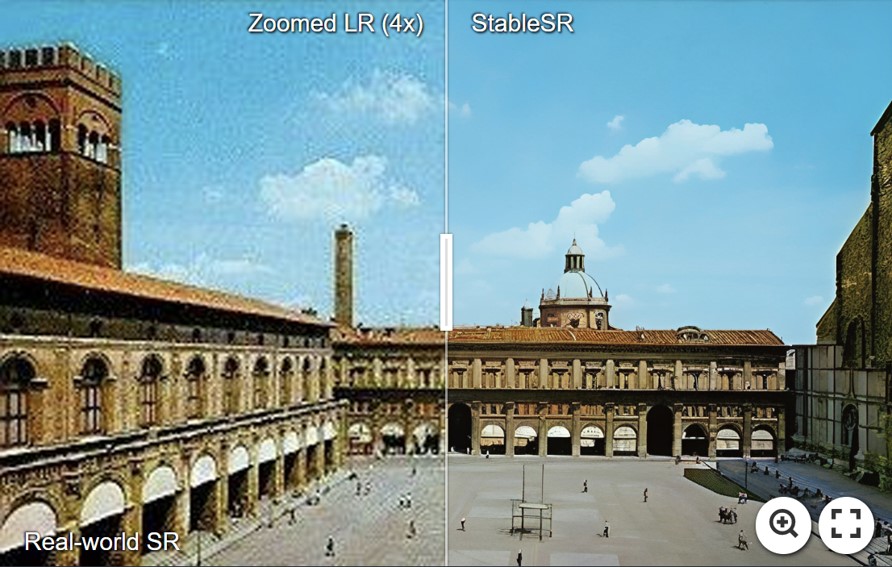
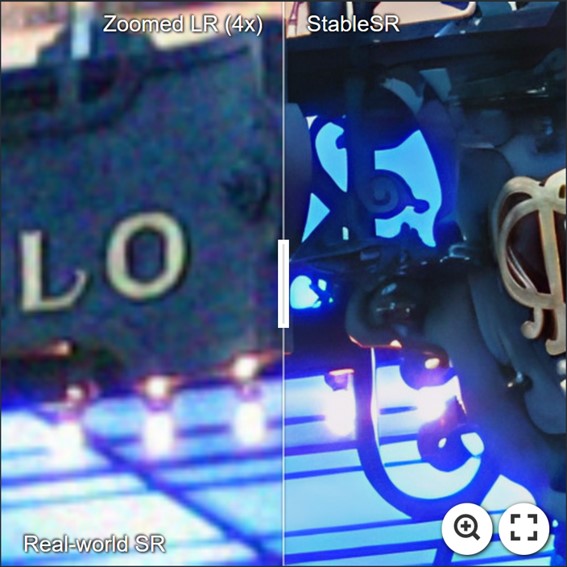
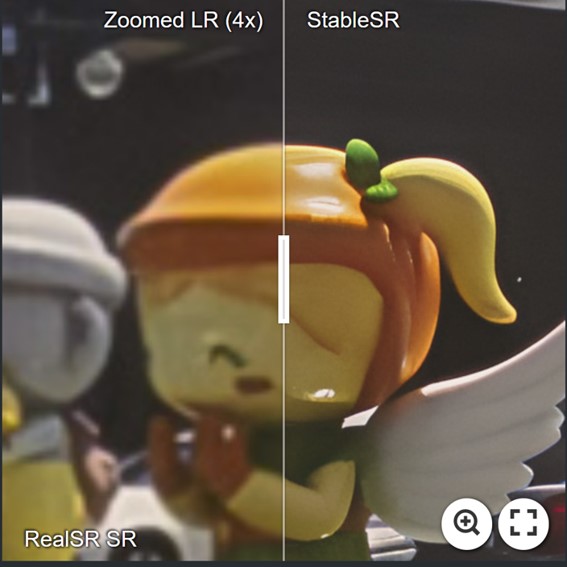
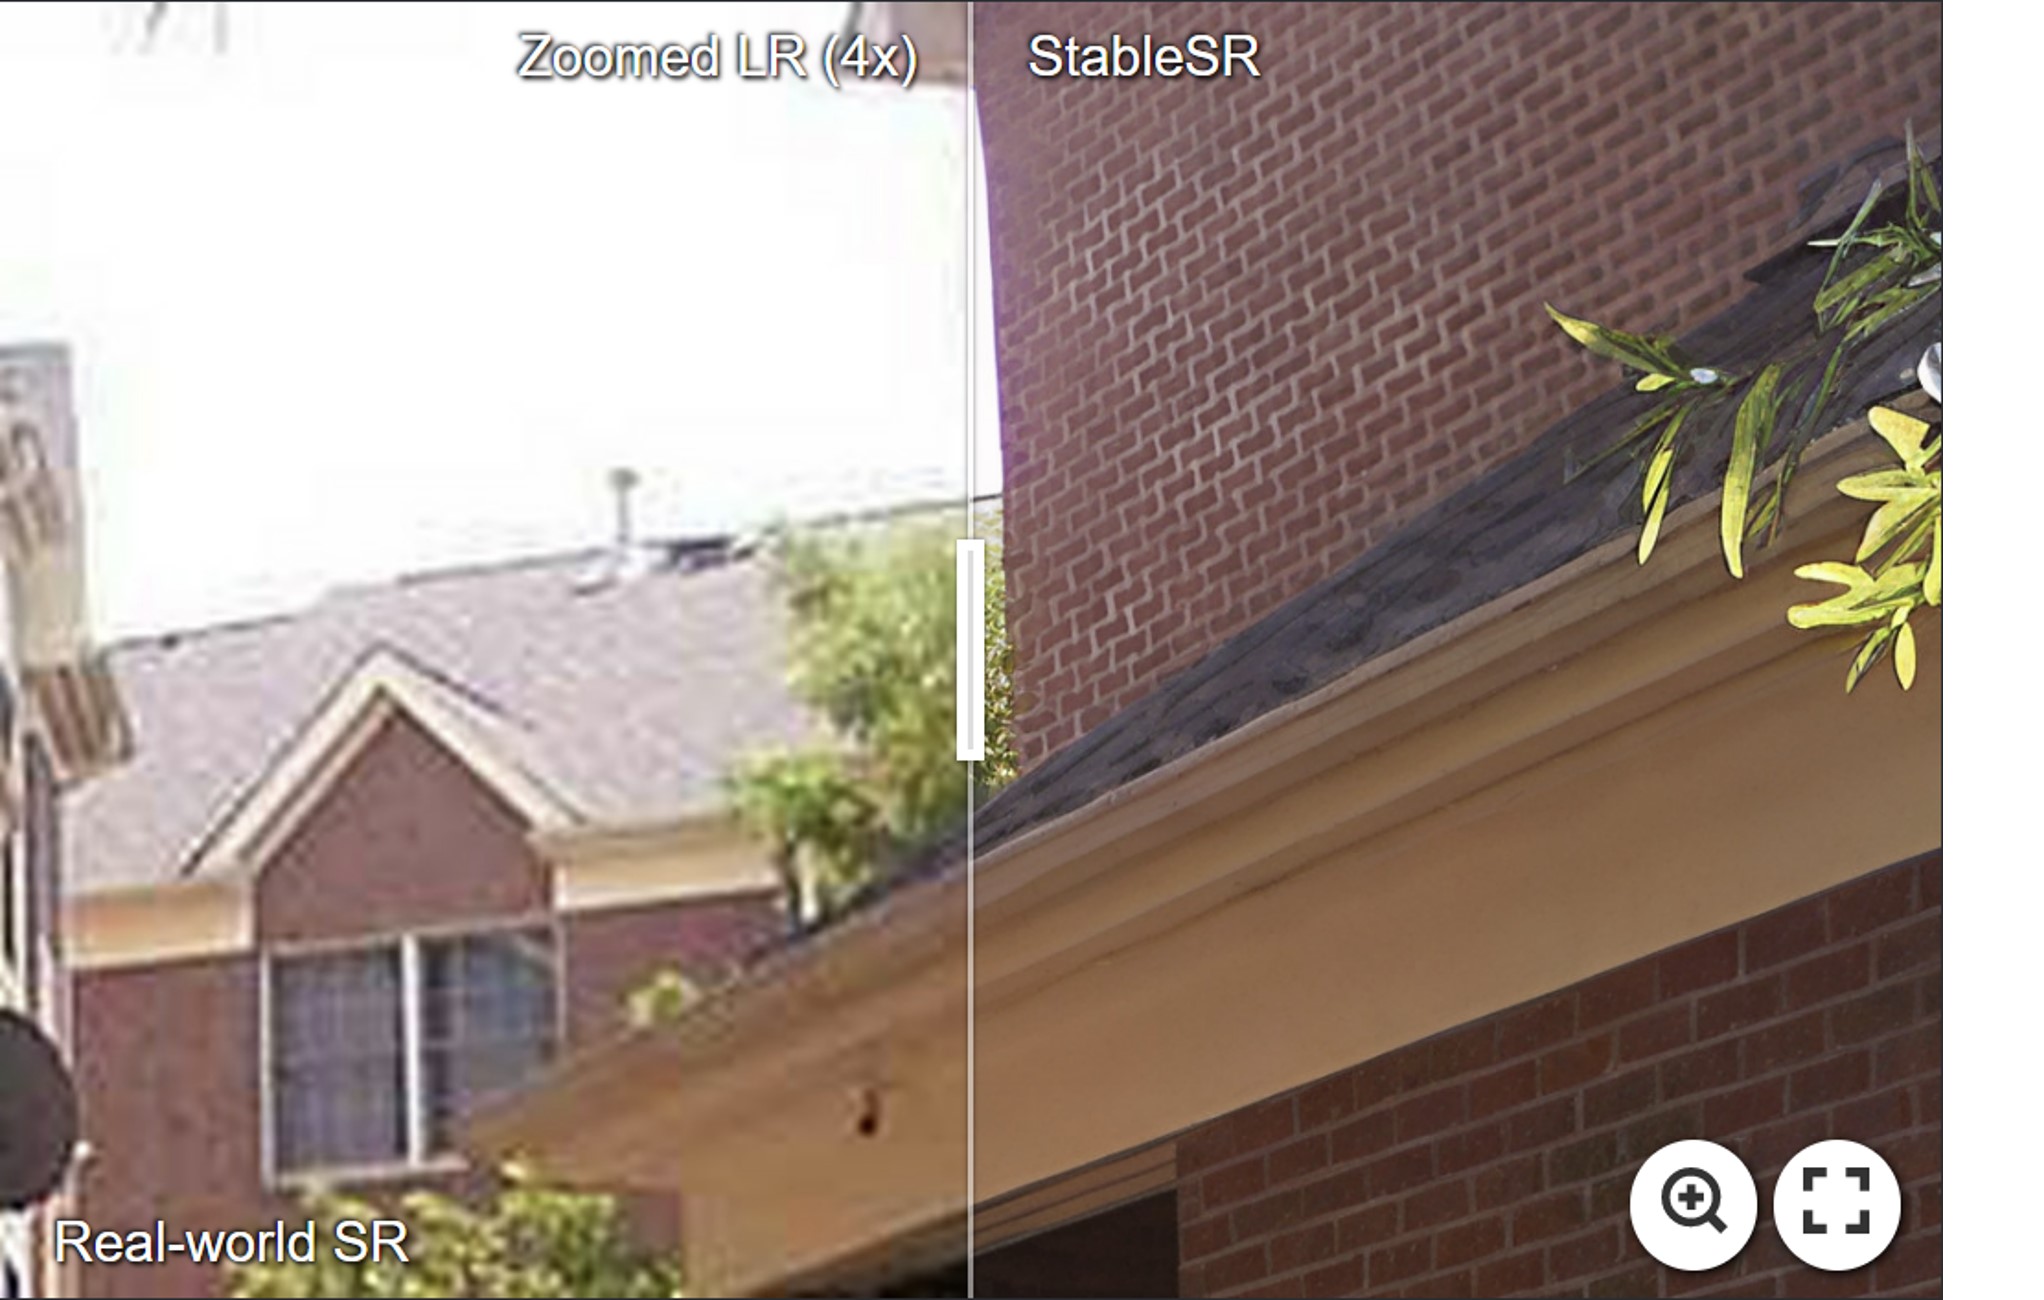
Paper | Project Page | Video | WebUI | ModelScope
Jianyi Wang, Zongsheng Yue, Shangchen Zhou, Kelvin C.K. Chan, Chen Change Loy
S-Lab, Nanyang Technological University
⭐ If StableSR is helpful to your images or projects, please help star this repo. Thanks! 🤗
- 2023.10.08: Our test sets associated with the results in our paper are now avaliable at [HuggingFace] and [OpenXLab]. You may have an easy comparison with StableSR now.
- 2023.08.19: Integrated to 🤗 Hugging Face. Try out online demo!
.
- 2023.08.19: Integrated to 🐼 OpenXLab. Try out online demo!
.
- 2023.07.31: Integrated to 🚀 Replicate. Try out online demo!
Thank Chenxi for the implementation!
- 2023.07.16: You may reproduce the LDM baseline used in our paper using LDM-SRtuning
.
- 2023.07.14: 🐳 ModelScope for StableSR is released!
- 2023.06.30: 🐳 New model trained on SD-2.1-768v is released! Better performance with fewer artifacts!
- 2023.06.28: Support training on SD-2.1-768v.
- 2023.05.22: 🐳 Improve the code to save more GPU memory, now 128 --> 512 needs 8.9G. Enable start from intermediate steps.
- 2023.05.20: 🐳 The WebUI
of StableSR is available. Thank Li Yi for the implementation!
- 2023.05.13: Add Colab demo of StableSR.
- 2023.05.11: Repo is released.
-
Code release -
Update link to paper and project page -
Pretrained models -
Colab demo -
StableSR-768v released -
Replicate demo -
HuggingFace demo
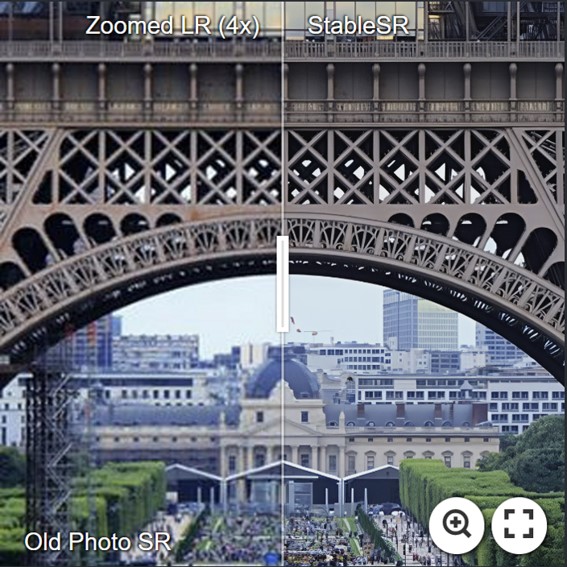
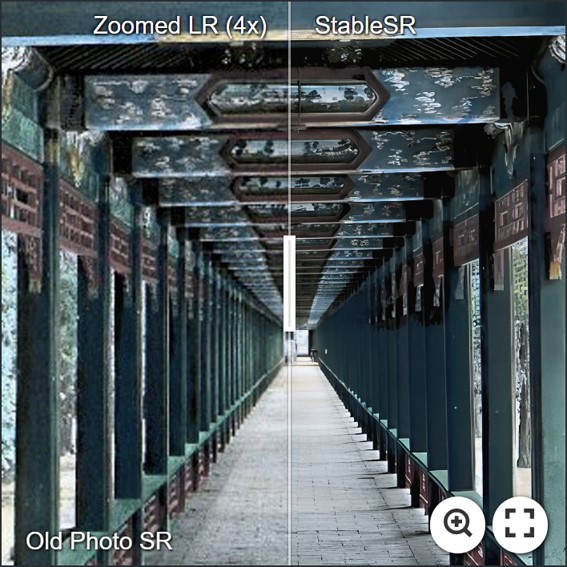
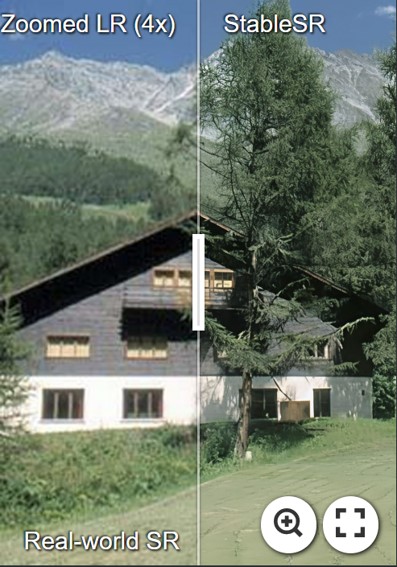
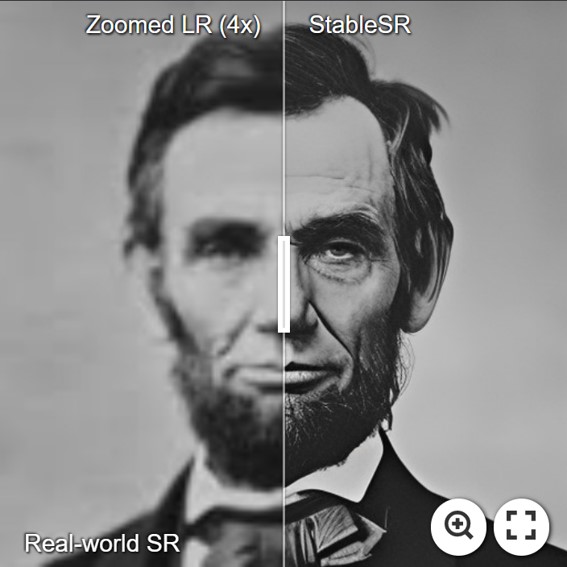
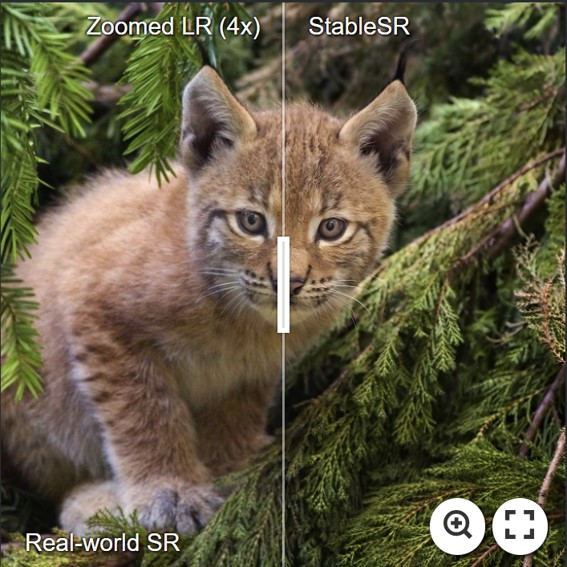
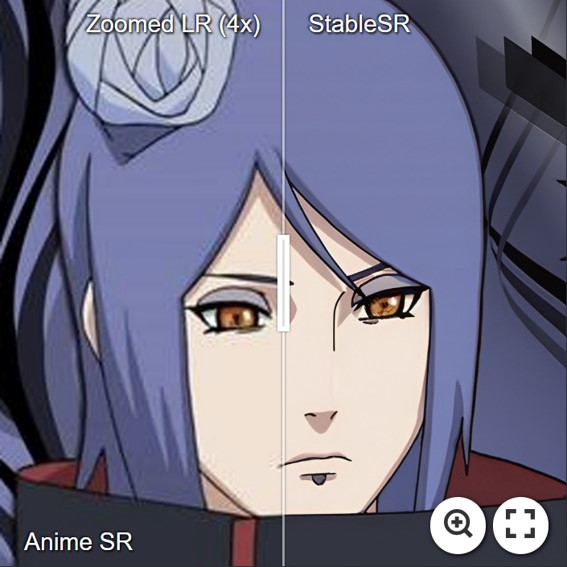
For more evaluation, please refer to our paper for details.
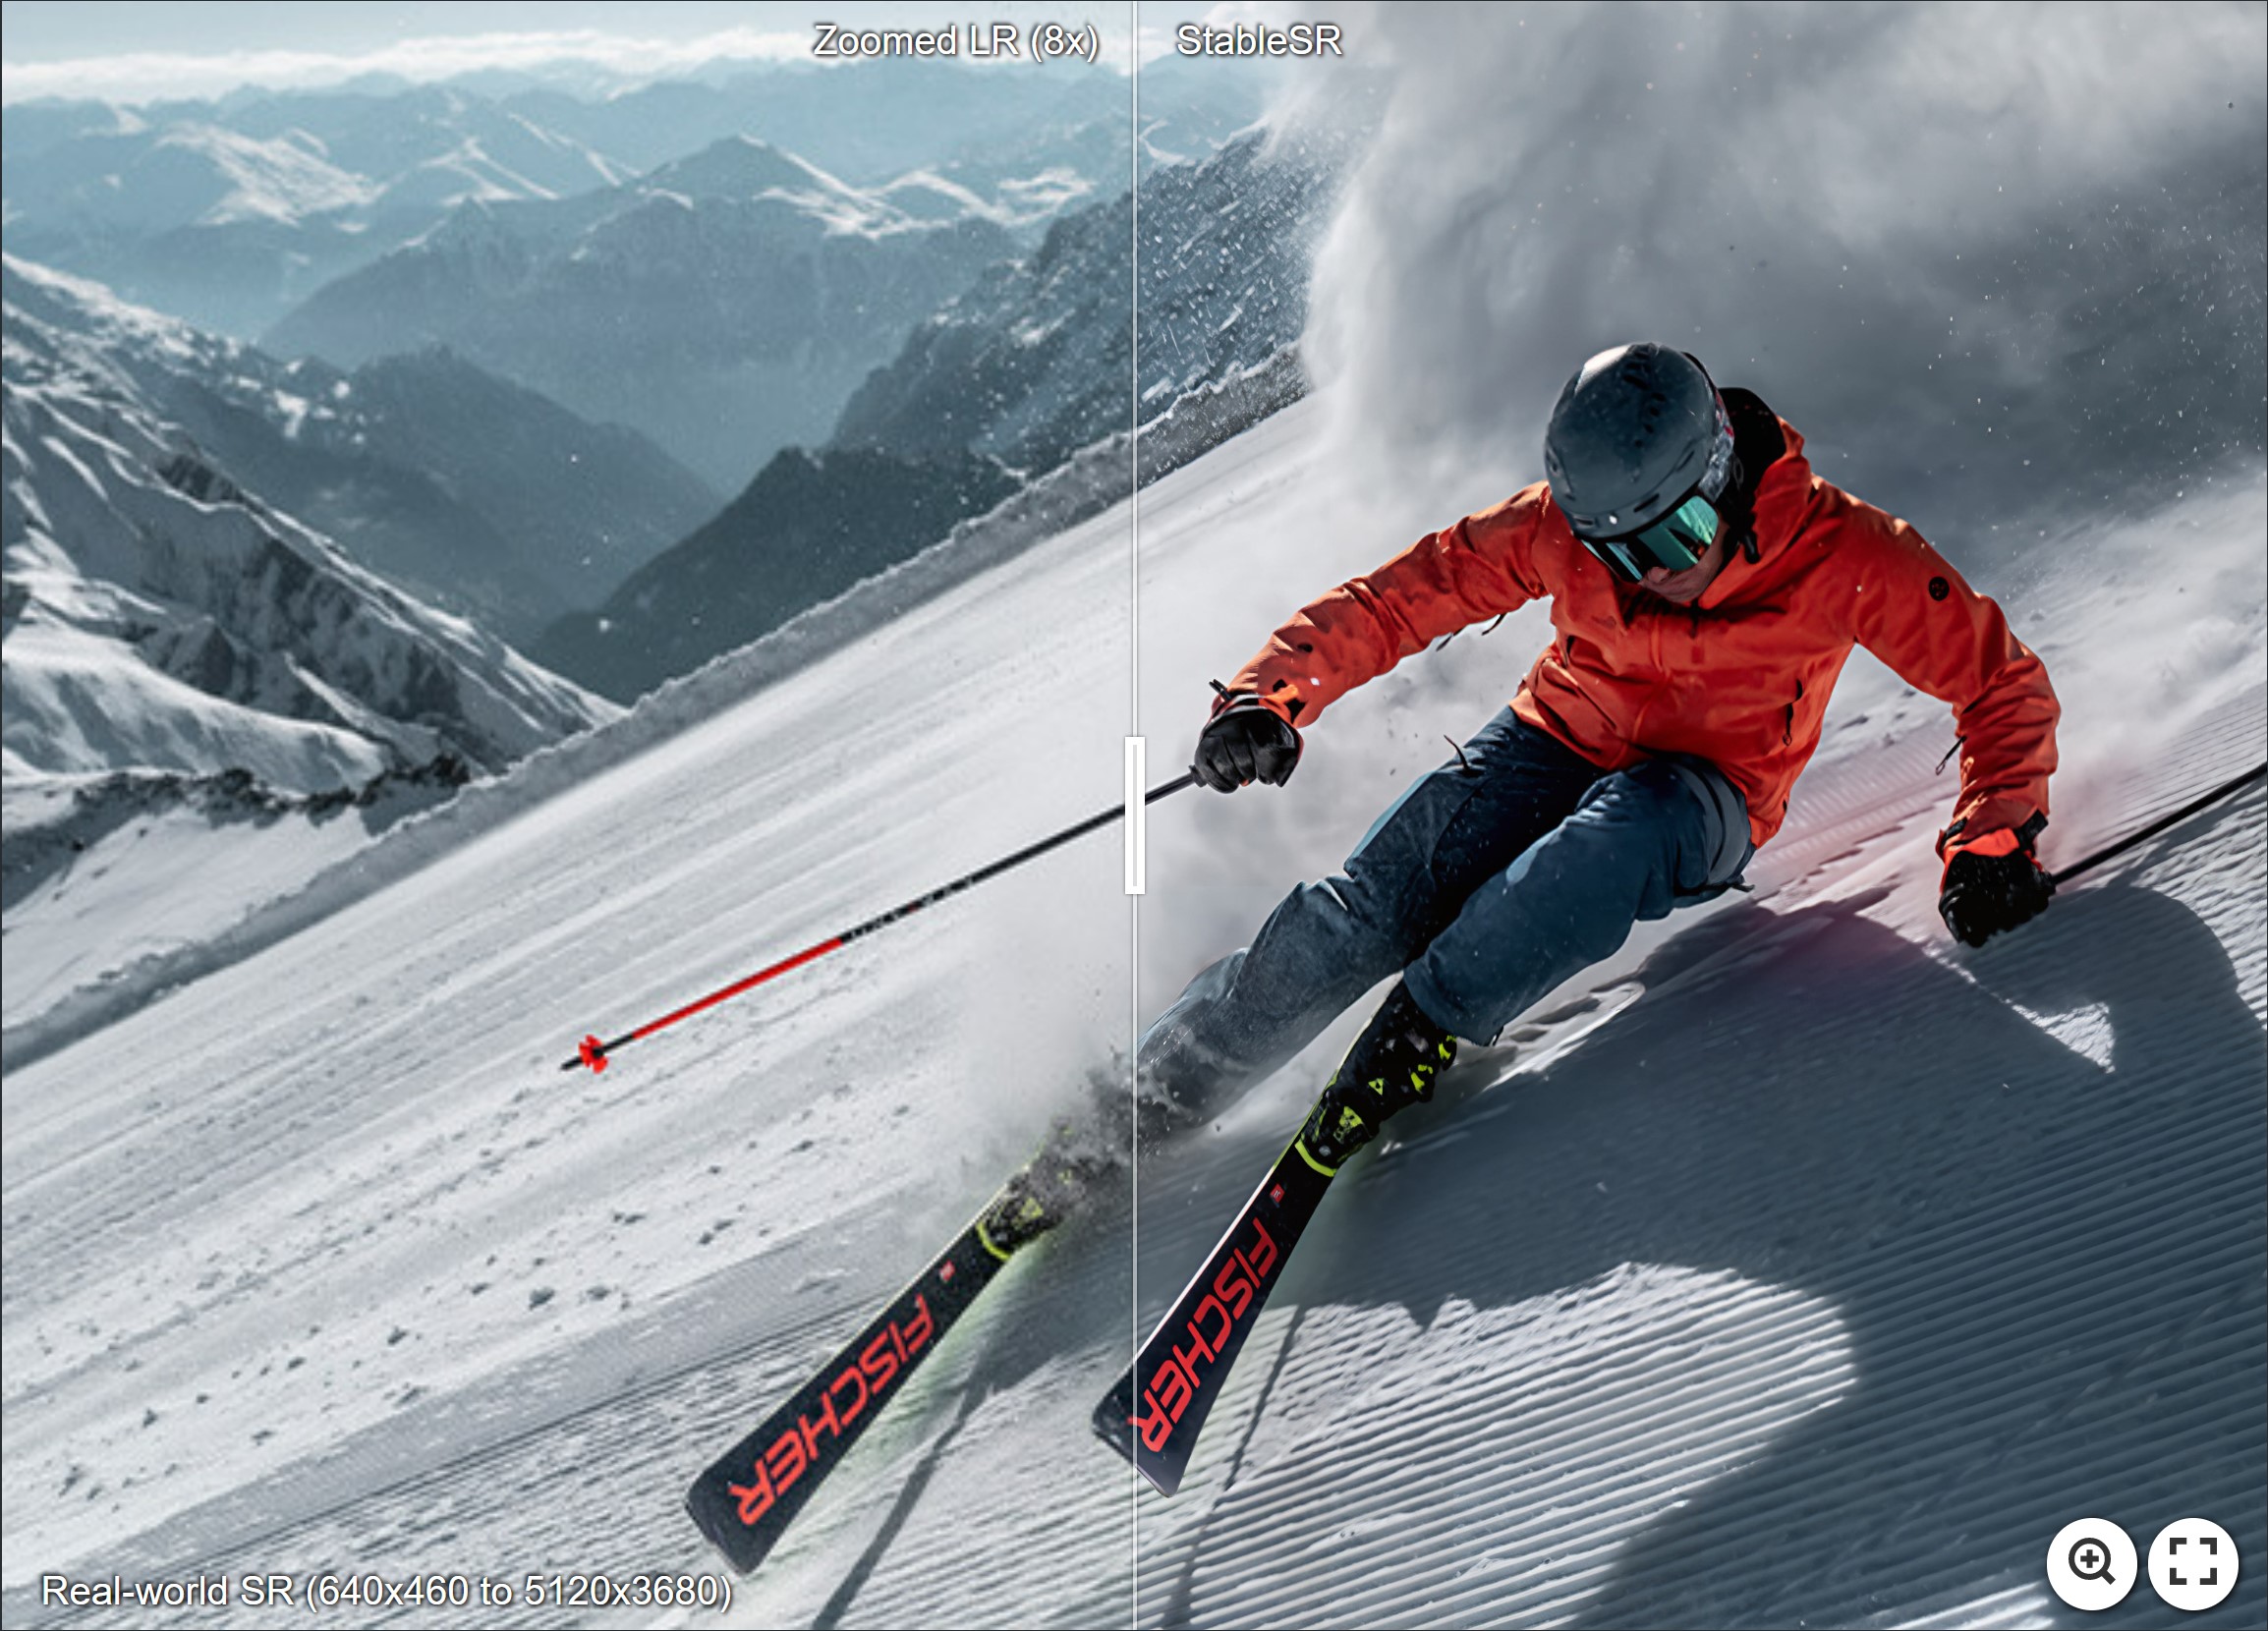
- StableSR is capable of achieving arbitrary upscaling in theory, below is a 8x example with a result beyond 4K (5120x3680). The example image is taken from here.
- We further directly test StableSR on AIGC and compared with several diffusion-based upscalers following the suggestions. A 4K demo is here, which is a 4x SR on the image from here. More comparisons can be found here.
- Pytorch == 1.12.1
- CUDA == 11.7
- pytorch-lightning==1.4.2
- xformers == 0.0.16 (Optional)
- Other required packages in
environment.yaml
# git clone this repository
git clone https://github.com/IceClear/StableSR.git
cd StableSR

# Create a conda environment and activate it
conda env create --file environment.yaml
conda activate stablesr

# Install xformers
conda install xformers -c xformers/label/dev

# Install taming & clip
pip install -e git+https://github.com/CompVis/taming-transformers.git@master#egg=taming-transformers
pip install -e git+https://github.com/openai/CLIP.git@main#egg=clip
pip install -e .
Download the pretrained Stable Diffusion models from [HuggingFace]
python main.py --train --base configs/stableSRNew/v2-finetune_text_T_512.yaml --gpus GPU_ID, --name NAME --scale_lr False
- Train CFW: set the ckpt_path in config files (Line 6).
You need to first generate training data using the finetuned diffusion model in the first stage. The data folder should be like this:
CFW_trainingdata/
    └── inputs
          └── 00000001.png # LQ images, (512, 512, 3) (resize to 512x512)
          └── ...
    └── gts
          └── 00000001.png # GT images, (512, 512, 3) (512x512)
          └── ...
    └── latents
          └── 00000001.npy # Latent codes (N, 4, 64, 64) of HR images generated by the diffusion U-net, saved in .npy format.
          └── ...
    └── samples
          └── 00000001.png # The HR images generated from latent codes, just to make sure the generated latents are correct.
          └── ...
Then you can train CFW:
python main.py --train --base configs/autoencoder/autoencoder_kl_64x64x4_resi.yaml --gpus GPU_ID, --name NAME --scale_lr False
python main.py --train --base configs/stableSRNew/v2-finetune_text_T_512.yaml --gpus GPU_ID, --resume RESUME_PATH --scale_lr False
Download the Diffusion and autoencoder pretrained models from [HuggingFace | Google Drive | OneDrive | OpenXLab].
We use the same color correction scheme introduced in paper by default.
You may change --colorfix_type wavelet for better color correction.
You may also disable color correction by --colorfix_type nofix
- Test on 128 --> 512: You need at least 10G GPU memory to run this script (batchsize 2 by default)
python scripts/sr_val_ddpm_text_T_vqganfin_old.py --config configs/stableSRNew/v2-finetune_text_T_512.yaml --ckpt CKPT_PATH --vqgan_ckpt VQGANCKPT_PATH --init-img INPUT_PATH --outdir OUT_DIR --ddpm_steps 200 --dec_w 0.5 --colorfix_type adain
- Test on arbitrary size w/o chop for autoencoder (for results beyond 512): The memory cost depends on your image size, but is usually above 10G.
python scripts/sr_val_ddpm_text_T_vqganfin_oldcanvas.py --config configs/stableSRNew/v2-finetune_text_T_512.yaml --ckpt CKPT_PATH --vqgan_ckpt VQGANCKPT_PATH --init-img INPUT_PATH --outdir OUT_DIR --ddpm_steps 200 --dec_w 0.5 --colorfix_type adain
- Test on arbitrary size w/ chop for autoencoder: Current default setting needs at least 18G to run, you may reduce the autoencoder tile size by setting
--vqgantile_sizeand--vqgantile_stride. Note the min tile size is 512 and the stride should be smaller than the tile size. A smaller size may introduce more border artifacts.
python scripts/sr_val_ddpm_text_T_vqganfin_oldcanvas_tile.py --config configs/stableSRNew/v2-finetune_text_T_512.yaml --ckpt CKPT_PATH --vqgan_ckpt VQGANCKPT_PATH --init-img INPUT_PATH --outdir OUT_DIR --ddpm_steps 200 --dec_w 0.5 --colorfix_type adain
- For test on 768 model, you need to set
--config configs/stableSRNew/v2-finetune_text_T_768v.yaml,--input_size 768and--ckpt. You can also adjust--tile_overlap,--vqgantile_sizeand--vqgantile_strideaccordingly. We did not finetune CFW.
import replicate
model = replicate.models.get(<model_name>)
model.predict(input_image=...)
You may see here for more information.
If our work is useful for your research, please consider citing:
@inproceedings{wang2023exploiting,
    author = {Wang, Jianyi and Yue, Zongsheng and Zhou, Shangchen and Chan, Kelvin CK and Loy, Chen Change},
    title = {Exploiting Diffusion Prior for Real-World Image Super-Resolution},
    booktitle = {arXiv preprint arXiv:2305.07015},
    year = {2023}
}
This project is licensed under NTU S-Lab License 1.0. Redistribution and use should follow this license.
This project is based on stablediffusion, latent-diffusion, SPADE, mixture-of-diffusers and BasicSR. Thanks for their awesome work.
If you have any questions, please feel free to reach me out at iceclearwjy@gmail.com.


