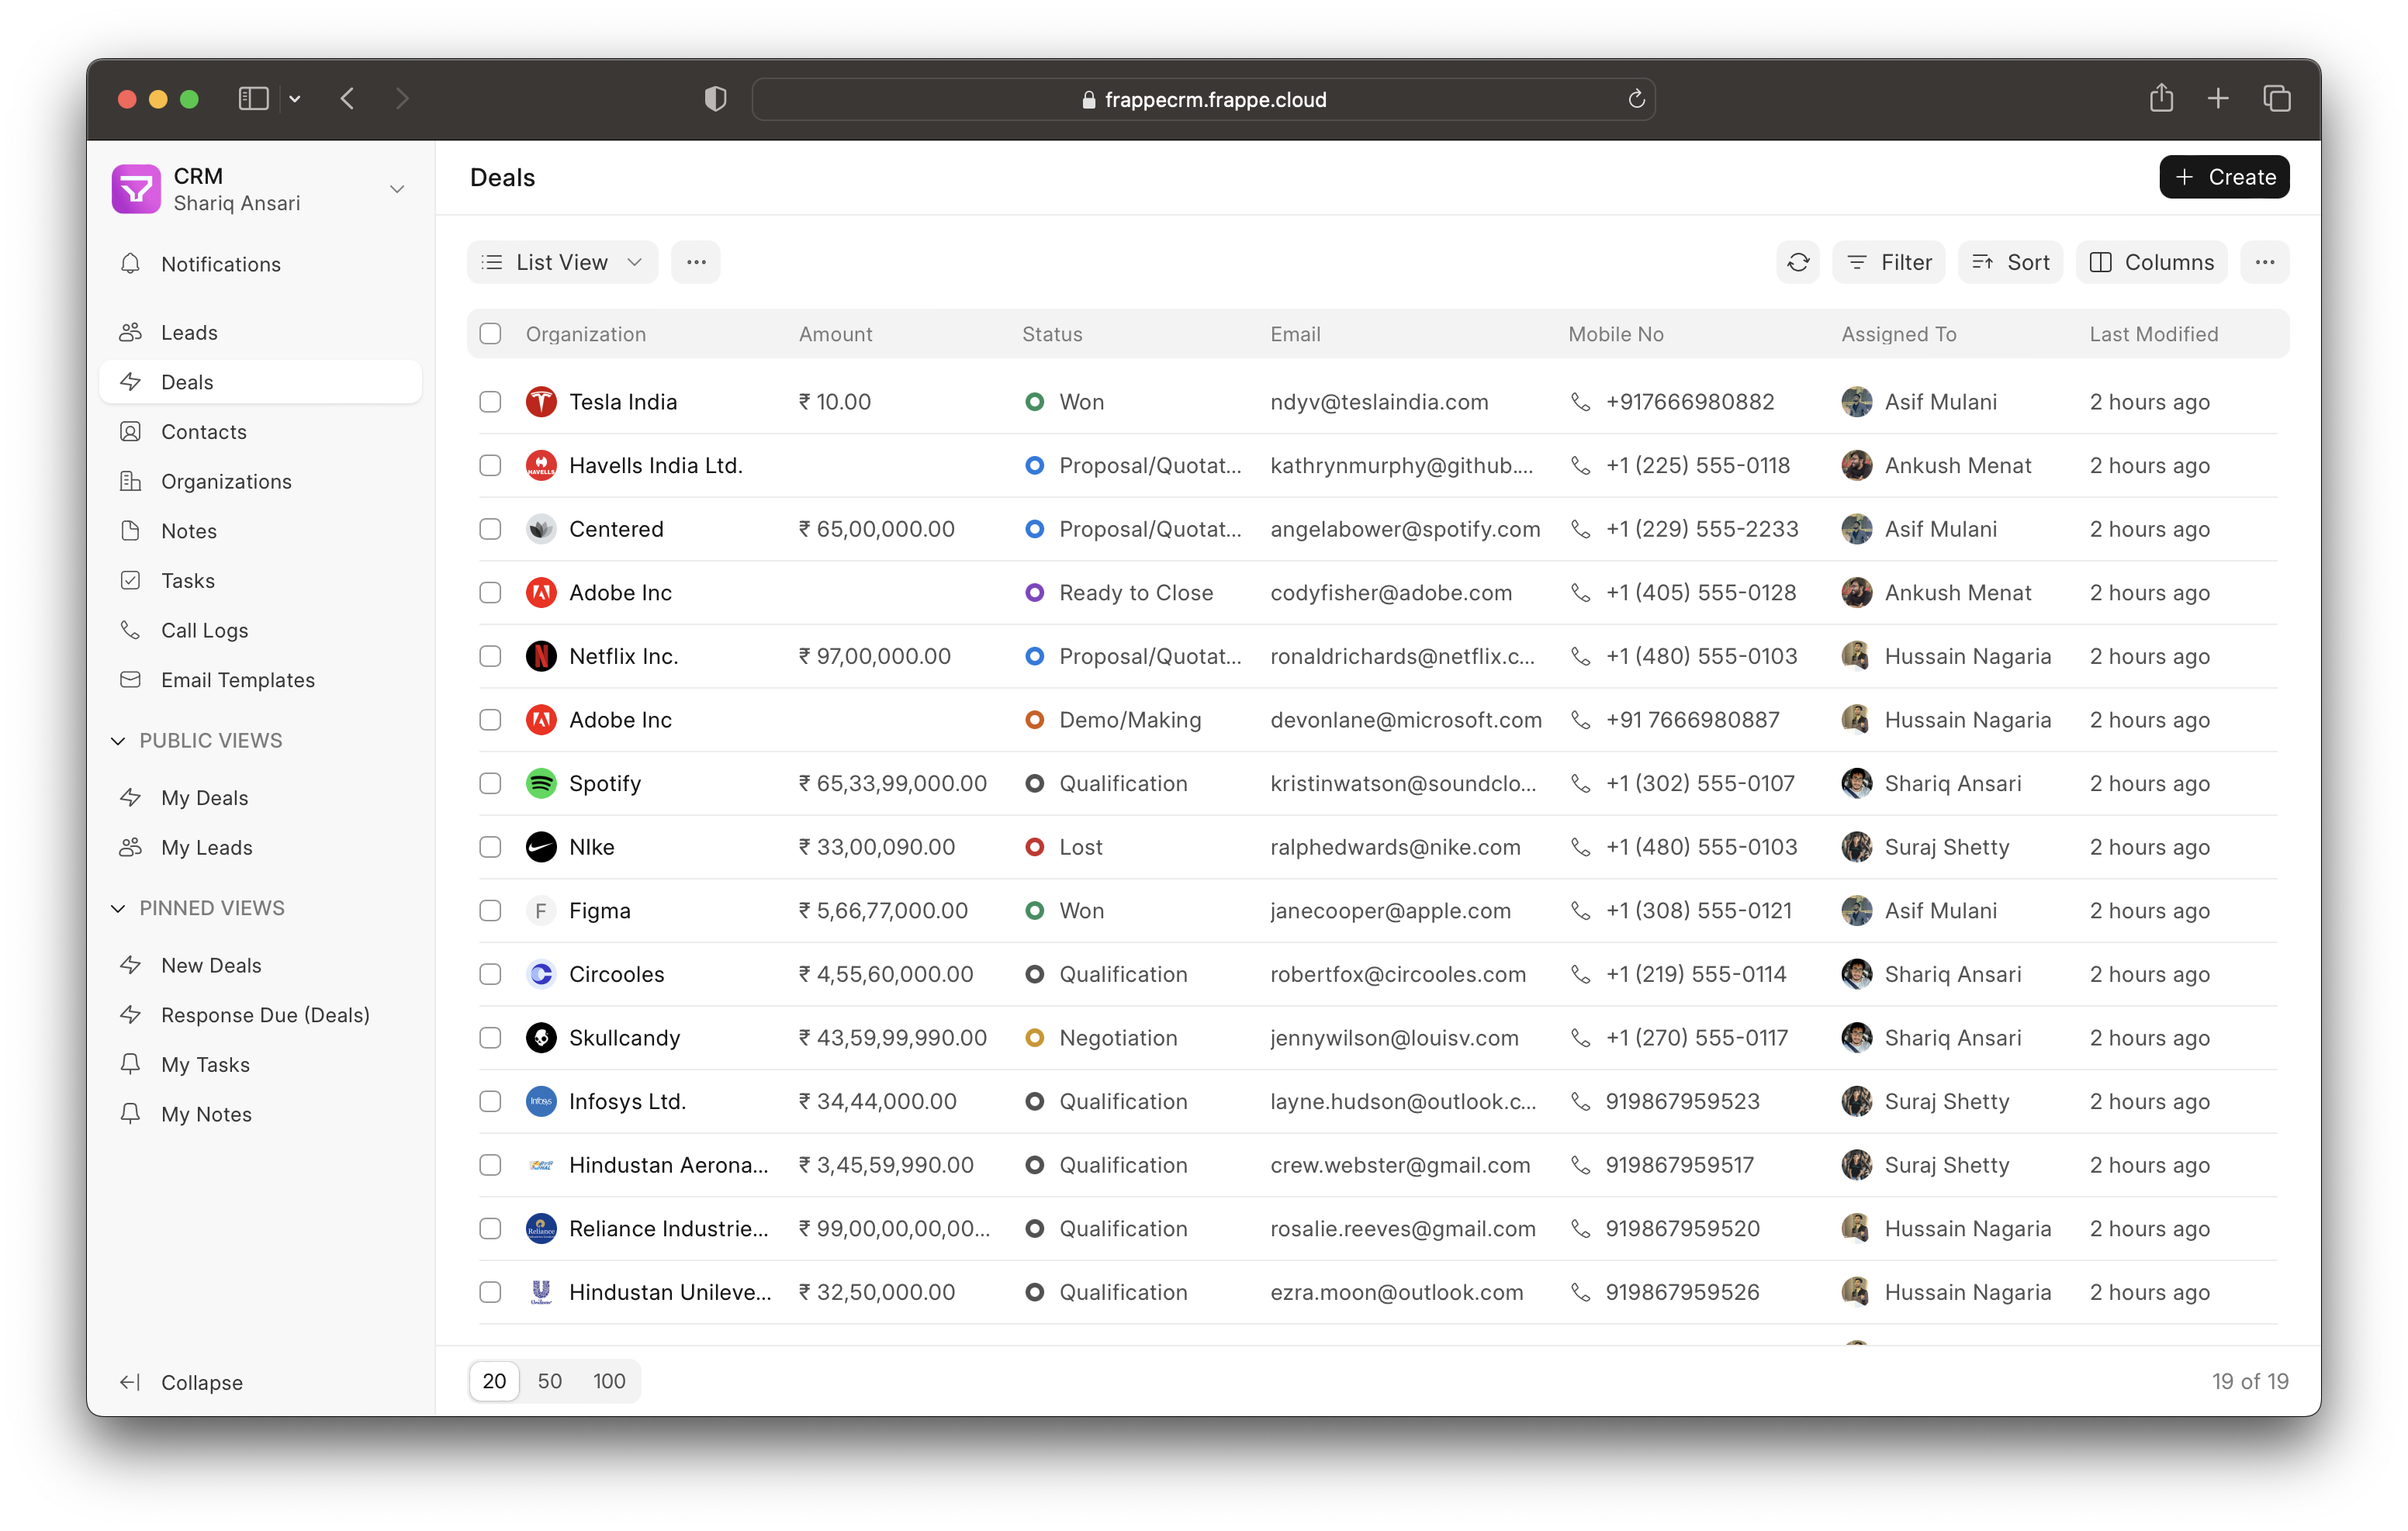
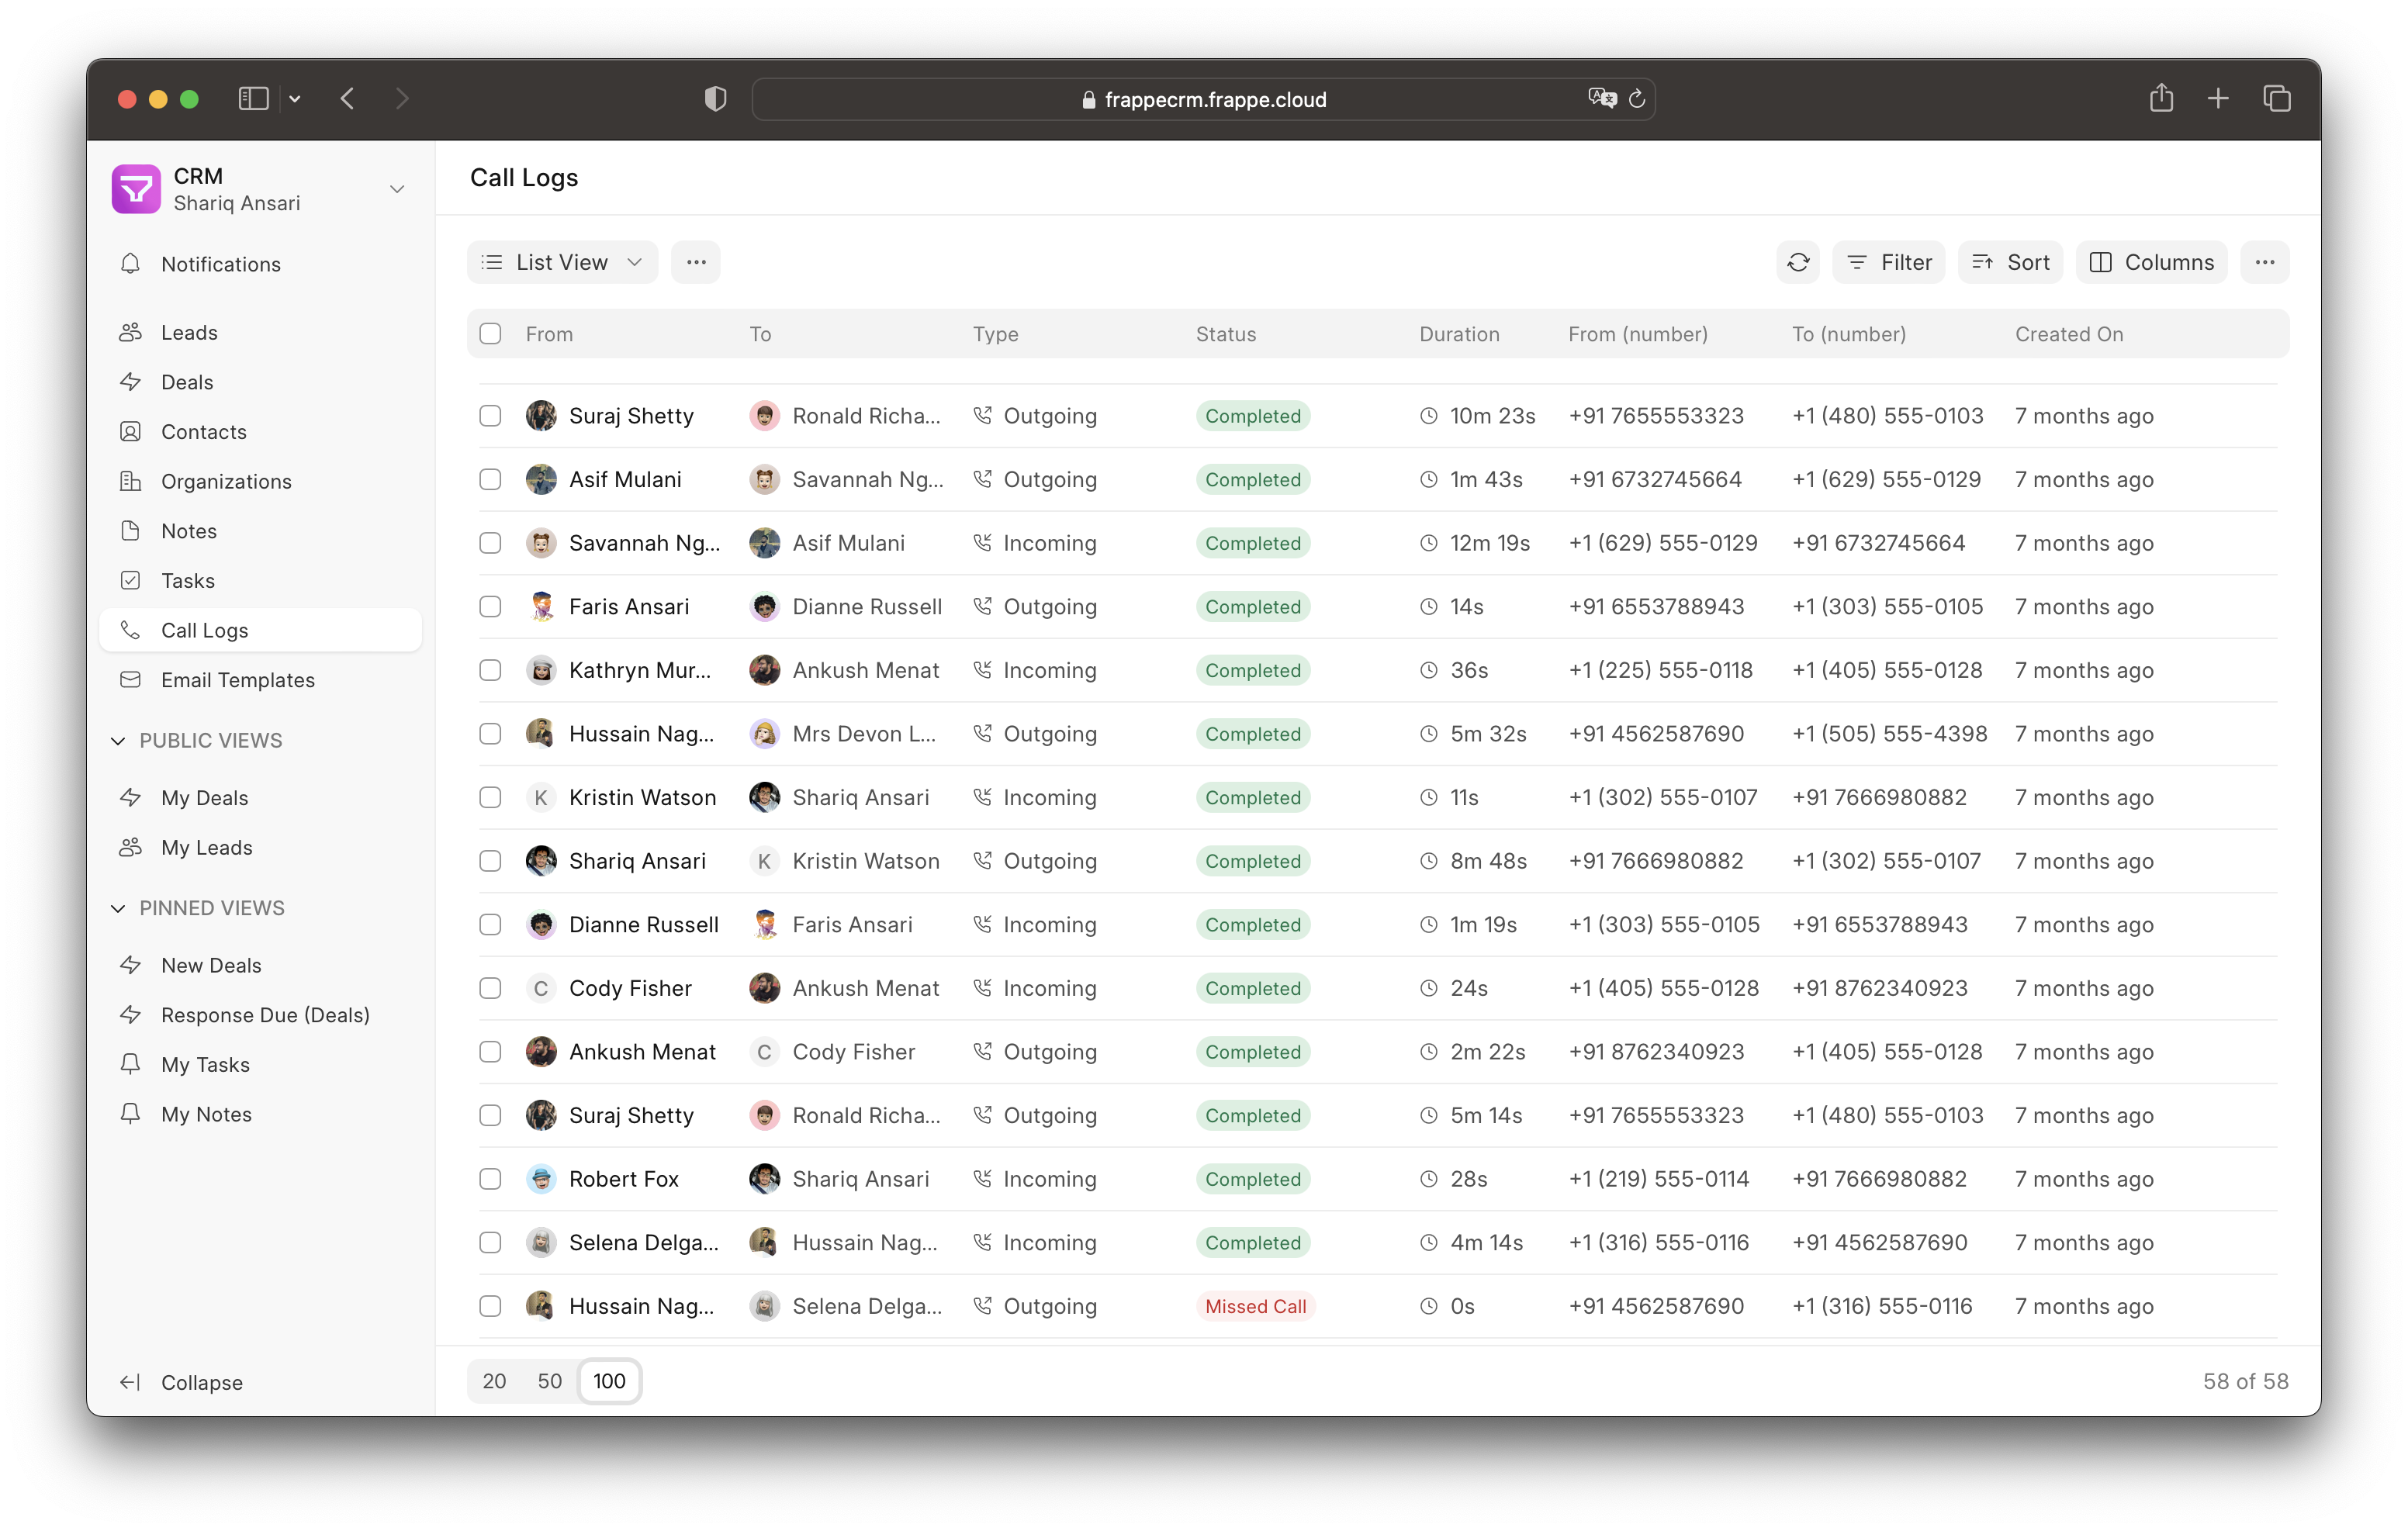
- Views: Create custom views which is a combination of filters, sort and columns.
- Pinned View: Pin important leads and deals in the sidebar.
- Public View: Share views with all users.
- Saved View: Save views for later use.
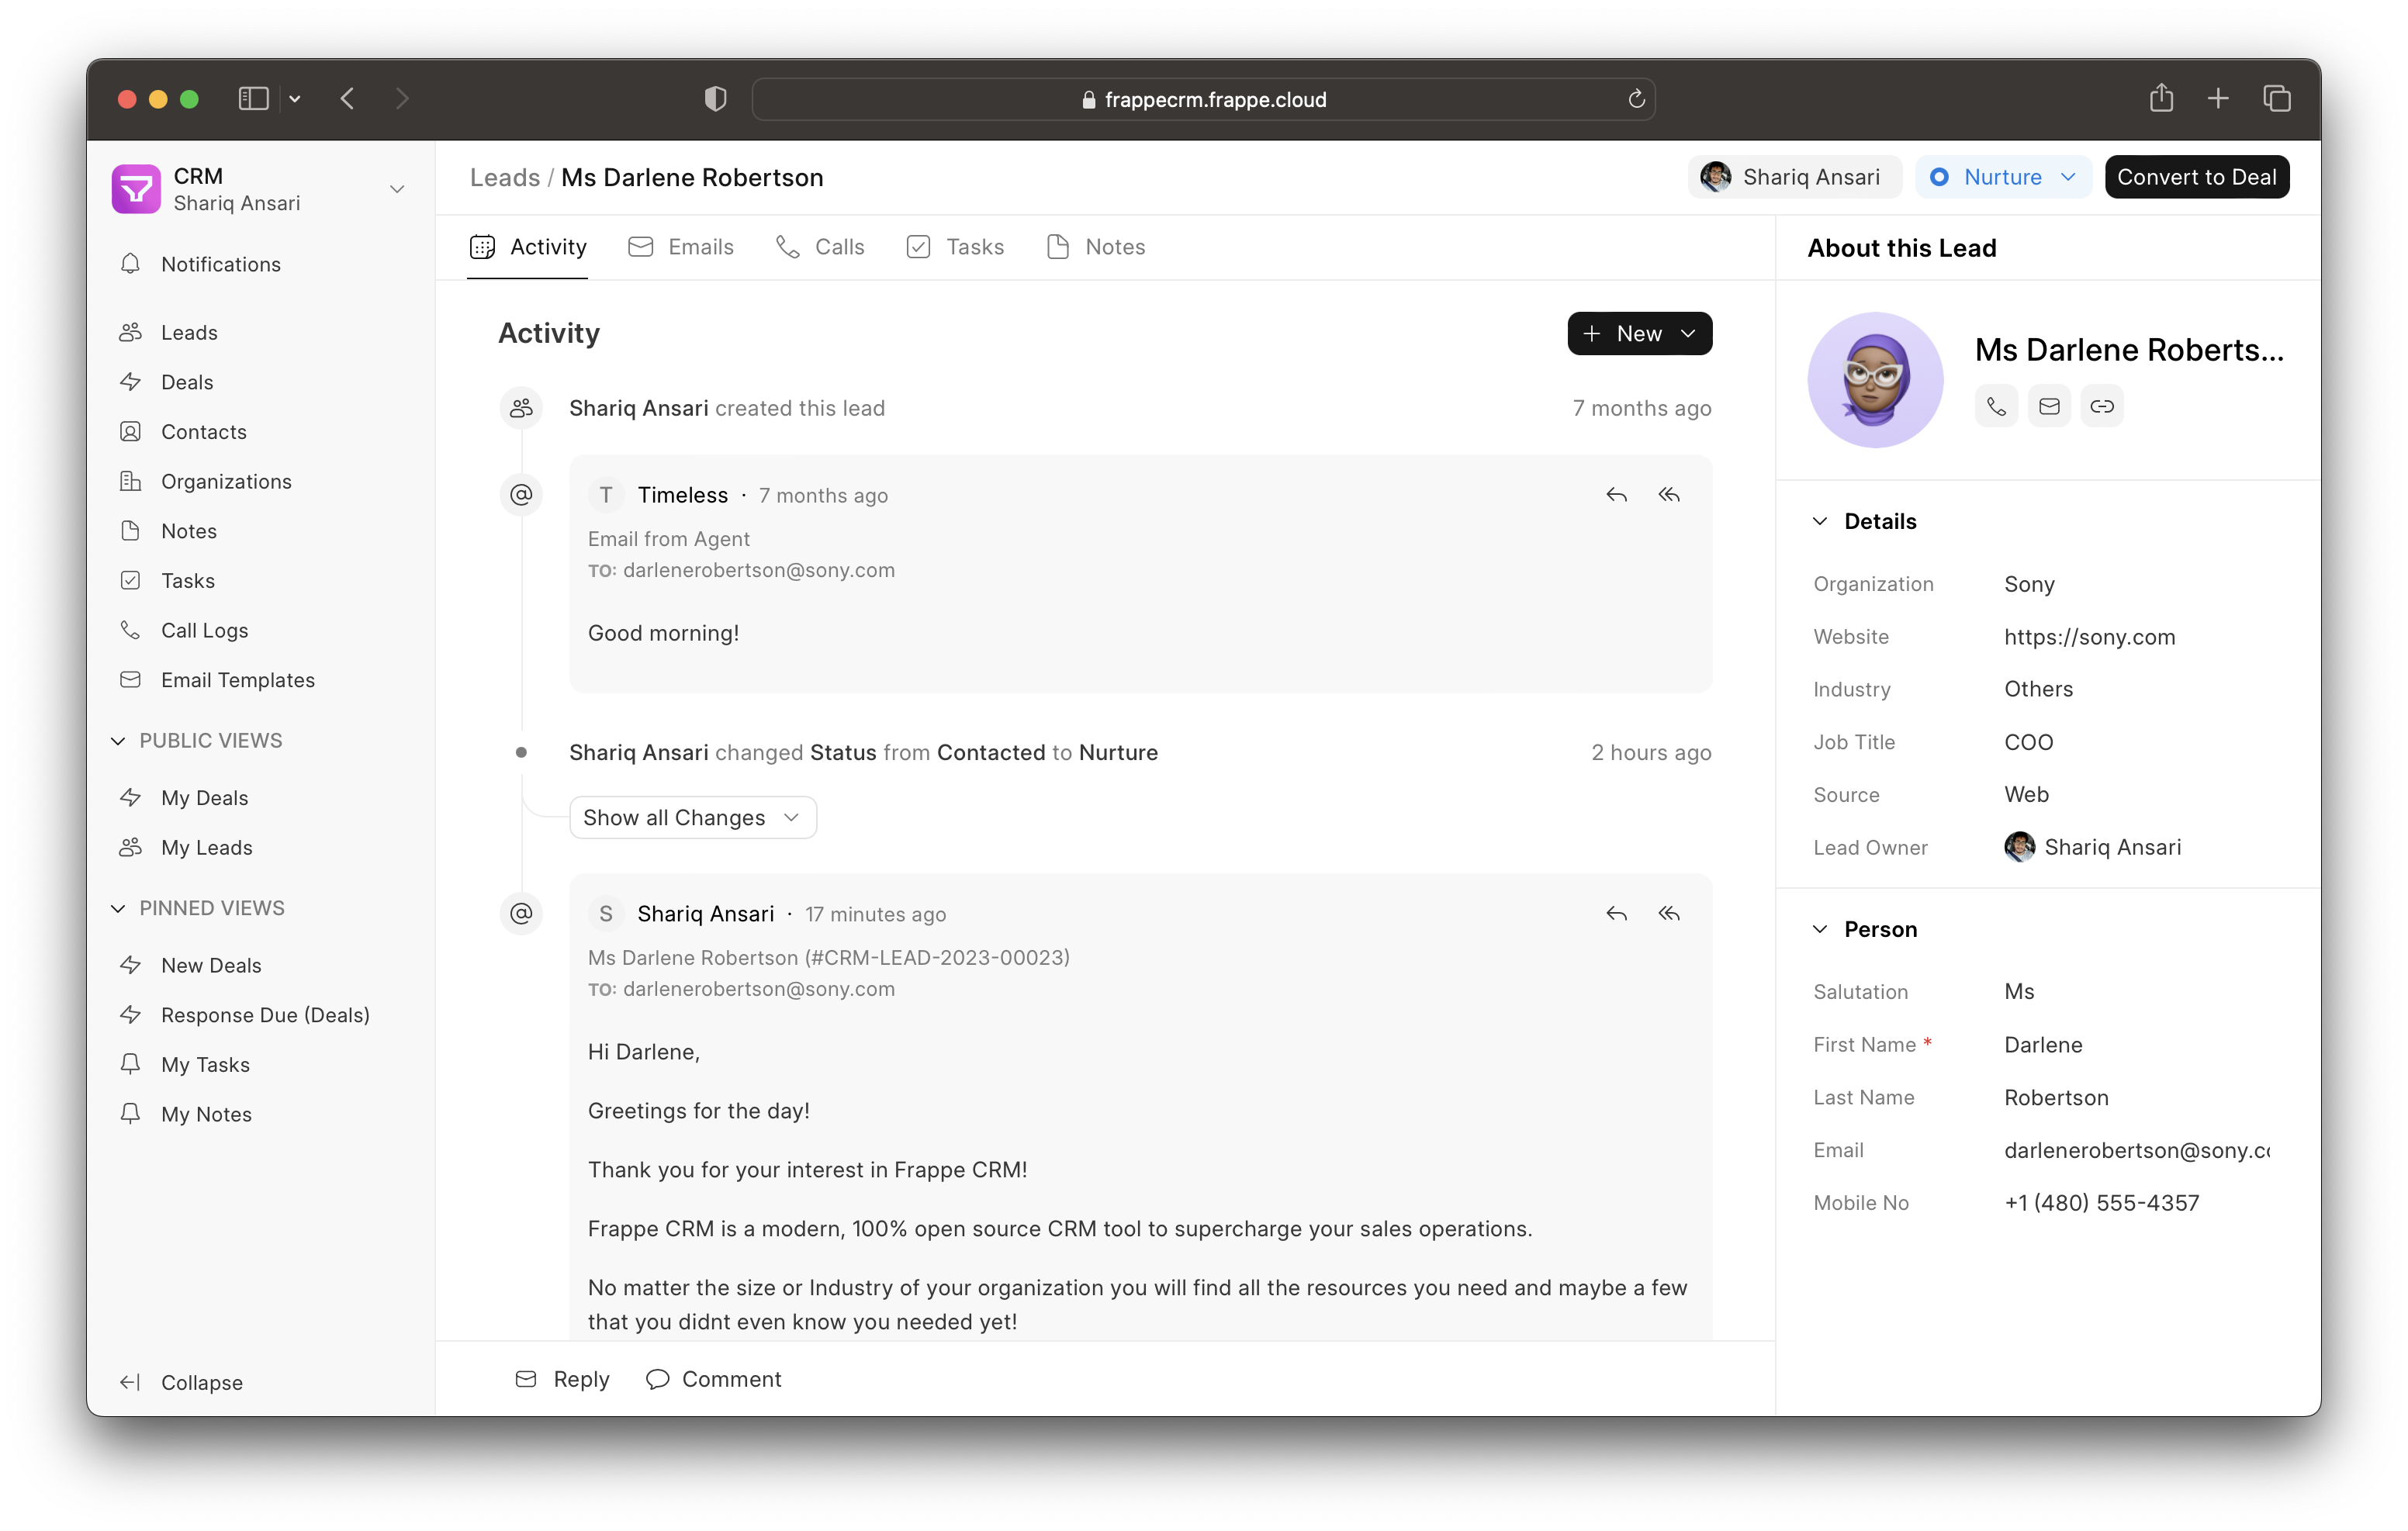
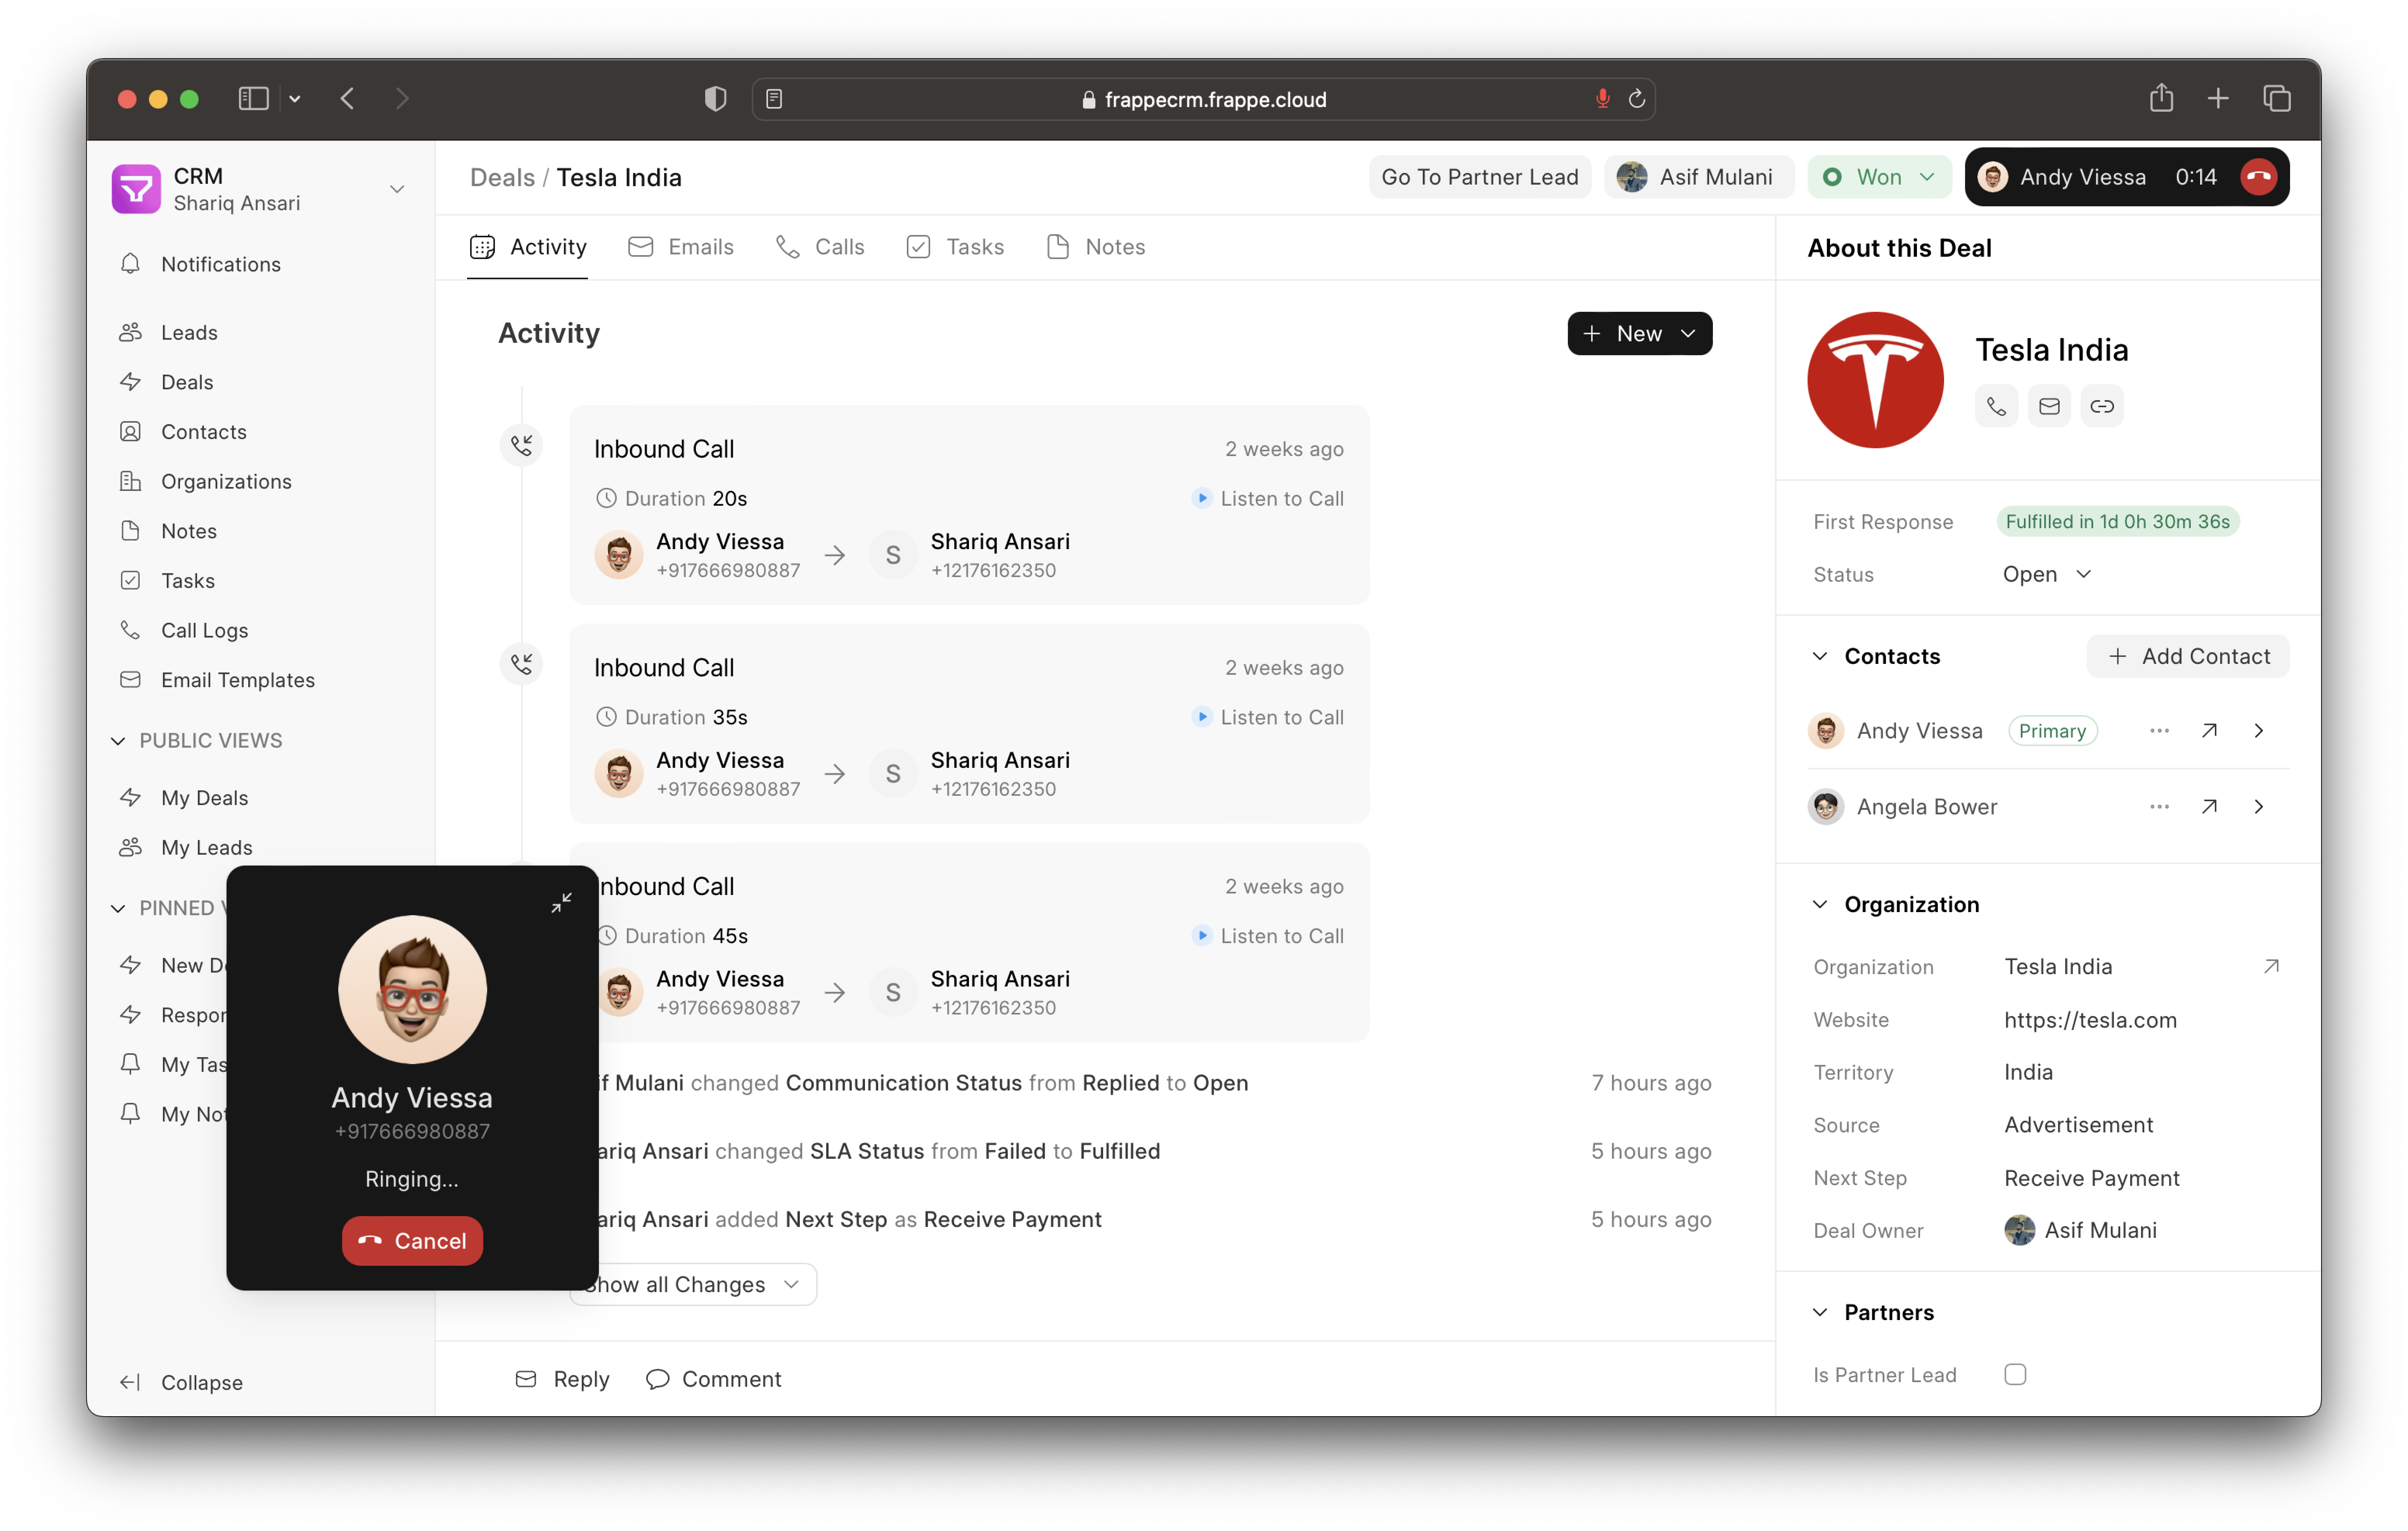
- Email Communication: Send and receive emails directly from the Lead/Deal Page.
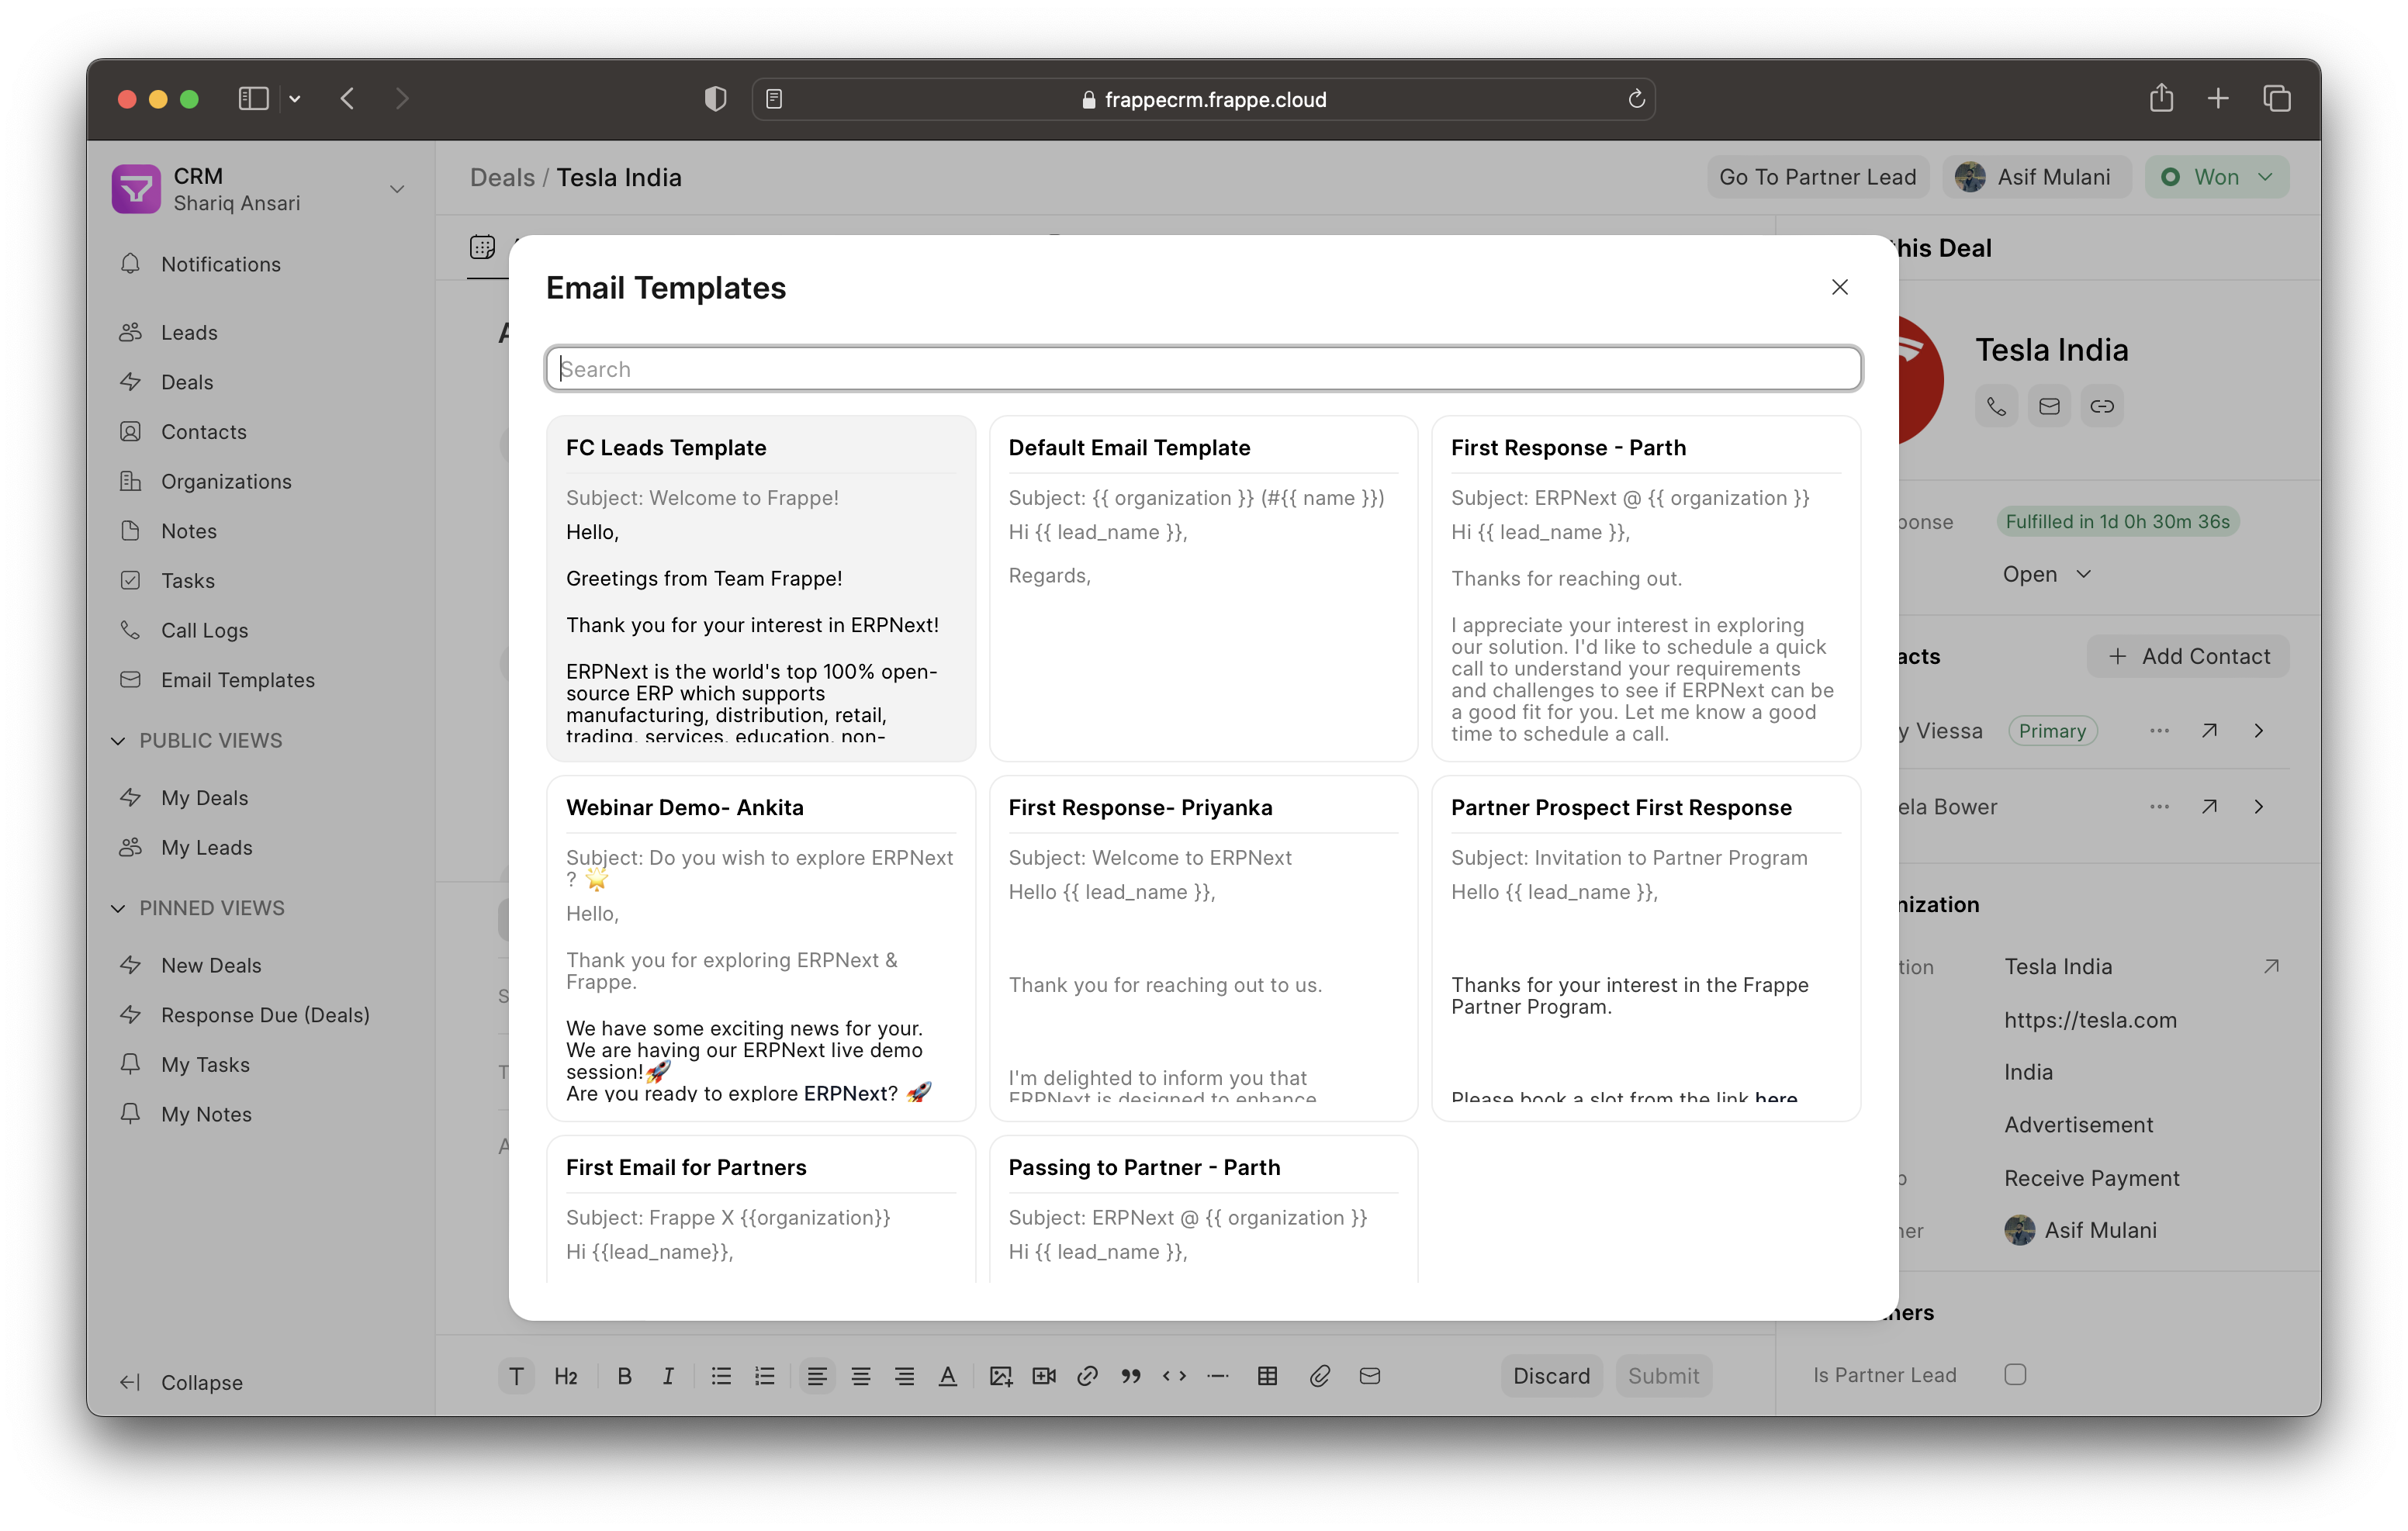
- Email Templates: Create and use email templates for faster communication.
- Comments: Add comments to leads and deals to keep track of the conversation.
- Notifications: Get notified when someone mentions you in a comment.
- Service Level Agreement: Set SLA for leads and deals and get notified when the SLA is breached.
- Assignment Rule: Automatically assign leads and deals to users based on the criteria.
- Tasks: Create tasks for leads and deals.
- Notes: Add notes to leads and deals.
- Call Logs: See the call logs with call details and recordings.
- Twilio Integration: Integrate Twilio to make and receive calls from the CRM.
Get started with your personal or business site with a few clicks on Frappe Cloud.
If you prefer self-hosting, follow the official Frappe Bench Installation instructions.
- Open this link and click on "Create Codespace".
- Wait for initialization (~15 mins).
- Run
bench startfrom the terminal tab. - Click on the link beside "8000" port under "Ports" tab.
- Log in with "Administrator" as the username and "admin" as the password.
- Go to
<random-id>.github.dev/crmto access the crm interface.
- Install Bench.
- Install Frappe CRM app:
$ bench get-app crm
- Create a site with the crm app:
$ bench --site sitename.localhost install-app crm
- Open the site in the browser:
$ bench browse sitename.localhost --user Administrator
- Access the crm page at
sitename.localhost:8000/crmin your web browser.
Join our telegram group for instant help.
Check out the official documentation for more details.
