This guide is designed to walk workshop participants through the various steps of modeling a Power Automate workflow that communicates with Anthology Student and Microsoft Teams. By the completion of the workshop, participants will have a functional Power Automate workflow that can be initiated via an HTTP Trigger ( which can be invoked via the Anthology Student Workflow Engine). This workflow will accept parameters that are used to query Anthology Student and initiate a approval workflow that notifies a user via Microsoft Teams, prompts for their approval or disapproval, and then updates Anthology Student accordingly.
In order to participate in this workshop participants will need an Azure tenet with Power Automate and Microsoft Teams. Participants will also need software (either command line or other) capable of sending HTTP POST request to URLs. We will be using Postman thoughout this guide.
We will start by creating a very simple flow with an HTTP Trigger and a single action that will post a message to Microsoft Teams. We are going to keep this flow purposely simple. We will be adding complexity incrementally throughout the workshop.
- In your browser navigate to https://make.powerautomate.com
- Login using your credentials
- Mouseover
New flowand then chooseInstant Cloud Flow - Name your flow "AT23 Document Approval"
- Select the
When an HTTP request is receivedtrigger - Click
Create
- Click
New Step - Enter in
post messagein the search box - Select the Microsoft Teams action named
Post message in chat or channel
- Select
Flow botfrom theChoose Postfield - Select
Chat with Flow botin thePost infield - Enter in your tenet email address in the
Recipientfield (Use a recepient in your sandbox or target environment) - Enter
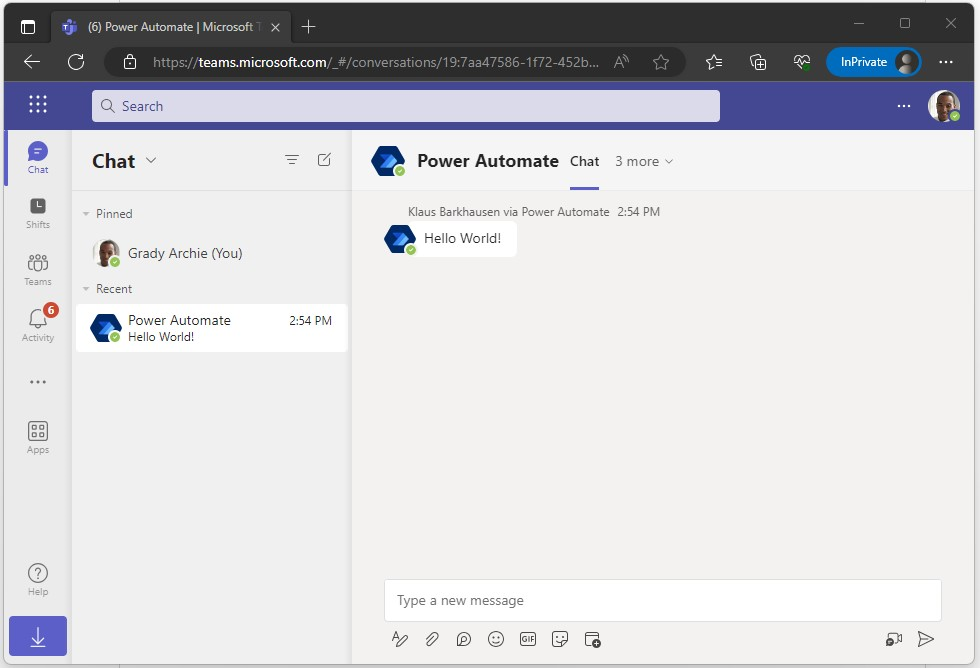
Hello World!in theMessagefield.
- Open up the
When an HTTP request is receivedstep - Show
advanced optionsand change theMethodfield toGET
- Save your flow
- Copy the URL from the
HTTP Trigger - Test your flow by clicking on
Test, choosingManually, and then clickingTest - Open a browser tab, paste in the HTTP URL and hit enter
- Verify that you received a chat message in Teams
- Verify that your flow completed successfully
Now we're going to make a simple change to our flow. Testing it will be a bit more complicated because we'll be making an HTTP Post instead of a simple GET. Thus, we need a tool like Postman to test it. If you don't have Postman installed, you'll want to do that first.
- Click
Editto open up the flow. - Expand the
When an HTTP request is receivedtrigger - Go to the
advanced optionsand change themethodfield to POST. - In the
Request Body JSON Schemafield enter in the following:
{
    "type": "object",
    "properties": {
        "message": {
            "type": "string"
        }
    }
}- Expand the
Post a message in chat or channelaction - Remove
Hello World!from the field - Select the
messageparameter
- Save the flow
- In Postman (or a tool of your choice) pastie the URL and choose
POSTas the method.
- Select the
Bodytab in the Postman request and choose therawcontent type. - Past in the following JSON:
{
    "message": "Hello from Anthology Together 2023!"
}- Back in Power Automate, manually Test your flow
- In Postman click
Send - Verify that you received a chat message in Teams that says
Hello from Anthology Together 2023! - Verify that your flow completed successfully
Now we are going to add a simple approval to the flow. The idea is to get the basic flow in place before we complicate things with Anthology Student API calls.
- Click
Editto open the flow in the designer - Click
+ New step - Enter
approvalin the search box - Select
Start and wait for approval
- Select
Approve/Reject - First to respondin theApproval typefield - Enter
Approval Requestedin theTitlefield - Enter your email address in the
Assigned tofield - Enter
Approval Required ASAPin theDetailsfield
- Save the flow
- Test your flow, but this time choose
Automaticallyand selectWith a recently used trigger - Choose the most recently used successful trigger
- Check Microsoft Teams for the approval and approve
- Verify that the flow completed successfully
While the approval flow works as is, we're next going to add flow control to notify a user as to the outcome of the approval.
- Click
Editto open the flow in the designer - Click
+ New step - Select
Controland then selectCondition
- Select
Outcome,is equal toand SelectApprovefor the value
- Scroll down to the
Yescondition and clickAdd an action - Choose Teams and then select
Post message in chat or channeljust like we did previously.
- Use the same configuration for this step as well, except in the
Messagefield selectResponse summaryand then enter in the textAPPROVAL COMMENTSand selectResponses Comments
- Repeate step #7 for the
Nocondition and apply the same configuration as you did forYesexcept in theMessagefield replaceAPPROVAL COMMENTSwithREJECTION COMMENTS
- Save the flow
- Test your flow, but this time choose
Automaticallyand selectWith a recently used trigger - Choose the most recently used successful trigger
- Check Microsoft Teams for the approval and approve/reject adding a comment
- Verify that you received a Teams message with the correct accept/reject message
- Verify that the flow completed successfully
We now have a basic flow with an HTTP trigger, an debug notification, an approval workflow, and a notification of the outcome of that workflow. We will now begin to add API calls to Anthology Student via a Connector.
- Navigate to
Data>Custom Connectors - Click
+ New custom connector>Import an OpenAPI file - Name the custom connector
AT23 Anthology Studentand import the OpenAPI file from anthology-student-connector.json
-
Accept all of the defaults on the import wizzard and click the check at the top of the screen to save the custom connector
-
Once it is saved, click "Close" to exit this connector
Now that we have defined a Connector, we need to configure a Connection based on this connector.
-
Navigate to
Data>Custom Connectors -
Click
+next to theAT23 Anthology Studentconnector
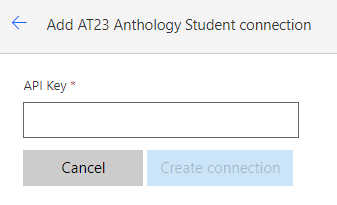
- Copy and paste the following value in the
API keyinput field
ApplicationKey eyJDYWxsaW5nQXBwTmFtZSI6IktsYXVzIiwiS2V5VmFsdWUiOiJPZ2RjYnRiTUJCblhQWElTUldiNlJRPT0ifQ==
- Click
Create Connection
Before we can invoke the Anthology Student APIs we need to login to Anthology Student and create a test document.
- Navigate to https://sisclientweb-900188.campusnexus.dev
- Login using the credentials you were provided
- When prompted to select a default campus select the
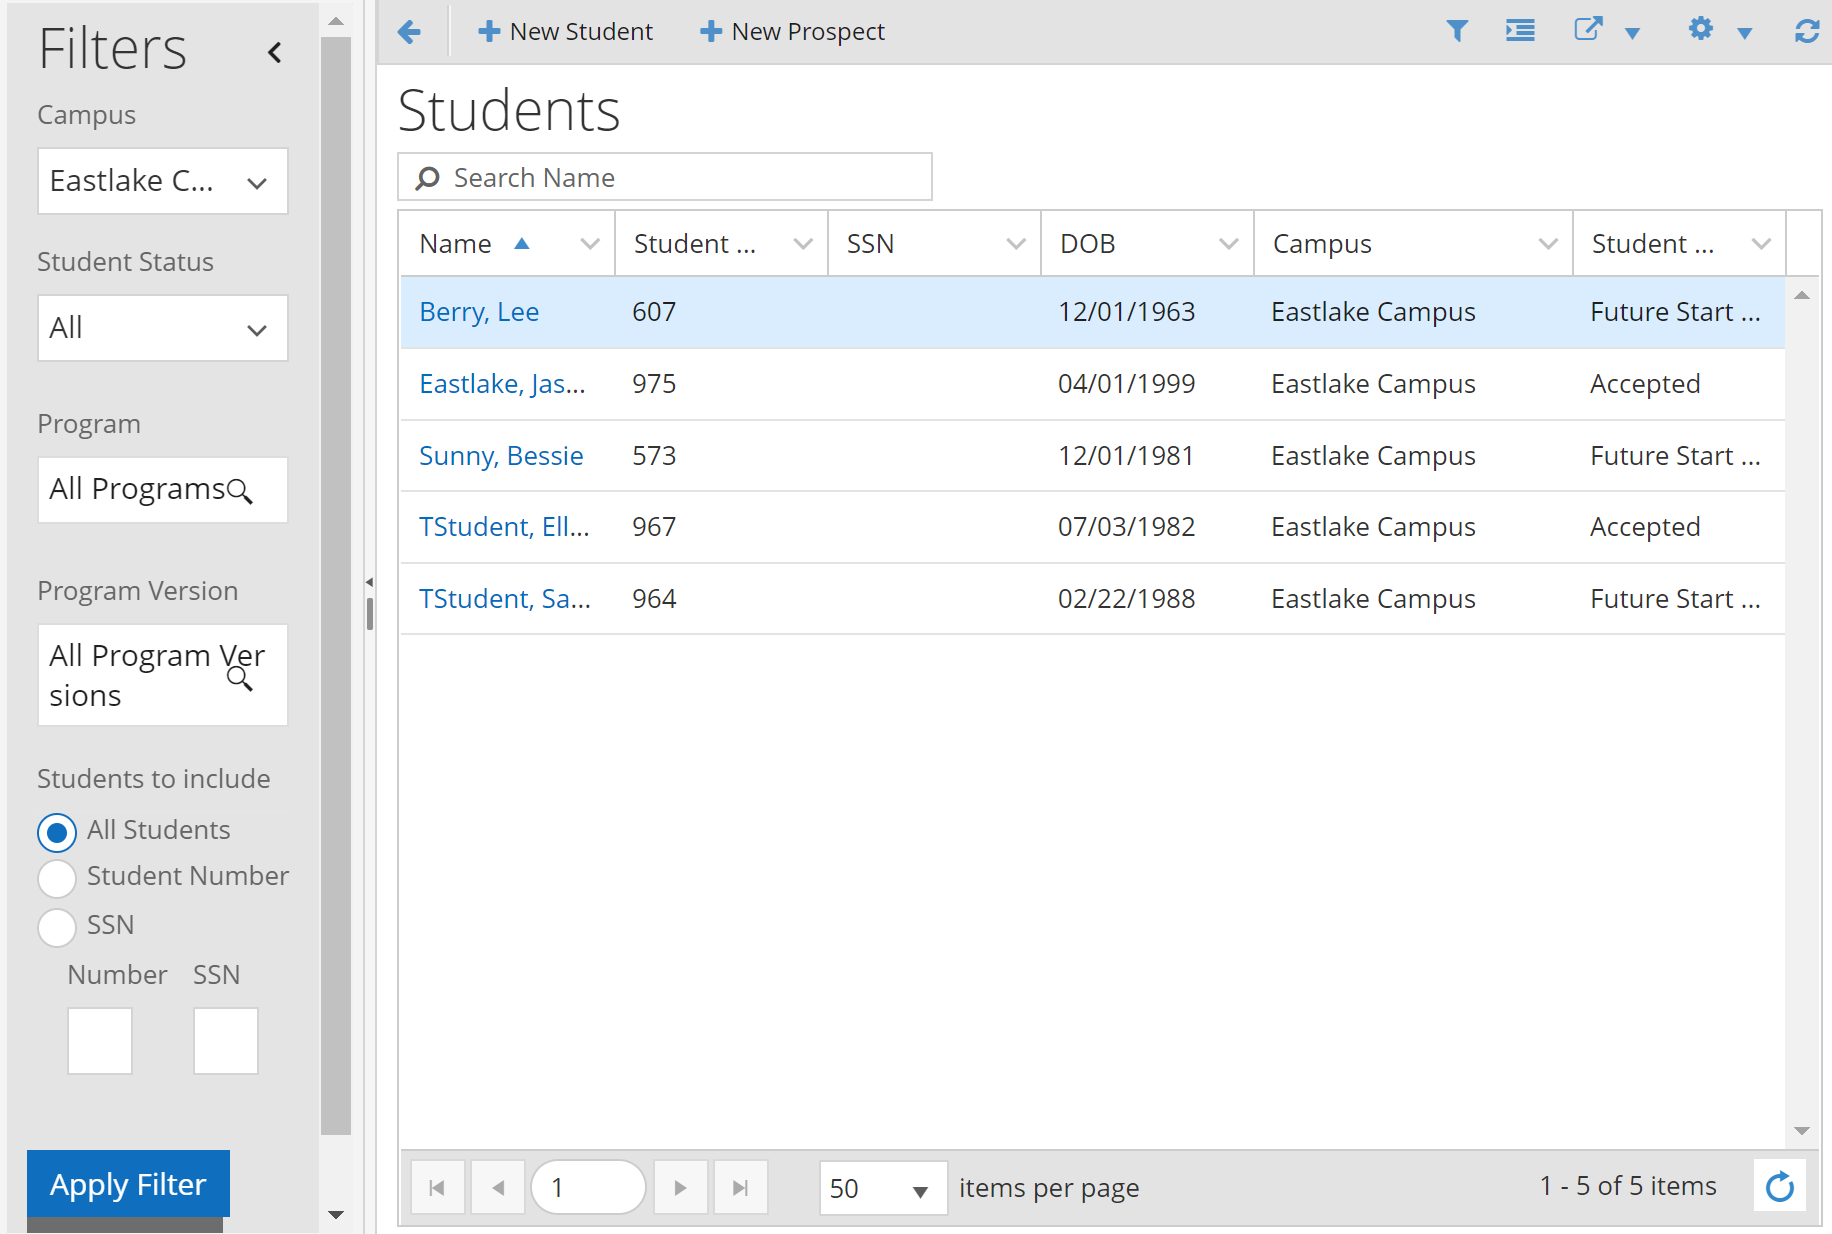
Eastlakecampus - avigate to the
StudentList.
- Select any student in the list
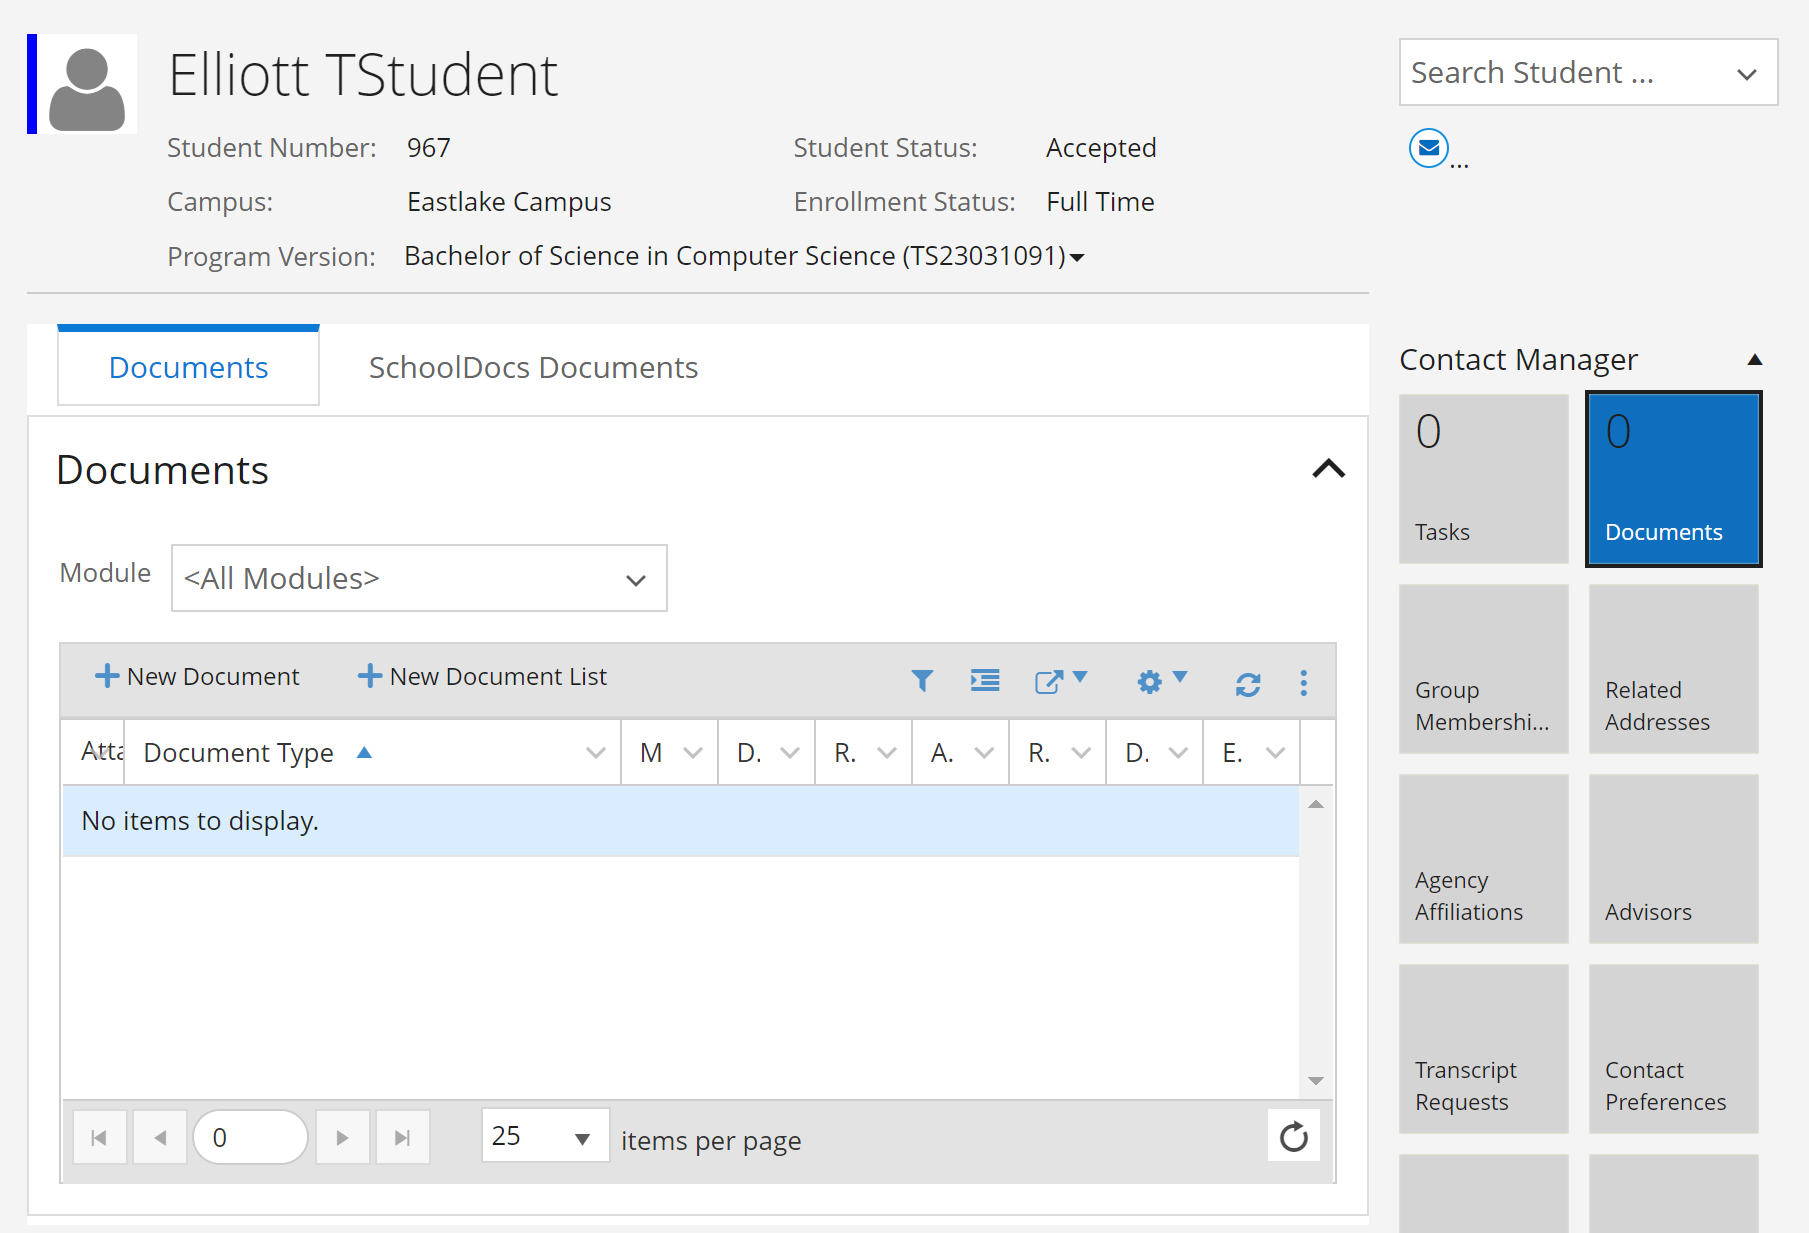
- In the
Student ProfileexpandContact Managerand selectDocuments
- Click
+ New Document - Select
Systemfor the value of theModulefield - Select
AT23 Documentfor the value of theDocumentfield - Accept the defaults for all other fields
- Click
Save - Expand the URL and make note of the Student and Document Ids
Having setup our test data in Anthology Student, we can now start to add the actions to invoke Anthology Student APIs. First, however, we need to modify the JSON schema so that we can use the input parameters in our flow and test to make sure the parameters are being properly posted.
- Edit the flow, and then expand the
When a HTTP request is receivedtrigger - Remove the
messageparameter from theJSON Schema. - Add two new properties to the
JSON Schema: AnintegernamedstudentIdand anintegernameddocumentId.
Your completed JSON Schema should look like this:
{
    "type": "object",
    "properties": {
        "studentId": {
            "type": "integer"
        },
        "documentId": {
            "type": "integer"
        }
    }
}- Update the
Post message in chat or channelaction to remove themessagefrom theMessagefield. - Save the flow (this is required for us to access the new parameters)
- Update the
Messagefield to include the new parameters we added to theJSON Schema,studentId, anddocumentId.
- Save the flow
- Since we changed the
JSON Schemawe need to go back toPostmanand update the request body to include those fields. Use the values from Anthology Student that you made note of above
- Test the flow
Manually(because the posted data has changed) and submit the API call via Postman to initiate the HTTPPOST - Verify that the message you received in Microsoft Teams includes the appropriate
studentIdanddocumentId - Verify that the approval flow works as it did previously
Now that the JSON schema has been updated and tested, we can add Anthology Student API calls which will make use of these parameters.
- Insert a new step after the
Post message in chat or channelaction - Select
Customand then choose theAT23 Anthology Studentconnector - Select the
Get Student By Idoperation
- Select the
studentIdparameter for theidfield
- Insert a new step after the
Get Student By Idaction - Select
Customand then choose theAT23 Anthology Studentconnector - Select the
Get Documentoperation
- Select the
documentIdparameter for theidfield
- Save the flow
- Verify it looks like this:
Having added Anthology Student API calls to the flow, we now need to ensure that they really work. We'll start with some simple variables which will be populated from the returned API data. We'll then use these variables in the Microsoft Teams approval workflow.
- Click
Insert a new stepafter theGet Documentstep - Type in
varin the search box and then selectInitialize variable
- Enter
URLin theNamefield - Select
stringin theTypefield - Enter
https://sisclientweb-900188.campusnexus.dev/in theValuefield
- Repeat the above instructions to add a new
Initialize variablestep below theURLvariable - Enter
Linkin theNamefield - Select
stringin theTypefield - Use the
URLvariable, thestudentIdparameter, and thedocumentIdparameter to construct the link to the Student Document in Anthology Student.
- Repeat the above instructions to add a new
Initialize variablestep below theLinkvariable - Enter
Namein theNamefield - Select
stringin theTypefield - In the value field enter the following expression:
concat(body('Get_Student_By_Id')['payload/data']['FirstName'],' ',body('Get_Student_By_Id')['payload/data']['LastName'])- Expand the
Start and wait for approvalstep - Update the
Detailsfield to include theNamevariable - Update the
Item linkfield with theLinkvariable - Update the
Item link descriptionfield with the textGo to student document
- Save the flow
- Test your flow
Automaticallyand selectWith a recently used trigger - Choose the most recently used successful trigger
- Verify that the approval request includes the appropriate values from the Anthology Student API requests
Now we get to close the loop! Based on the result of the approval, we are going to update Anthology Student via the API to change the status of the document.
- Expand the Condition step and then expand the
Apply tostep in theIf yesblock
- Click
Add an actionafter thePost message in chat or channelaction - Choose
Custom, selectAT23 Anthology Student, then chooseUpdate Student Document
- Select
Completion Datefor theapprovedDatefield - Select
Response Commentsfor thenotefield - Enter
11for thedocumentStatusIdfield (this is the Id forApproved) - Map all the remaining fields to the
Documentinstance retrieved via the API previously using the following expression:
outputs('GetDocument')?['body/payload/data/<FIELDNAMEHERE>']- Repeat the steps above for
Deniedusing12for thedocumentStatusIdfield - Test the flow
- Verify that the appropriate Document was updated in Anthology Student accordingly


