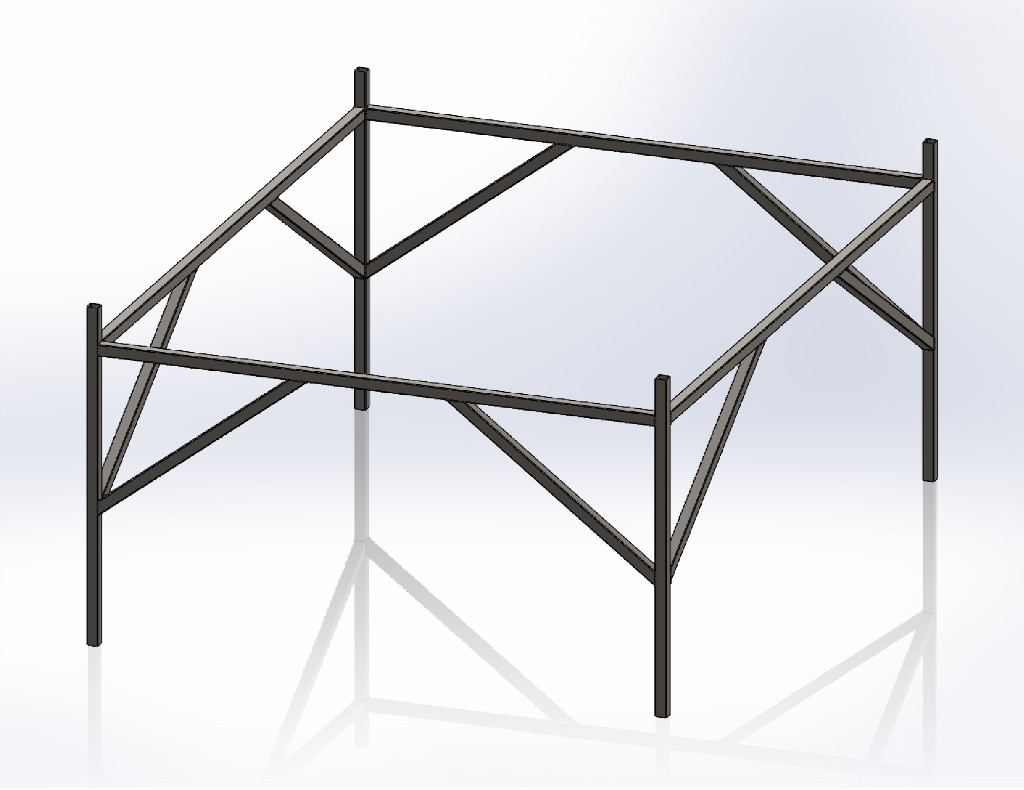
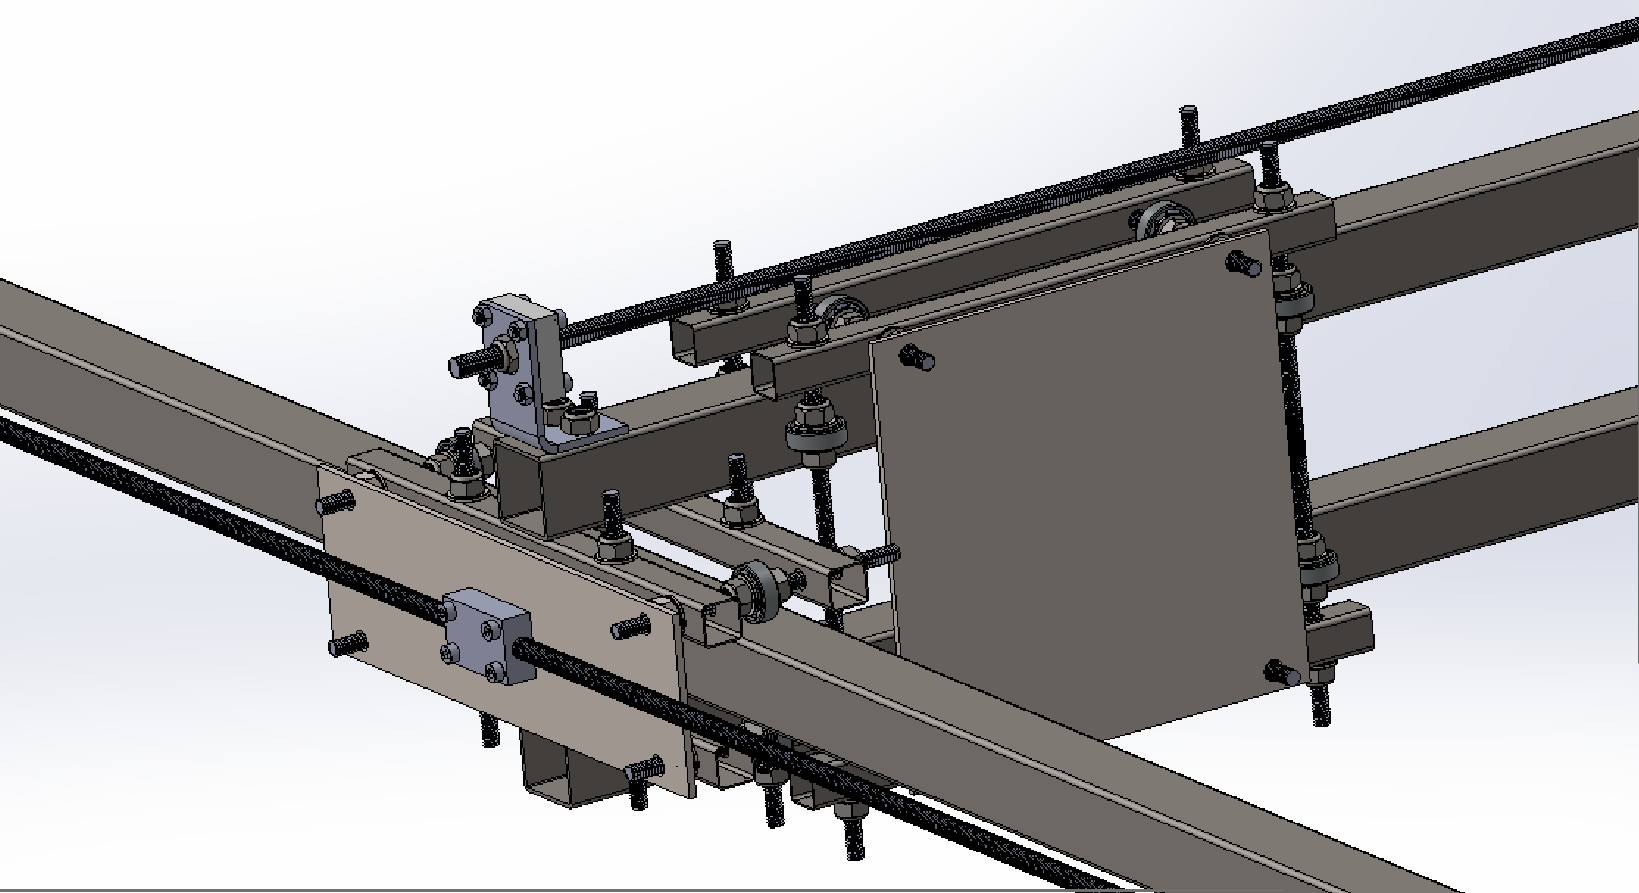
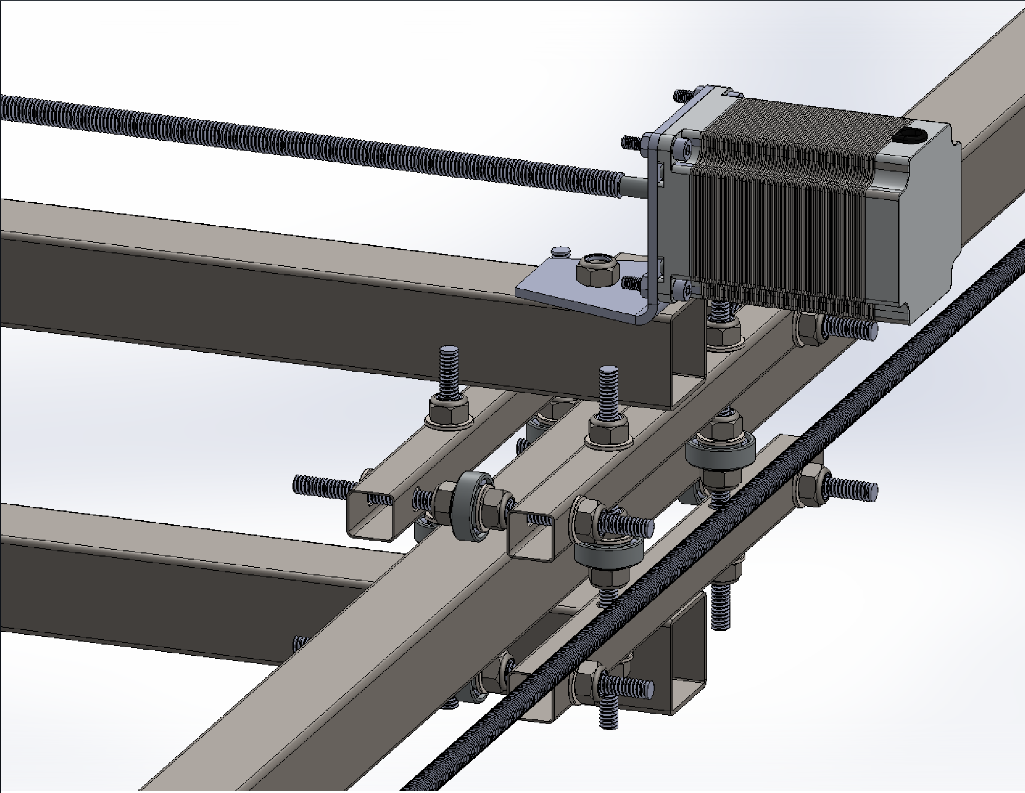
CNC Plasma Cutter design.
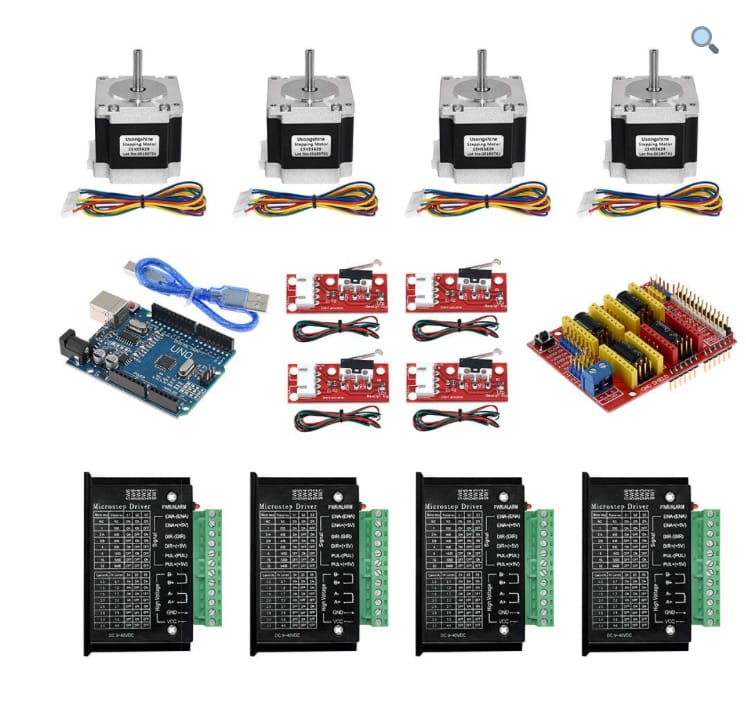
Manual https://makerhardware.net/wiki/doku.php?id=electronics:grbl_high_torque_bundle There are 4 main components needed to get the CNC Shield up and running;
CNC Shield,
Stepper Drivers,
Arduino UNO,
Stepper Driver Adapter Module.
Version 3.0 of the CNC Shield is used throughout this guide. Arduino UNO Compatible
14 digital input/output pins – 6 pins can be used as PWM outputs
6 analog inputs
16 MHz crystal oscillator
Operates at 5V
Recommended input voltage range: 7V to 12V
Flash Memory: 32 KB (0.5KB used by bootloader)
SRAM: 2KB
EEPROM: 1KB
CNC Shield
Version 3.00
4-Axis support (X, Y, Z , A-Can duplicate X,Y,Z or do a full 4th axis with custom firmware using pins D12 and D13)
2 x End stops for each axis (6 in total - each axis pair shared by same IO pin)
Spindle enable and direction connection
Coolant enable connection
Uses GRBL as control software
Power supply: DC 12-36V (only the DRV8825 drivers can handle up to 36V so if using A4988 do not exceed 24V)
Uses removable stepper drivers (DRV8825 or A4988)
Stepper Motors can be connected with 4 pin dupont/molex connectors
Jumpers to set Micro-Stepping
TB6600 Stepper Drivers
Supports 8 levels of current control
Supports 7 levels of micro step adjustment
Interfaces adopt high-speed optocoupler isolation
Automatic semi-flow to reduce heat
Large area heat sink
Anti-high-frequency interference ability
Input anti-reverse protection
Overheat, over current and short circuit protection
Some compatible UNOs uses the CH340 USB to serial chip. In order for your computer to recognize the UNO you may need to download the latest CH340 driver:
http://www.wch.cn/download/CH341SER_ZIP.html
Read more here:
http://www.arduined.eu/ch340-windows-8-driver-download/
http://www.microcontrols.org/arduino-uno-clone-ch340-ch341-chipset-usb-drivers/
Before wiring it is essential to note a couple of safety issues and handling requirements.
While the voltages on and around the CNC Shield are low (5V for the Arduino and up to 36V for the CNC Shield and steppers) it is still possible to hurt both yourself and the components if handled incorrectly or without care. The following points are critical and cannot be emphasized strongly enough. Read carefully:
NEVER connect or disconnect any stepper motor to the CNC Shield while power is on or connected.
ALWAYS disconnect the power before connecting or disconnecting the stepper motors.
ALWAYS connect a stepper motor to the CNC Shield when testing or using the CNC Shield and driver. This is very important because the stepper drivers are designed to ramp up the current until it reaches the current needed to run. Without a stepper motor connected there will be nothing to consume the current and you can end up damaging the stepper driver if it over-heats in the process.
Taking normal static electricity precautions, insert the CNC Shield into the Arduino Uno making sure the correct pins of the CNC Shield are inserted into the correct UNO headers.
Press fit the CNC Shield on the arduino gently and carefully after lining the pins. Please refer to the image below on how to line up the pins. Please ensure that the black headers of the Arduino and the CNC shield make contact.


