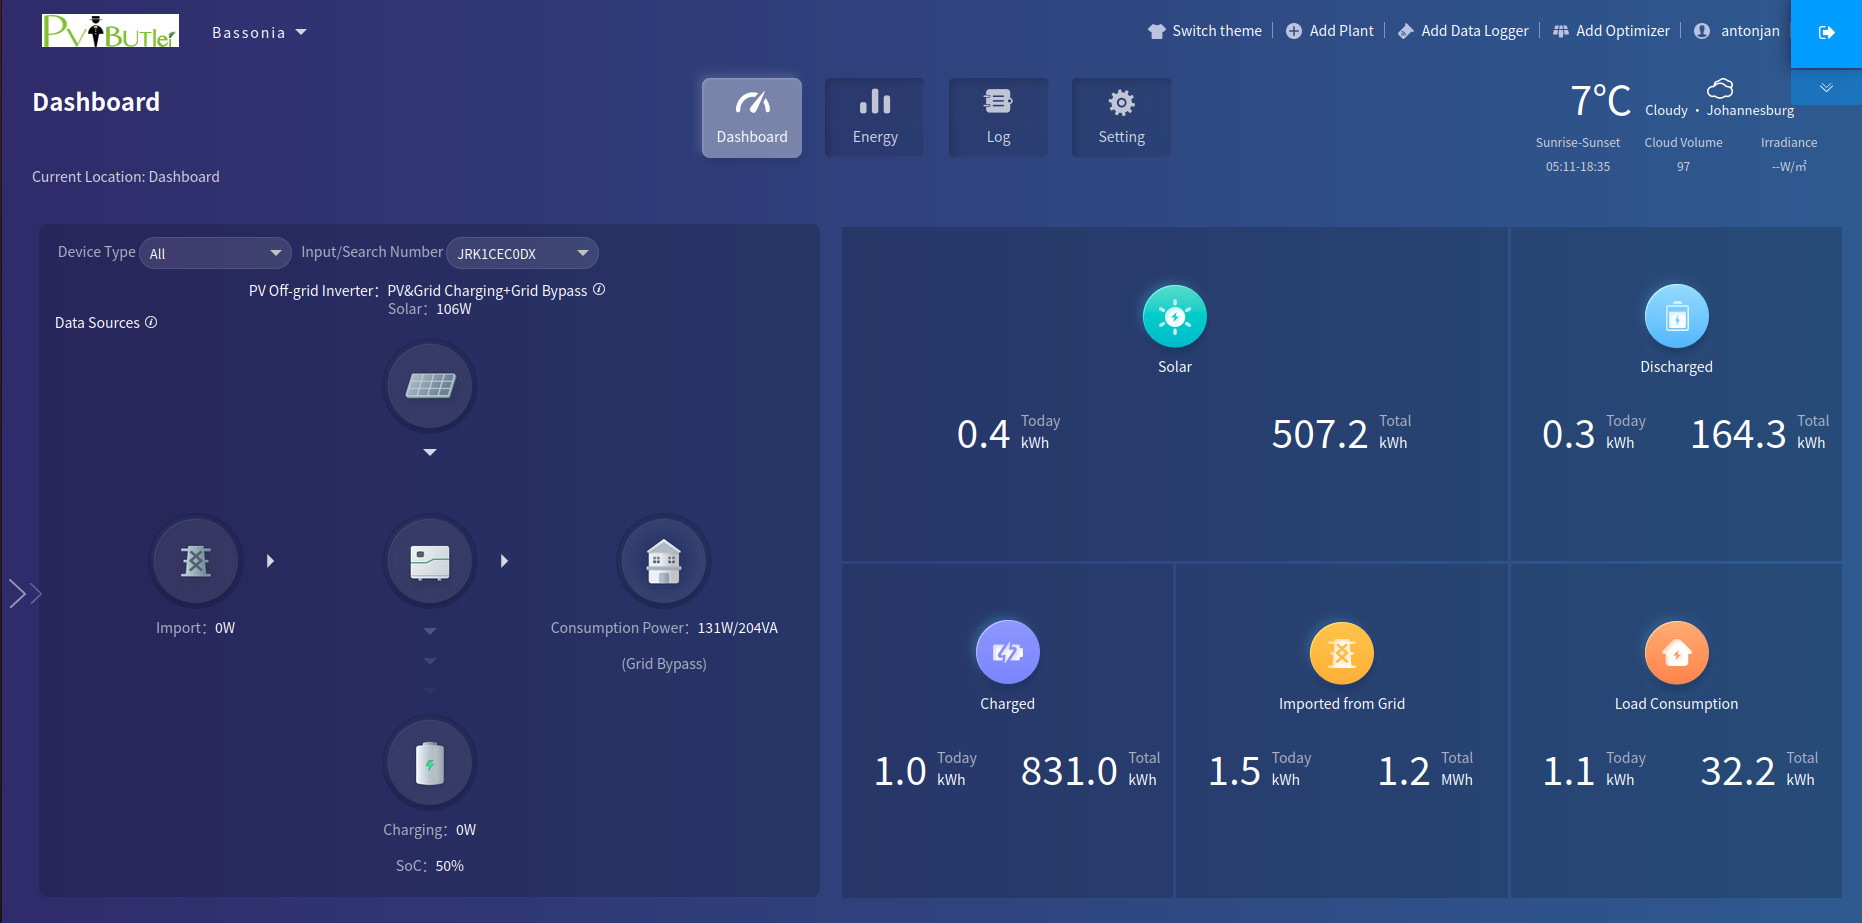
This repository will have the PvButler solar wifi dongle code that will screenscrape the server.pvbutler.com website and get all your solar data and then send it to an mqtt server
This works on my Sacolar 5kva inverter, but I think it will also work on the Growatt inverters
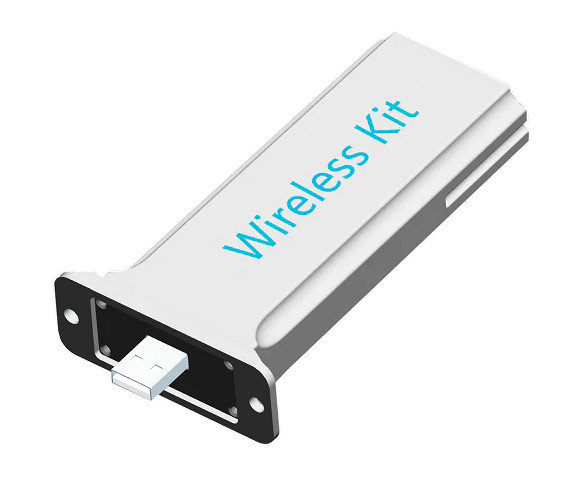
I used the following Sacolar wifi dongle pluged into my Inverter pushing the data to the http://server.pvbutler.com server
Picture of usb to wifi dongle

Picture of pvbutler website tht this program scrape

Edit the config.ini with your details for username and password for pvbuttler website and mqtt server details and username and password in the config as in exsample below and save file in same directory as the python file
You will have to pip install some librayeries
Download google-crome browser
sudo apt install libgbm1
sudo dpkg -i google-chrome-stable_current_amd64.deb
pip3 install beautifulsoup4
pip3 install selenium
pip3 install json
pip3 install paho-mqtt python-etcd
pip3 install --upgrade requests
if it complains about sommting look at my requirements.txt file what I installed. You obviously don't need all of them pip3 install ?
[DEFAULT]
ServerInterval = 45 #Sec

[pvbutler]
login_url = http://server.pvbutler.com/login
landing_url = http://server.pvbutler.com/index
username = username
password = password

[mqtt]
broker = mqtt.server.com
port = 1883
topic = home/5kwInverter
username = mqtt_username
password = mqtt_password

[json]
json_object = '[["Name", 0],["Data_Sources" , 0],["Solar", 0],["Charge",0],["Consumption_Power_W",0],["Charging",0],["SOC",0],["Solar_Today",0],["Solar_Total",0],["Discharged_Today",0],["Discharge_Total",0],["Charge_Today",0],["Total_Charged",0],["Grid_Today",0],["Grid_Total",0],["15",0],["16",0],["Load_Today",0],["Load_Total",0],["Charge",0],["Solar_Storage",0],["Grid_Storage",0],["Load_Consumption",0],["Load_Solar",0],["Load_Grid_BP",0],["CO2",0],["Tree",0],["Cole_Saved",0],["Consumption_Power_VA",0],["28",0],["29",0]]'
python3 ./scrape_pvbutler_3.py
if you want it to run in the back ground
nohup python3 ./scrape_pvbutler_3.py > /dev/null &
    {
      "Name": "PV&Grid Charging+Grid Bypass",
      "Data_Sources": "Data Sources",
      "Solar": 120.0,
      "Charge": 2.2,
      "Consumption_Power_W": 123.0,
      "Charging": 0.0,
      "SOC": 50.0,
      "Solar_Today": 0.3,
      "Solar_Total": 511.9,
      "Discharged_Today": 0.0,
      "Discharge_Total": 165.3,
      "Charge_Today": 0.9,
      "Total_Charged": 838.3,
      "Grid_Today": 1.7,
      "Grid_Total": 1.2,
      "15": 4.5,
      "16": 583.5,
      "Load_Today": 1.1,
      "Load_Total": 41.9,
      "Solar_Storage": 1.6,
      "Grid_Storage": 0.6,
      "Load_Consumption": 3.4,
      "Load_Solar": 0.6,
      "Load_Grid_BP": 2.8,
      "CO2": 204.8,
      "Tree": 28.0,
      "Cole_Saved": 204.8,
      "Consumption_Power_VA": 191.0,
      "28": 0,
      "Time_Date": "2023-11-21T08:54:54"
    }
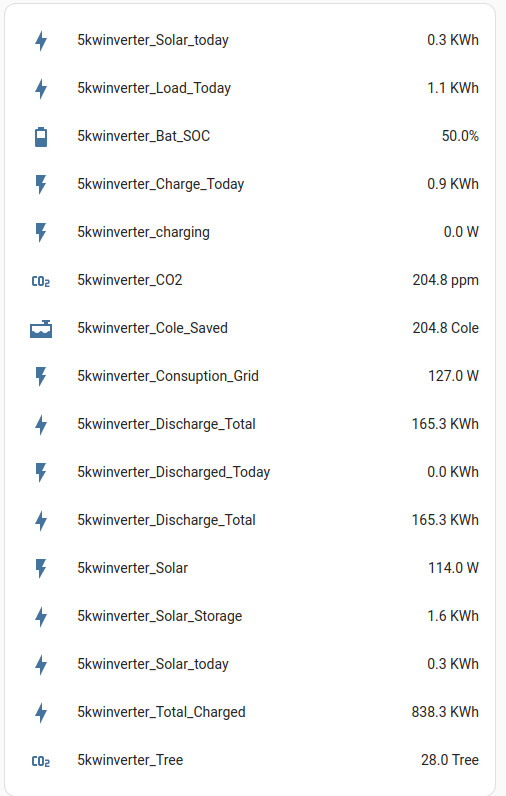
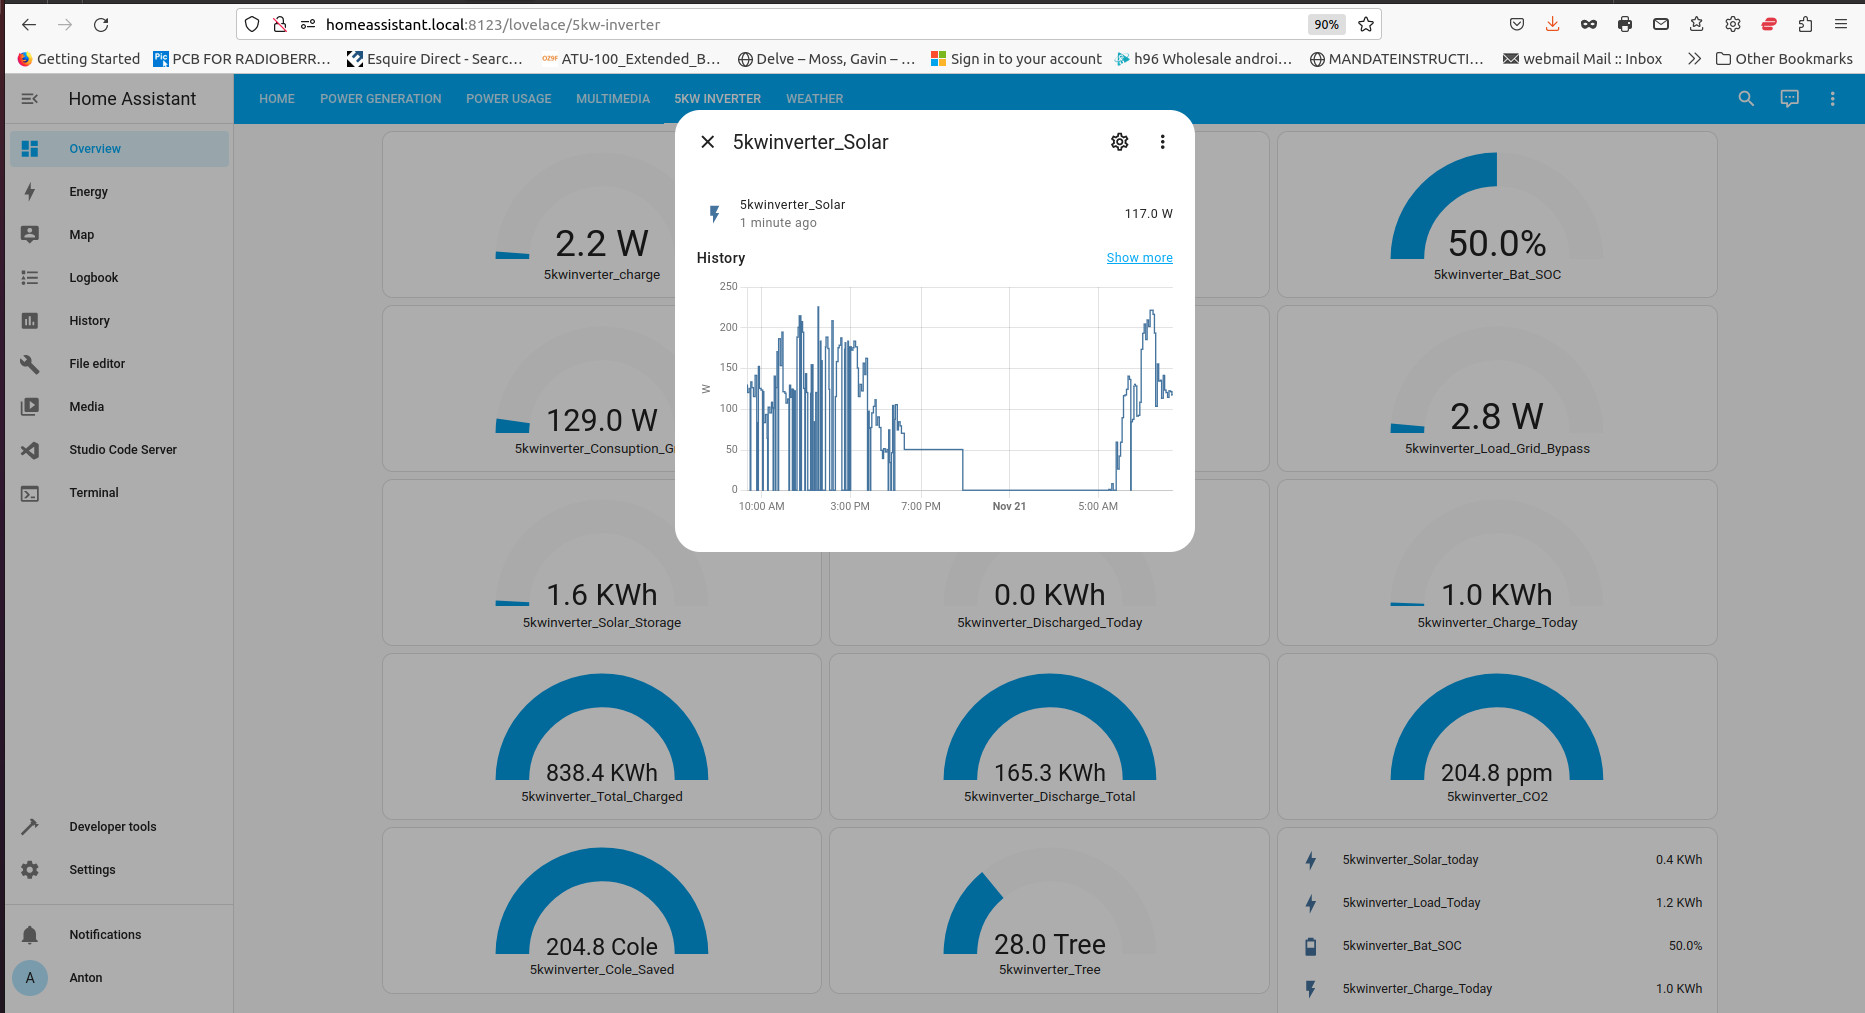
here is the config file for home assitant. you need to make sure you add the mqtt https://github.com/antonjan/Solar-inverter-pvbutler-screen-scraping/blob/main/configuration.yaml

