This serverless web application is used by Sherlock's blue team to import evidence data, generate MD5 and SHA1 hashes of the uploaded files, and save the files in a safe location.

-
Pre-requisites:
-
Command-line environment (e.g., Windows Terminal, Linux Terminal, macOS Terminal, AWS CloudShell)
-
Clone this repository to your local system/CloudShell and
cdto the newly-cloned directory.git clone https://github.com/bluemountaincyber/evidence-app.git cd evidence-app -
Use Terraform to initialize and deploy the included Infrastructure as Code (IaC). The deployment should take around 5 minutes.
terraform init
terraform apply # Answer 'yes' when prompted
-
Pre-requisites:
-
Linux Command-line environment (e.g., Linux Terminal, macOS Terminal, AWS CloudShell)
-
Clone this repository to your local system/CloudShell and
cdto the newly-cloned directory.git clone https://github.com/aoi-ue/evidence-app cd evidence-app -
Use the provided
cloudformation-deploy.shscript to deploy the CloudFormation template (cloudformation.yaml) and load the web content. The deployment should take around 5 minutes../cloudformation-deploy.sh
-
Navigate to the URL shown in your terminal at the end of the deployment (e.g.,
https://d16krrq07nhrmy.cloudfront.net). -
When you arrive, you will find a table containing a sample evidence file name (
EICAR.txt), MD5 hash (44d88612fea8a8f36de82e1278abb02f), and SHA1 hash (3395856ce81f2b7382dee72602f798b642f14140).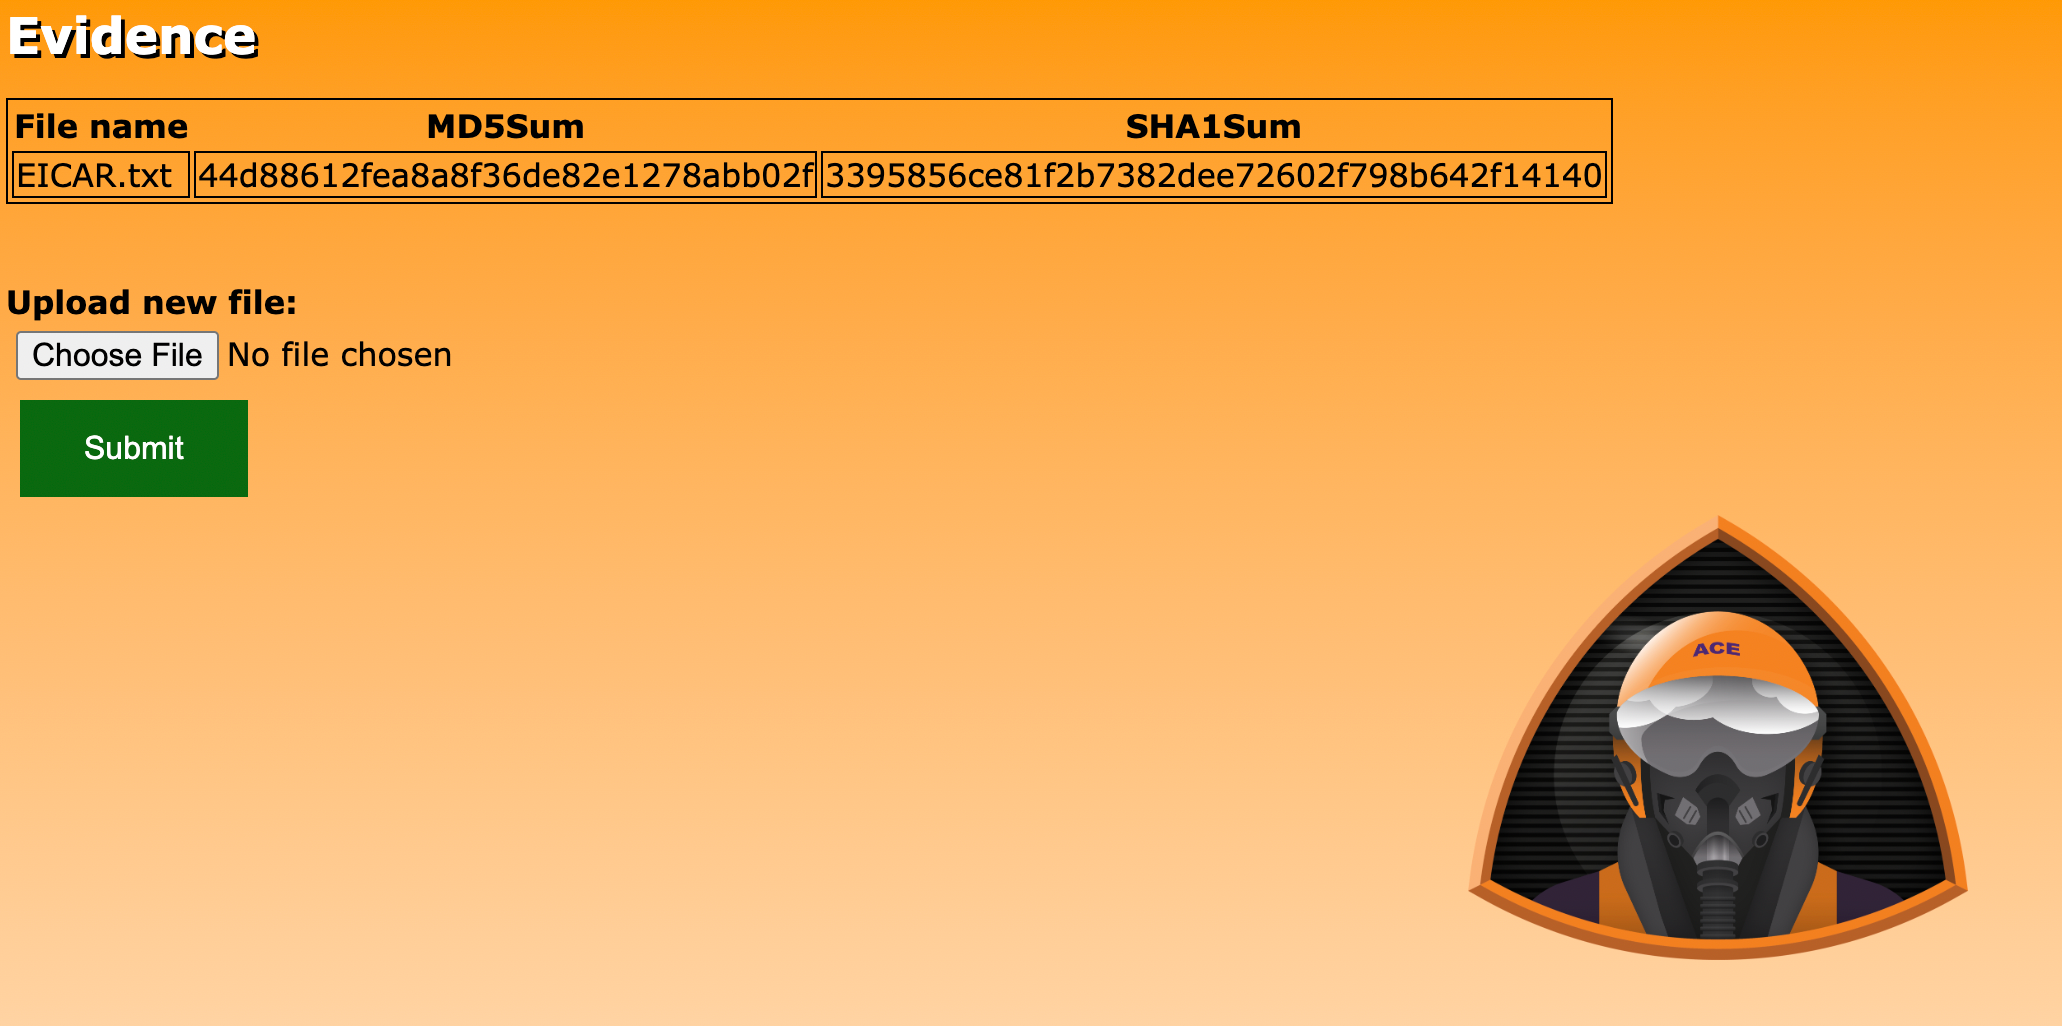
-
If you wish to add your own files to the evidence app, click the Choose File button, select your file to upload, and click the Submit button.
-
Upon upload the file will be stored in an Amazon S3 bucket in your account which begins with the prefix evidence-.
-
The metadata (file name, MD5 hash, and SHA1 hash) is generated and stored in an Amazon DynamoDB table called evidence.
-

This section describes how to serve the SANS Workshop exercise content.
-
From a terminal on your local system, navigate to the
workbookdirectory. -
Create a virtual environment called
.venv.python3 -m venv .venv
-
Activate the virtual environment.
. .venv/bin/activate -
Install required
pippackages.pip3 install -r requirements.txt
-
Serve workbook with
mkdocs.mkdocs serve
-
The workbook is now available at http://localhost:8000.
-
When finished with the workbook, type
Ctrl-Cin your terminal and then deactivate the virtual environment like so:deactivate
The workshop slides are available by opening the file at presentation/presentation.html in your web browser or by downloading and opening the presentation/presentation.pdf PDF file.