Synacksync is a project to sync the API endpoints for missions, patches, and upcoming projects on the Synack platform to a Google calendar. There is some light sanitization of the data to help mitigate any sensitive client data from being added to the calendar.
This is not Synack supported but there is a srt-aringos-synacksync channel where you can ask a question or give feedback.
Many times I've been on a dog walk where a patch has expired. Also logged into Synack to see something no longer existed. With the loss of QR and dynamic pricing SRT are highly rewarded if they are first on a target. Hopefully this will give some SRT better situational awareness and let them see if they can fit checking a new launch into their schedule.
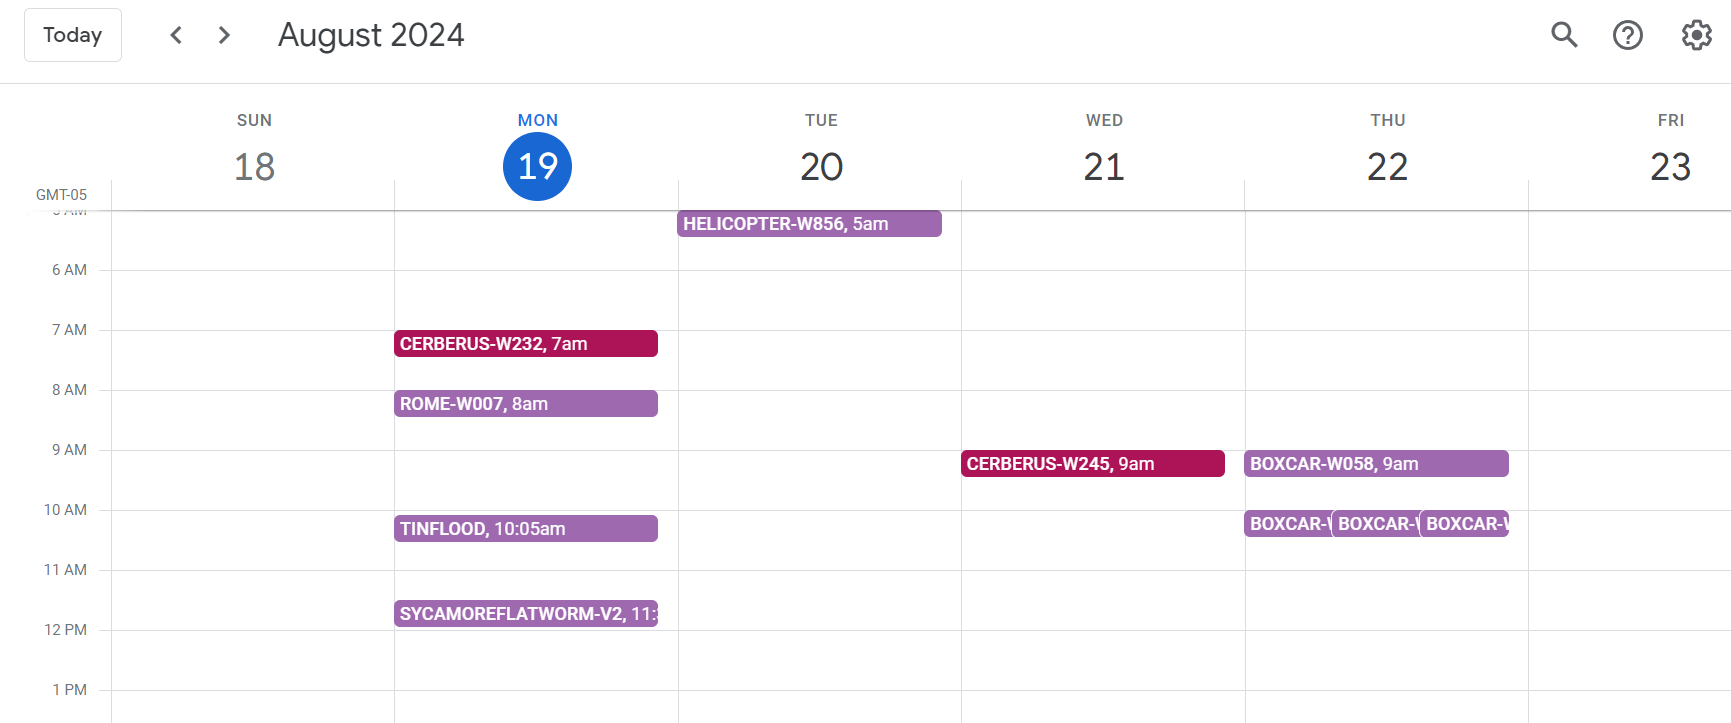
Below is an example of what an upcoming view might look like on a calendar.
The script works by creating a Google project with an API restricted to calendar actions. Then a helper tool for using the API and interacting with the calendar called Gcaltool is installed. With a Synack auth token the user sets up and runs the sync script. Then share the calendar with any other Google account. Could even write their own app with Gcaltool and not even use another users calendar. If they want they set it up to run on an interval it should continue to work .. omitting any other issues.
Generating Google Service API credentials
Before using gcaltool, you need to set up a project in the Google Cloud Console and obtain the credentials required to access the Google Calendar API. You have to have use a service account or your creds will expire in days (so this is the way) just follow the directions and leave scope to only the Calendar API.
- With a Google account login to the Google Cloud Console.
- Click on the Select a project dropdown at the top.
- Click New Project.
- Enter your project name and click Create.
- In the Google Cloud Console, go to APIs & Services > Library.
- Search for "Google Calendar API".
- Click on Google Calendar API and Enable.
- Go to APIs & Services > Credentials.
- Click Create Credentials and choose Service Account.
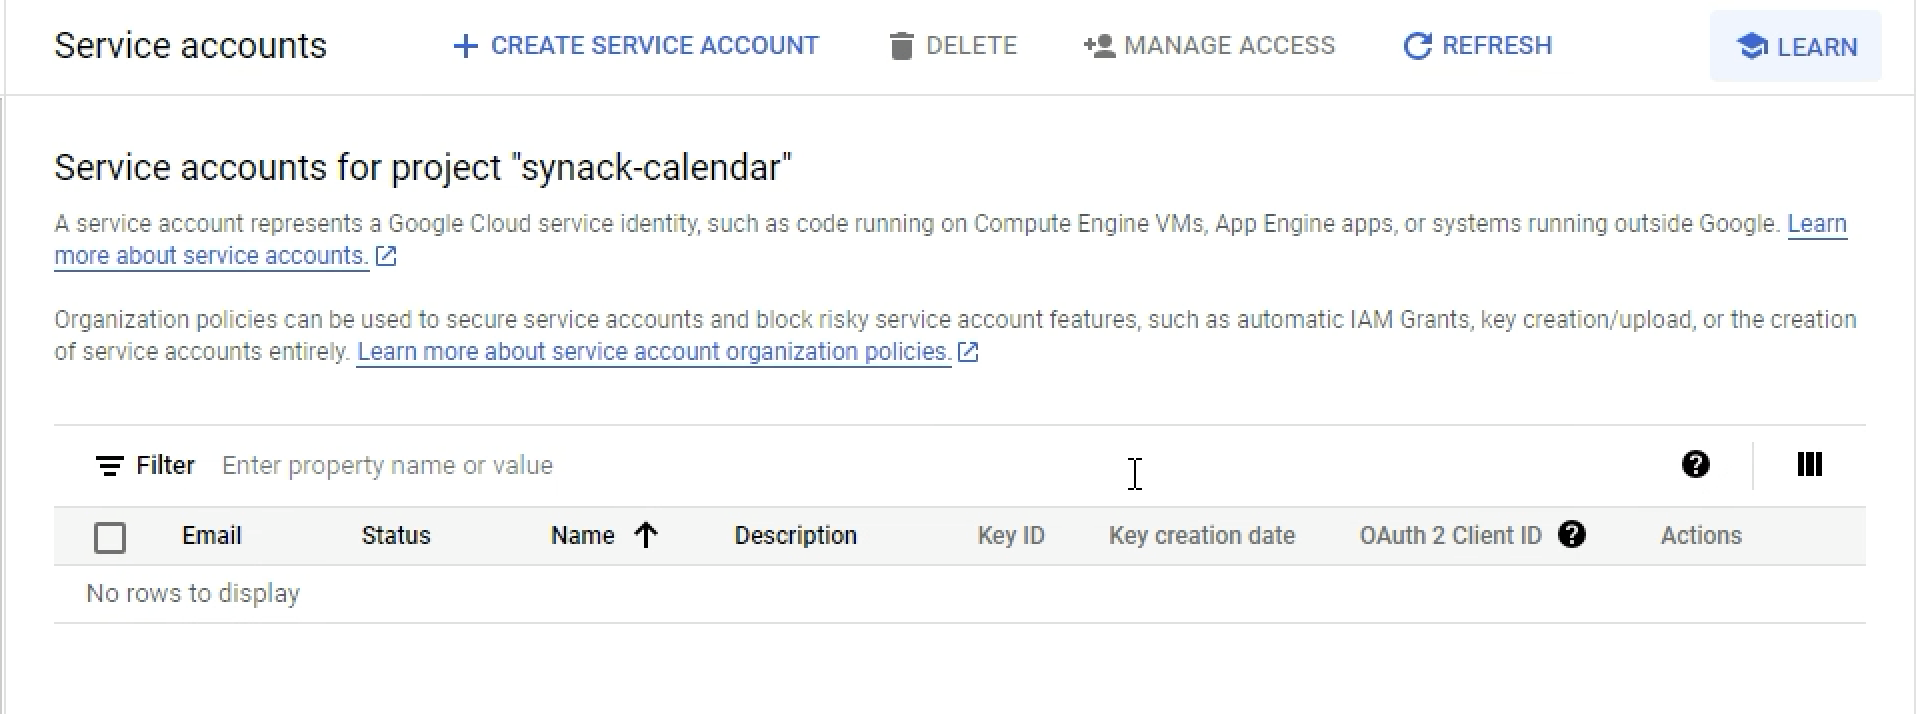 3. Enter a name for the service account and click Create.
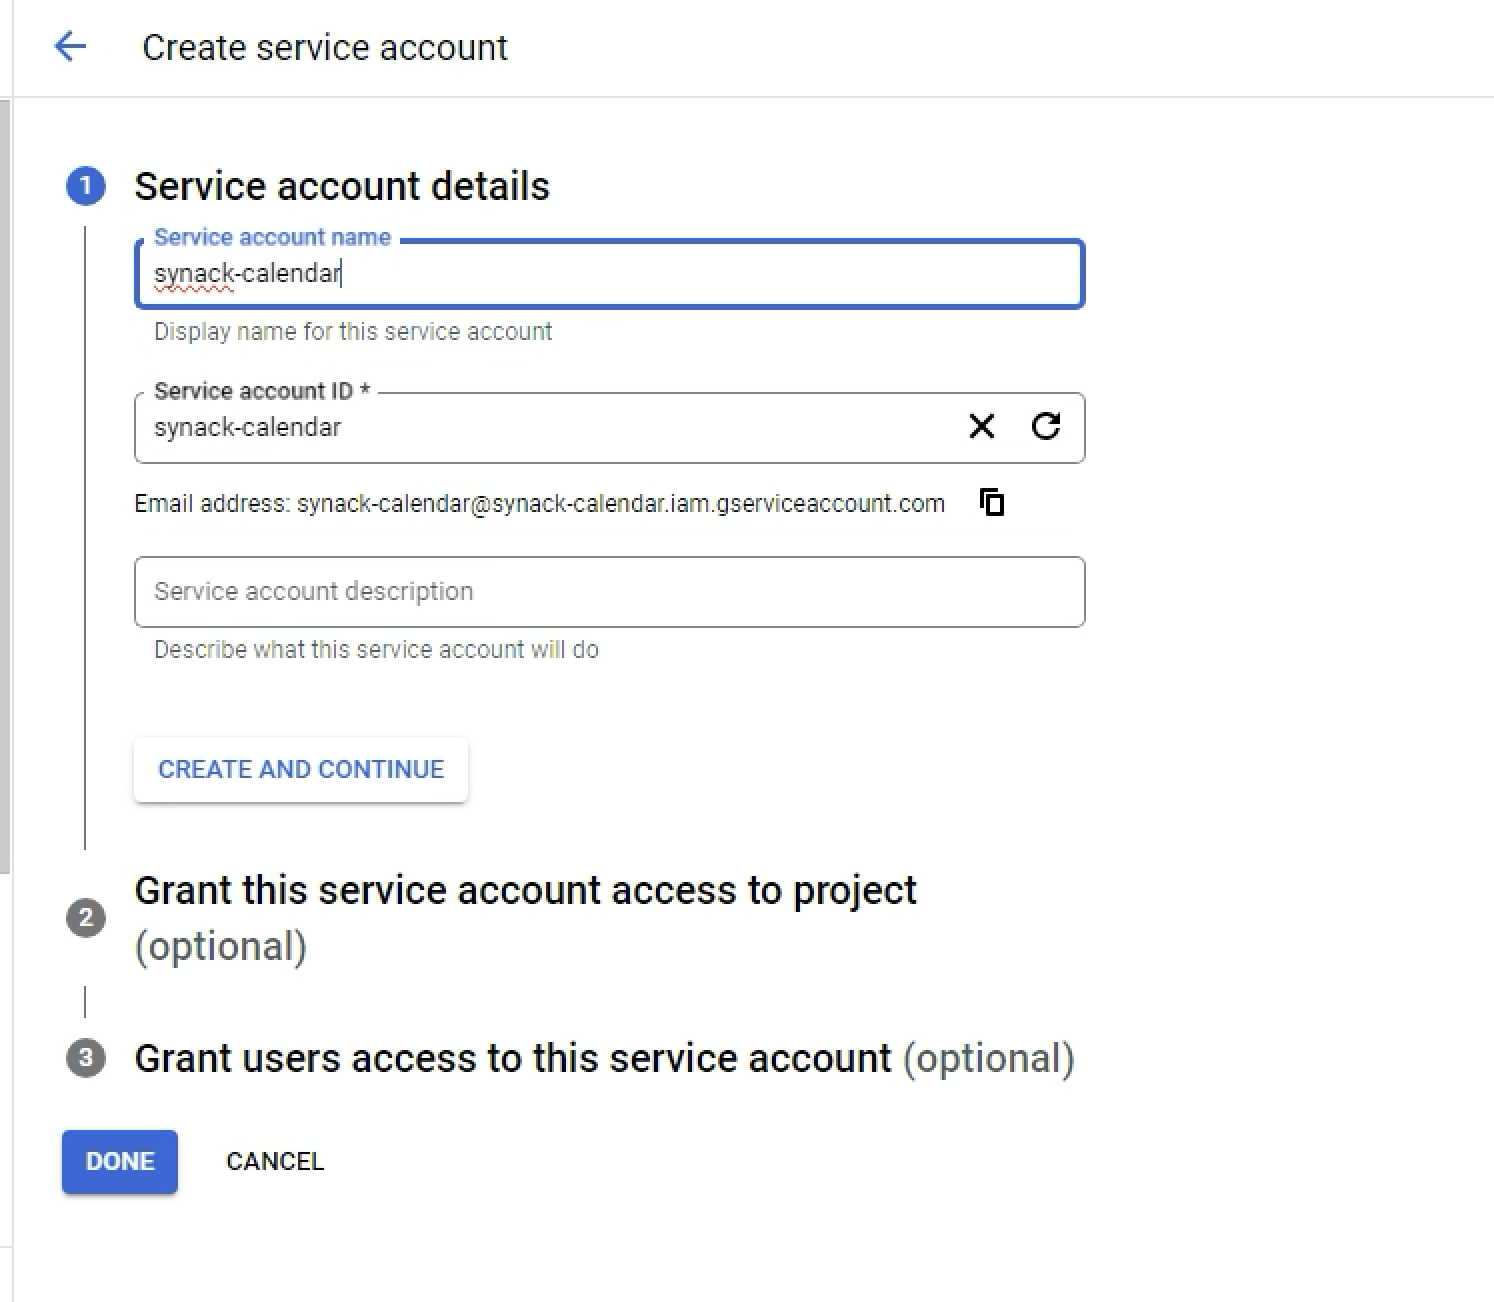 4. Assign a role to the service account (e.g., Project > Editor).
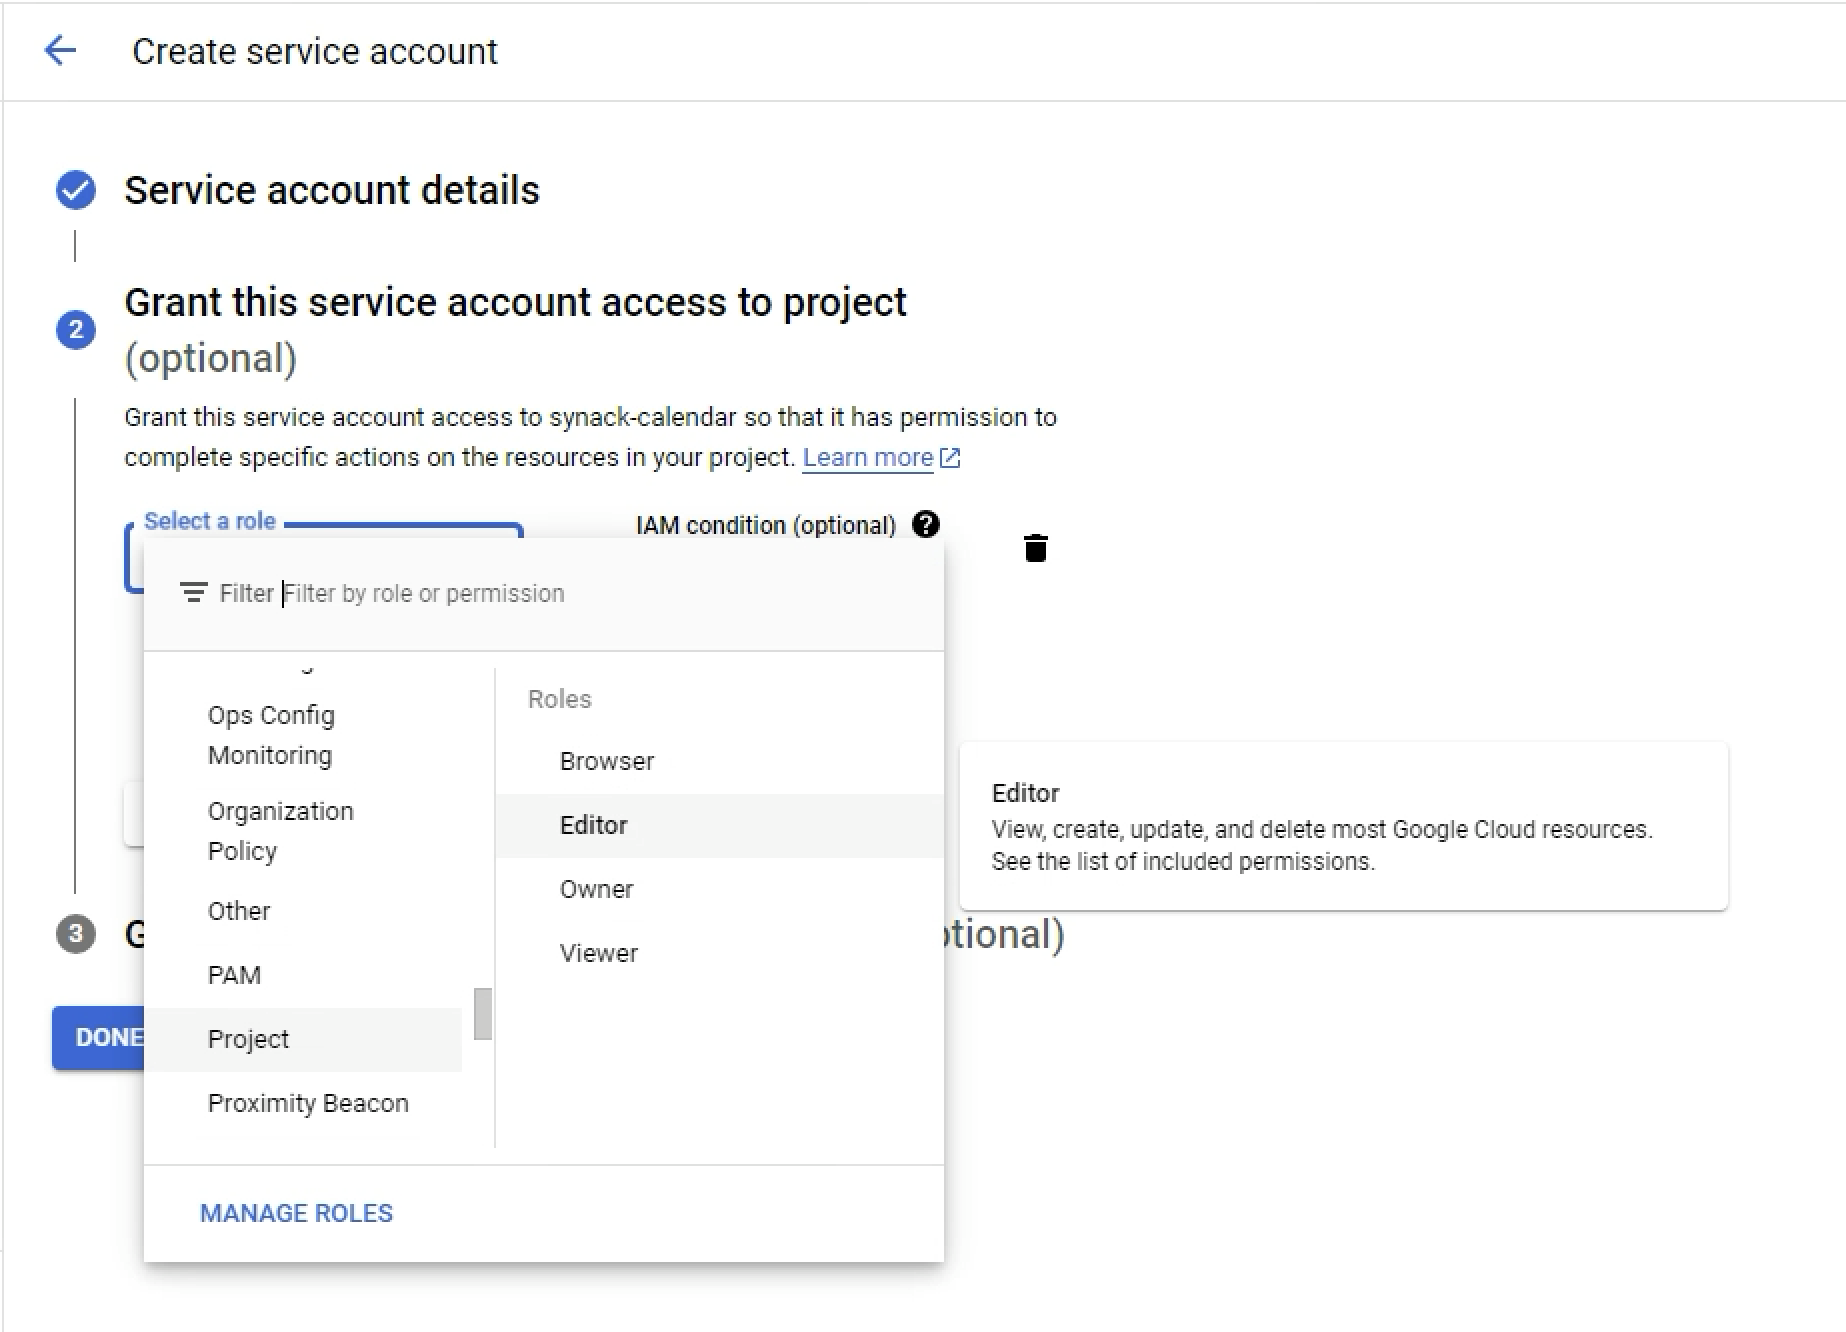 5. Continue until the service account is created.
6. On the Credentials page, click on the service account you just created.
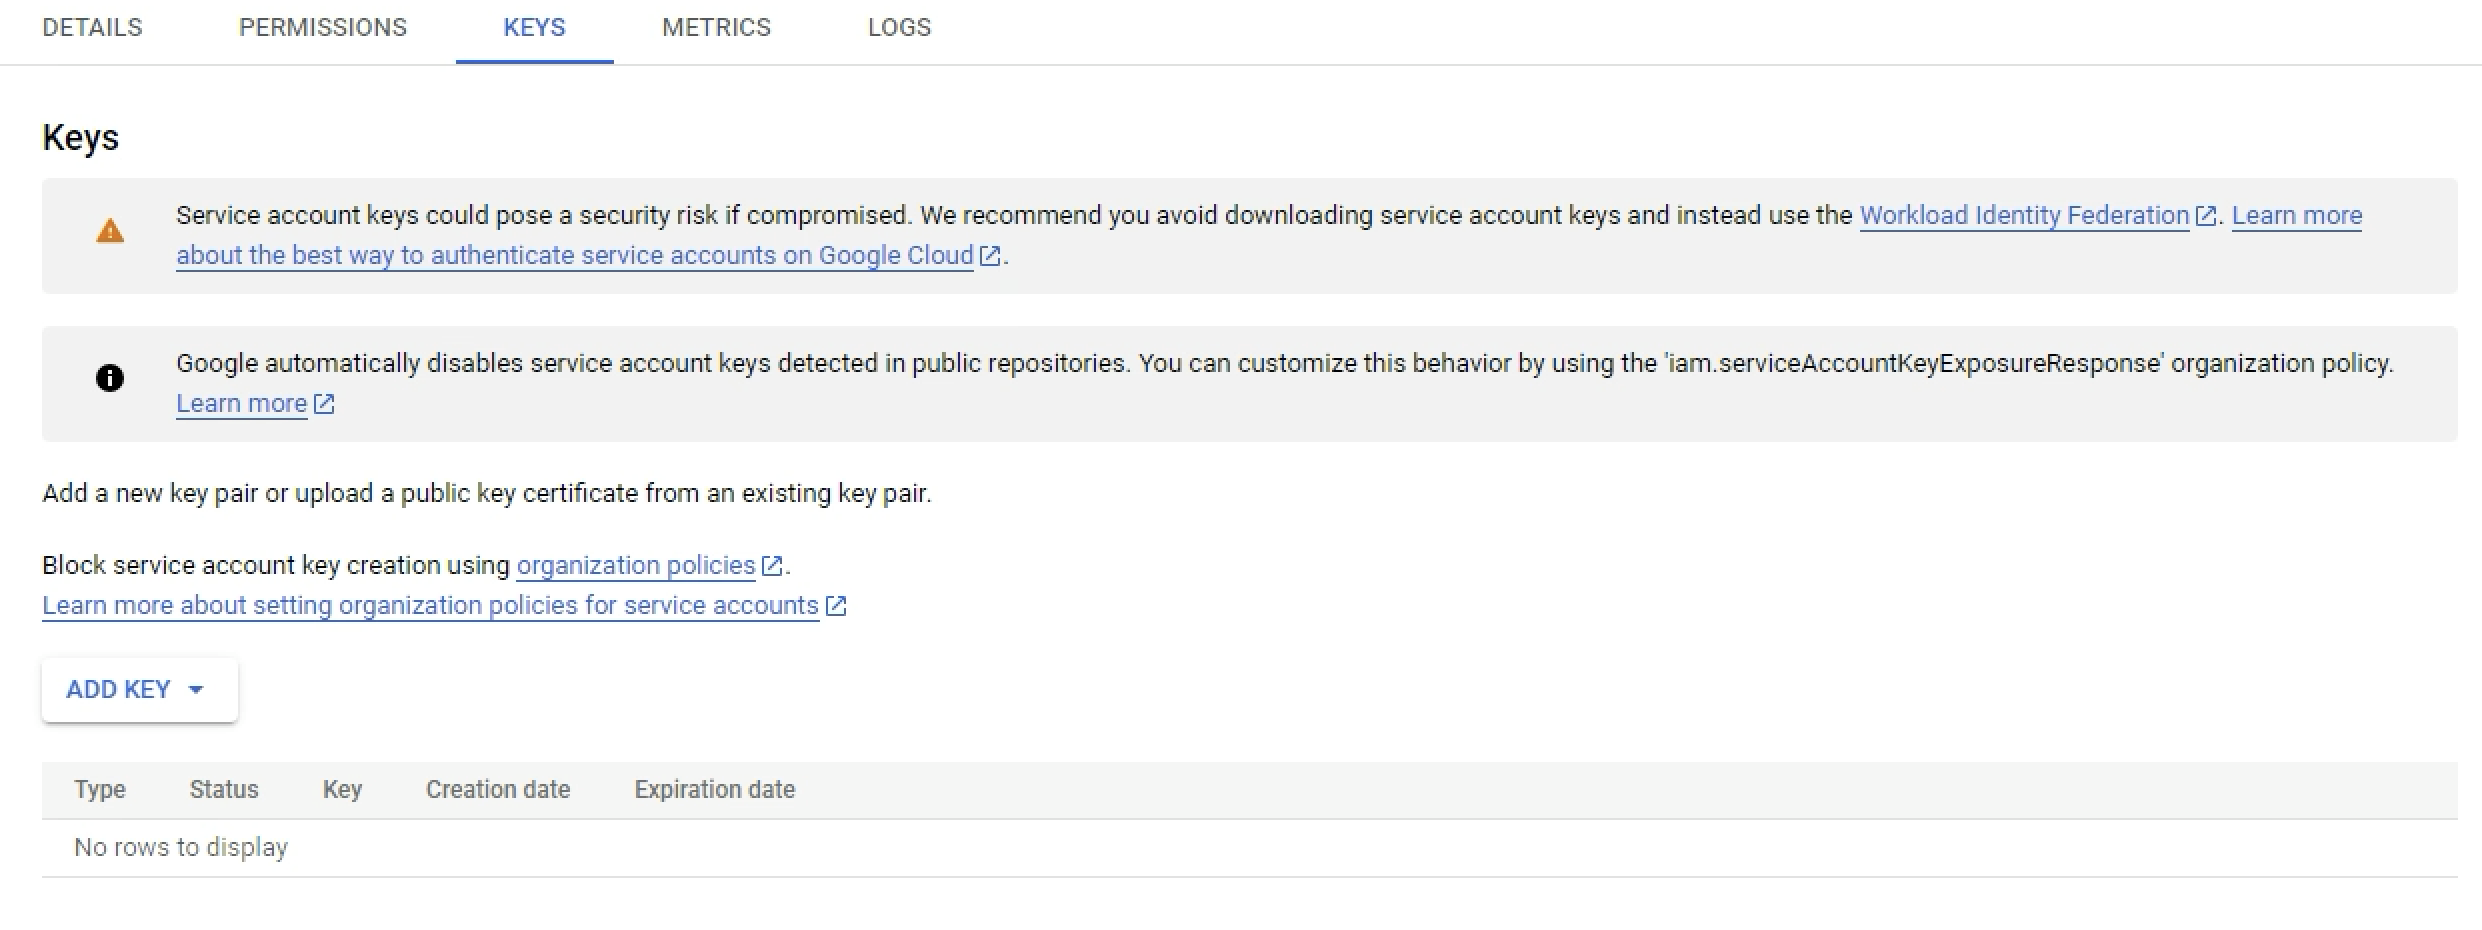
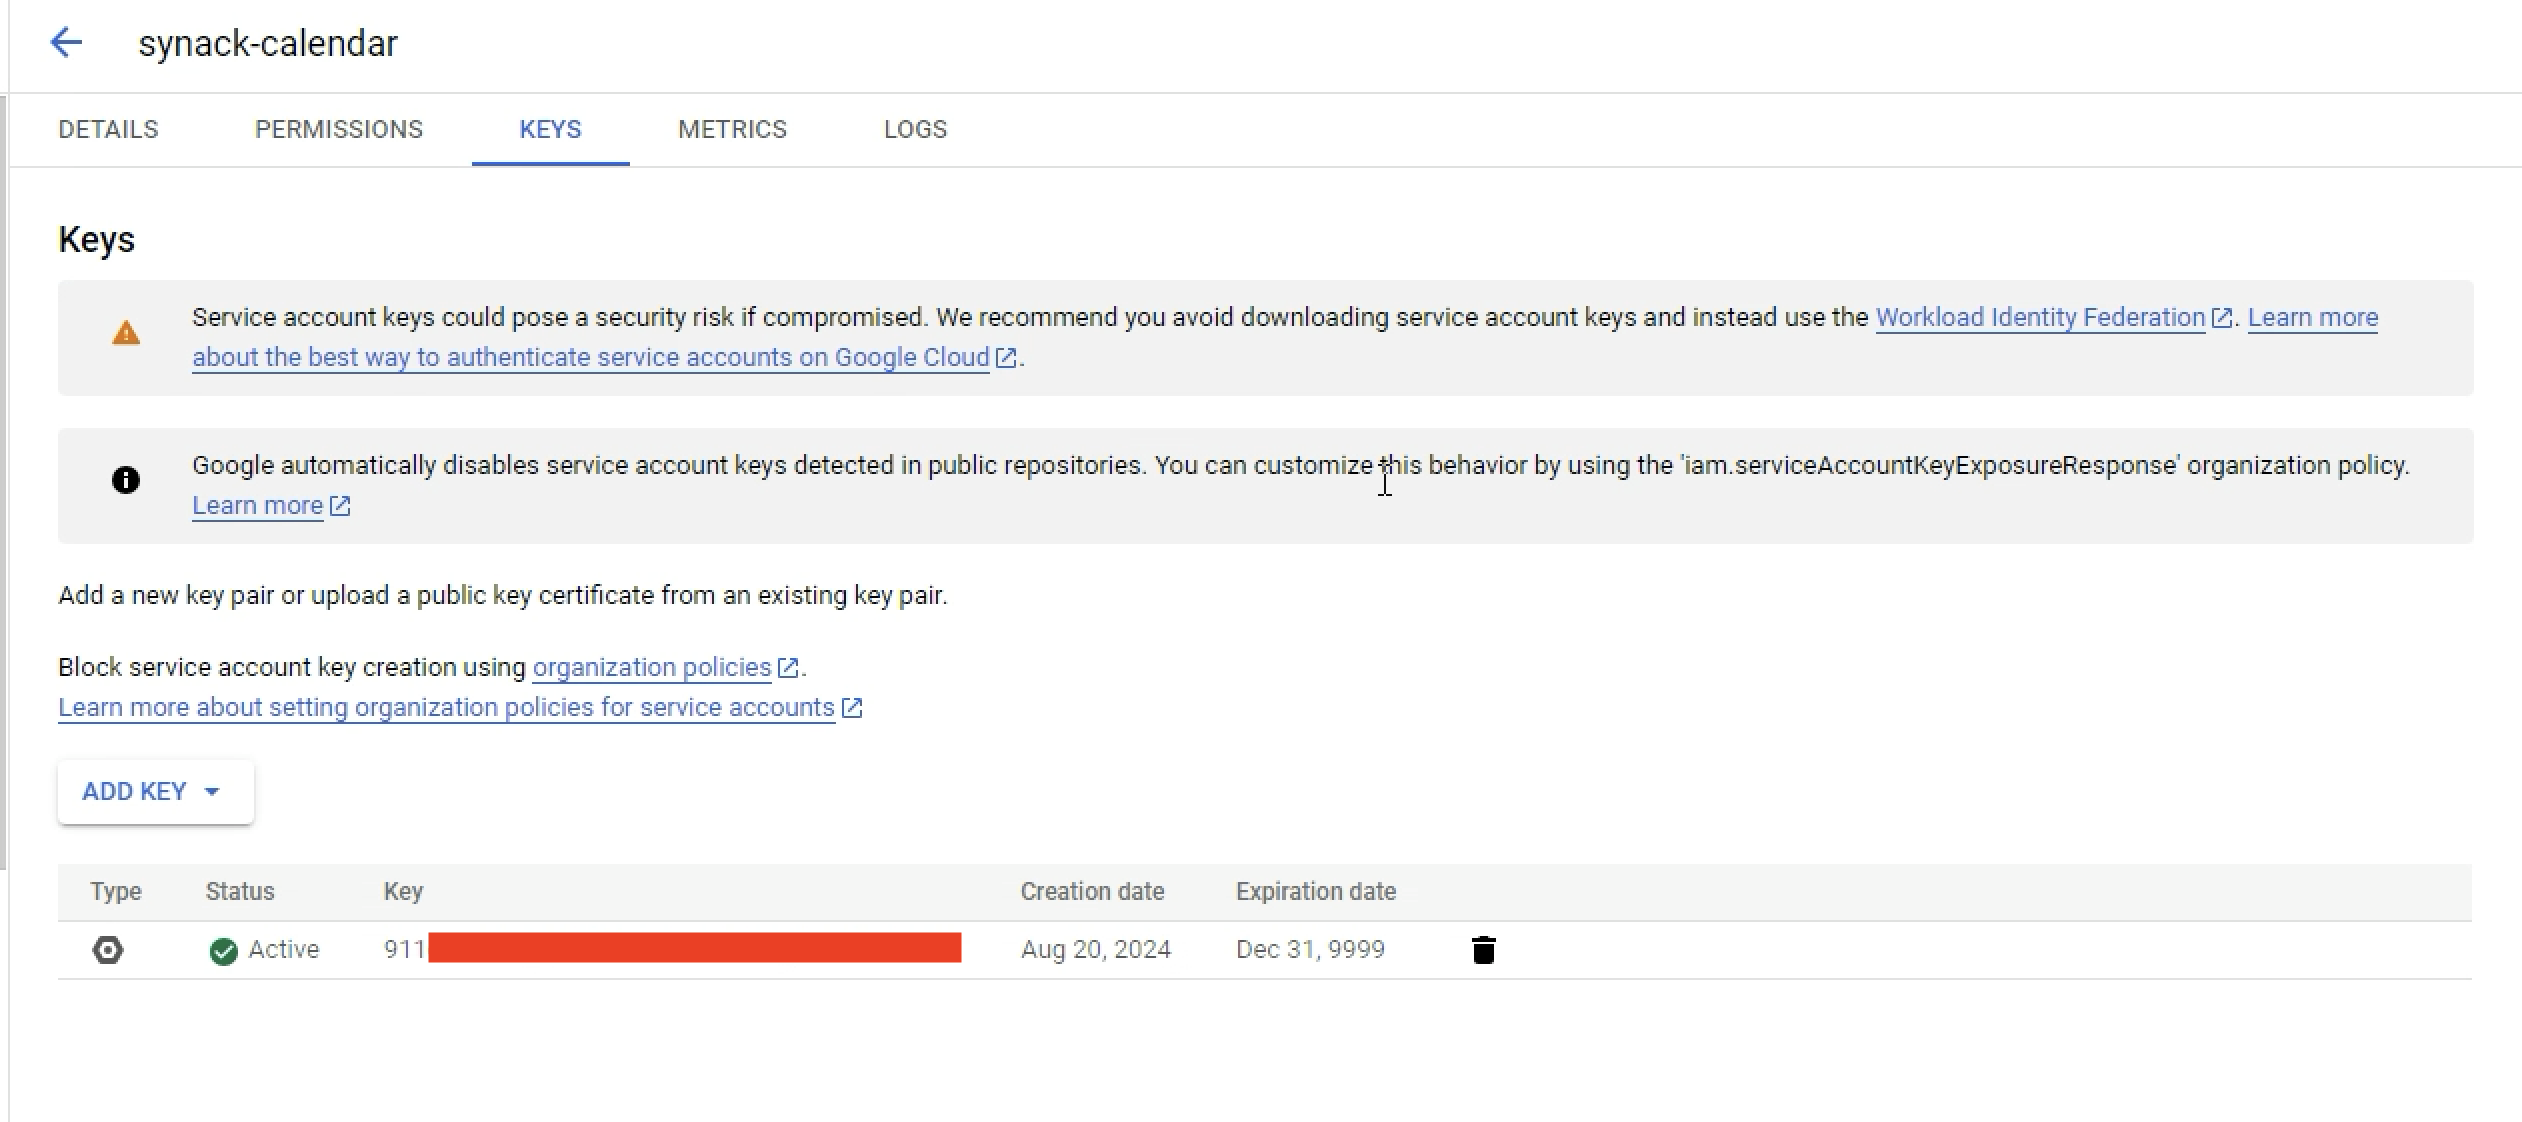
7. Under the Keys tab, click Add Key > Create New Key.
- Choose JSON and click Create. You should have a JSON file containing your credentials.
Install and Configure Gcaltool
gcaltool is a command-line tool for managing Google Calendar events and calendars. This tool allows you to create, share, edit, and delete calendars and events directly from your terminal.
Originally there was a great python library for working with Google Calendar but Google is on V3 API now and this required some other modifications so just rolled my own.
- Create and manage Google Calendars.
- Add, edit, delete, and search events.
- Share calendars with other users.
- View upcoming events.
- Configure default calendar and service account file.
To install gcaltool, you can use pip:
pip install .The first time you run gcaltool, you need to specify the path to your service account credentials:
gcaltool --set_service_account_file /path/to/your/service_account.jsonThis will store the path to your credentials in the configuration file.
- Windows:
%APPDATA%\gcaltool\config.json - Linux/Unix:
~/.config/gcaltool/config.json
{
    "service_account_file": "/path/to/your/service_account.json",
    "default_calendar_id": "your_calendar_id",
    "timezone": "America/Chicago"
}
Set the timezone manually or can update script to save it ..
Use -h and you can see the functionality, not going into it. It just uses the calendar_service.py which you can import and use in any of your own scripts. So calendar stuff and pretty easy to understand.
The SynackSync scripts use this functionality to help programatically modify and update calendars for missions, patches, and upcoming targets.
Authentication Token
To get your Synack token you can setup something like https://github.com/dinosn/synackDUO or for quick testing make a browser bookmark like below and then when authenticated just click the bookmark.Download to your default browser download location using this bookmarklet and set your downloads as the location for the file. Can modify the script to read the newest if you don't want to delete it.
javascript:(function(){var token=sessionStorage.getItem('shared-session-com.synack.accessToken');if(!token){console.error('Token not found in session storage.');return;}var blob=new Blob([token],{type:'text/plain'});var url=URL.createObjectURL(blob);var a=document.createElement('a');a.href=url;a.download='synacktoken.txt';document.body.appendChild(a);a.click();document.body.removeChild(a);URL.revokeObjectURL(url);})();
Copies Synack Token to the clipboard
javascript:(function(){var token=sessionStorage.getItem('shared-session-com.synack.accessToken');if(!token){console.error('Token not found in session storage.');return;}var textarea=document.createElement('textarea');textarea.value=token;document.body.appendChild(textarea);textarea.select();document.execCommand('copy');document.body.removeChild(textarea);alert('Token copied to clipboard');})();
Configure and Run SynackSync
SynackSync consists of individual scripts instead of something you install so that in the future if the API changes or you want to not use the calendar its hopefully pretty straightforward.
The setup script will assist in creating the config that the application will utilize and create any calendars needed. Make sure to accept the calendar in your email when it shares calendars.
As far as I know if you installed gcal its just this
pip install time, pytz, requests, urllib, tzlocal
Then run the setup
python3 setup_synacksync.py
- Windows:
%APPDATA%\synacksync\config.json - Linux/Unix:
~/.config/synacksync/config.json
It creates it .. don't worry
{
    "base_url": "https://platform.synack.com",
    "authorization_token_path": "/tmp/synacktoken",
    "mission_calendar":"7a40372asdfsadfb40b7a6754becsdf5fc947350c2b30c22b2a2c6a@group.calendar.google.com",
    "patch_calendar":"7232e06casdfasdfsadfasdfasdfsadf2b5364fb30@group.calendar.google.com",
    "upcoming_calendar":"bcasdfasdfadsfasdfw3asdfafawefasdfsff13da@group.calendar.google.com",
    "database_path": "tasks.db"
}
Then you just run the script
python3 synacksync.py
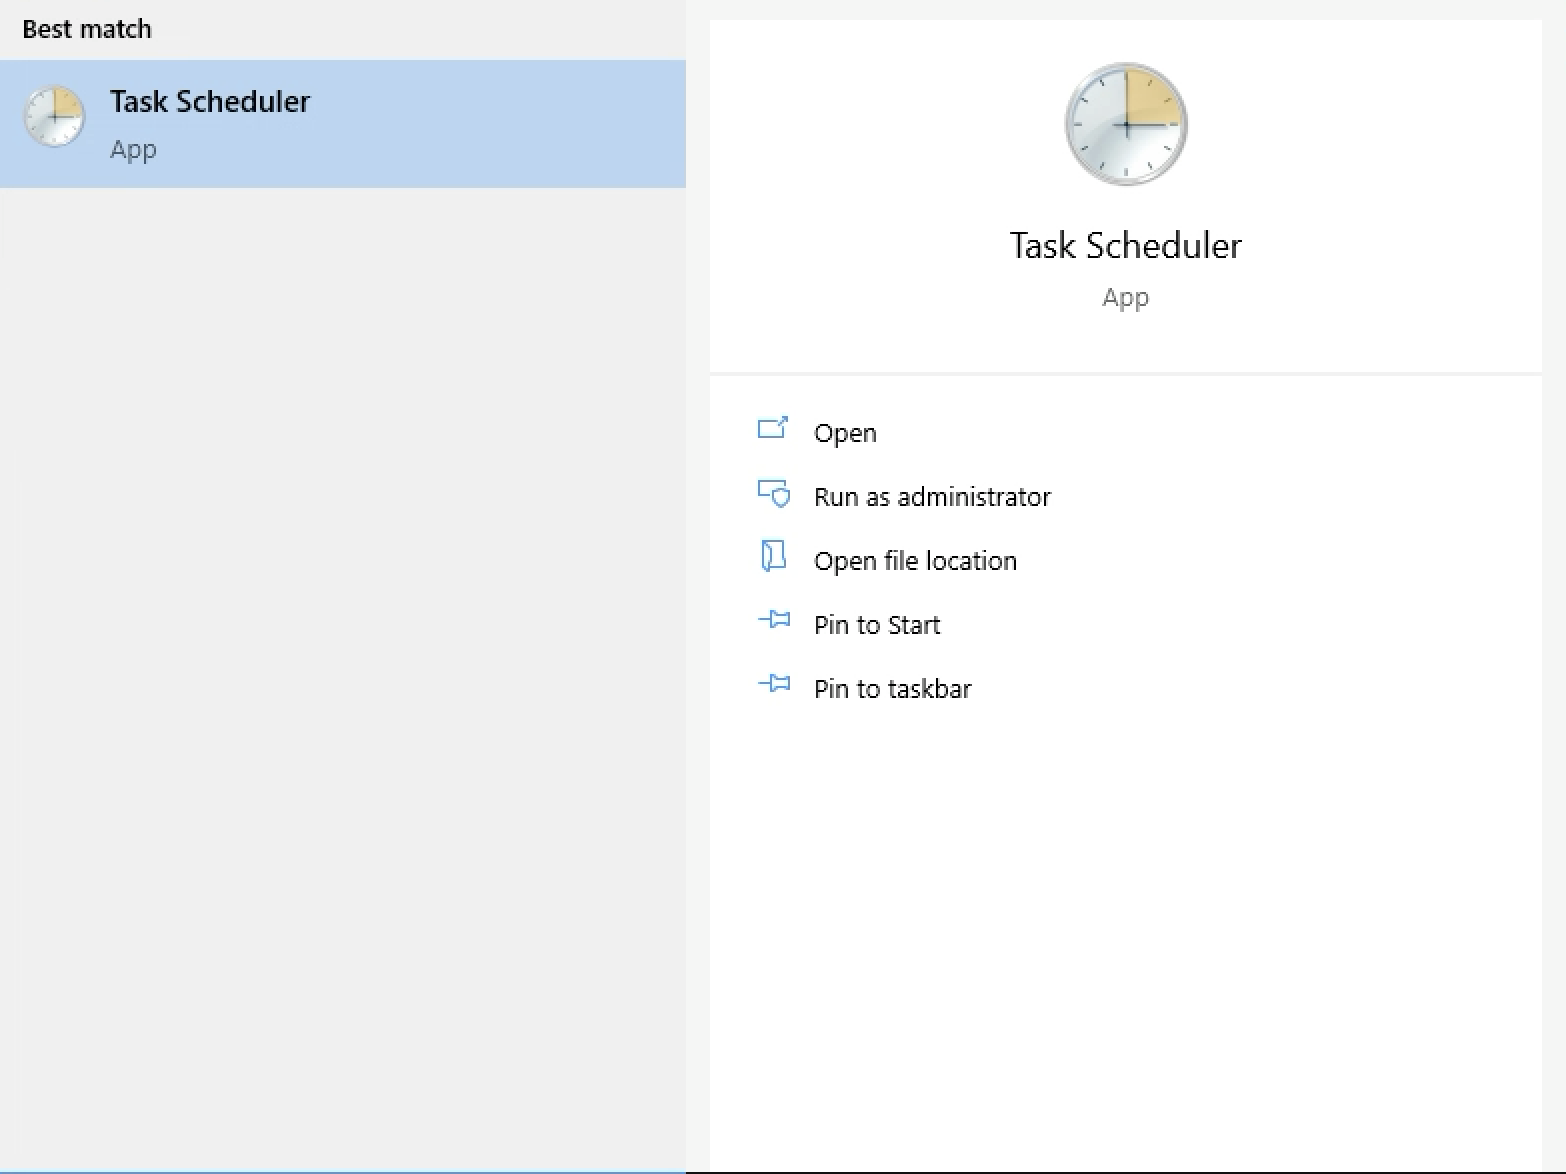
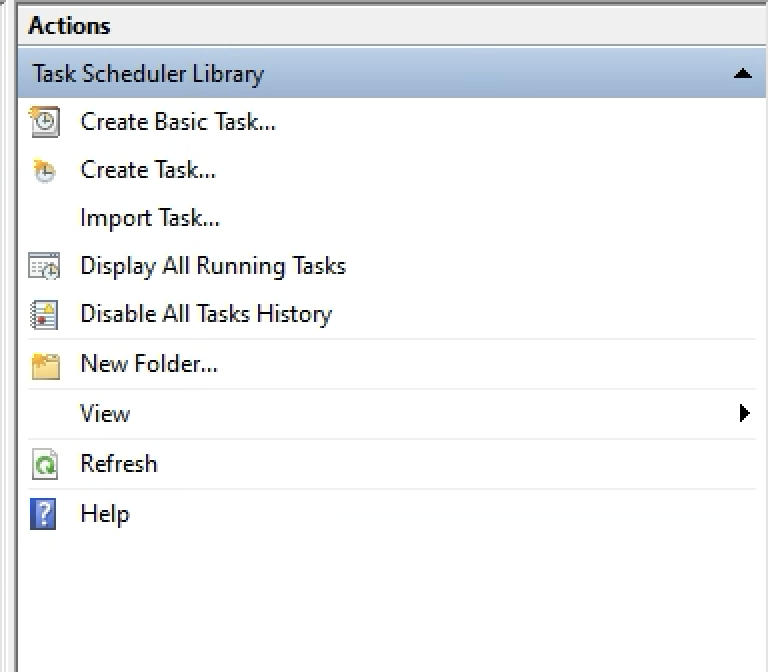
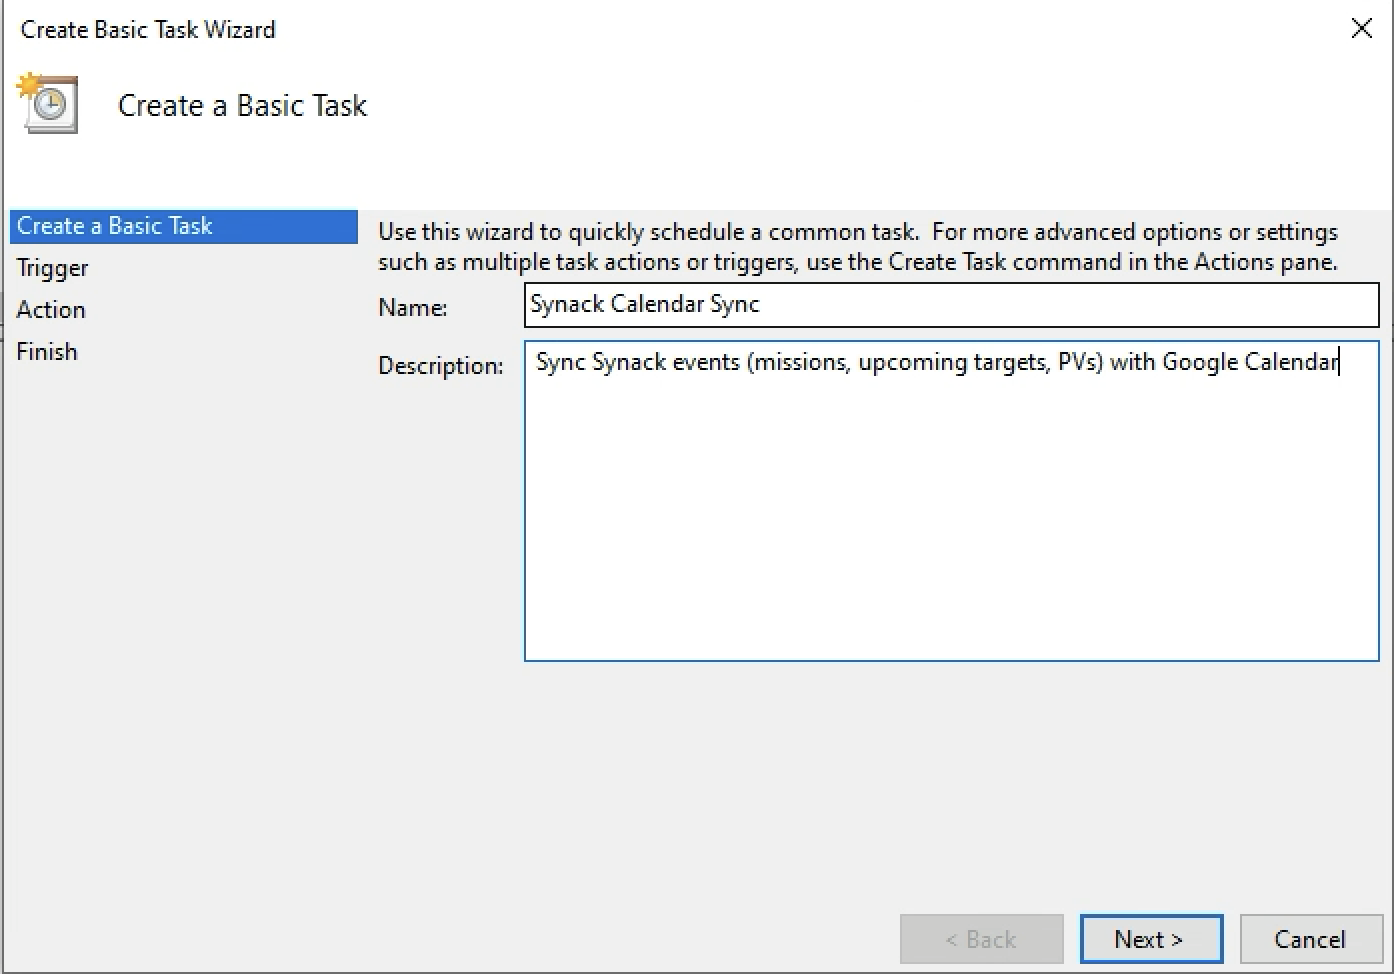
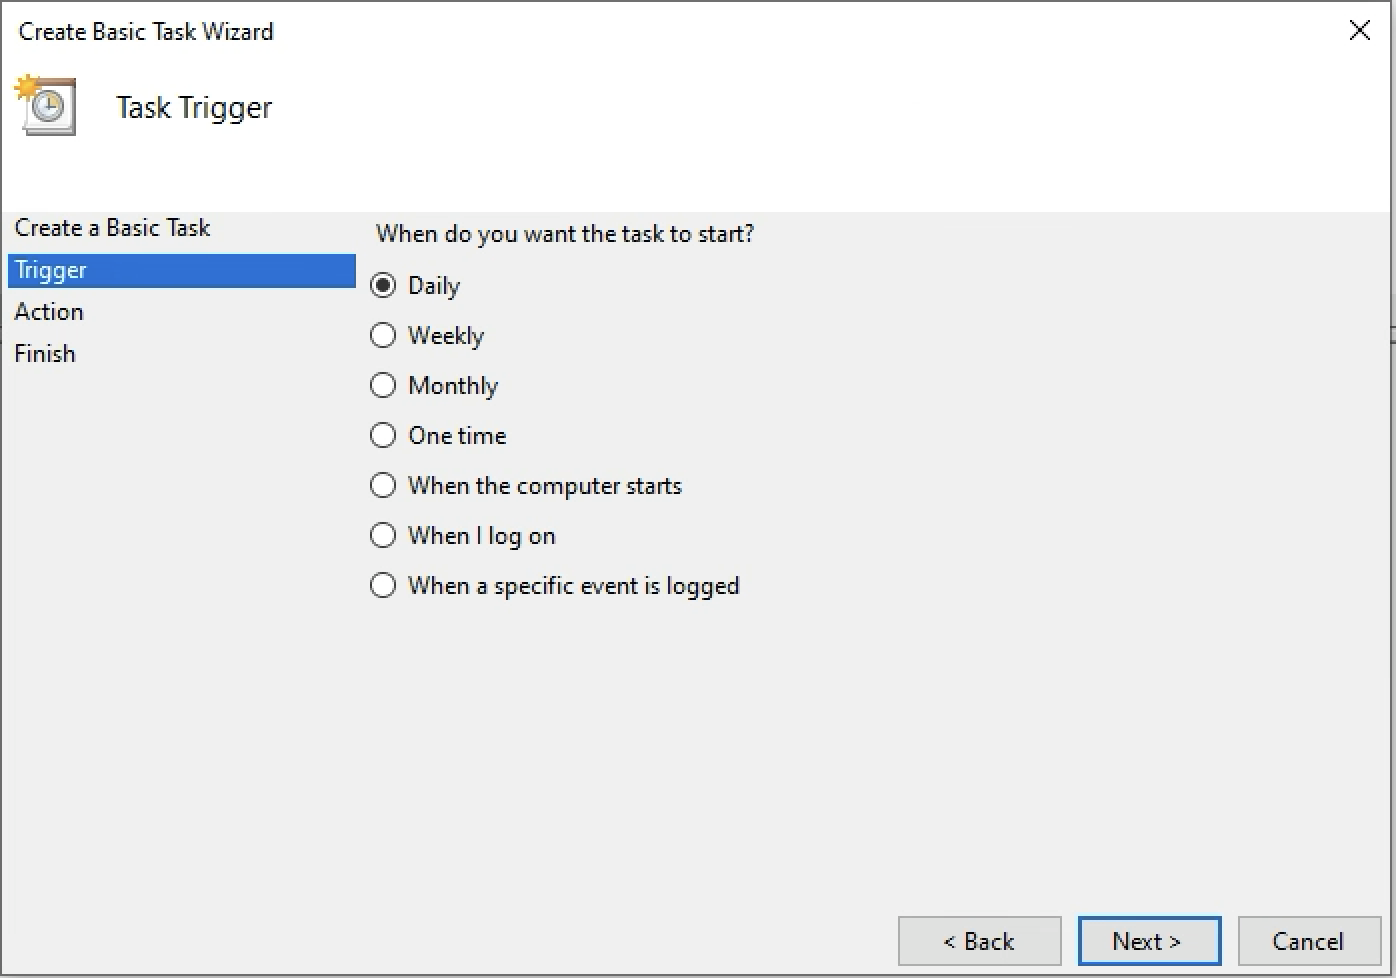
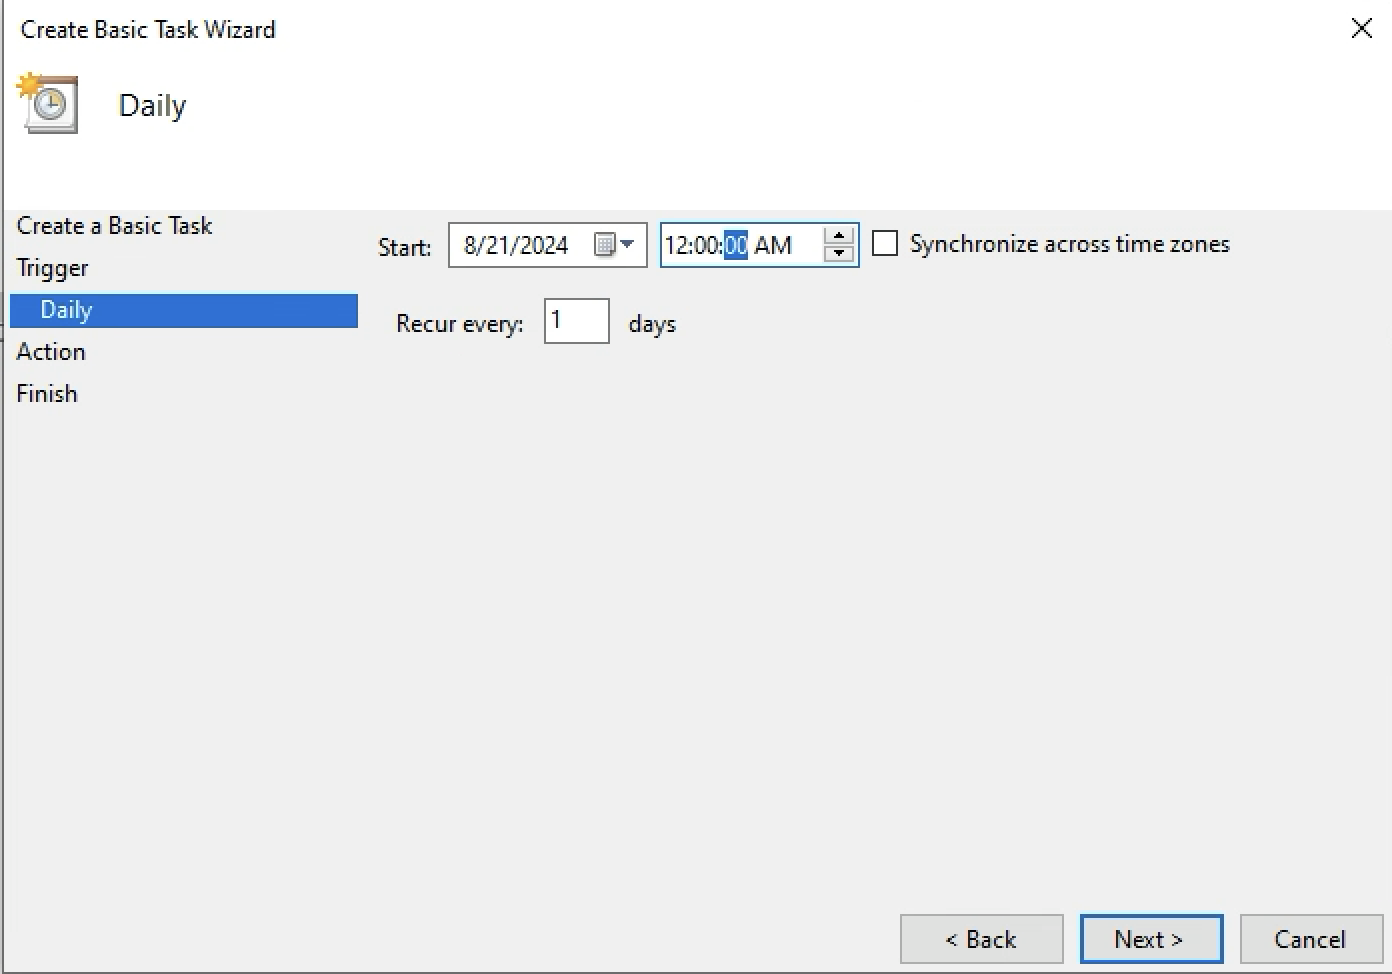
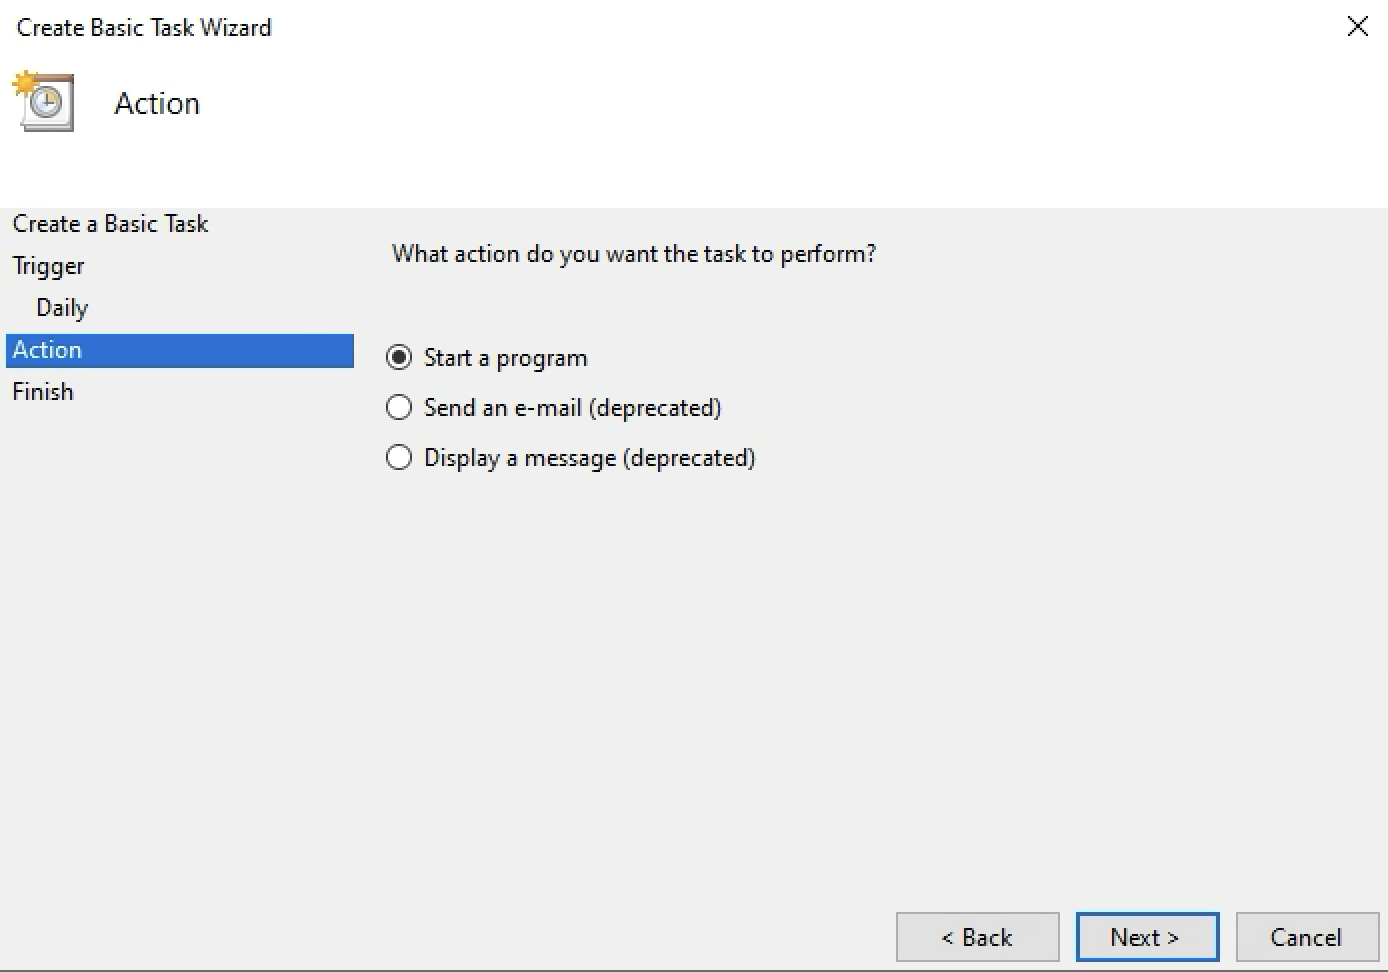
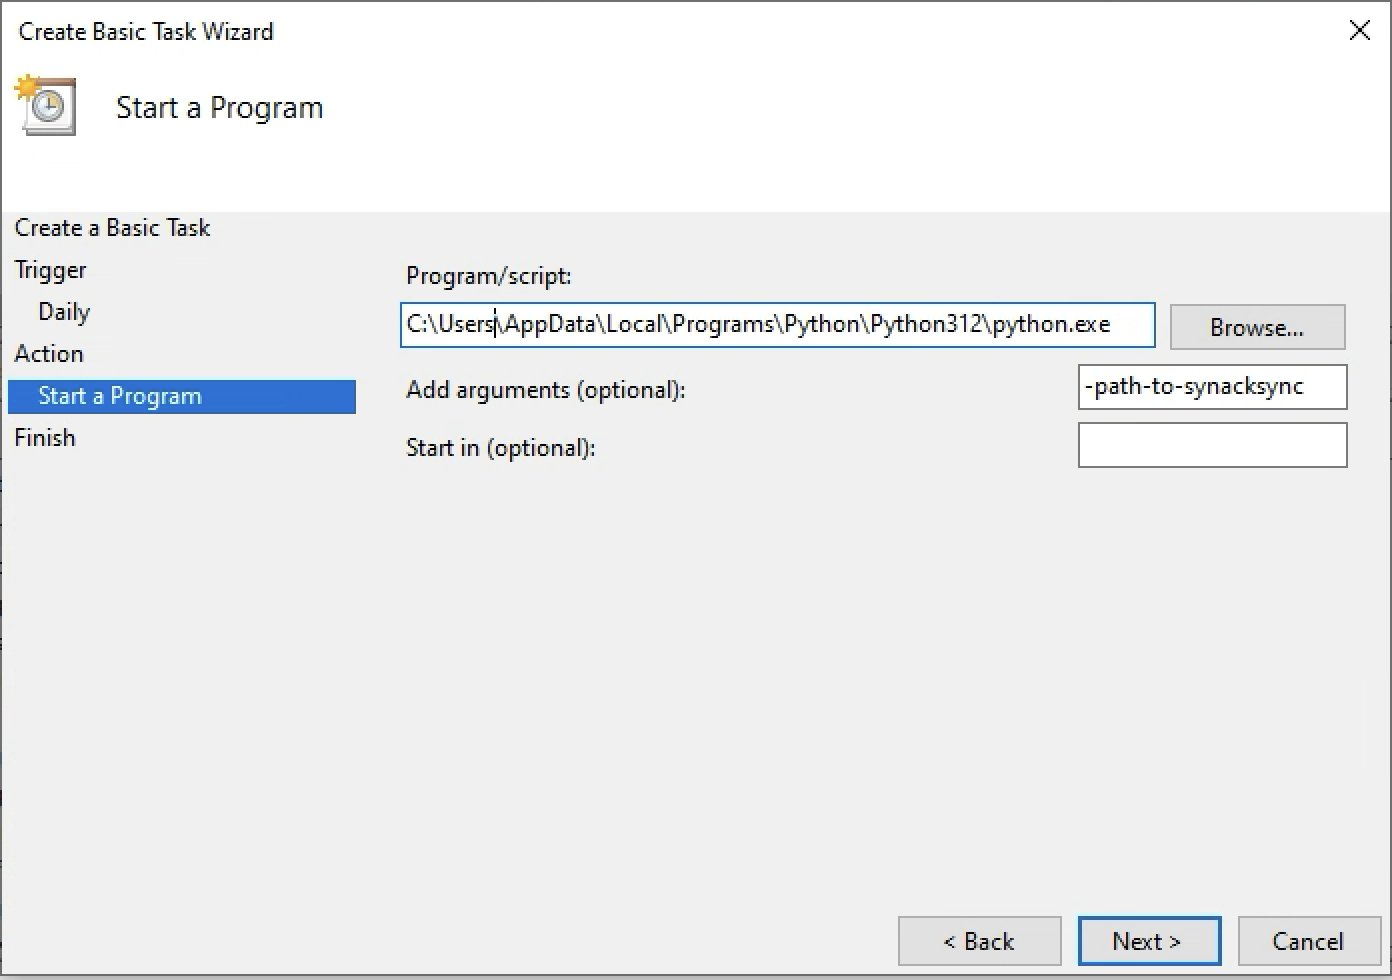
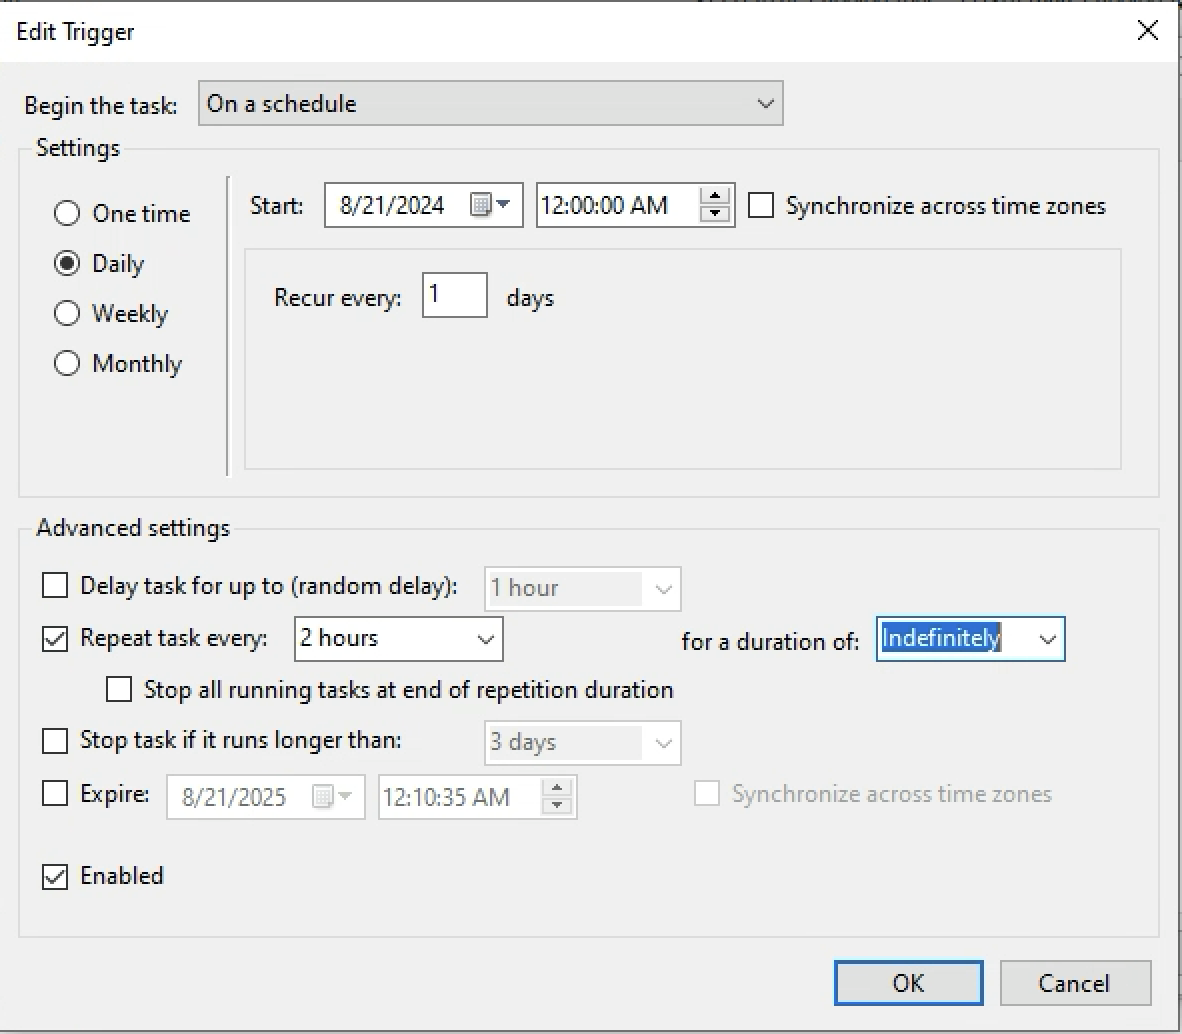
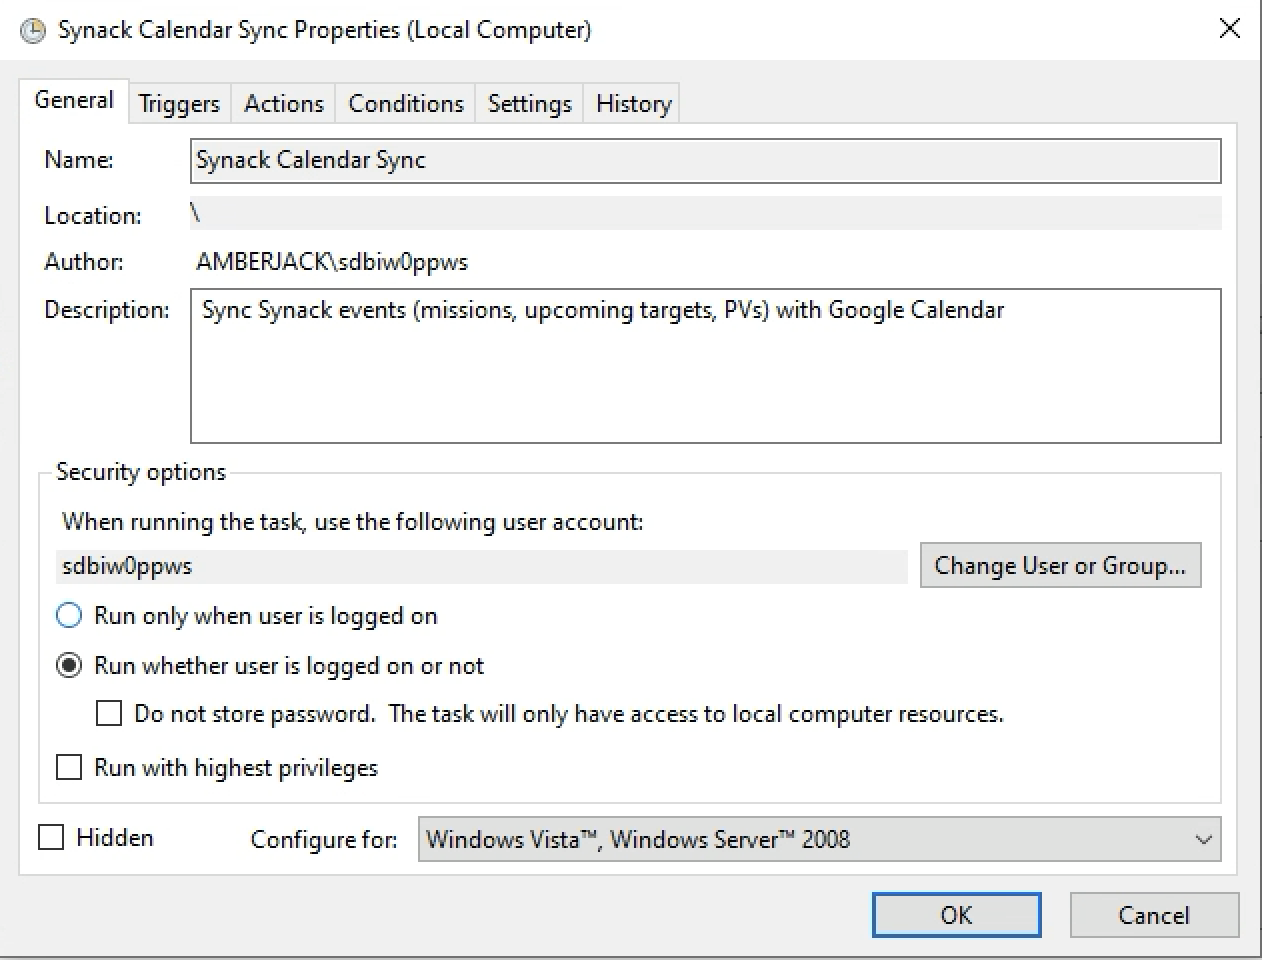
Windows - Persistence Instructions
These instructions are assuming WSL adjust accordingly if not
Linux - Persistence Instructions
Make sure you have a way to keep your authentication up to date and just add a cron. If you've never added a cron.
You can add a cron job by editing the crontab file using the following command:
crontab -eThis command opens the crontab editor for the current user.
In the crontab editor, add the following line at the end of the file but change to the actual paths needed for the script location. The below is a two hour cron, omit the >> and everything after if you dont want logging:
0 */2 * * * /usr/bin/python3 /full_path_to_your_script/synacksync.py >> /full_path_to_where_you_want_to_log/synacksync.log 2>&1After adding the line, save the file and exit the editor. The method to save and exit depends on the text editor and if you are using VIM you might not be able to perform this step. (:wq)
You can verify that the cron job has been installed by listing your current cron jobs:
crontab -lThis command will display all the cron jobs set up for the current user. You should see the line you installed.
This project is licensed under the MIT License or whatever.
