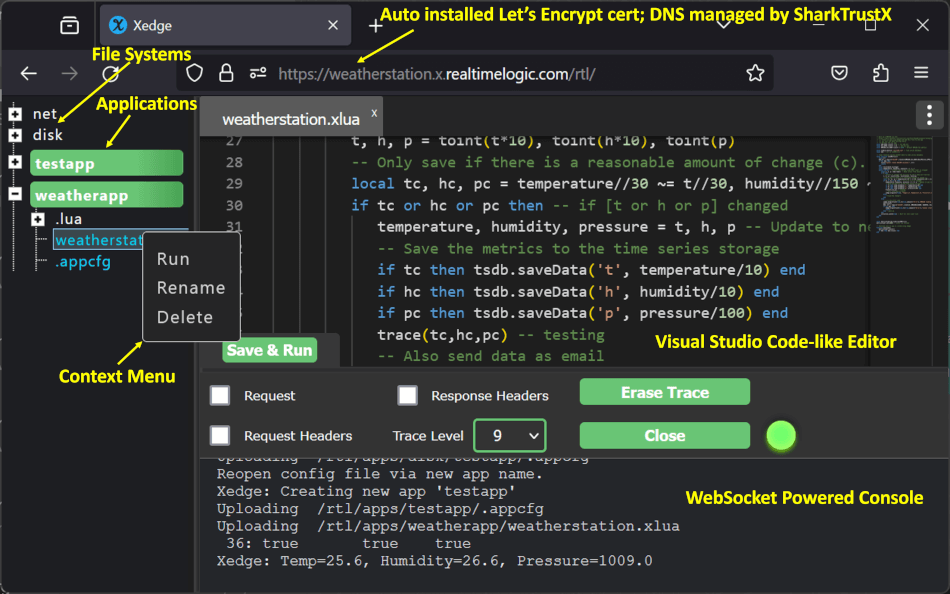
Looking to turn your ESP32 into a powerful Edge Controller or IoT Gateway? Look no further than Xedge32! This incredible development tool empowers users of all levels to program their ESP32 using the simple and intuitive Lua Scripting language. Lua is the perfect beginner-friendly coding language, even promoted as a first programming language for children! With Xedge32, you can easily unlock the full potential of your ESP32 and create advanced IoT solutions that will impress even the most tech-savvy enthusiasts.
You do not need to compile Xedge32. Compiling Xedge32 is for C code experts.
To compile the source code, you must use the latest ESP-IDF, which can be found on GitHub.
The following Linux commands show all steps required for installing the development tools, downloading the required source code, and compiling the code:
   sudo apt -y update
   sudo apt -y install git wget zip flex bison gperf python3 python3-venv cmake ninja-build ccache libffi-dev libssl-dev dfu-util libusb-1.0-0

   cd
   # remove old installation, if any
   rm -rf .espressif esp/esp-idf

   # Install the latest esp-idf
   mkdir esp
   cd esp
   git clone --recursive https://github.com/espressif/esp-idf.git
   # Execute the 3 following lines if you plan on using the CAM plugin.
   cd esp-idf/components
   git clone https://github.com/espressif/esp32-camera.git
   cd ..
   ./install.sh
   cd ..
   source esp-idf/export.sh

   # Download Xedge32
   git clone --recursive https://github.com/RealTimeLogic/xedge32.git xedge
   cd xedge

   # Build the Xedge resource file Xedge.zip, convert to C, and copy C file to Xedge directory
   chmod +x BuildESP32ResourceFile.sh
   ./BuildESP32ResourceFile.sh

   #set target to one of:
   #idf.py set-target esp32
   #idf.py set-target esp32s3

   # Configure Xedge32 options such as enabling CAM. Note, You must
   # enabled the C side OPC UA if you included OPC-UA when running
   # BuildESP32ResourceFile.sh.
   #idf.py menuconfig

   # Build the code
   idf.py build
Note that the code can be compiled in a Linux console, including the Windows Subsystem for Linux (WSL). If you use WSL, it's recommended to use generation one (WSL1), as it can be difficult to get the USB serial working in WSL2. For more information, see the WSL documentation.
To upload the firmware to your ESP32, follow these steps:
- Wait for the build process to complete.
- Upload the code using:
- Linux: idf.py flash monitor
- WSL: idf.py -p /dev/ttyS4 -b 115200 flash monitor
