This is a technical challenge that involves capturing integers and then building stats wih them.
In order to setup you will need:
Python 3.10, although this can work with earlier version but it hasn't been testedpipenvas a virtual environment managerpipenvinstall instructions by platform can be found here
-
Make sure you have installed
pythonandpipenv -
In the repo directory, do a
pipenv shellcommand in order to create a virtual environmentTip 💡: If you are in a UNIX-like operating system you can do
which pythonto make sure you are not using thepythoninstallation of your system -
Run
pipenv install --dev(The--devis needed because all of the packages are development dependencies) -
And now you are done 😊
There are different commands that can run the app, they are specified within the [scripts] section of Pipfile.
⚠️ Note that you need to have your pipenv environment activated in order to run them
Invoked with either pipenv run main or with python main.py. This is a command that runs a sample DataCapture instance with 5 numbers captured and then it build stats from there are shown. An example output of this is
Capturing: DataCapture(min:3, max:9, elements:5)
stats.less(4)=2
stats.between(3, 6)=4
stats.greater(4)=2
This command runs tests without generating comprehensive reports about it. To invoke this run pipenv run test.
💡 Tests internally use pytest
Invoked using pipenv run format it internally invokes black to format the code using PEP-8 standards.
pipenv run test-coverage creates a coverage report. Uses coverage package internally.
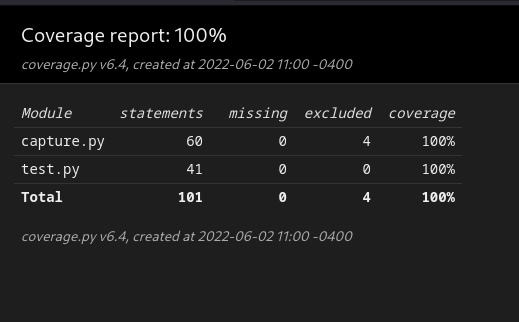
pipenv run coverage-report prints a coverage report, like the following:
Name         Stmts   Miss  Cover
--------------------------------
capture.py      60      0   100%
test.py         41      0   100%
--------------------------------
TOTAL          101      0   100%
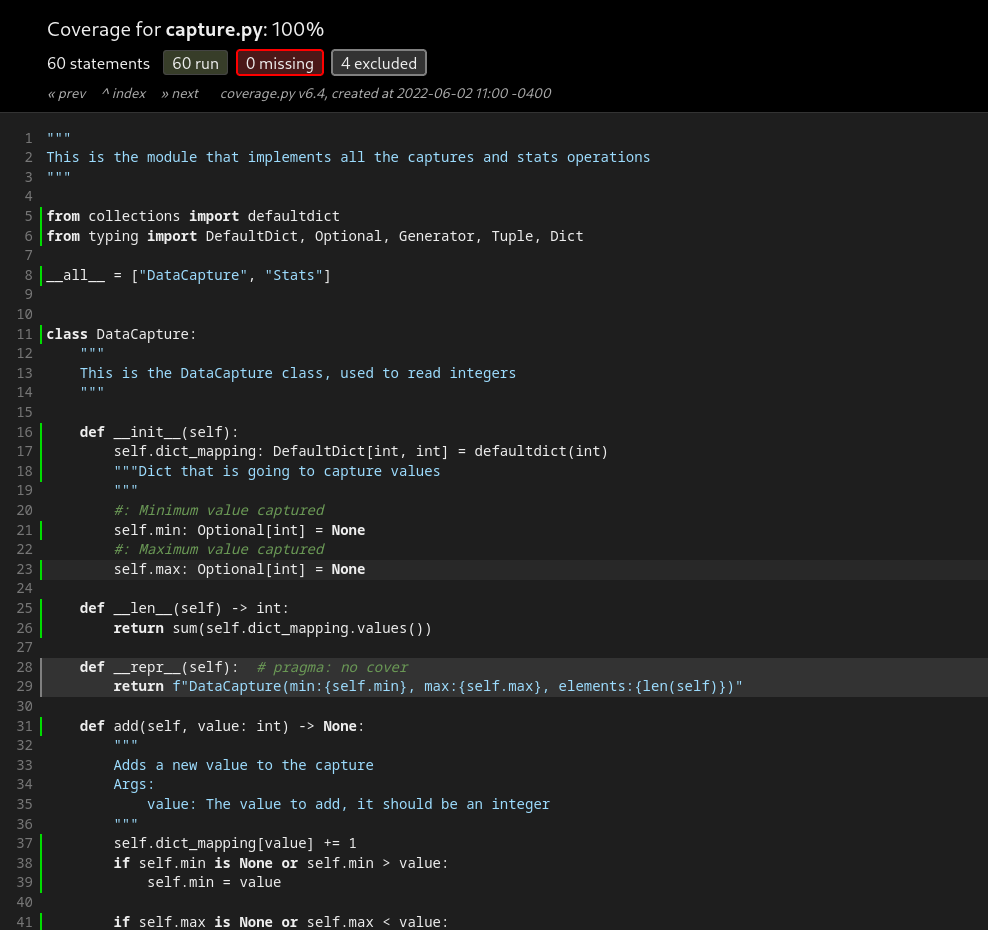
pipenv run coverage-html generates an HTML version of the coverage report. It's saved in the htmlcov directory.
pipenv run serve-coverage-html spins a http.server in the htmlcov directory.
It should look a bit like this:
| Index of reports | Coverage report |
|---|---|
 |
 |
⚠️ Note: This command should be run after runningpipenv run coverage-html
pipenv run flake8 runs flake8 linter.
Documents can be generated with the help of docstring conventions and pdoc3 using the command pipenv run gen-docs, the docs are then saved in Markdown format in the docs directory.
⚠️ Note that if the documents are already generated in thedocsfolder you will need to either delete this folder to generate them again or use a-fflag to force the regeneration of the docs as inpipenv run gen-docs -f. Use this with care.
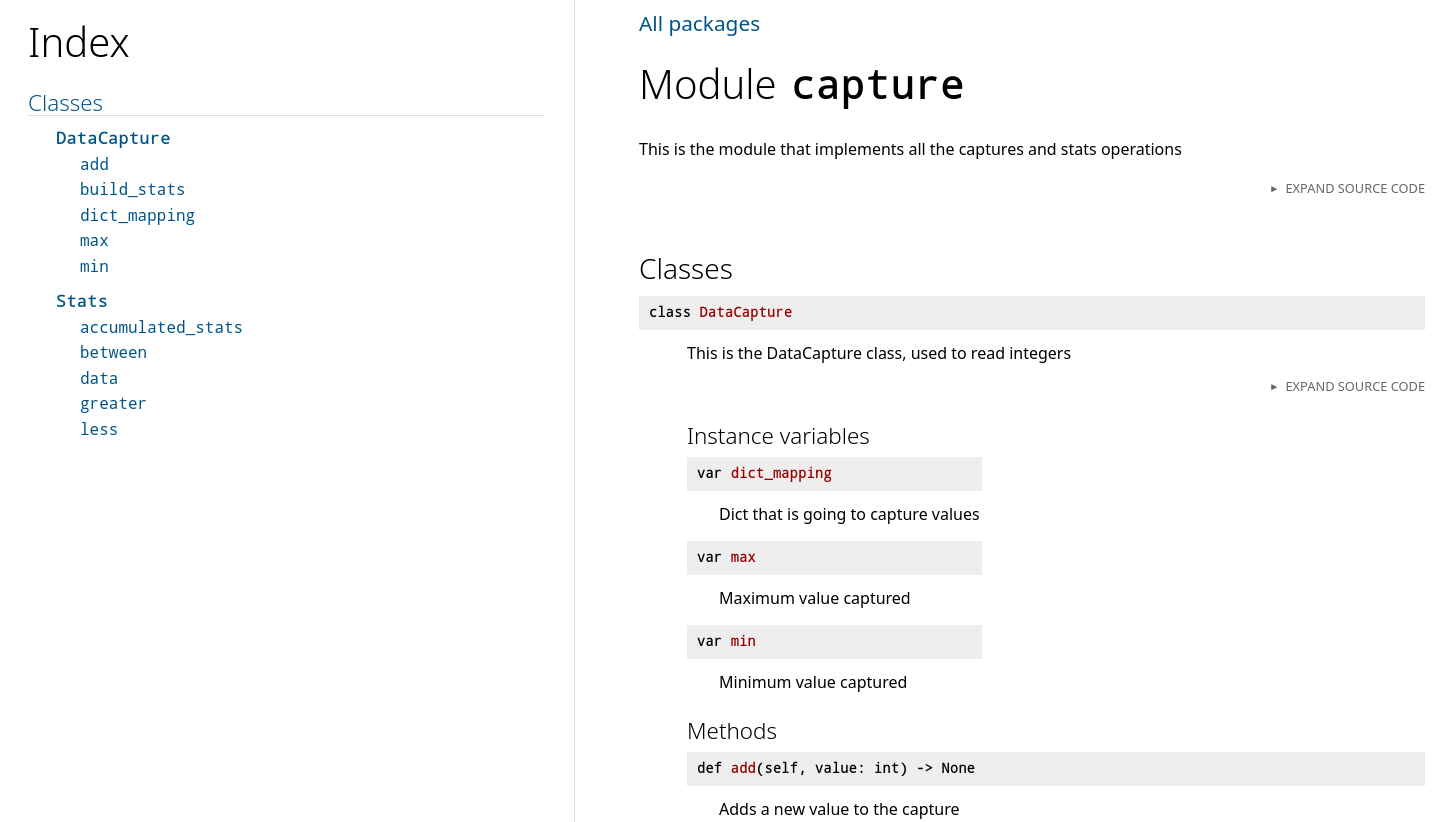
In order to get nice HTML docs run pipenv run serve-docs which will run a server serving HTML in the port 5000 of your localhost. These docs will look like the following
Already generated docs can be found for the three modules of this project
There's a run_test.sh file that allows you to run the tests and generate the coverage reports.
With the --serve flag, you can serve these coverage reports automatically after running all the tests.
