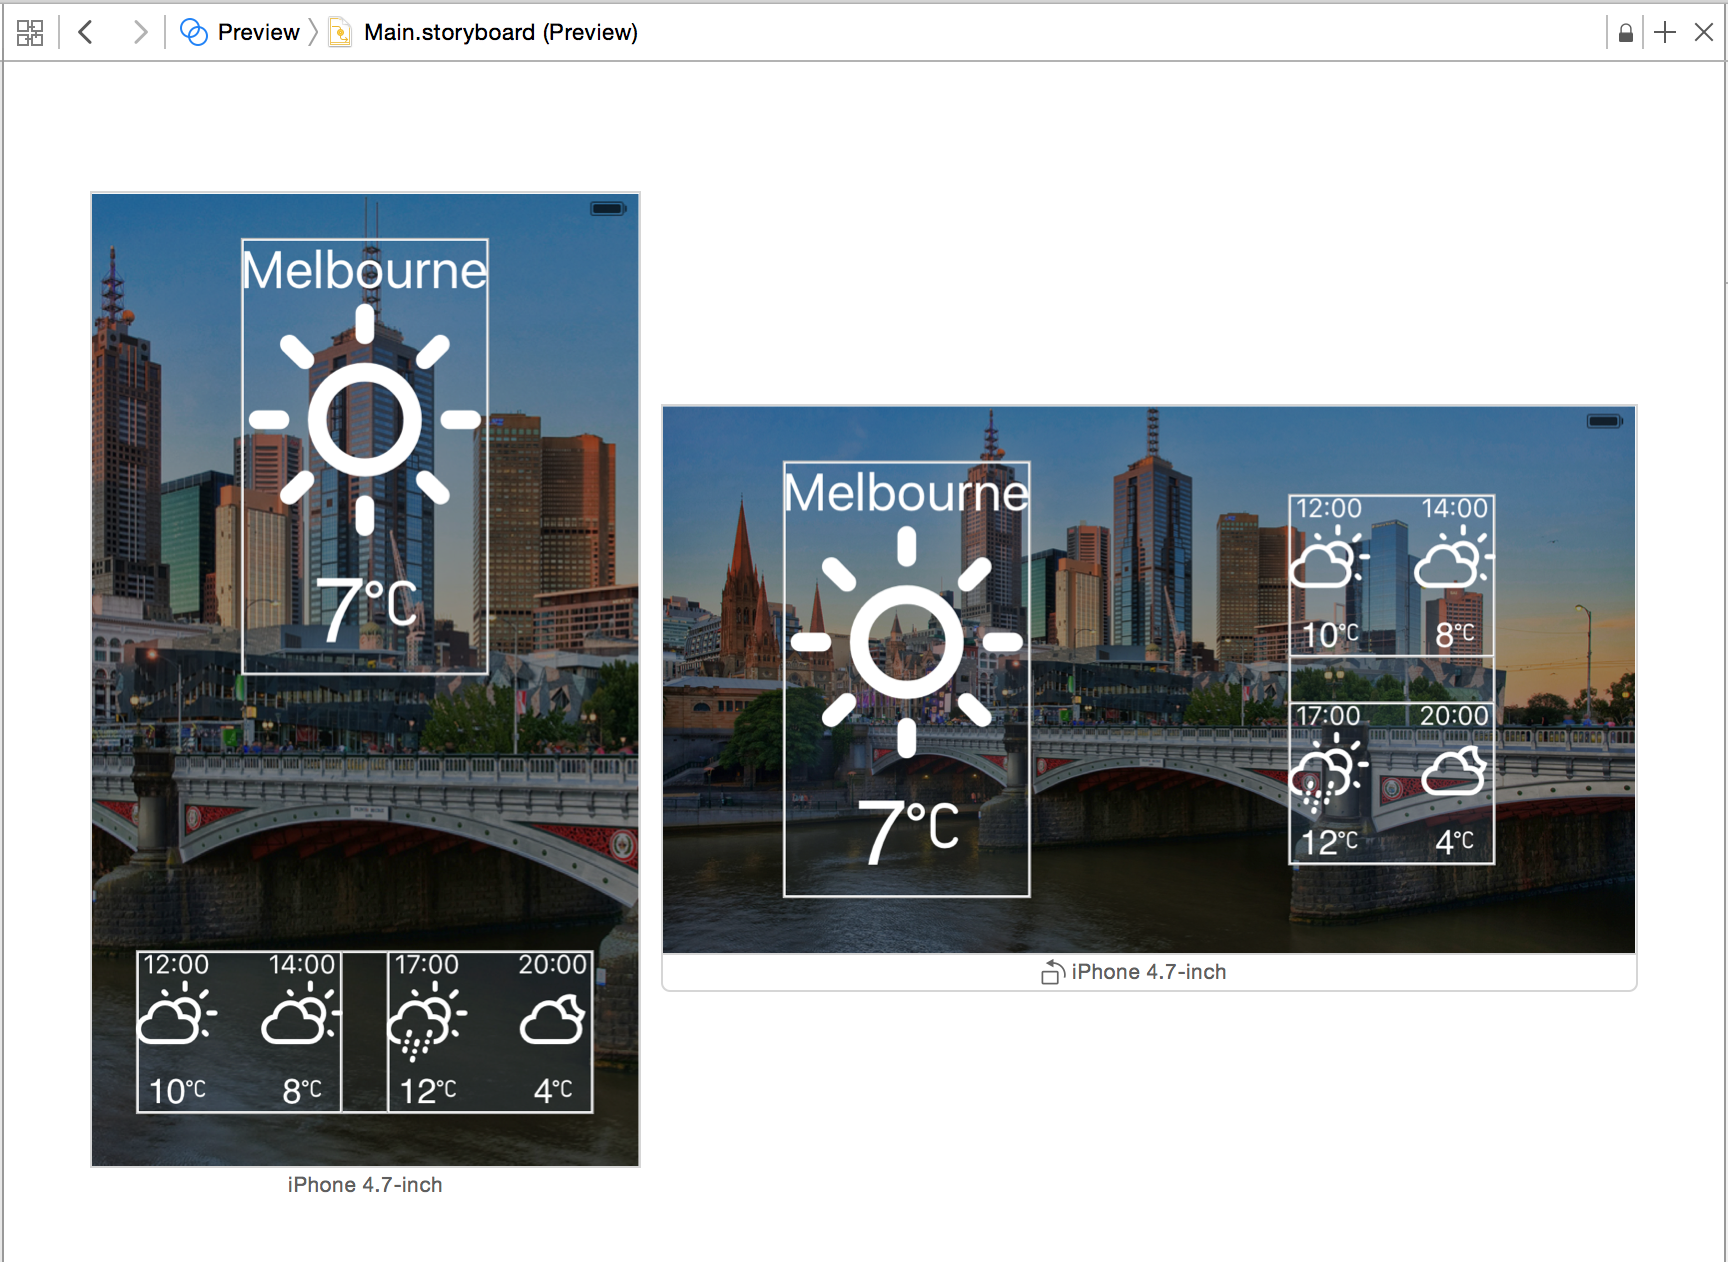
SwiftWeather is an iOS weather app developed in Swift 2. The app has been actively upgrading to adopt the latest features of iOS and Swift language.
The current version is working with Xcode Version 7. If you are using different Xcode version, please check out the previous versions.
This version has been upgraded to support iOS 9 only using Swift 2.
There are two major version for the app released before.
- V1.0 - Support iOS 7+ using CocoaPods and AFNetworking. README.v1.md and Release V1 - Using Cocoapods and AFNetworking
- V2.0 - Support iOS 8+ using Carthage, Alamofire and SwiftyJSON. README.v2.md and Release V2.0
- V2.1 - Support iOS 8+ using Alamofire and SwiftyJSON. This version has removed Carthage because some developers don't have a paid Apple iOS developer account and they have issues to build Carthage packages.
- Swift Programming Language - fully upgraded to version 2
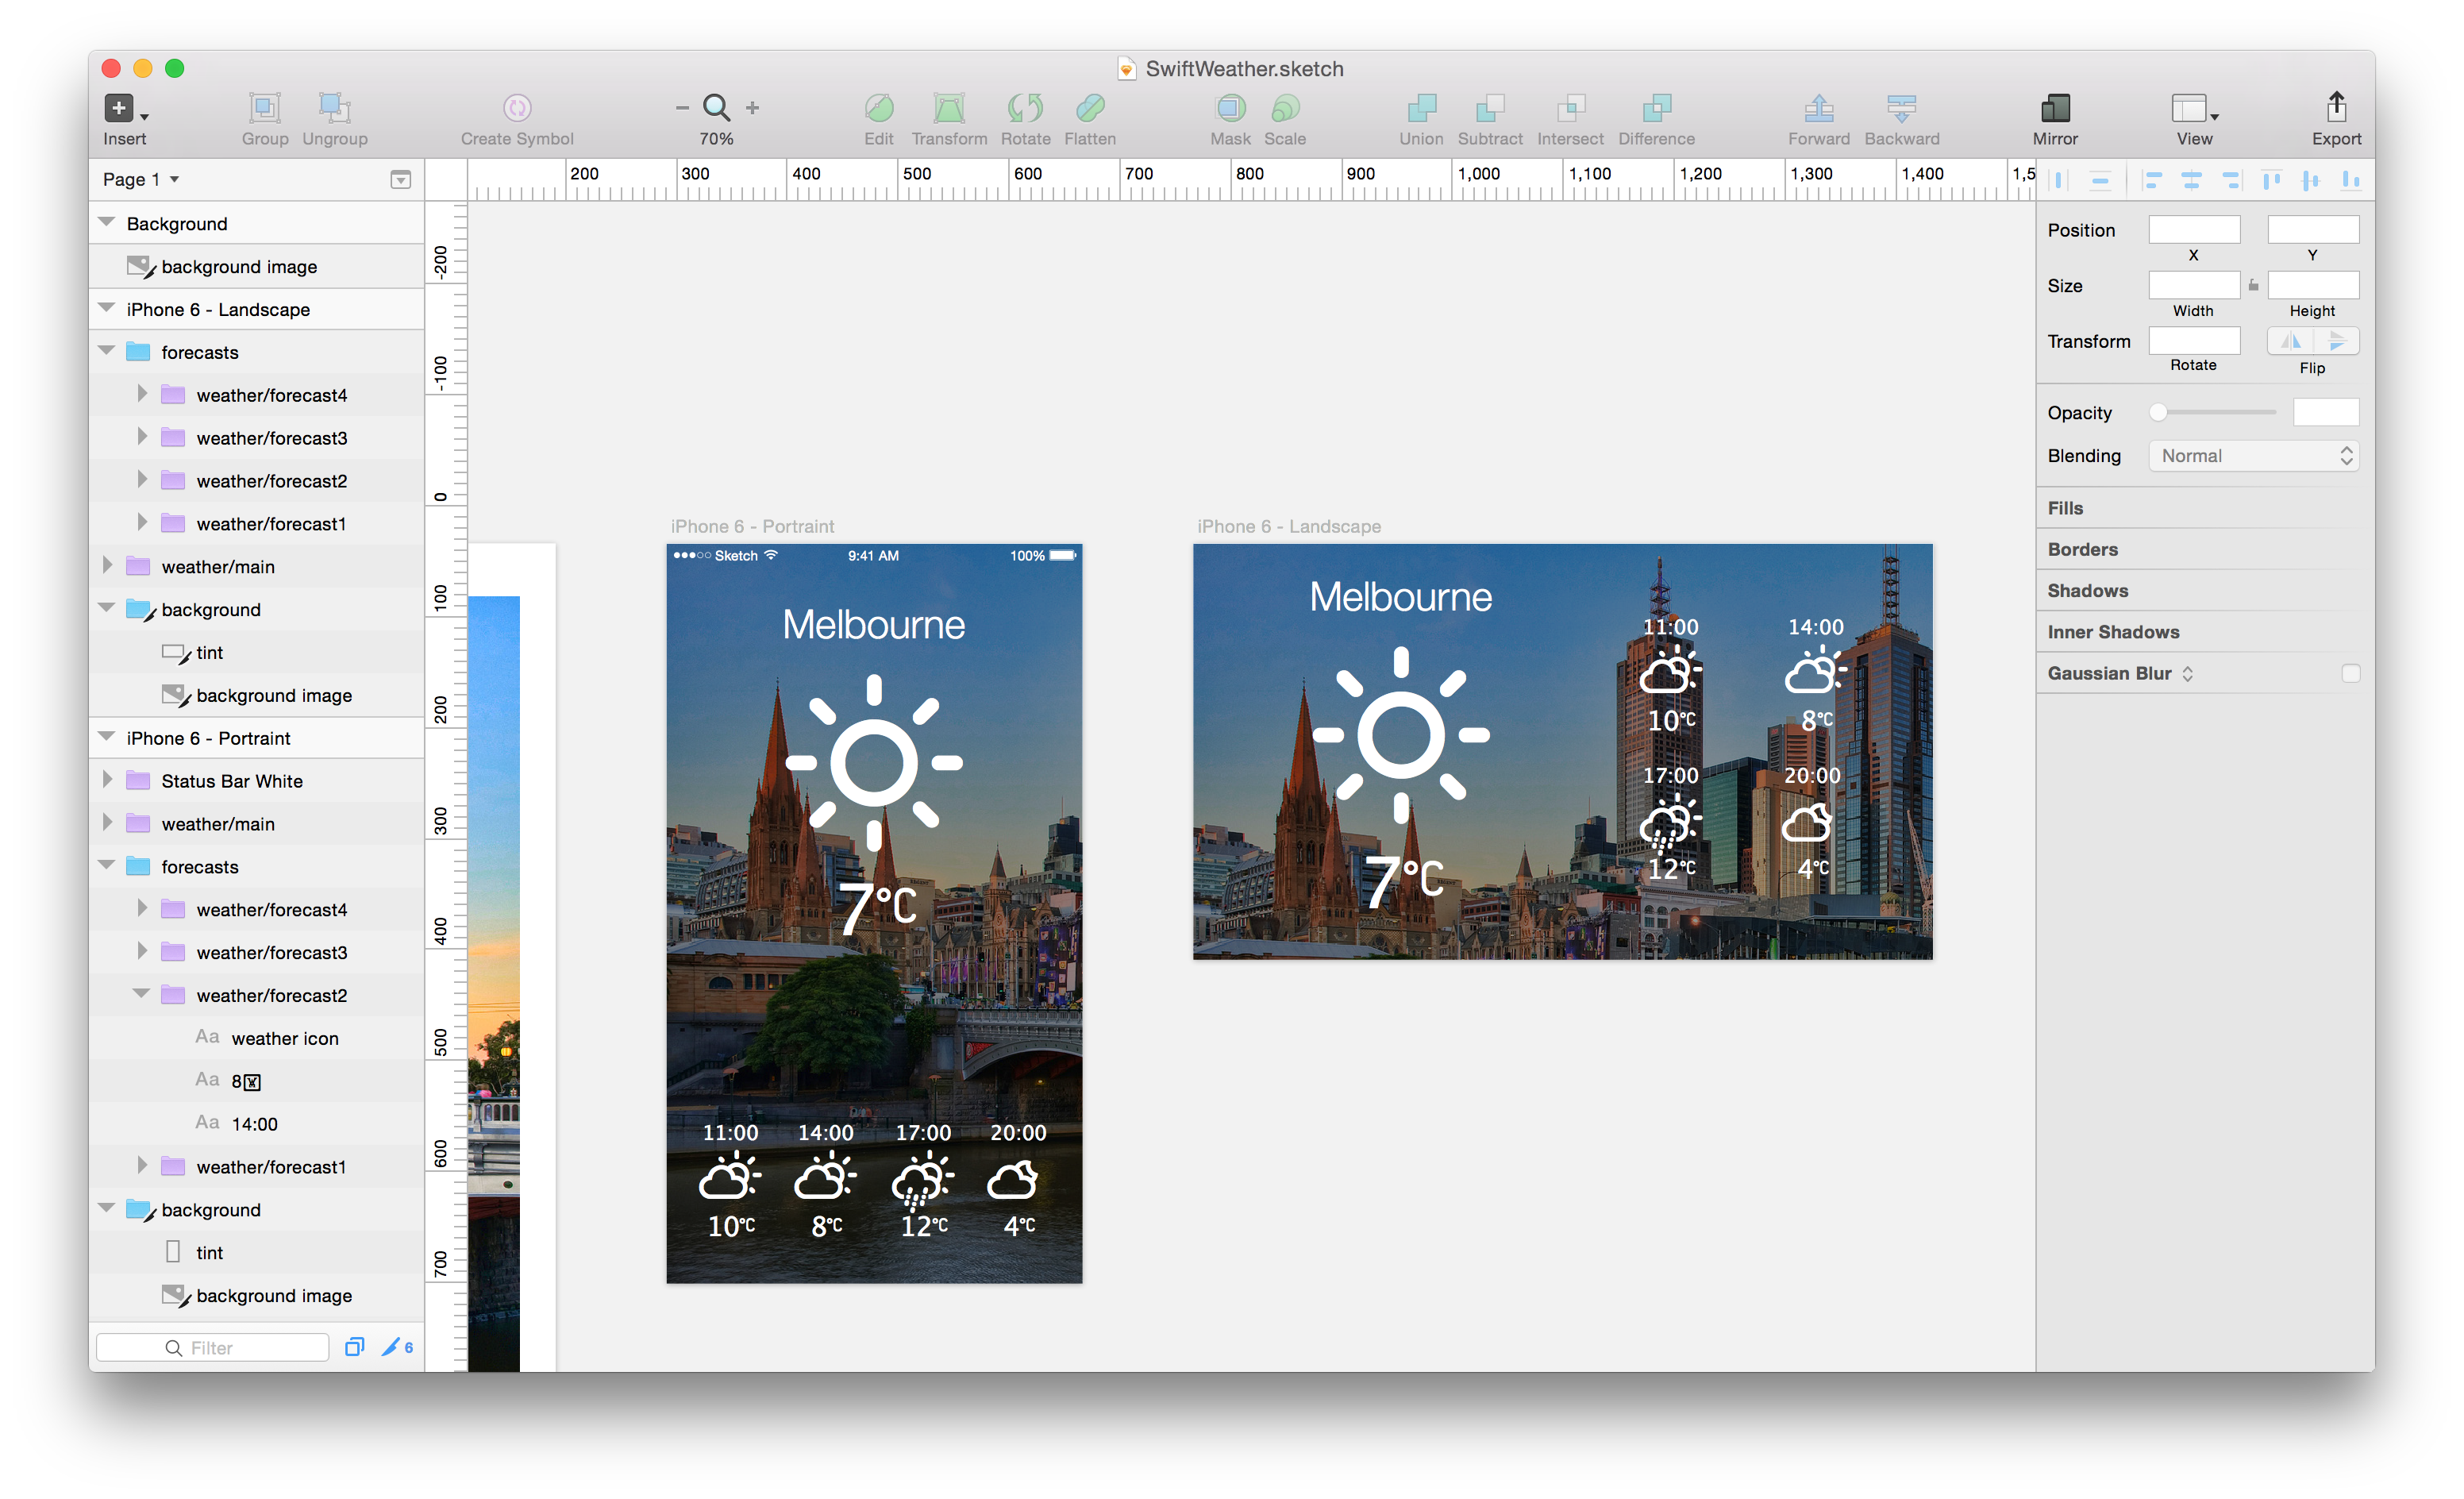
- Design driven development - Sketch design file
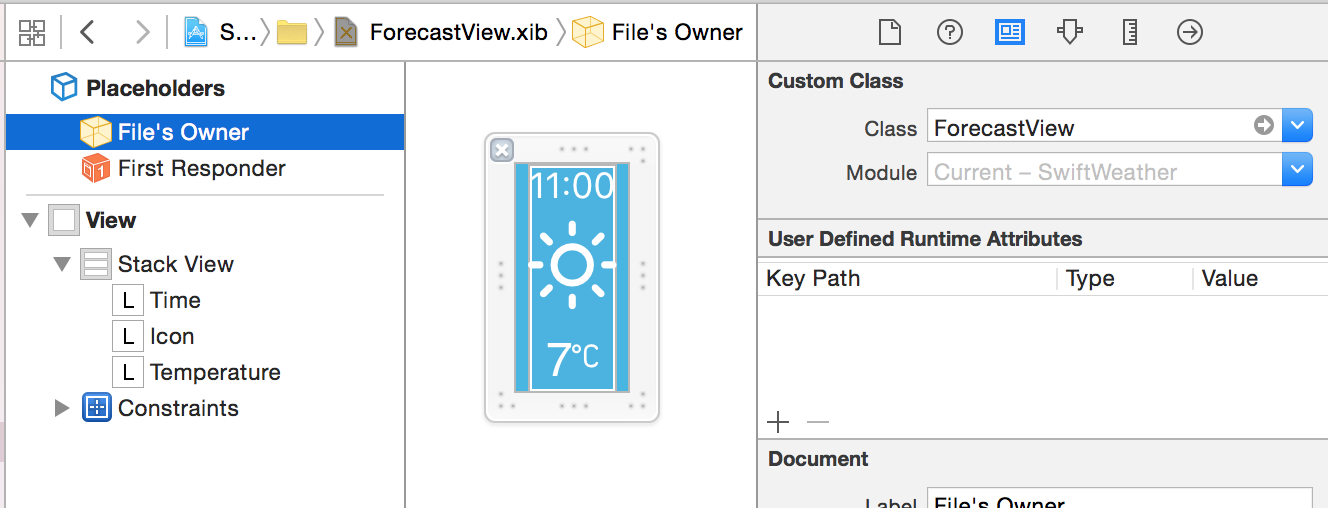
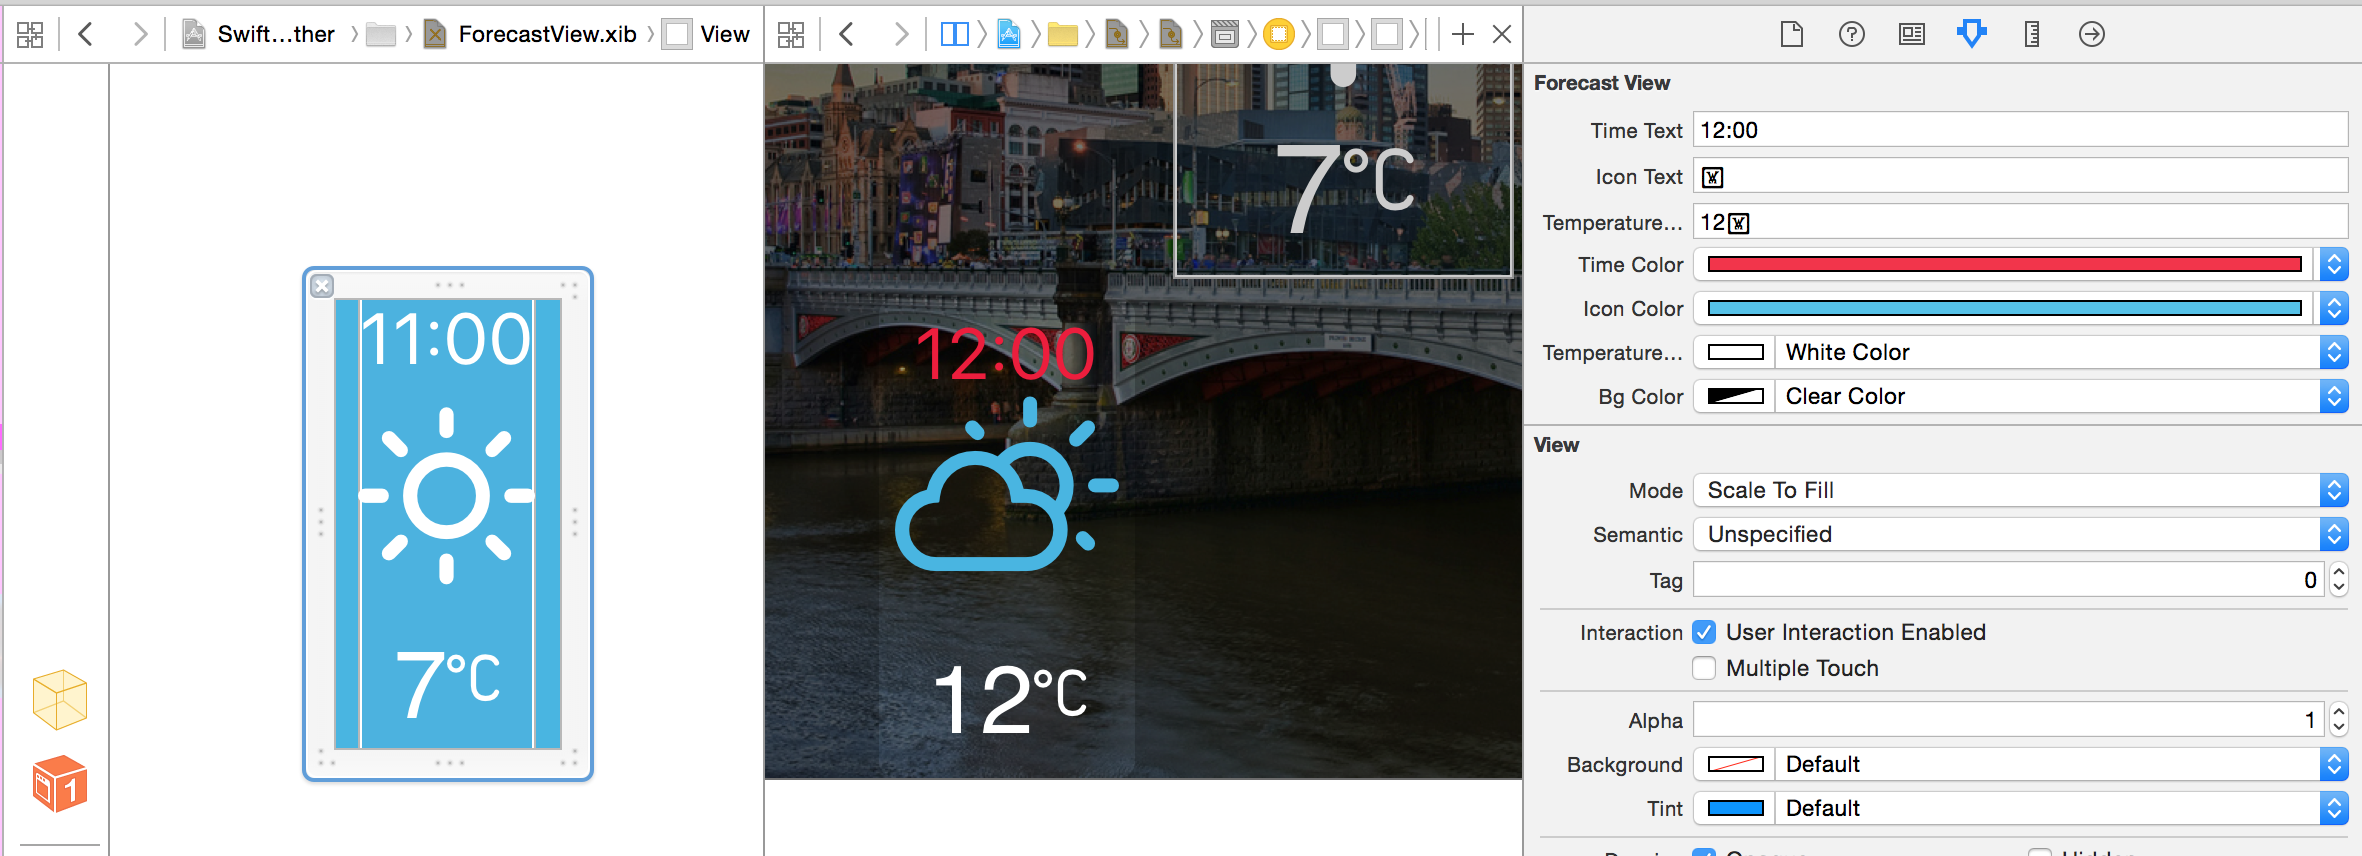
- Custom UIView
@IBDesignableand@IBInspectable- Reusable UI components
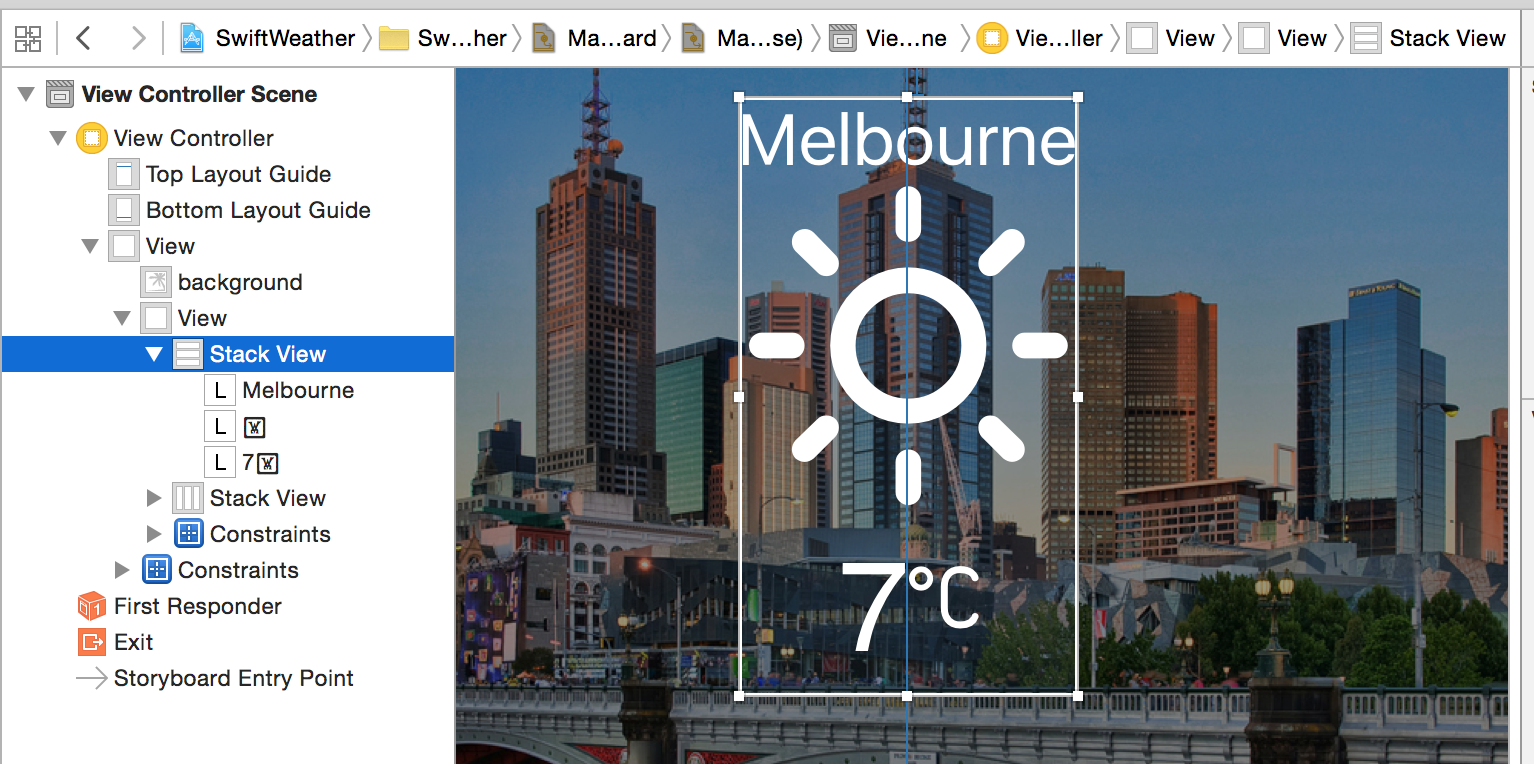
UIStackView
- Size Classes - Support different devices with adpative layout
-
MVVM - Reactively update
ViewControllerUI fromViewModel -
Protocol-Oriented Programming - Still learning though and finding the best practise of that.
-
Value based programming - Use imutable value anywhere.
-
Icon fonts - Use Weather Icons
-
Core Location
- App indexing like CoreSpotlight and
NSUserActivity Unit Tests- UI Tests
- Animations
- Clone the repository
$ git clone https://github.com/JakeLin/SwiftWeather.git- Install pods
$ cd SwiftWeather
$ pod install- Open the workspace in Xcode
$ open "SwiftWeather.xcworkspace"- Sign up on openweathermap.org/appid to get an appid
$ mkdir .access_tokens
$ echo "your-openweathermap-appid" > .access_tokens/openweathermap
Please replace "your-openweathermap-appid" with your actual appid key.
-
Compile and run the app in your simulator
-
If you don't see any data, please check "Simulator" -> "Debug" -> "Location" to change the location.
- Xcode 7
- iOS 9


