Encrypt Connections
Normally NFSv4 does not use encrypted traffic.Here, we are attempting to encrypt NFSv4 traffic (Network File System) using OpenSSL. Task1 : generate public and private keys and certificates using openssl Use this in next task where we encrypt the traffic.
💡 If two screenshots are present , left hand side is server and right hand side is clientTask 1
-
Generate an RSA key(private key) for the CA

Check its contents using
openssl rsa -in private.org.key -noout -text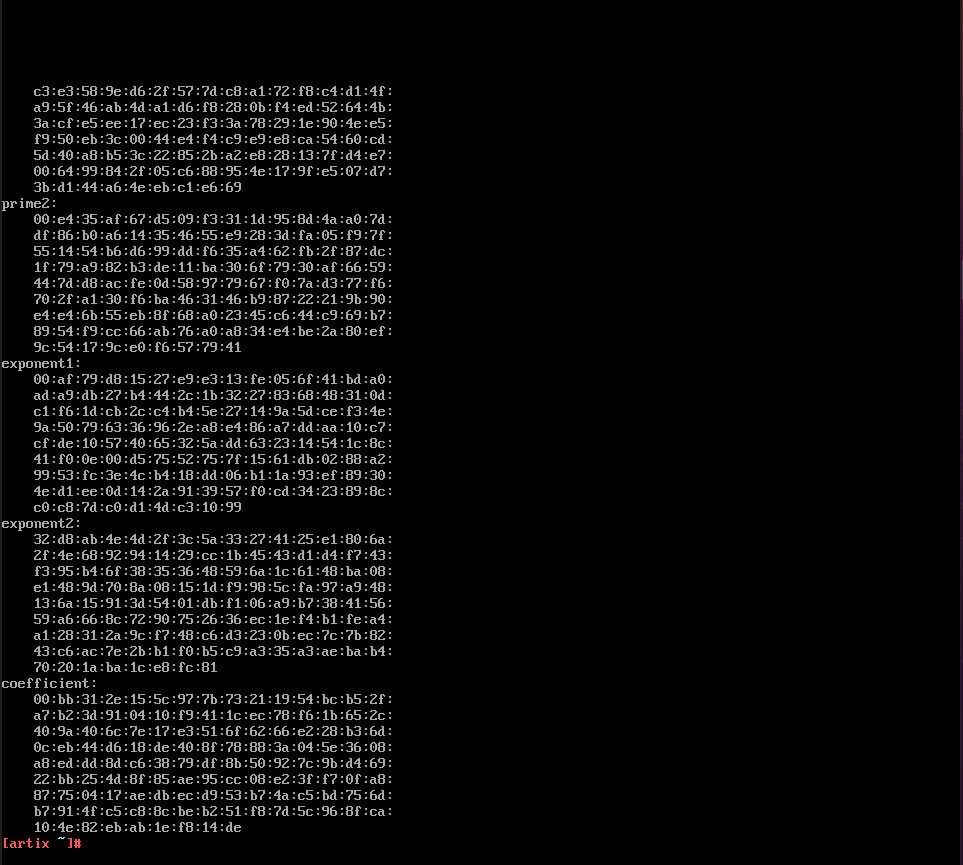
-
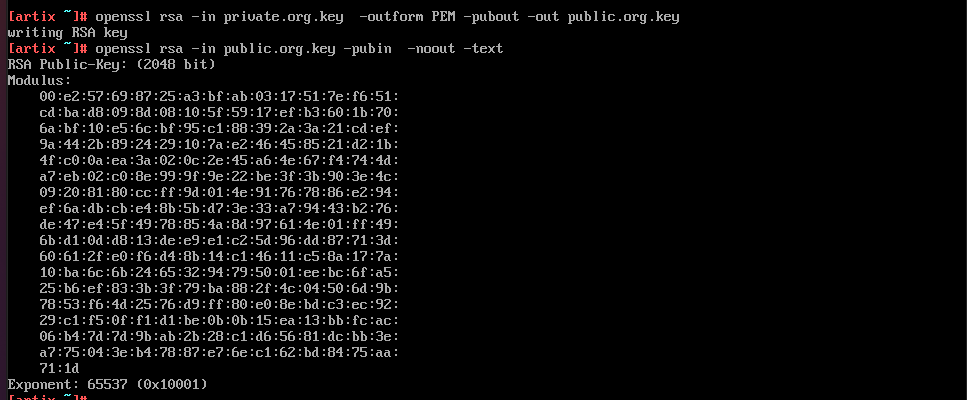
Extract the rsa public key from the private key
-
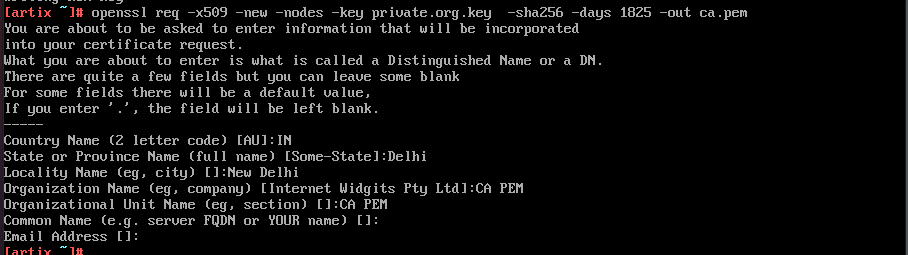
Create CA certificate
-
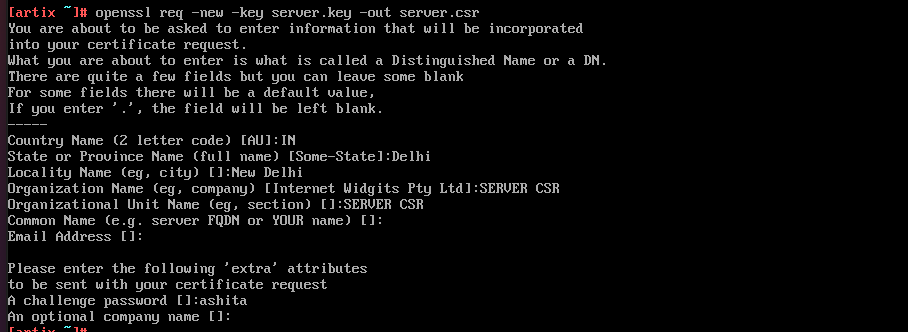
Server key and certificate

-
Sign the server certifcate using CA

See the contents of the certificates using
openssl -x509 -in Myserver.pem -noout -text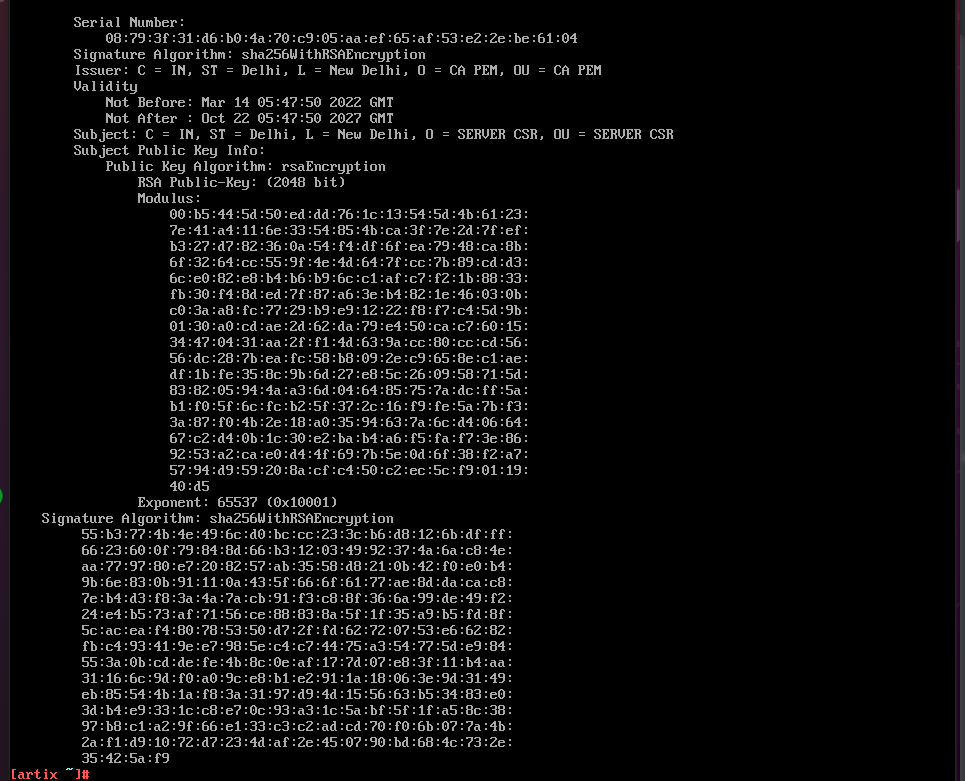
-
Client key and certificate
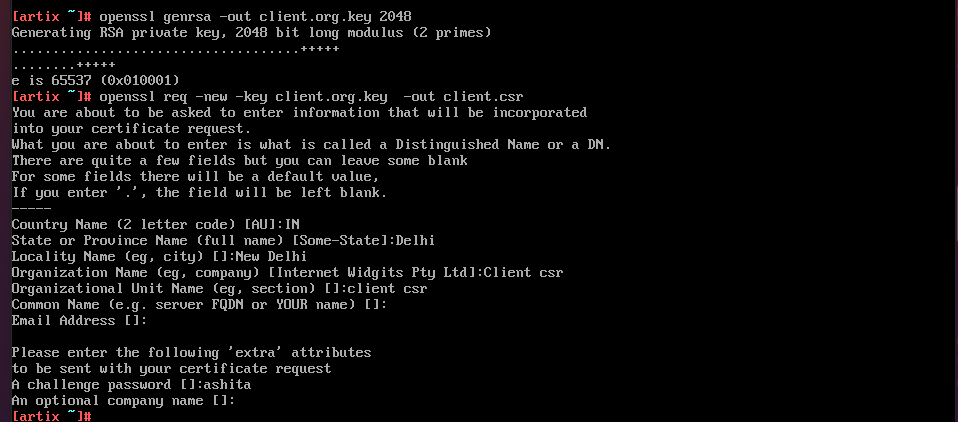
-
Sign the client certificate using CA

-
Launch server and client using s_server and s_client as mentioned below
openssl s_server -key Server/server.key -cert Server/Myserver.pem -CAfile ca.pem -accept 12345 openssl s_client -connect 172.16.12.136:12345 -CAfile ca.pem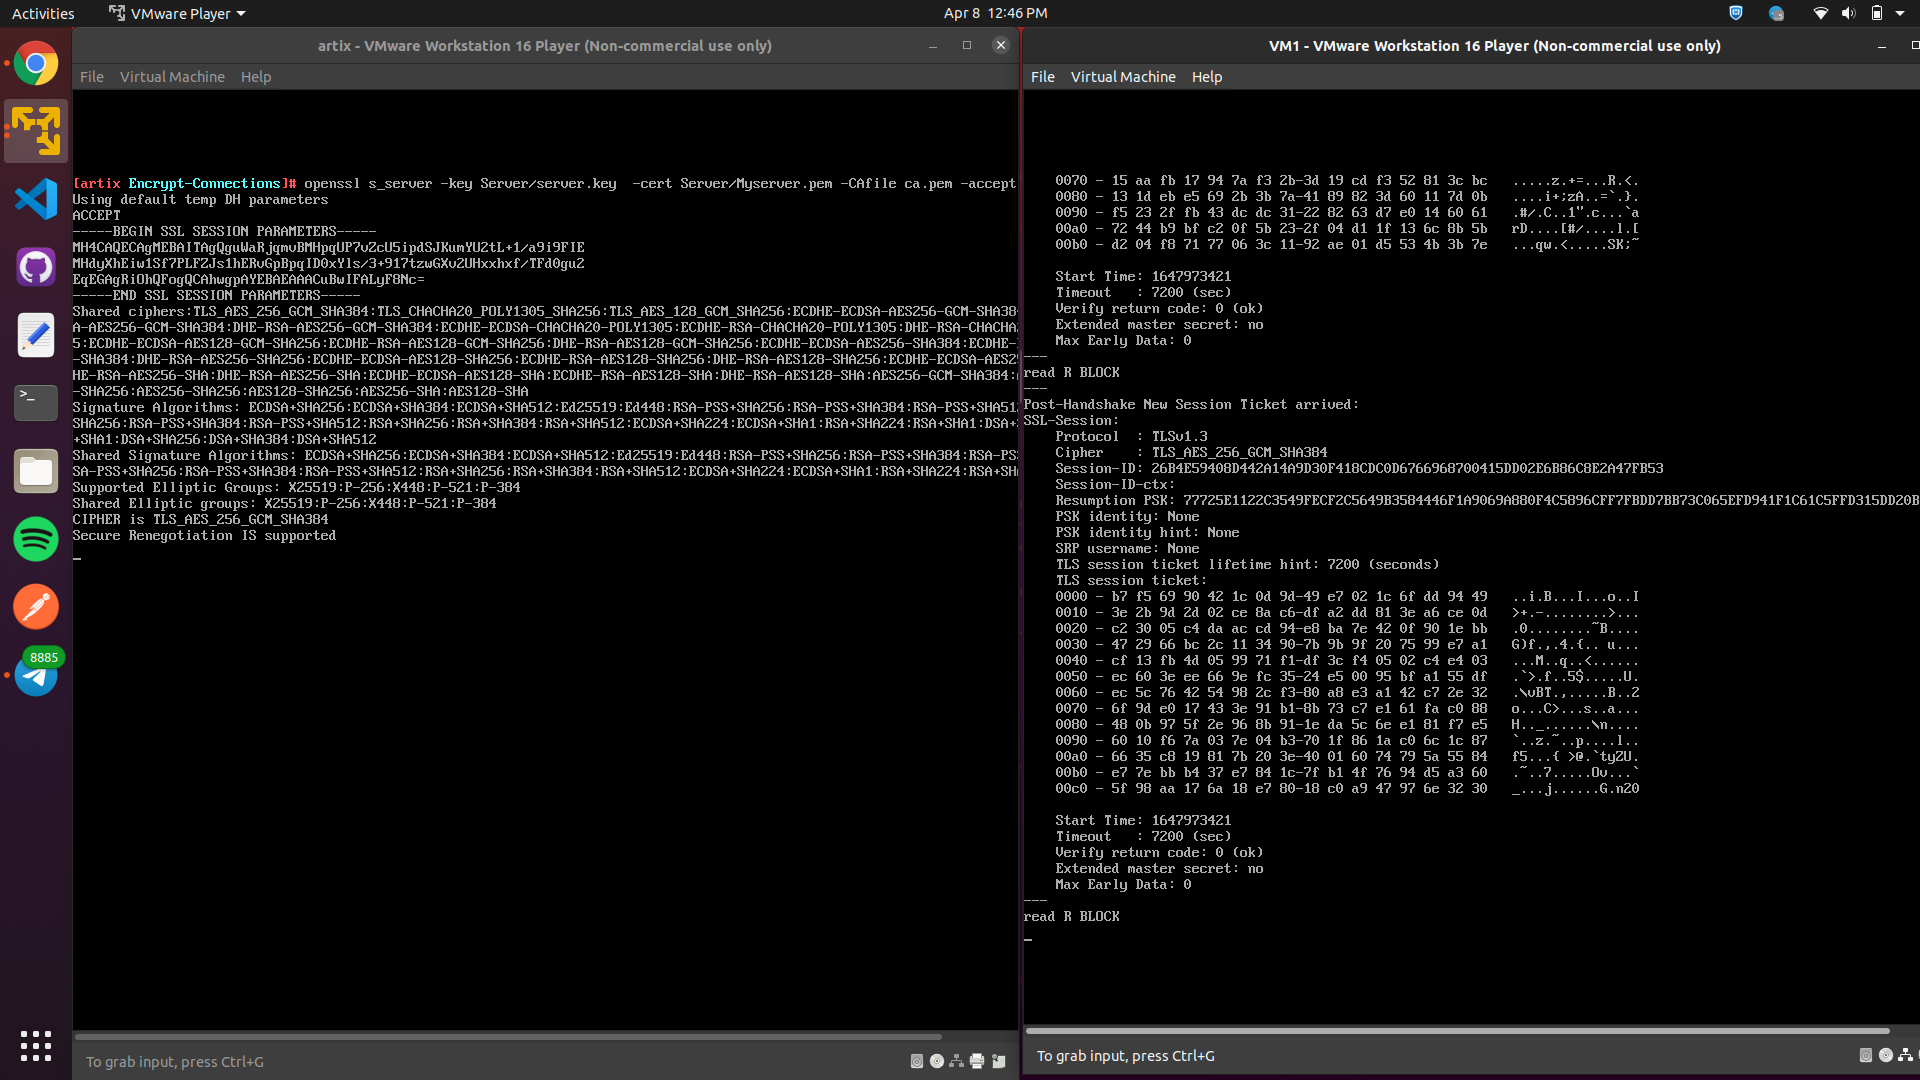
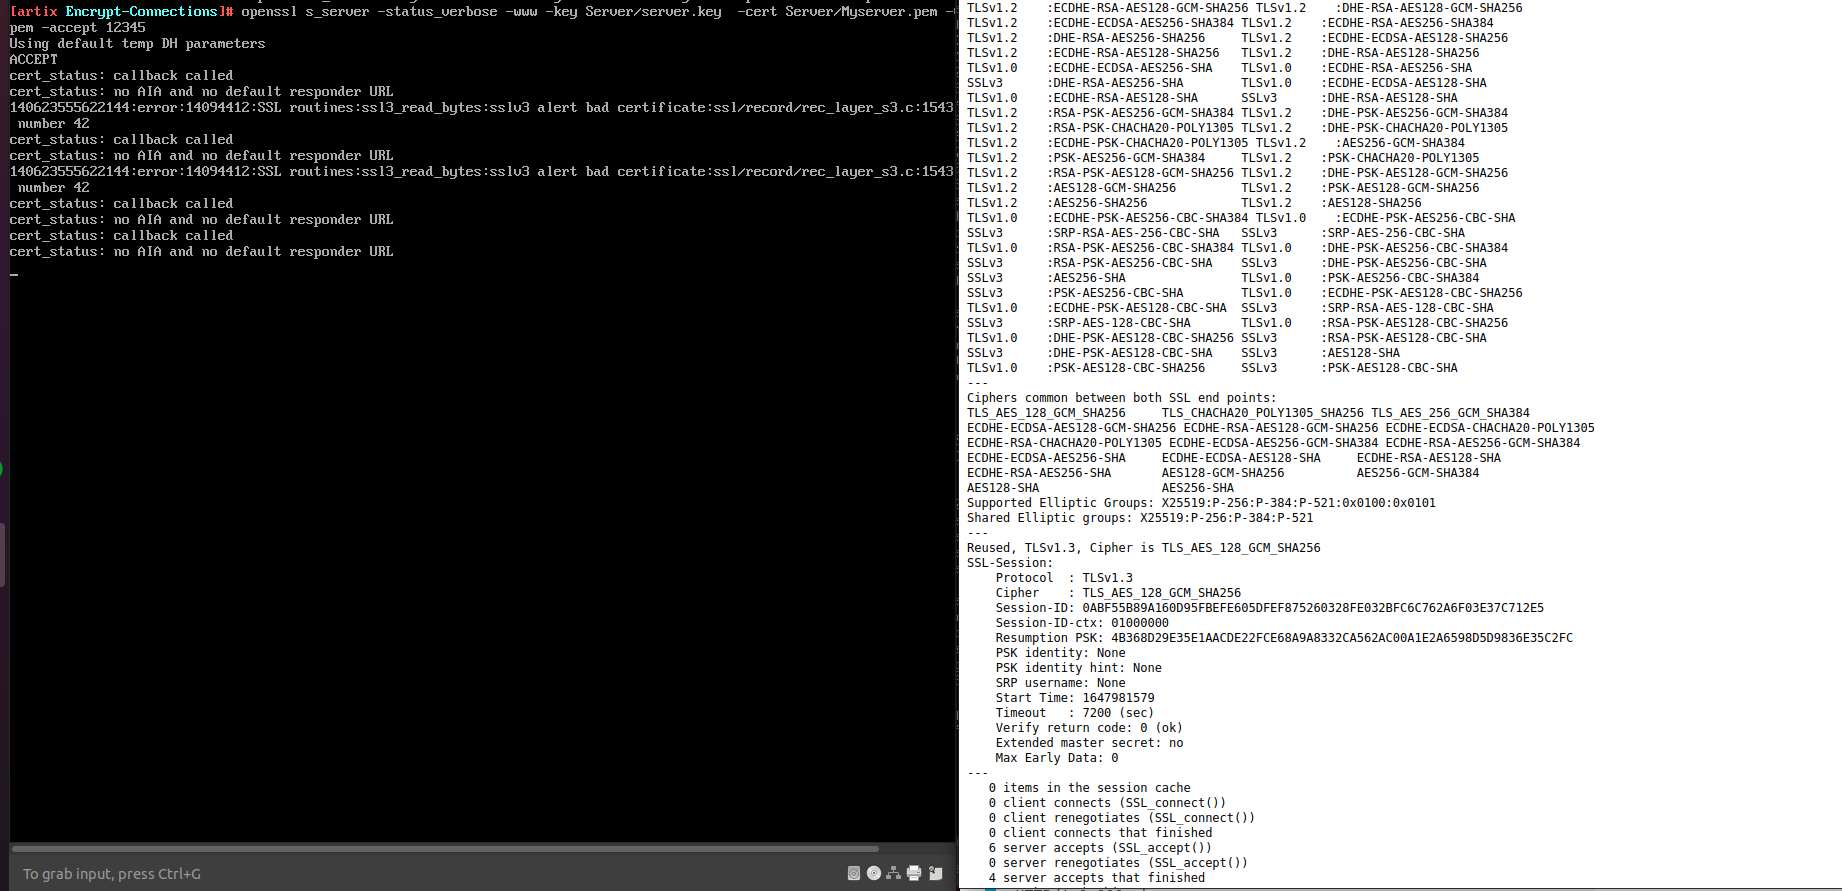
The server listens on port 12345 and presents CA signed certificate to any incoming connection.
In the above screenshot, we can clearly see that TLS connection has been established and server is verified as return code is 0 (OK). Thus, client successfully authenticates the server.
The client tries to connect to the server using openssl s_client command by specifing certificate of the CA it trusts as shown below

-
Both authenticate each other, by presenting there certificates using commands.
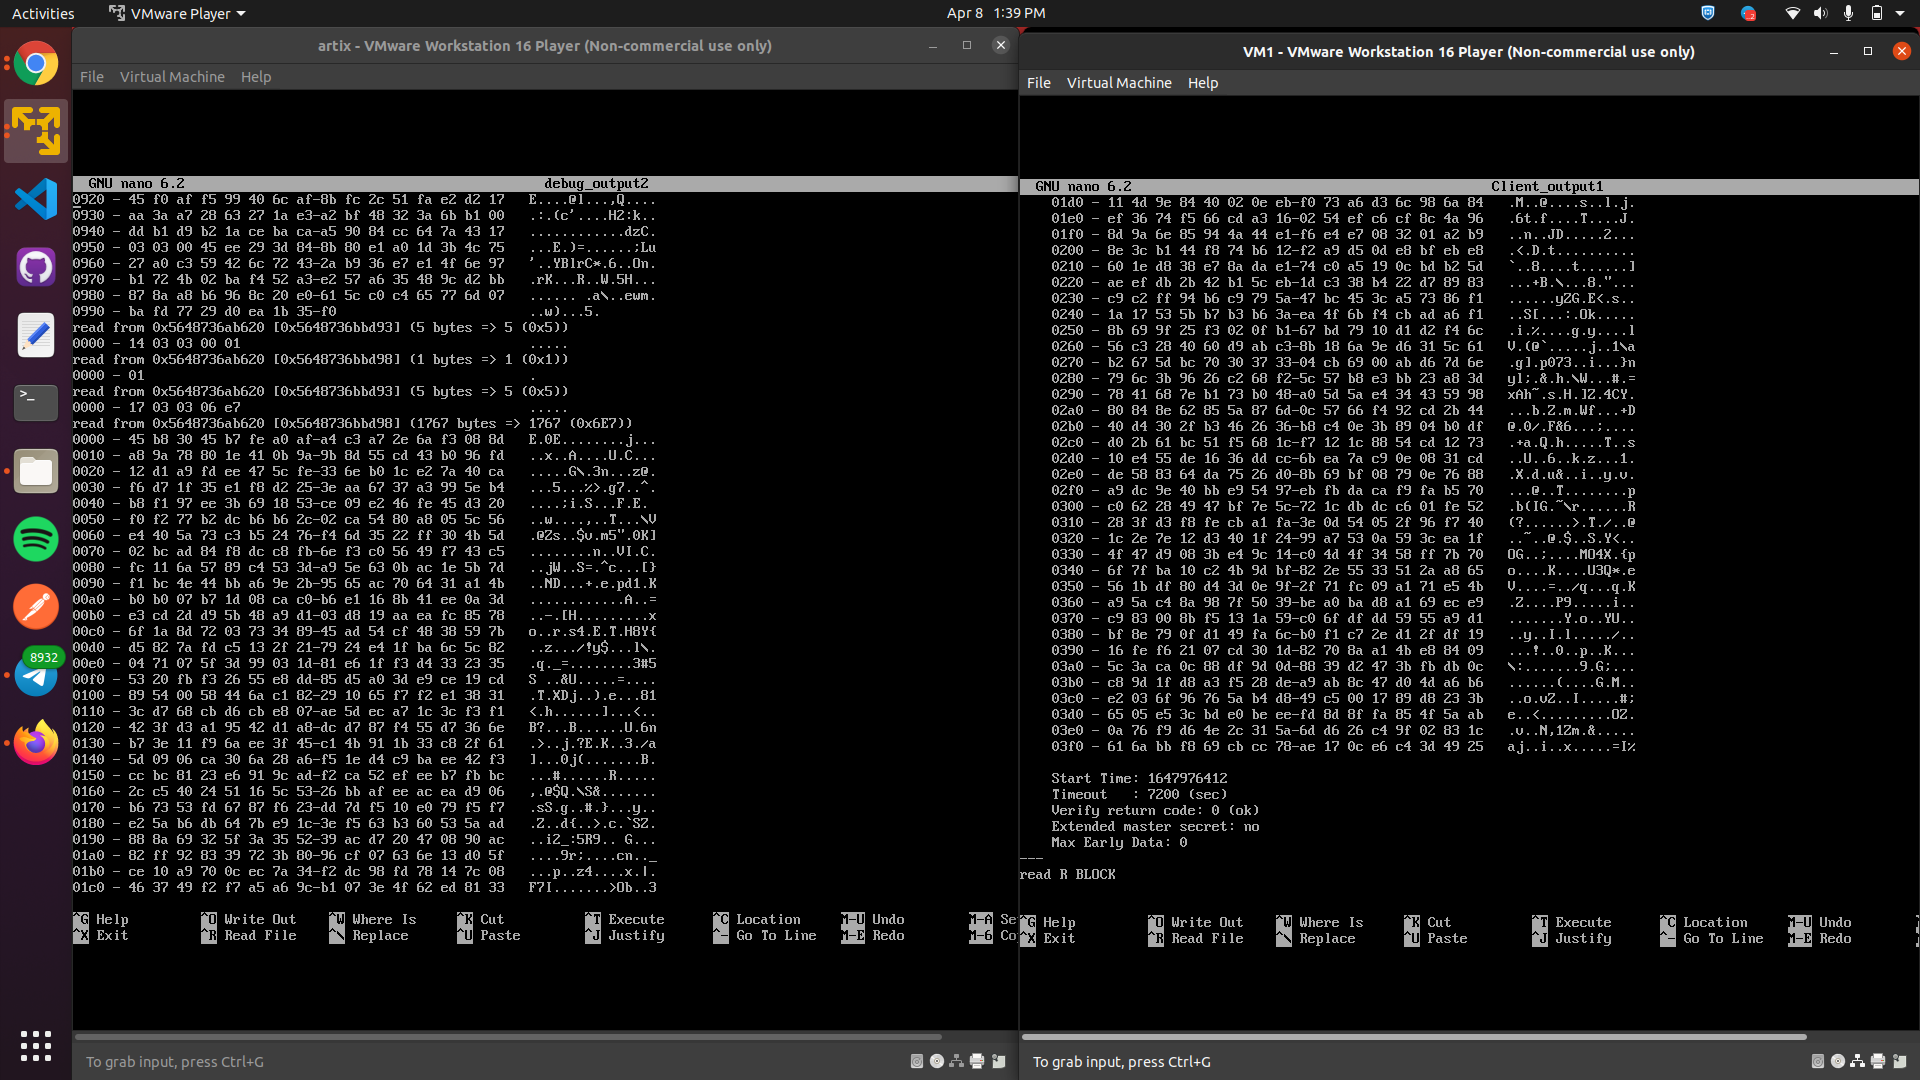
openssl s_server -key Server/server.key -cert Server/Myserver.pem -CAfile ca.pem -accept 12345 -verify 1 -debug > debug_output2 openssl s_client -connect 172.16.12.136:12345 -CAfile ca.pem -key Client/client.org.key -cert Client/Myclient.pem > client_output1Arguments with its meaning -key : provide private key -cert : provide CA signed certificate -CAfile : provide certificate for the CA -accept : accept connections on the given port -connect : connect to the ip and port mentioned -verify : enable client verification -debug : include debug messages
Below is the contents where client has server certificate and server has clients certificate. Client verifies the certificate of the server .We can also see that the server also verifies client by giving a list of acceptable client certificate CA names to client.
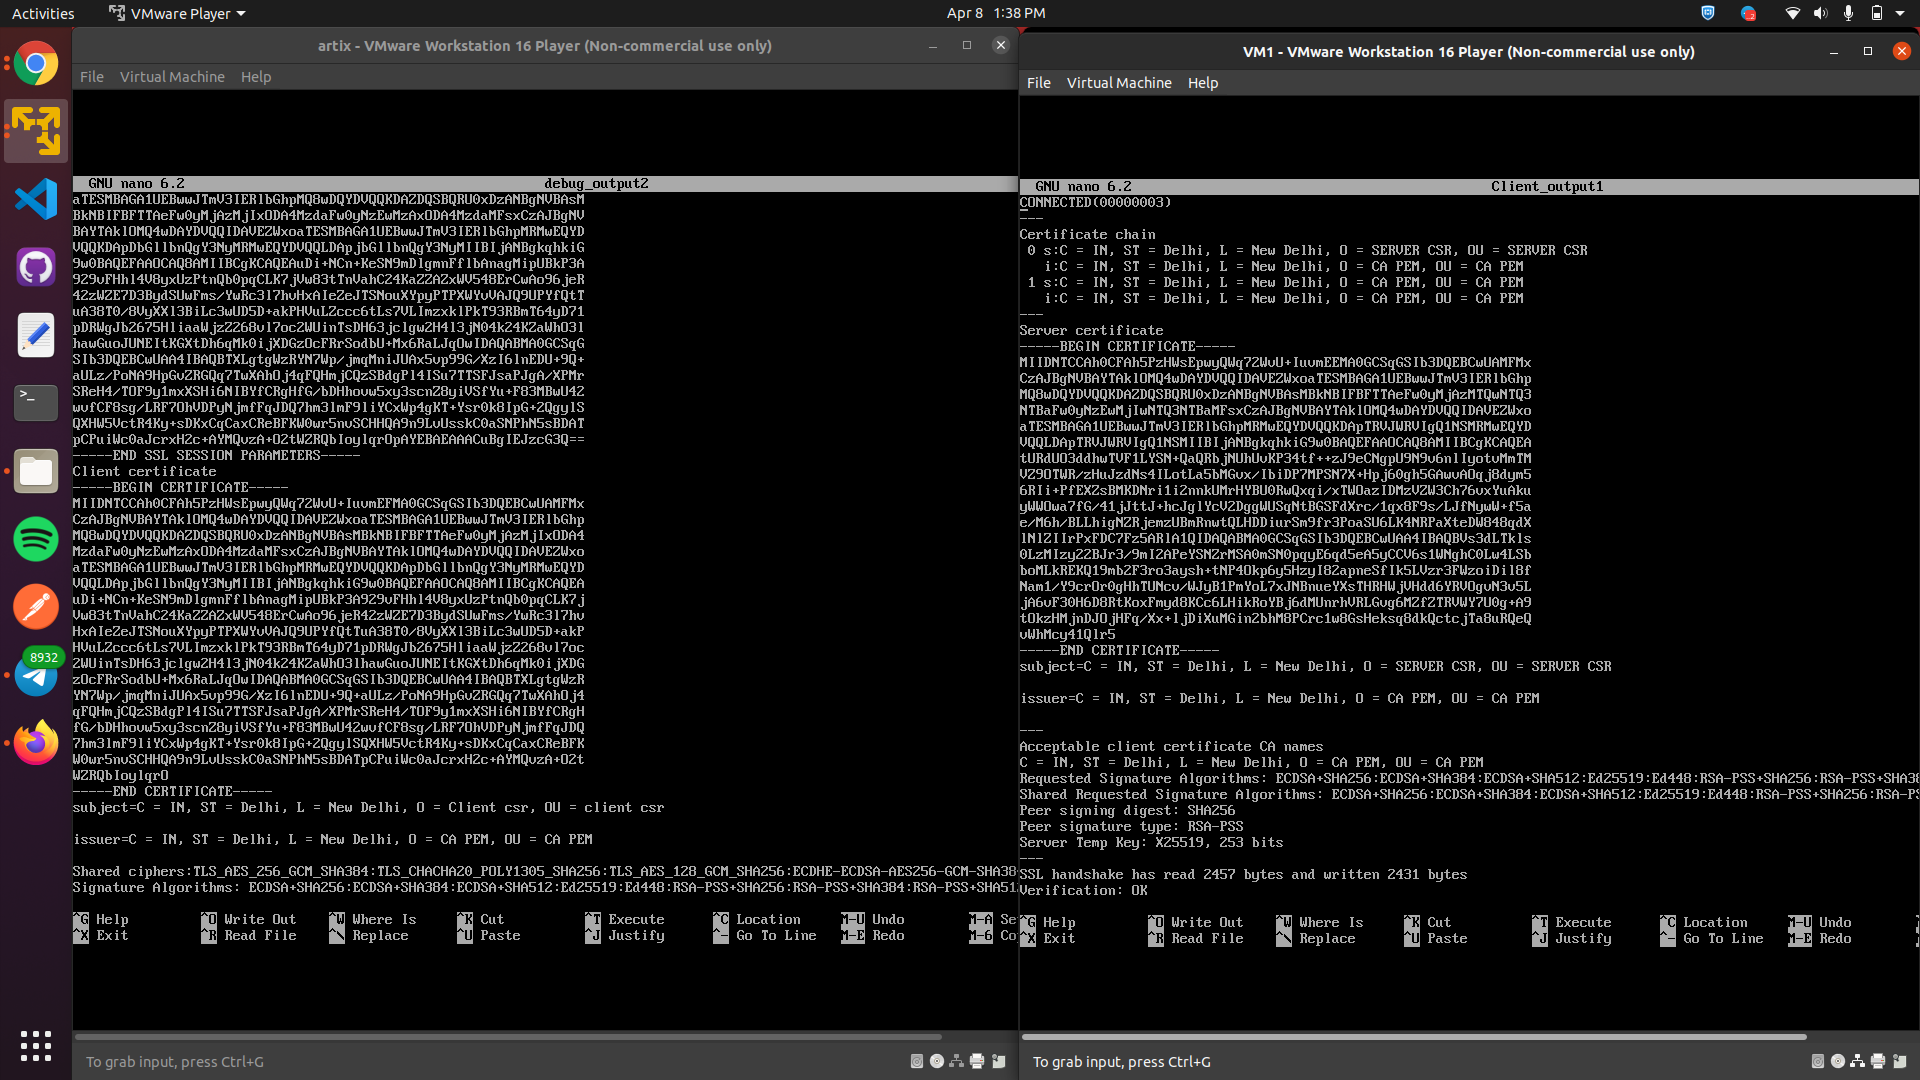
Below is the screenshot showing the established TLS connection after authenticating each other after mutual Verification is done, return code is 0 (OK).
-
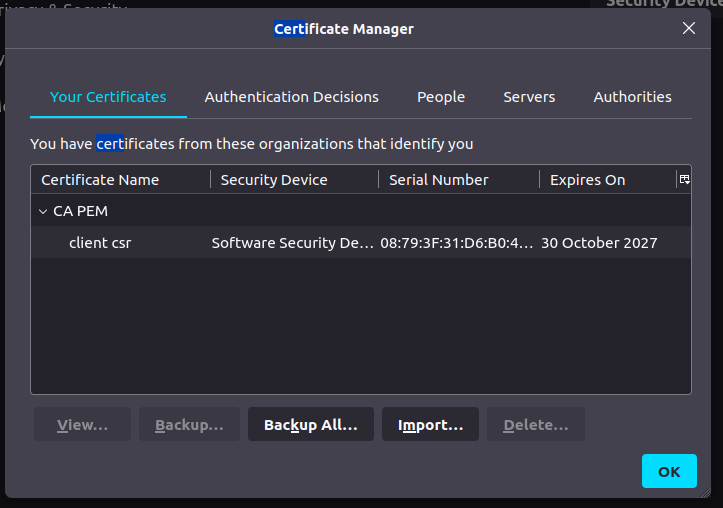
-www option to emulate a webserver Export your client certificate using pkcs command.

Import your client certificate here in certificate manager
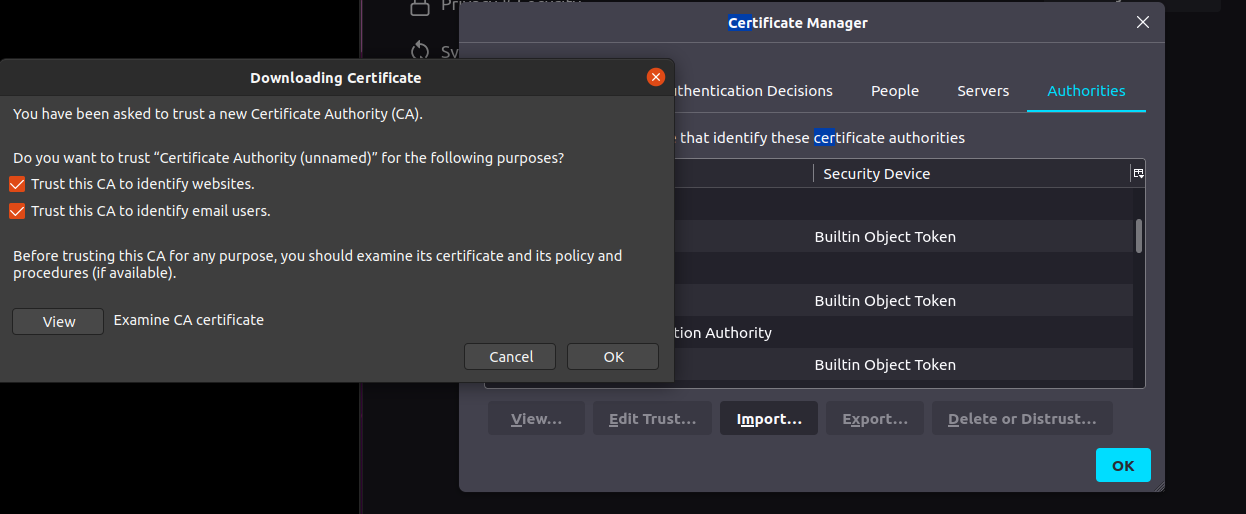
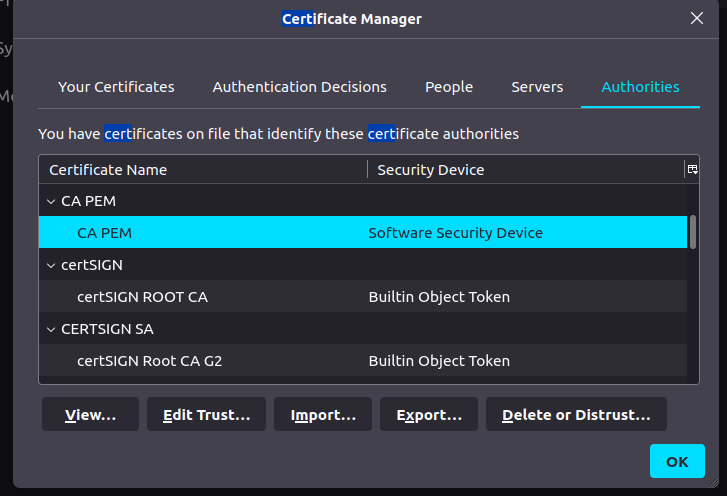
Add CA certificate to trusted authority section of your browser
When we try to add it in the security exception it shows that the certificate is valid not required for adding the exception. Server is valid and the client is also verified .
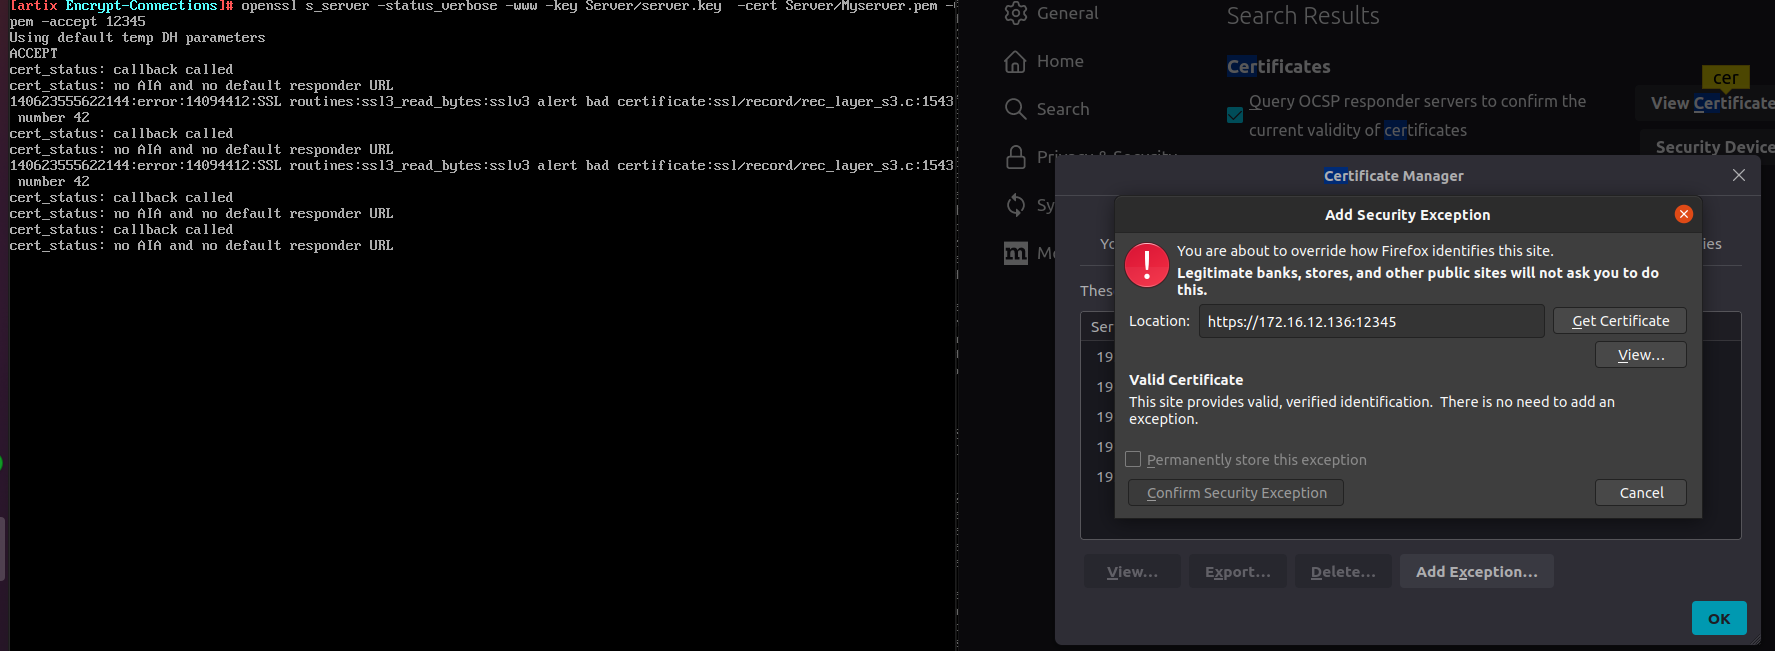
Once we hit the browser ,SSL connection is established


References:
https://gist.github.com/Soarez/9688998
https://linuxconfig.org/testing-https-client-using-openssl-to-simulate-a-server
Manpages of openssl
Task 2
💡 SERVER IP : 172.16.12.137/24, username: ashita CLIENT IP : 172.16.12.138/24, username: ashita2-
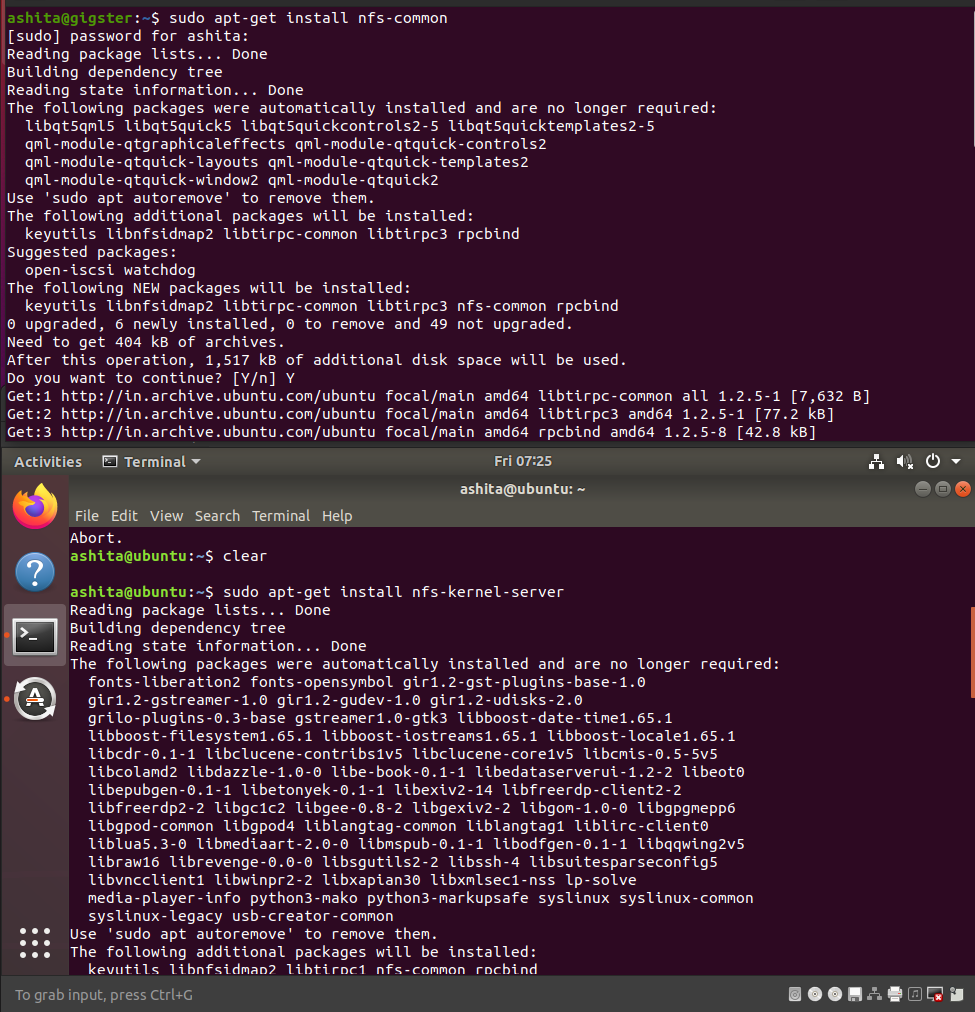
Install nfs-kernel-server on server vm and nfs-common on client VM.
-
Steps to export the file
-
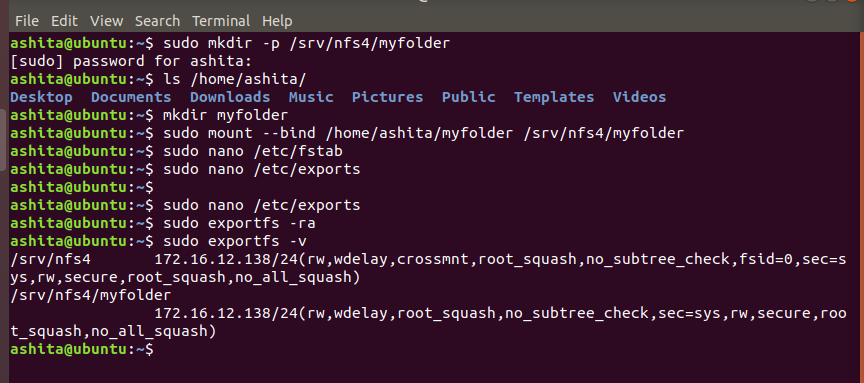
Create a folder to share in your home directory and in nfs root directory i.e srv/nfs4, then
-
Bind the home directory folder to the folder in the nfs root directory
-
To make the bind permant add in fstab file as shown below
/root/music /srv/nfs4/music bind 0 0 -
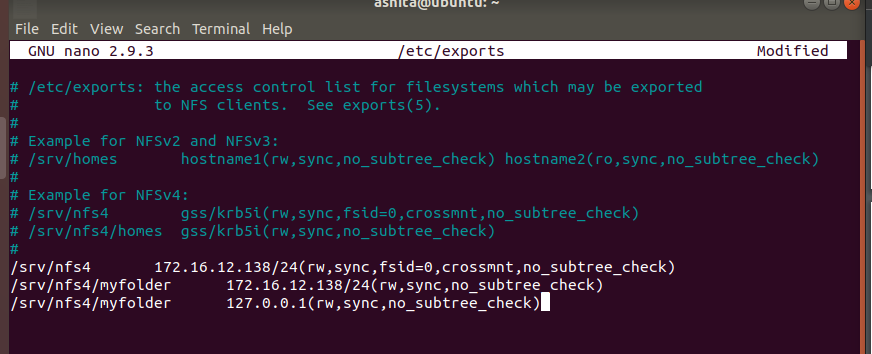
Add the entries in /etc/exports file to export the mounted nfs directories
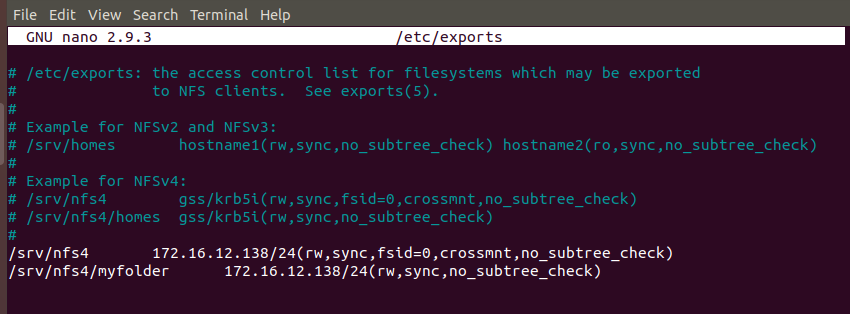
-
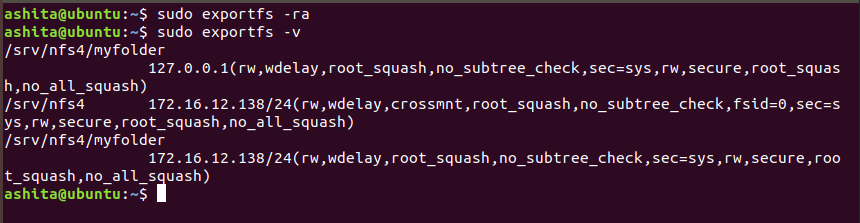
Then run
exportfs -rato export, andexportfs -vto see active exports.Add a firewall rule to allow all incoming connections from client ip for nfs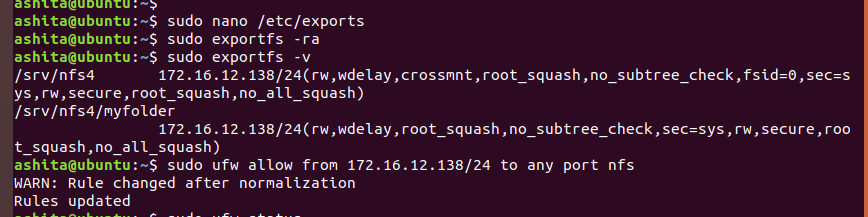
-
Now check ufw staus

-
-
Steps to create the file in the exported directory
-
mkdir your local directory and mount the nfs using
sudo mount -t nfs -o vers=4 172.16.12.137:/myfolder /myfolder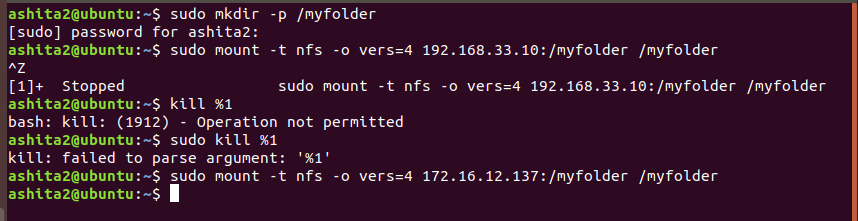
-
Once we we complete the mount , we can check it using
df -hto see mounted disks, the last entry is your mounted shared folder.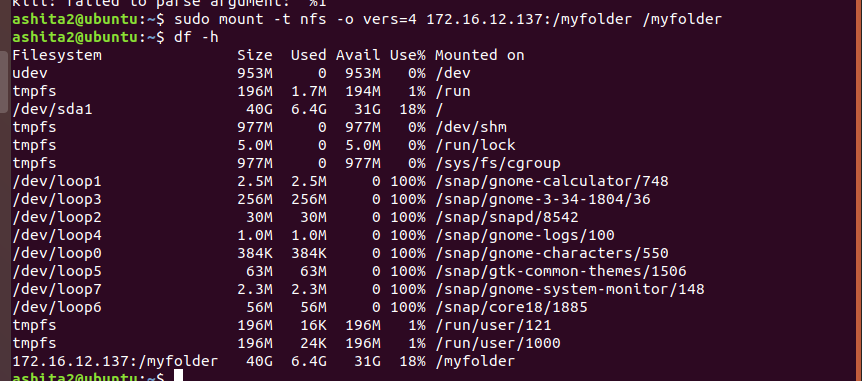
-
Once we saw the entry we can add the entry in fstab to make the changes permanant, here the IP address added would be of the server.

-
Now try to create a file in that folder, it would show permission denied, check the permissions of the folder and its contents using
ls -lawe can see clearly that user ashita2 has the permission to create not even root(i.e even sudo would fail as shown).So once we try to create the file using the-uwhere we specify the require user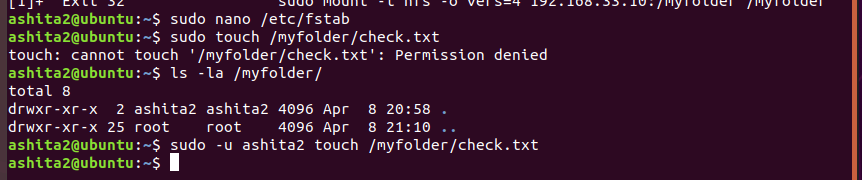
Server side contents of myfolder, clearly shows its working

-
-
Steps to create stunnel4
-
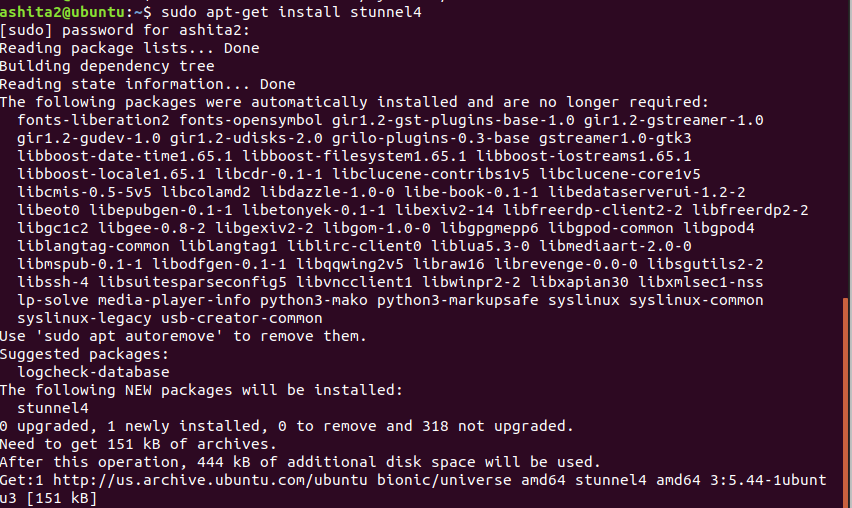
Install stunnel4 on both client and server
-
Enable stunnel automatic startup by configuring the file
sudo nano /etc/default/stunnel4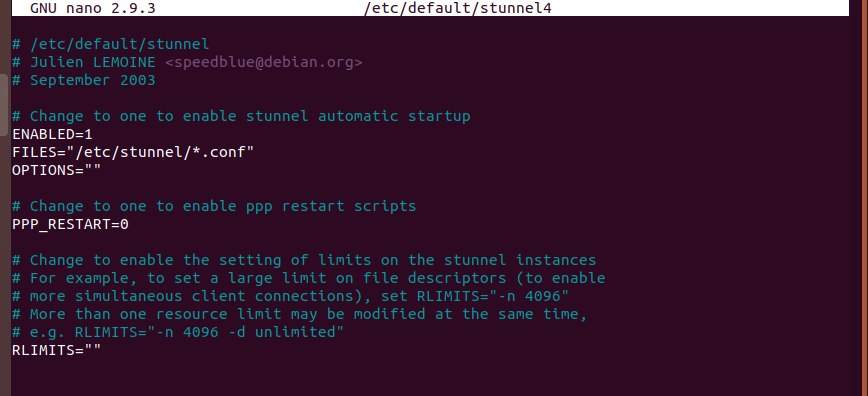
-
-
Server side
-
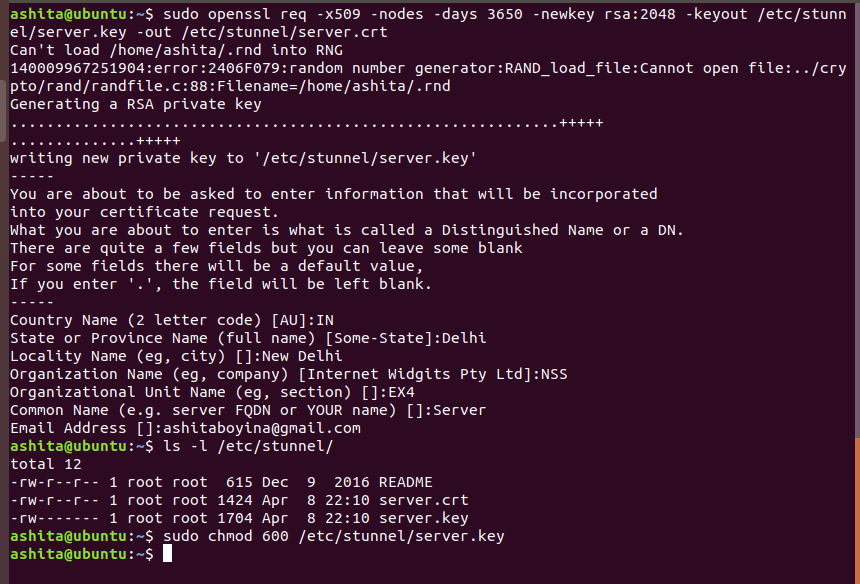
Create a Self-Signed SSL Certificate and Key for the server
-
The key and certificate are directly generated in /etc/stunnel folder as shown above. Once the server key is created change its permission using
chmodfor better security. -
Create server stunnel configuration file

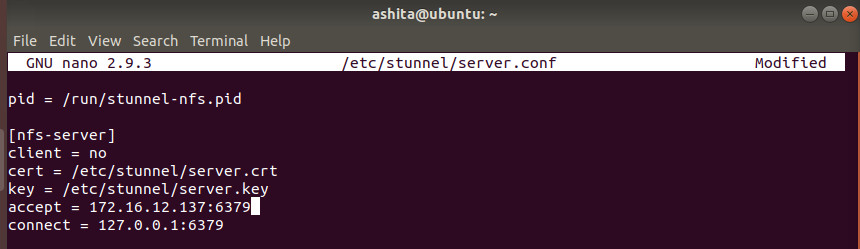
-
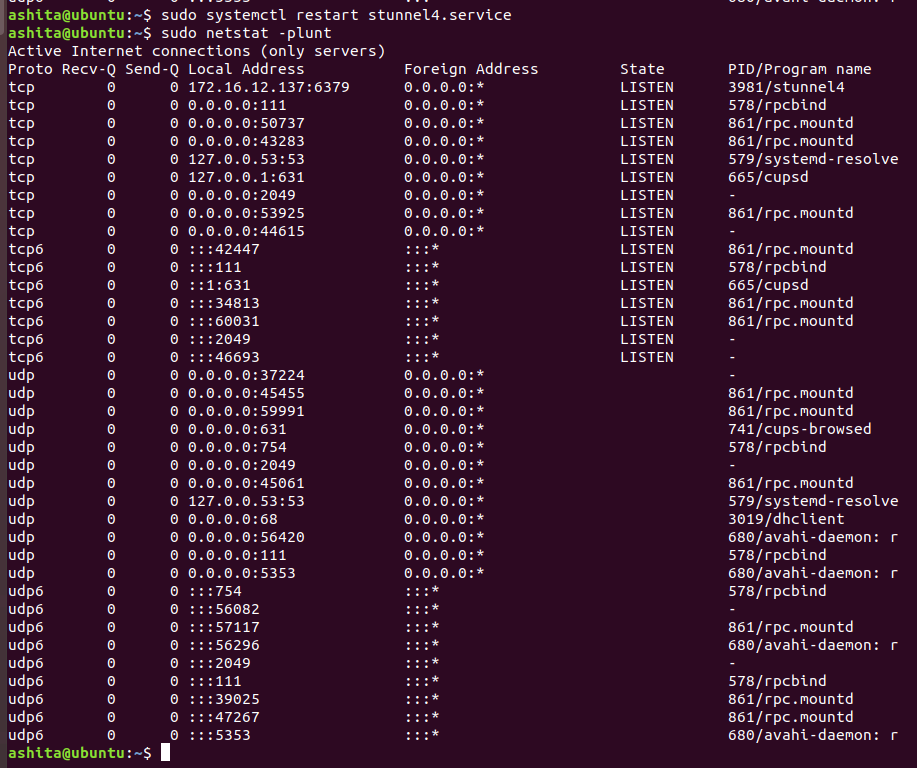
Once the config file is created , restart the stunnel service and check is it listening on the mentioned port (using
netstat -plunt)We can see clearly , stunnel is listening on port 6379
-
Change the firewall rules to accept connections from 6379, we can also disable firewall if required

-
Send server certificate to client and copy it to the required folder(/etc/stunnel) as shown below

-
-
Client side
-
Create client stunnel configuration file
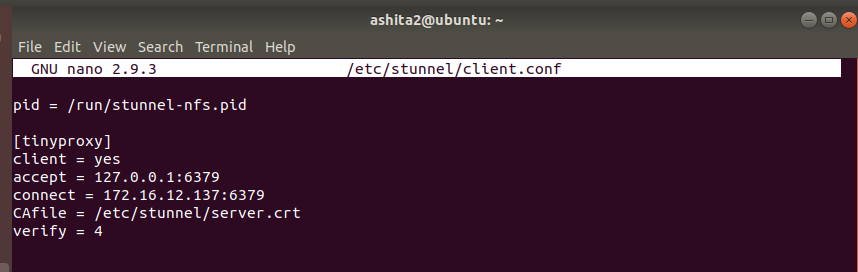
-
restart stunnel, and check if its listening on the port you wanted
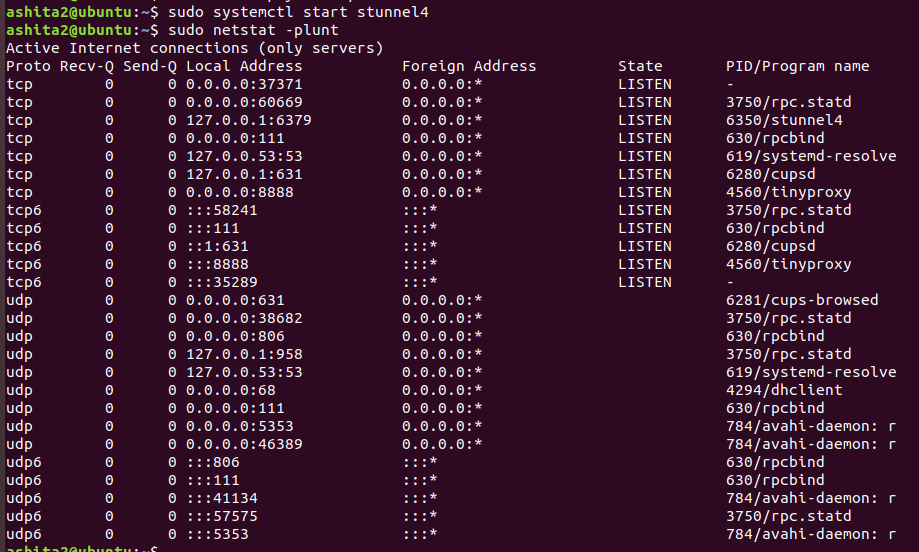
-
-
Now again on server side , Add an entry to /etc/exports so that it can we export to client
-
From client side ,Mount the folder again, now create any file , after mounting directly without any arguments. capture the traffic from server side using tcpdump

-
We can see the encrypted traffic after creating the tunnel


References
https://www.digitalocean.com/community/tutorials/how-to-set-up-an-nfs-mount-on-ubuntu-18-04
https://linuxize.com/post/how-to-install-and-configure-an-nfs-server-on-ubuntu-18-04/
https://www.digitalocean.com/community/tutorials/how-to-set-up-an-ssl-tunnel-using-stunnel-on-ubuntu
https://www.linuxjournal.com/content/encrypting-nfsv4-stunnel-tls