Inspector-D.B. is an SQL client, built as a web application, that aims to give access to cloud based SQL instances. The main use cases are debugging and as an admin-tool.
- PostgreSQL
The shortest way to run Inspector D.B. in CF is by pushing the docker image:
Simply execute the following:
cf push inspector-db --docker-image asherbar/inspector_db:latestAnd that's it! CF will pull the docker image from DockerHub and start the application in the targeted space.
- Python >= 3.6
- Cloud Foundry CLI
-
Clone this repository to your machine:
git clone https://github.com/asherbar/InspectorDB.git -
Change the directory to the project's root:
cd InspectorDB -
Copy and rename the manifest template - manifest-template.yml, to
manifest.yml. -
In the newly created
manifest.yml, replace the following placeholders:<YOUR POSTGRES SERVICE INSTANCE NAME>- (optional) the name of the Postgres service instance which is the target of the inspection. You may not specify any service instance (in which case the application will have nothing to inspect), or specify more than one instances (in which case the application will let you choose which instance to inspect during runtime).
For example, if the database's instance needing inspection is namedmyappspostgres,manifest.ymlshould look like this (the secret key should be different, of course):
---
applications:
- name: inspector-db
  command: python manage.py migrate && python manage.py collectstatic --noinput && gunicorn project.wsgi:application
  services:
  - myappspostgres
  buildpacks:
  - https://github.com/cloudfoundry/python-buildpack#v1.6.25
It's possible to leave out the whole
servicessection and bind the inspector D.B. to a databse instance after the app has been deployed. In that casemanifest.ymlwould look as following:--- applications: - name: inspector-db command: python manage.py migrate && python manage.py collectstatic --noinput && gunicorn project.wsgi:application buildpacks: - https://github.com/cloudfoundry/python-buildpack#v1.6.25
Any required option needs to be set in the
envsection, or by using the set-env, after the app has been deployed. -
Run
cf push
This will upload this app to the targeted CF space, assign a route, and run it. After the operation succeeds, the application will be available at the given route. See the usage section for how to use the app once its been deployed.
This option assumes you have a database instance running (at least one) that can be connected to by using the credentials given via DB_CREDENTIALS. In the following example we'll assume the DB has the following credentials:
- "username": "myuser"
- "password": "mypass"
- "hostname": "localhost"
- "port": 5432
- "dbname": "mydb"
For example, by running the following docker locally:
docker run --name some-postgres -e POSTGRES_PASSWORD=mypass -e POSTGRES_USER=myuser -e POSTGRES_DB=mydb -d -p 5432:5432 postgres
Step by step:
-
Clone this repository to your machine:
git clone https://github.com/asherbar/InspectorDB.git -
Change the directory to the project's root:
cd InspectorDB -
Execute:
export DB_CREDENTIALS='[{"username": "myuser", "password": "mypass","hostname": "myhostname","port": 1234,"dbname": "mydbname"}]' -
Execute:
export DEBUG=1(this is required for accessing the local server via HTTP instead of HTTPS)
Warning: Do not run in production withDEBUG=1! -
Execute:
python manage.py runserver.
Note 1: The first time running may require first executingpython manage.py migrate. See Django's docs for more on this command. Note 2: If accessing the local server returns an "Incorrect padding" error page, clear your browser's cookies for the localhost site and refresh the page.
This will run Inspector D.B. locally and will make it available via http://localhost:8000/, or something similar.
Every change in the master branch, automatically triggers an docker image construction in Docker Hub. With this image you can run a containerized Inspector D.B. with the docker run command. Note that the Dockerfile exposes port 8000. This means that when running the container this port must be mapped for the app to be usable.
The following example will run a container with a custom SECRET_KEY, in debug mode, and map the exposed port to 8000.
docker run -e SECRET_KEY='shh' -e DEBUG=1 -p 8000:8000/tcp asherbar/inspector_dbThe application is now available at http://0.0.0.0:8000/.
Set the following environment variables to use the possible options:
-
READONLY- when set to 0 (which is read as false) allows the user to execute write commands (such as UPDATE, DROP TABLE etc.). If not set the default is 1 which is read as true which limits the user to execute read-only commands (such as SELECT).
-
SESSION_COOKIE_AGE- the number of inactivity minutes before the user is automatically logged out. Default is 1209600 (two weeks).
-
VCAP_SERVICE_LABEL- the label of the postgres service. Default is postgresql.
-
DB_CREDENTIALS- if given, then assumed to be a string that's a valid JSON list, where each object in the list contains a full set of database credentials, which are:
- username
- password
- hostname
- port
- dbname
For example:
[
  {
    "username": "myuser",
    "password": "mypass",
    "hostname": "myhostname",
    "port": 1234,
    "dbname": "mydbname"
  }
]
When this option is given, other credentials that might be given via VCAP_SERVICES (if used in CF), are ignored
-
QUERY_ROWS_LIMIT- the number of rows to be retrieved when executing a query. Default is 50 rows.
-
DEBUG- when set to
1(which is read as true) then run in debug mode. Default in0(which is read as false). See Django's documentation for more details.
Requires docker to be installed and running
In order to test code as realistically as possible, all tests are run against a docker based PostgreSQL instance. Before the tests run, the image is downloaded if it doesn't already exist. While the docker will be erased after the tests complete, the image will not in order to make future runs faster. The image can be erased manually with Docker's CLI.
Execute the following to run all tests (assuming the current directory is the project's root):
./project/test_utils/run_tests.pyThe run_tests script extends Django's running tests mechanism, so any option that Django supports, is supported by the run_tests.py script. E.g., the following will run only the tests under the app.logic.utils package, and with a verbosity level of 2:
./project/test_utils/run_tests.py app.logic.utils -v 2Note: There must be a database instance running that matches the credentials given to the application.
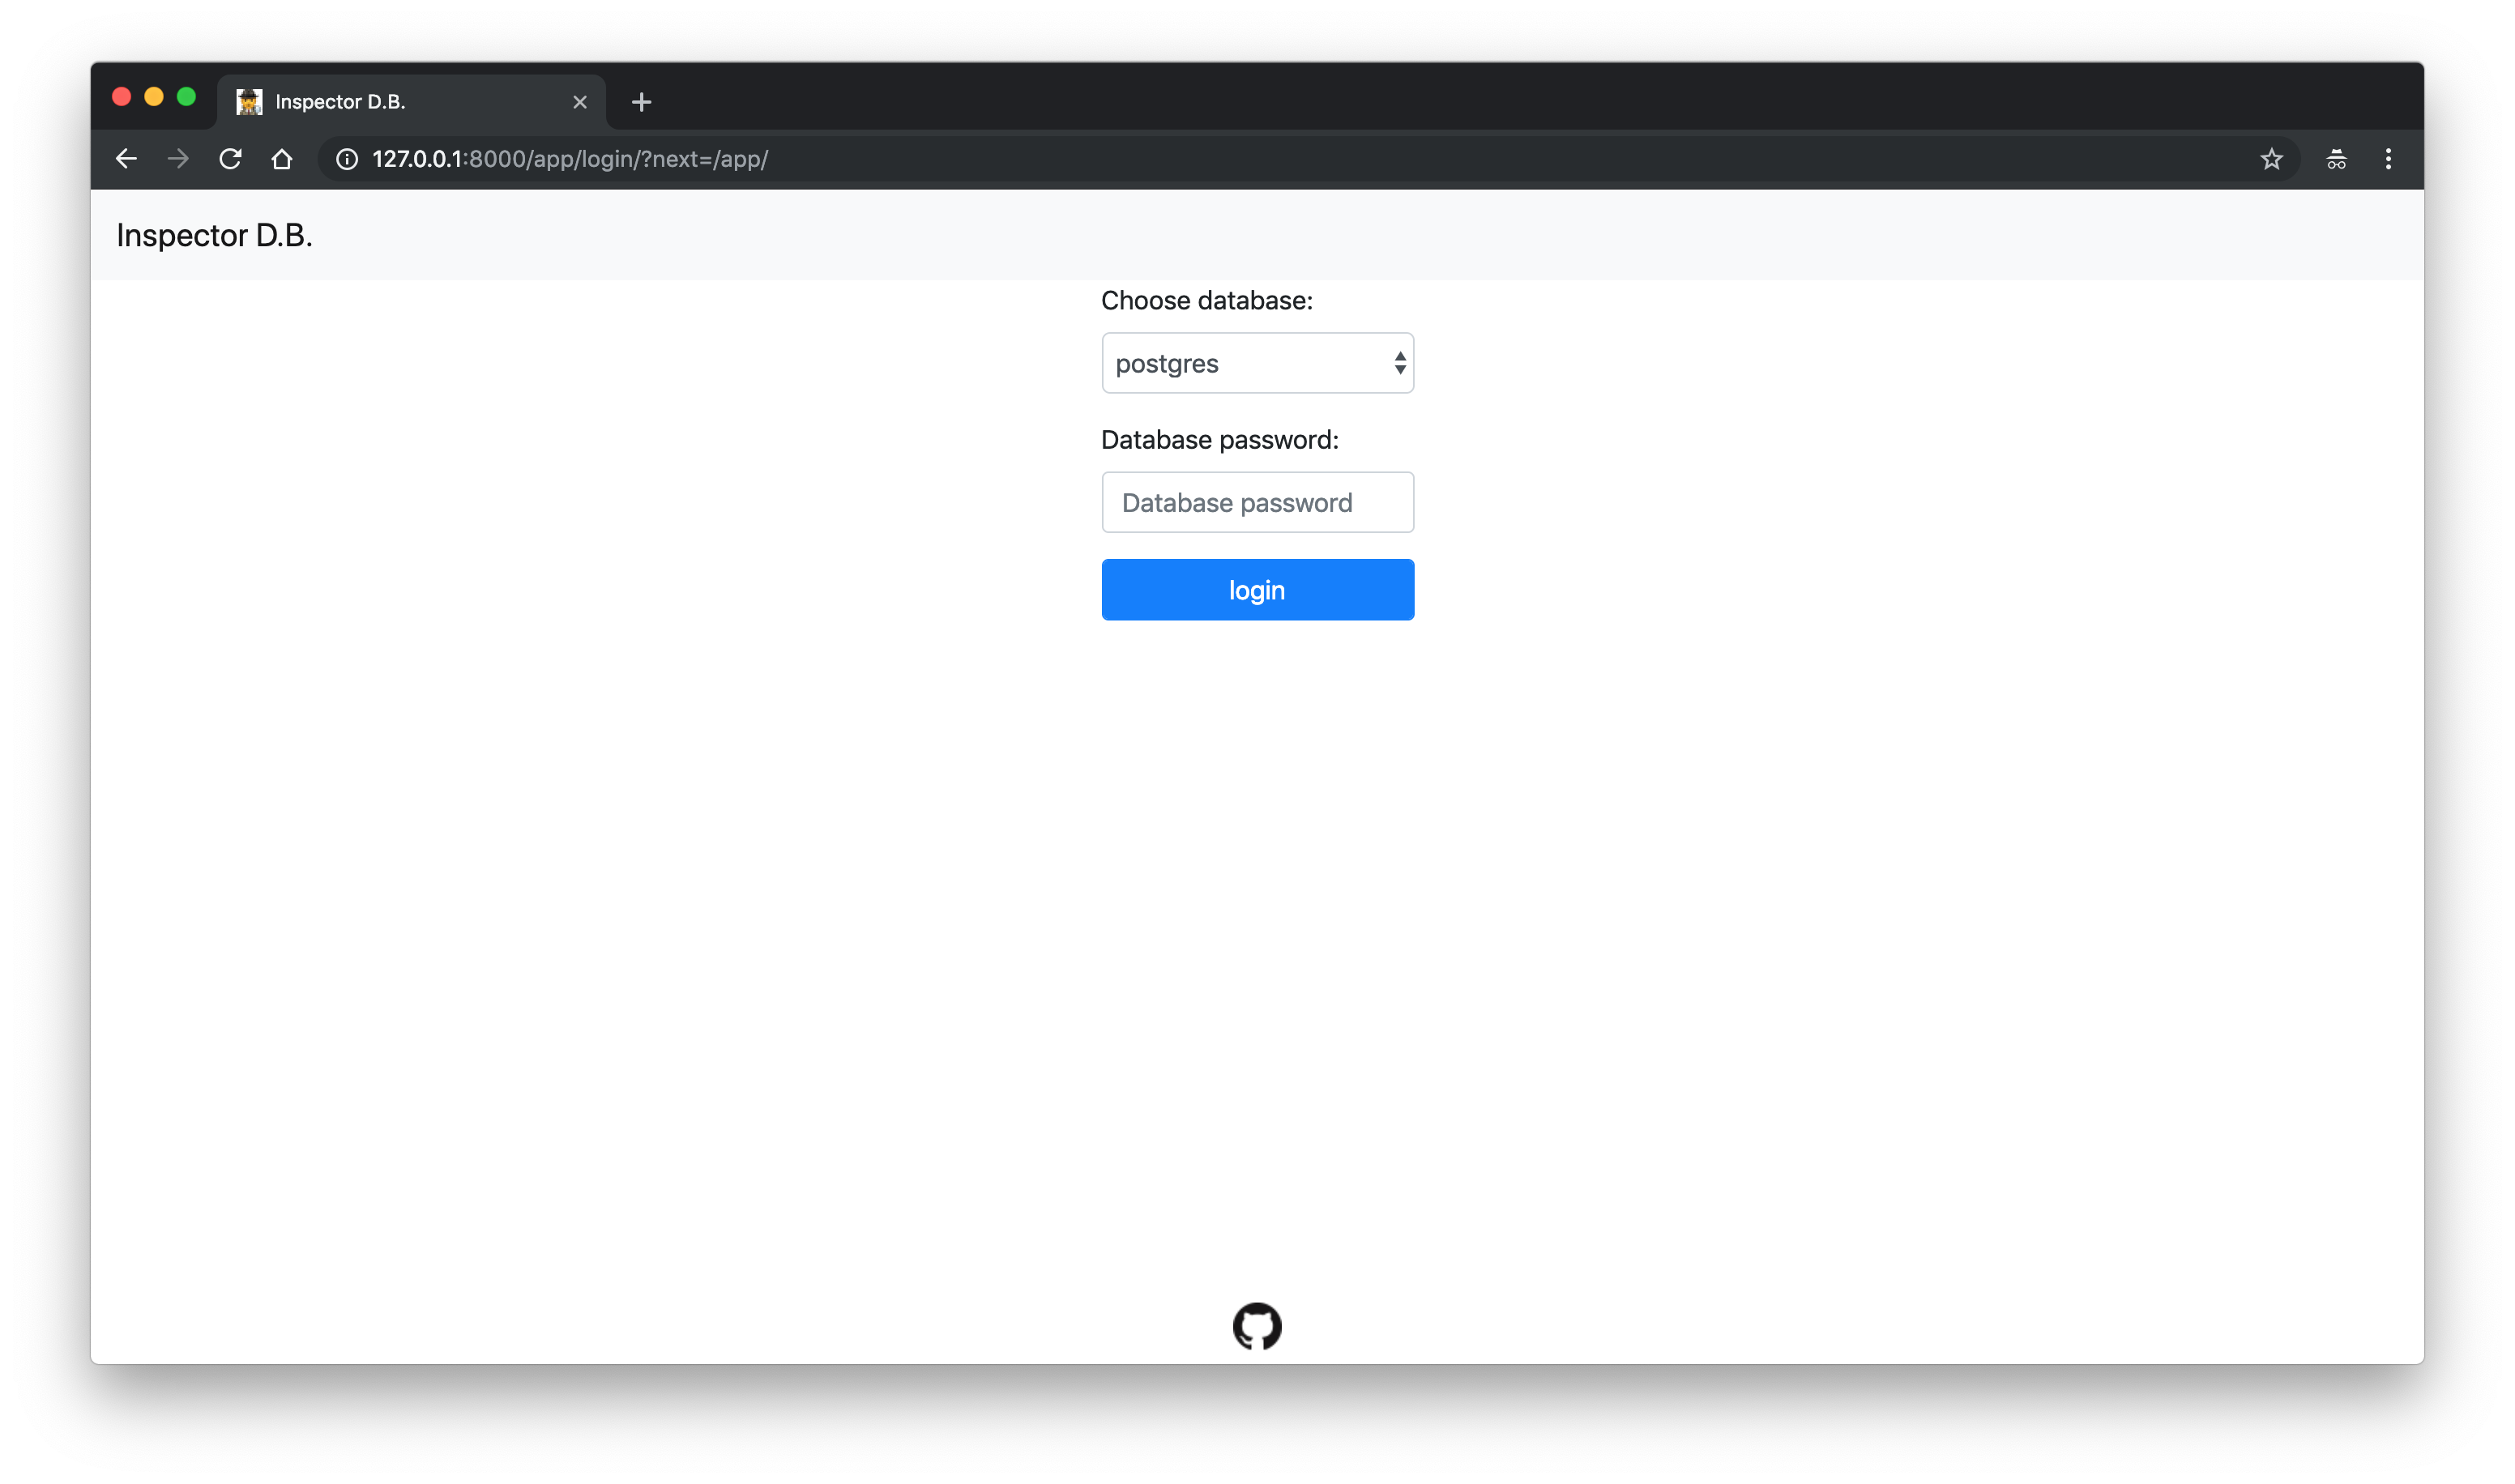
After the app is running (either locally or in the cloud), visit the app's root URL in your browser. You should get a window similar to this:
 The drop-down selector will contain all the database names from the credentials the app was given (either with DB_CREDENTIALS, or via CF). In this case there's only one such database named postgres.
In order to see the database the database's password needs to be given.
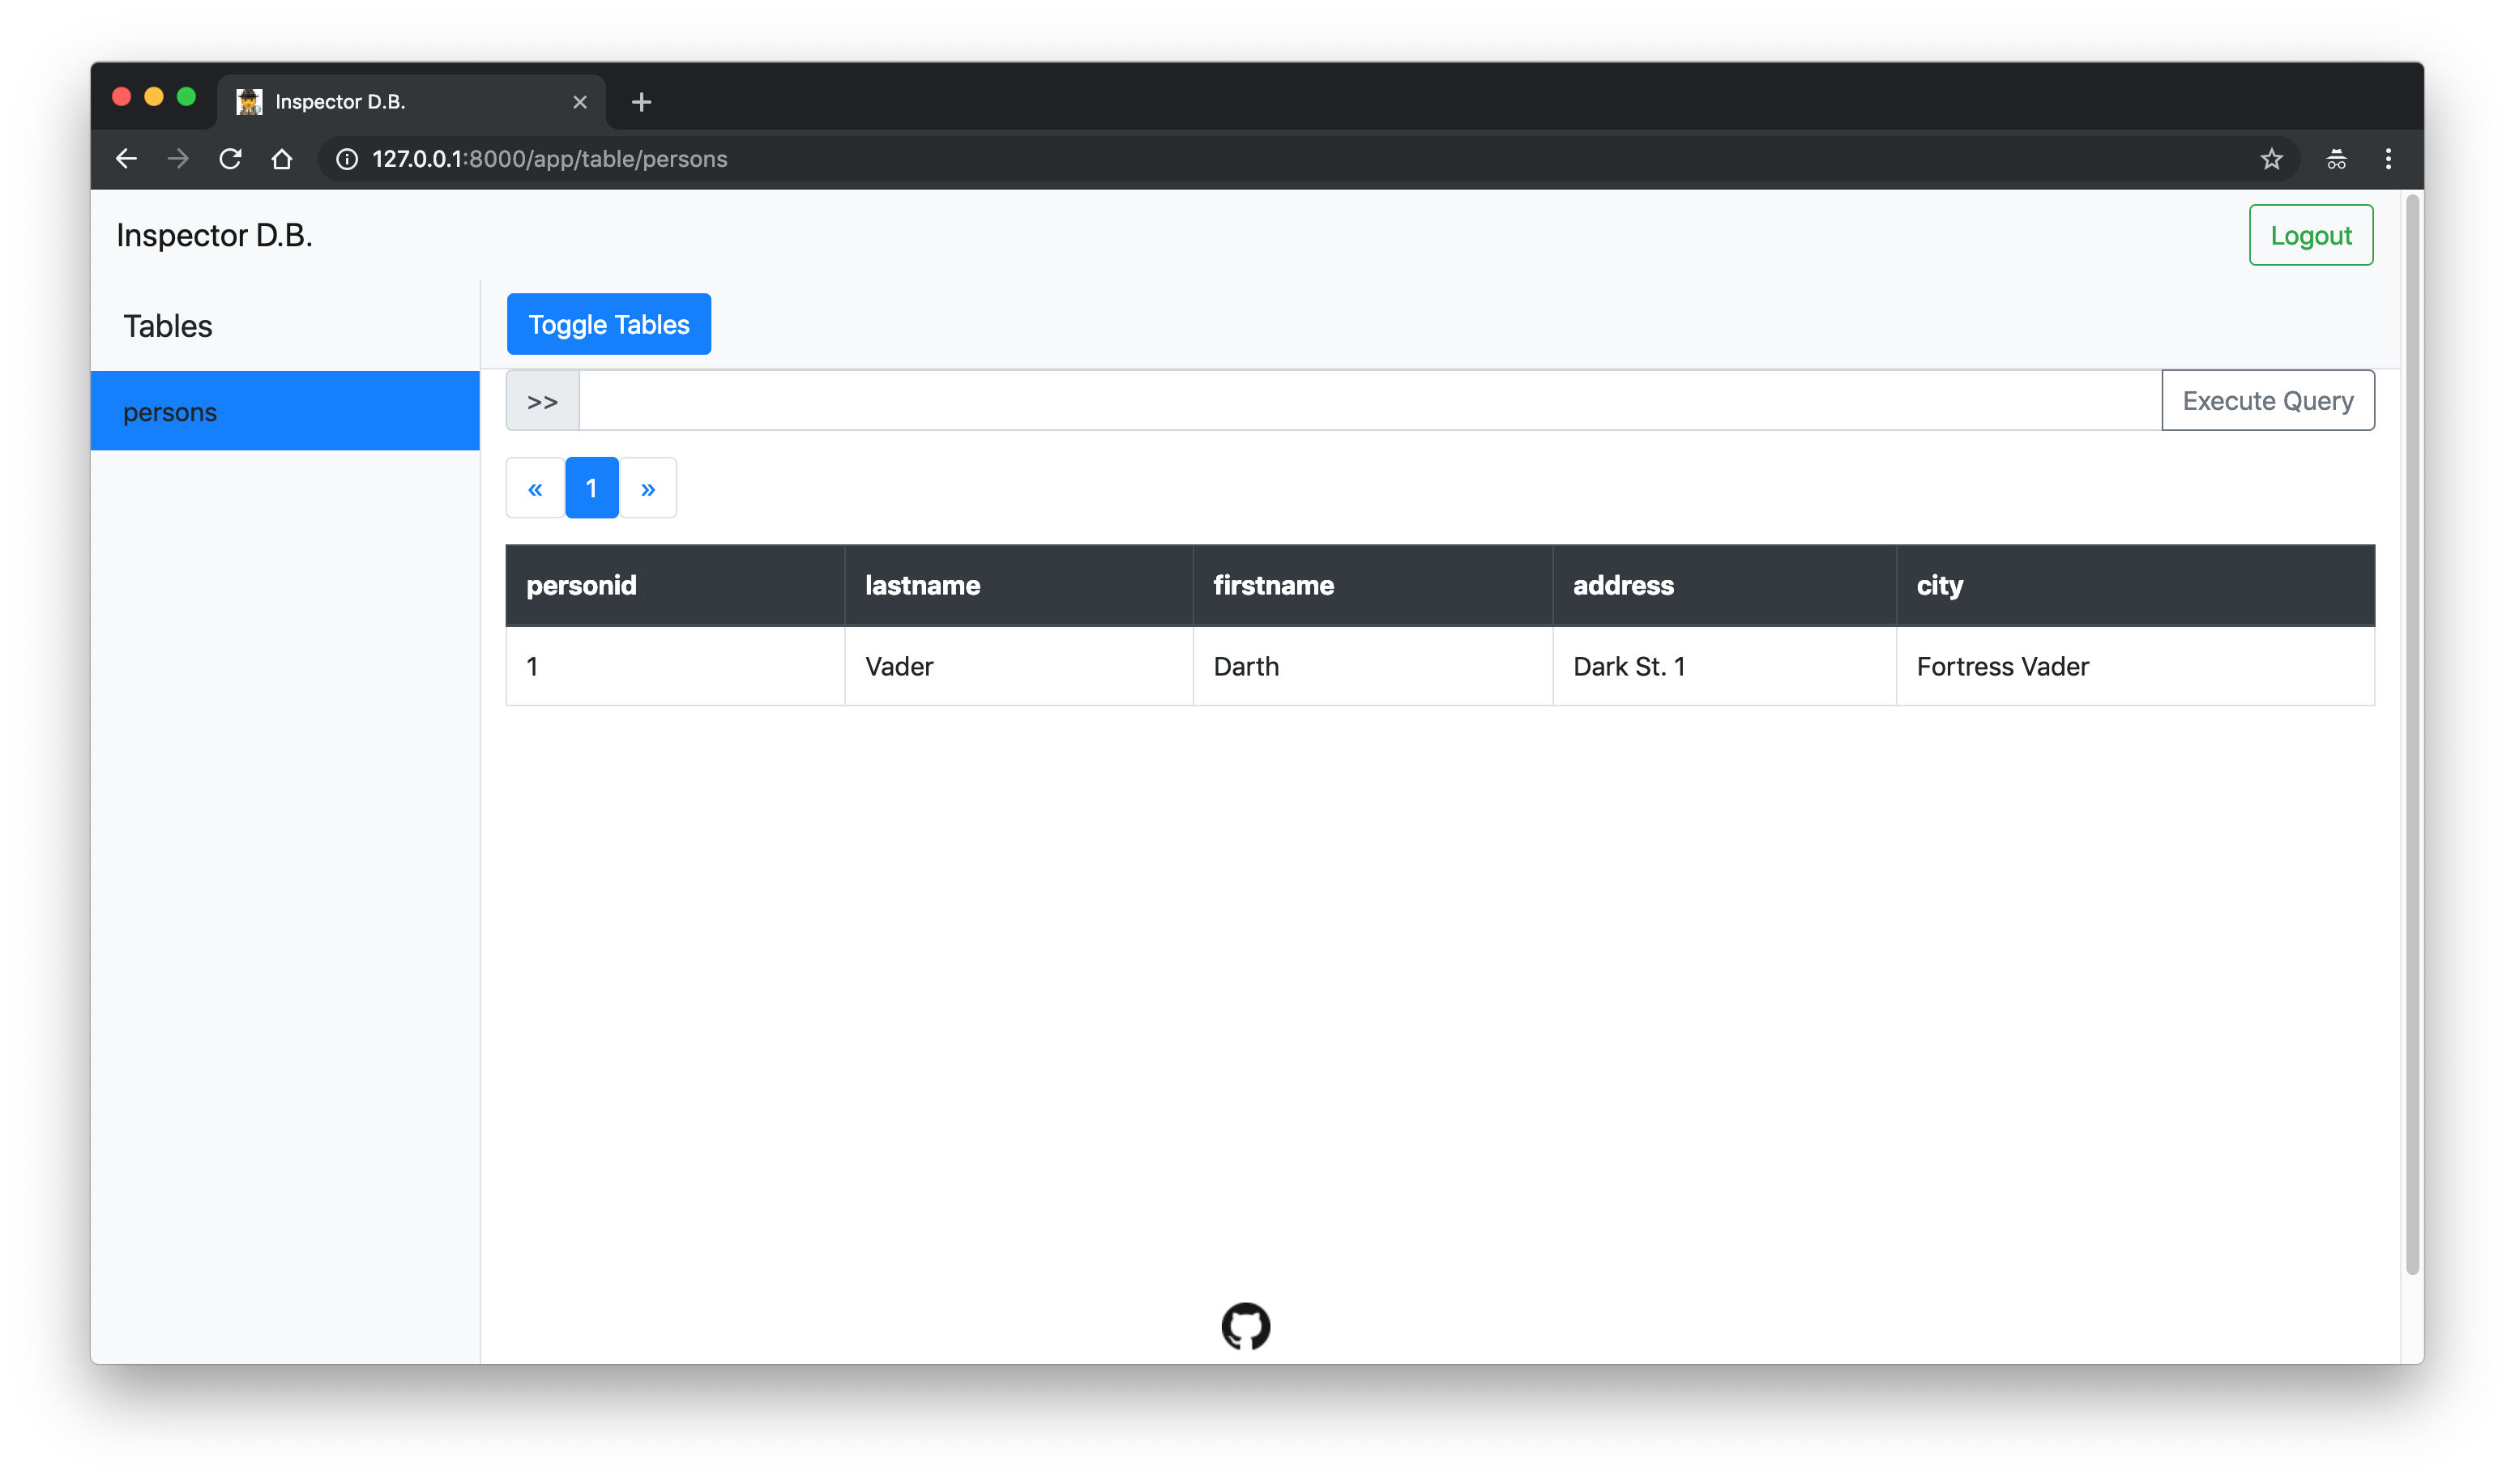
After given the password and clicking login a window similar to the following will show:
 Here you may explore the data of different tables, or execute queries to view and change existing records.