Hey there reader,
If you find my work useful and you have implemented something based on this project, then please do share about your project on my email. This will motivate me. Thanks !
Gesture recognition via CNN neural network implemented in Keras + Theano + OpenCV
Key Requirements: Python 3.6.1 OpenCV 3.4.1 Keras 2.0.2 Tensorflow 1.2.1 Theano 0.9.0 (obsolete and not supported any further)
Suggestion: Better to download Anaconda as it will take care of most of the other packages and easier to setup a virtual workspace to work with multiple versions of key packages like python, opencv etc.
I have uploaded few more changes to this repo -
- Project is Python3 compatible now.
- Added TensorFlow support, as Theano's development has been stopped.
- Added a new background subtraction filter, which is by far the best performing filter for this project
- Added lots of performance improving changes. There is now literally no FPS drop when prediction mode is enabled
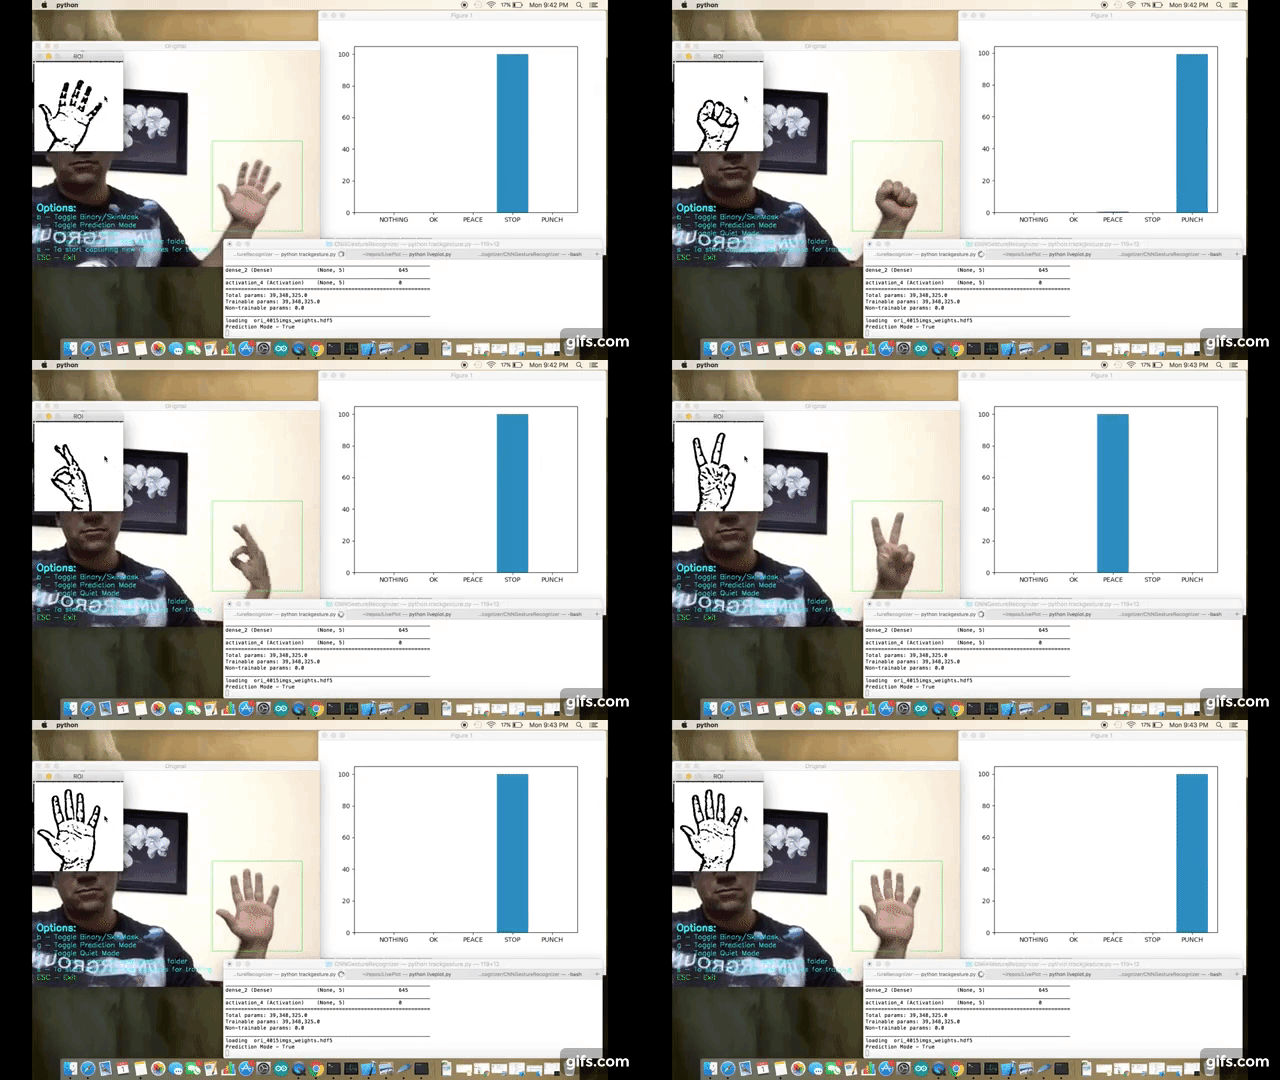
- An in-app graph plotting has been added to observe the probability of the gesture predictions
- trackgesture.py : The main script launcher. This file contains all the code for UI options and OpenCV code to capture camera contents. This script internally calls interfaces to gestureCNN.py.
- gestureCNN.py : This script file holds all the CNN specific code to create CNN model, load the weight file (if model is pretrained), train the model using image samples present in ./imgfolder_b, visualize the feature maps at different layers of NN (of pretrained model) for a given input image present in ./imgs folder.
- imgfolder_b : This folder contains all the 4015 gesture images I took in order to train the model.
- Note: I have replaced ori_4015imgs_weights.hdf5 weight file with these two OS specific weight files. - pretrained_weights_MacOS.hdf5 : This is pretrained weight file on MacOS. Due to its large size (150 MB), its hosted seperately on my google driver link - https://drive.google.com/file/d/1j7K96Dkatz6q6zr5RsQv-t68B3ZOSfh0/view
- pretrained_weights_WinOS.hdf5 : This is pretrained weight file on Windows. Due to its large size (150 MB), its hosted seperately on my google driver link - https://drive.google.com/file/d/1PA7rJxHYQsW5IvcZAGeoZ-ExYSttFuGs/view
- imgs - This is an optional folder of few sample images that one can use to visualize the feature maps at different layers. These are few sample images from imgfolder_b only.
- ori_4015imgs_acc.png : This is just a pic of a plot depicting model accuracy Vs validation data accuracy after I trained it.
- ori_4015imgs_loss.png : This is just a pic of a plot depicting model loss Vs validation loss after I training.
On Mac
eg: With Theano as backend
$ KERAS_BACKEND=tensorflow python trackgesture.py
On Windows
eg: With Tensorflow as backend
> set "KERAS_BACKEND=tensorflow"
> python trackgesture.py
We are setting KERAS_BACKEND to change backend to Theano, so in case you have already done it via Keras.json then no need to do that. But if you have Tensorflow set as default then this will be required.
This application comes with CNN model to recognize upto 5 pretrained gestures:
- OK
- PEACE
- STOP
- PUNCH
- NOTHING (ie when none of the above gestures are input)
This application provides following functionalities:
- Prediction : Which allows the app to guess the user's gesture against pretrained gestures. App can dump the prediction data to the console terminal or to a json file directly which can be used to plot real time prediction bar chart (you can use my other script - https://github.com/asingh33/LivePlot)
- New Training : Which allows the user to retrain the NN model. User can change the model architecture or add/remove new gestures. This app has inbuilt options to allow the user to create new image samples of user defined gestures if required.
- Visualization : Which allows the user to see feature maps of different NN layers for a given input gesture image. Interesting to see how NN works and learns things.
Youtube link - https://www.youtube.com/watch?v=CMs5cn65YK8
I am using OpenCV for capturing the user's hand gestures. In order to simply things I am doing post processing on the captured images to highlight the contours & edges. Like applying binary threshold, blurring, gray scaling.
I have provided two modes of capturing:
- Binary Mode : In here I first convert the image to grayscale, then apply a gaussian blur effect with adaptive threshold filter. This mode is useful when you have an empty background like a wall, whiteboard etc.
- SkinMask Mode : In this mode, I first convert the input image to HSV and put range on the H,S,V values based on skin color range. Then apply errosion followed by dilation. Then gaussian blur to smoothen out the noises. Using this output as a mask on original input to mask out everything other than skin colored things. Finally I have grayscaled it. This mode is useful when there is good amount of light and you dont have empty background.
Binary Mode processing
gray = cv2.cvtColor(roi, cv2.COLOR_BGR2GRAY)
blur = cv2.GaussianBlur(gray,(5,5),2)
th3 = cv2.adaptiveThreshold(blur,255,cv2.ADAPTIVE_THRESH_GAUSSIAN_C,cv2.THRESH_BINARY_INV,11,2)
ret, res = cv2.threshold(th3, minValue, 255, cv2.THRESH_BINARY_INV+cv2.THRESH_OTSU)
SkindMask Mode processing
hsv = cv2.cvtColor(roi, cv2.COLOR_BGR2HSV)

#Apply skin color range
mask = cv2.inRange(hsv, low_range, upper_range)

mask = cv2.erode(mask, skinkernel, iterations = 1)
mask = cv2.dilate(mask, skinkernel, iterations = 1)

#blur
mask = cv2.GaussianBlur(mask, (15,15), 1)
#cv2.imshow("Blur", mask)

#bitwise and mask original frame
res = cv2.bitwise_and(roi, roi, mask = mask)
# color to grayscale
res = cv2.cvtColor(res, cv2.COLOR_BGR2GRAY)The CNN I have used for this project is pretty common CNN model which can be found across various tutorials on CNN. Mostly I have seen it being used for Digit/Number classfication based on MNIST database.
model = Sequential()
model.add(Conv2D(nb_filters, (nb_conv, nb_conv),
                    padding='valid',
                    input_shape=(img_channels, img_rows, img_cols)))
convout1 = Activation('relu')
model.add(convout1)
model.add(Conv2D(nb_filters, (nb_conv, nb_conv)))
convout2 = Activation('relu')
model.add(convout2)
model.add(MaxPooling2D(pool_size=(nb_pool, nb_pool)))
model.add(Dropout(0.5))

model.add(Flatten())
model.add(Dense(128))
model.add(Activation('relu'))
model.add(Dropout(0.5))
model.add(Dense(nb_classes))
model.add(Activation('softmax'))
This model has following 12 layers -
_________________________________________________________________
Layer (type)                 Output Shape              Param #
=================================================================
conv2d_1 (Conv2D)            (None, 32, 198, 198)      320
_________________________________________________________________
activation_1 (Activation)    (None, 32, 198, 198)      0
_________________________________________________________________
conv2d_2 (Conv2D)            (None, 32, 196, 196)      9248
_________________________________________________________________
activation_2 (Activation)    (None, 32, 196, 196)      0
_________________________________________________________________
max_pooling2d_1 (MaxPooling2 (None, 32, 98, 98)        0
_________________________________________________________________
dropout_1 (Dropout)          (None, 32, 98, 98)        0
_________________________________________________________________
flatten_1 (Flatten)          (None, 307328)            0
_________________________________________________________________
dense_1 (Dense)              (None, 128)               39338112
_________________________________________________________________
activation_3 (Activation)    (None, 128)               0
_________________________________________________________________
dropout_2 (Dropout)          (None, 128)               0
_________________________________________________________________
dense_2 (Dense)              (None, 5)                 645
_________________________________________________________________
activation_4 (Activation)    (None, 5)                 0
=================================================================
Total params: 39,348,325.0 Trainable params: 39,348,325.0
In version 1.0 of this project I had used 1204 images only for training. Predictions probability was ok but not satisfying. So in version 2.0 I increased the training image set to 4015 images i.e. 803 image samples per class. Also added an additional class 'Nothing' along with the previous 4 gesture classes.
I have trained the model for 15 epochs.
CNN is good in detecting edges and thats why its useful for image classificaion kind of problems. In order to understand how the neural net is understanding the different gesture input its possible to visualize the layer feature map contents.
After launching the main script choose option 3 for visualizing different or all layer for a given image (currently it takes images from ./imgs, so change it accordingly)
What would you like to do ?
    1- Use pretrained model for gesture recognition & layer visualization
    2- Train the model (you will require image samples for training under .\imgfolder)
    3- Visualize feature maps of different layers of trained model
    3
Will load default weight file
Image number 7
Enter which layer to visualize -1
(4015, 40000)
Press any key
samples_per_class -  803
Total layers - 12
Dumping filter data of layer1 - Activation
Dumping filter data of layer2 - Conv2D
Dumping filter data of layer3 - Activation
Dumping filter data of layer4 - MaxPooling2D
Dumping filter data of layer5 - Dropout
Can't dump data of this layer6- Flatten
Can't dump data of this layer7- Dense
Can't dump data of this layer8- Activation
Can't dump data of this layer9- Dropout
Can't dump data of this layer10- Dense
Can't dump data of this layer11- Activation
Press any key to continue
To understand how its done in Keras, check visualizeLayer() in gestureCNN.py
layer = model.layers[layerIndex]

get_activations = K.function([model.layers[0].input, K.learning_phase()], [layer.output,])
activations = get_activations([input_image, 0])[0]
output_image = activations
Layer 4 visualization for PUNCH gesture

Layer 2 visualization for STOP gesture

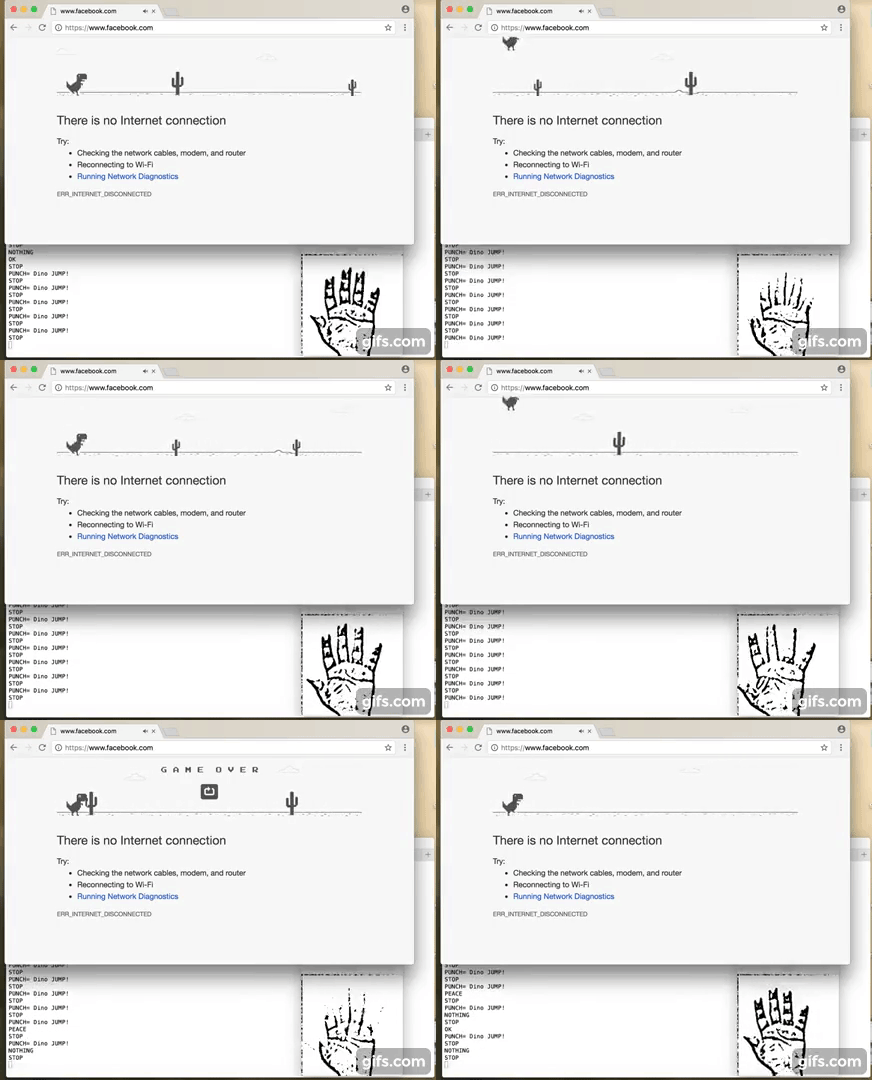
So where to go from here? Well I thought of testing out the responsiveness of NN predictions and games are good benchmark. On MAC I dont have any games installed but then this Chrome Browser Dino Jump game came handy. So I bound the 'Punch' gesture with jump action of the Dino character. Basically can work with any other gesture but felt Punch gesture is easy. Stop gesture was another candidate.
Well here is how it turned out :)
Watch full video - https://www.youtube.com/watch?v=lnFPvtCSsLA&t=49s
Abhishek Singh,”asingh33/CNNGestureRecognizer: CNNGestureRecognizer (Version 1.3.0)”, Zenodo. http://doi.org/10.5281/zenodo.1064825, Nov. 2017.
Do tell me how you used this work in your project. Would love to see your work. Good Luck!
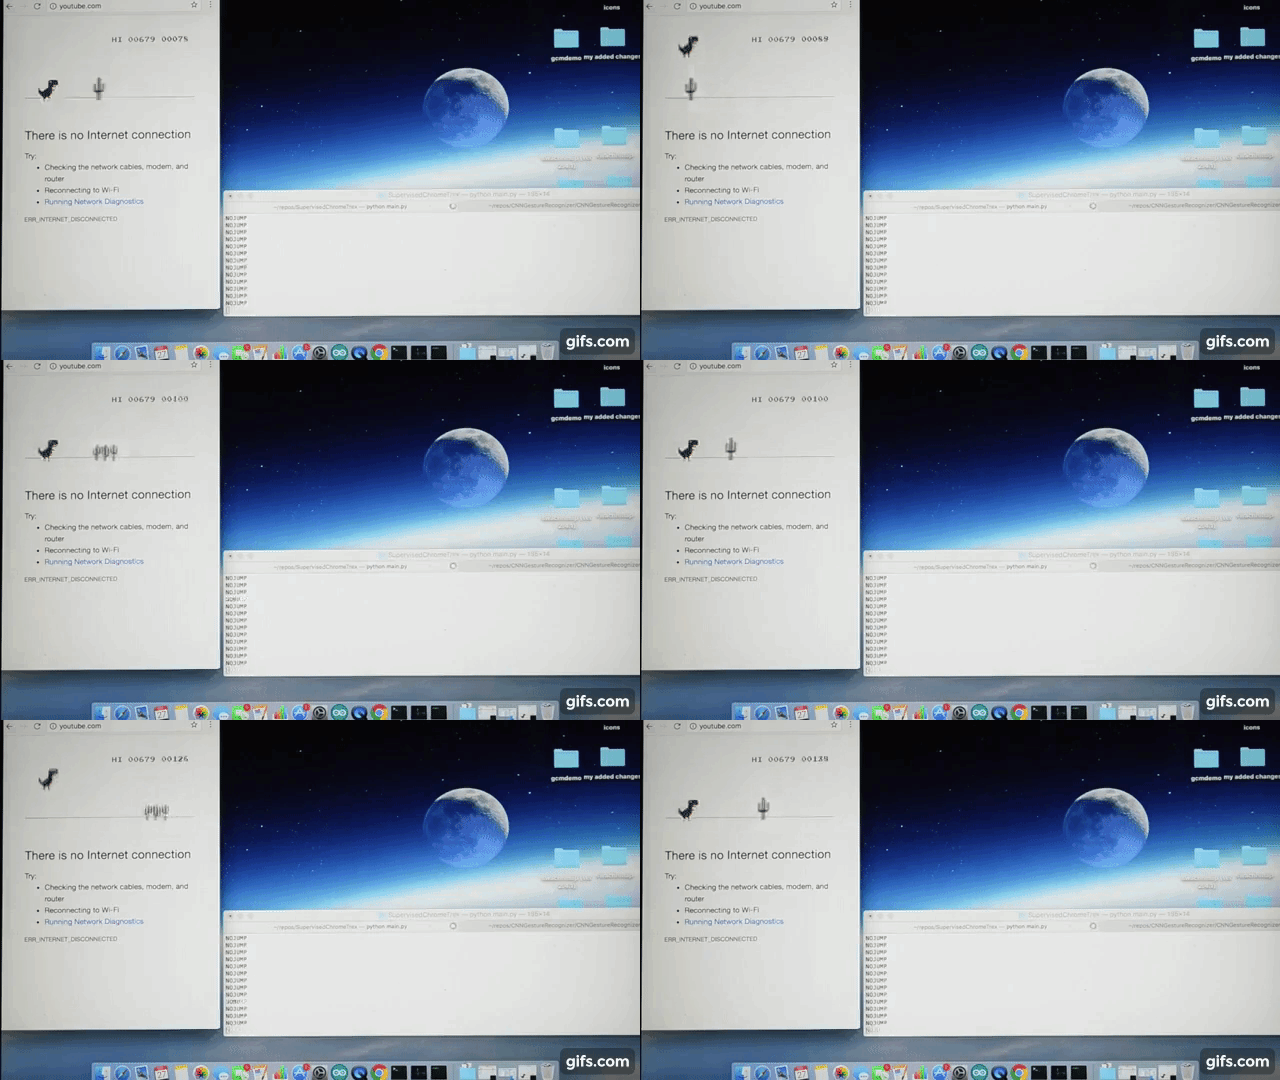
Dont forget to check out my other github project where I used this framework and applied SuperVised machine learning technique to train the Chrome Browser's TRex character :) https://techkblog.com/teach-an-ai-to-play-game-using-supervised-learning/ Youtube link - https://youtu.be/ZZgvklkQrss


