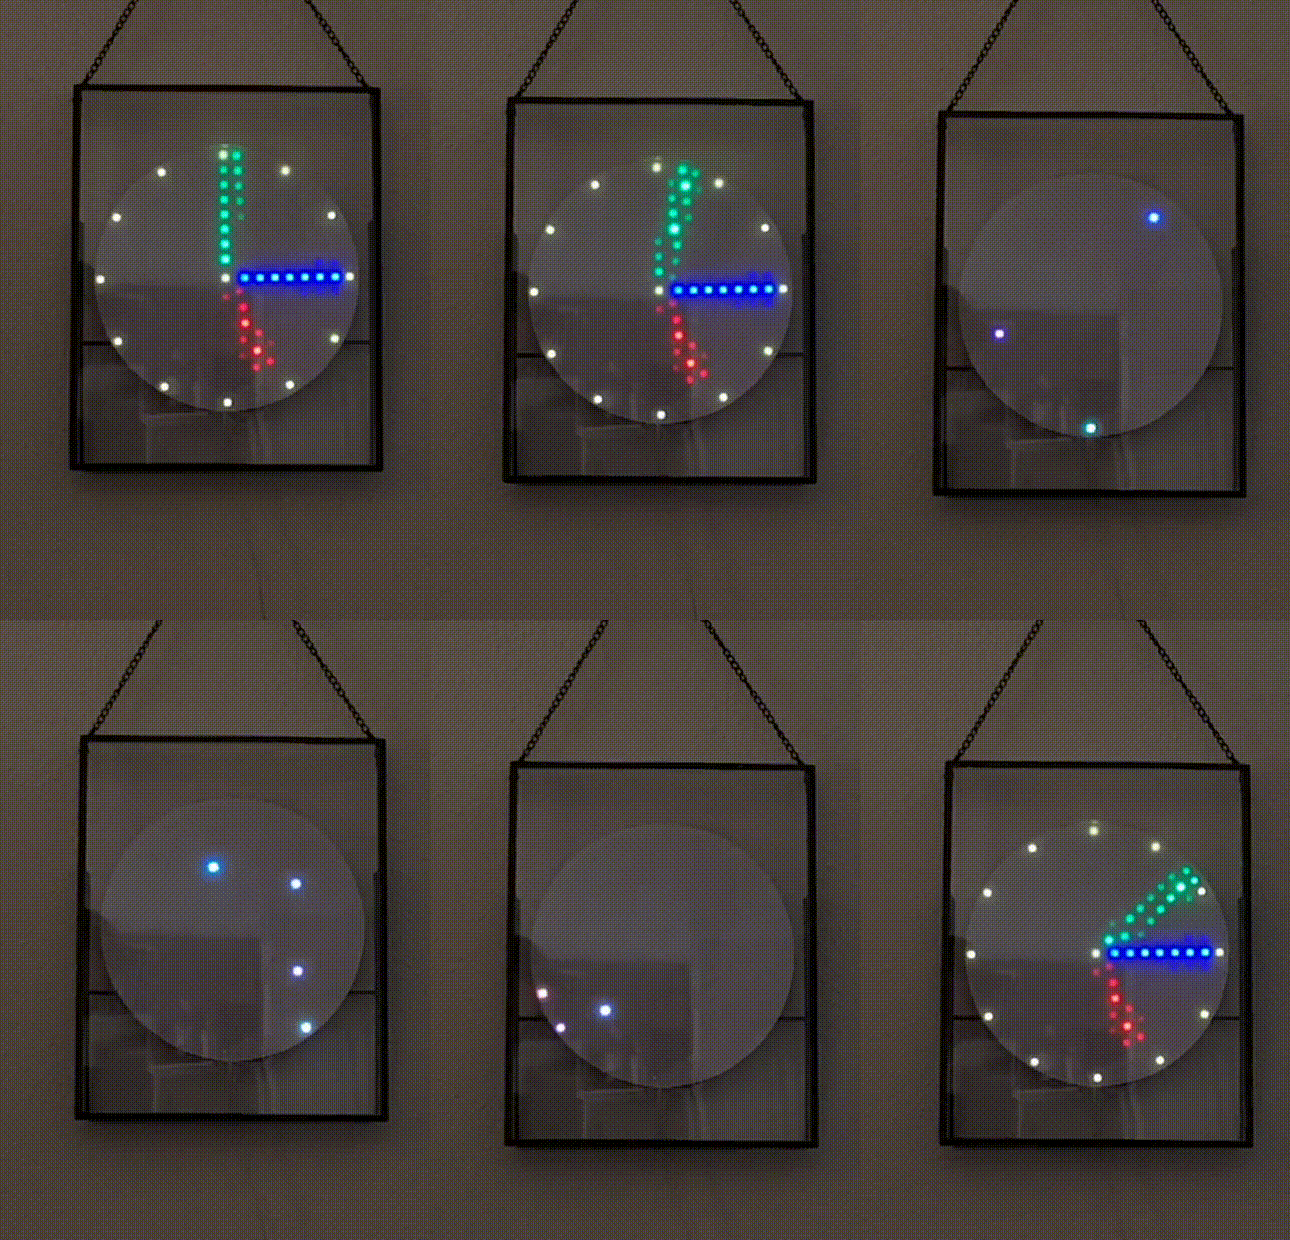
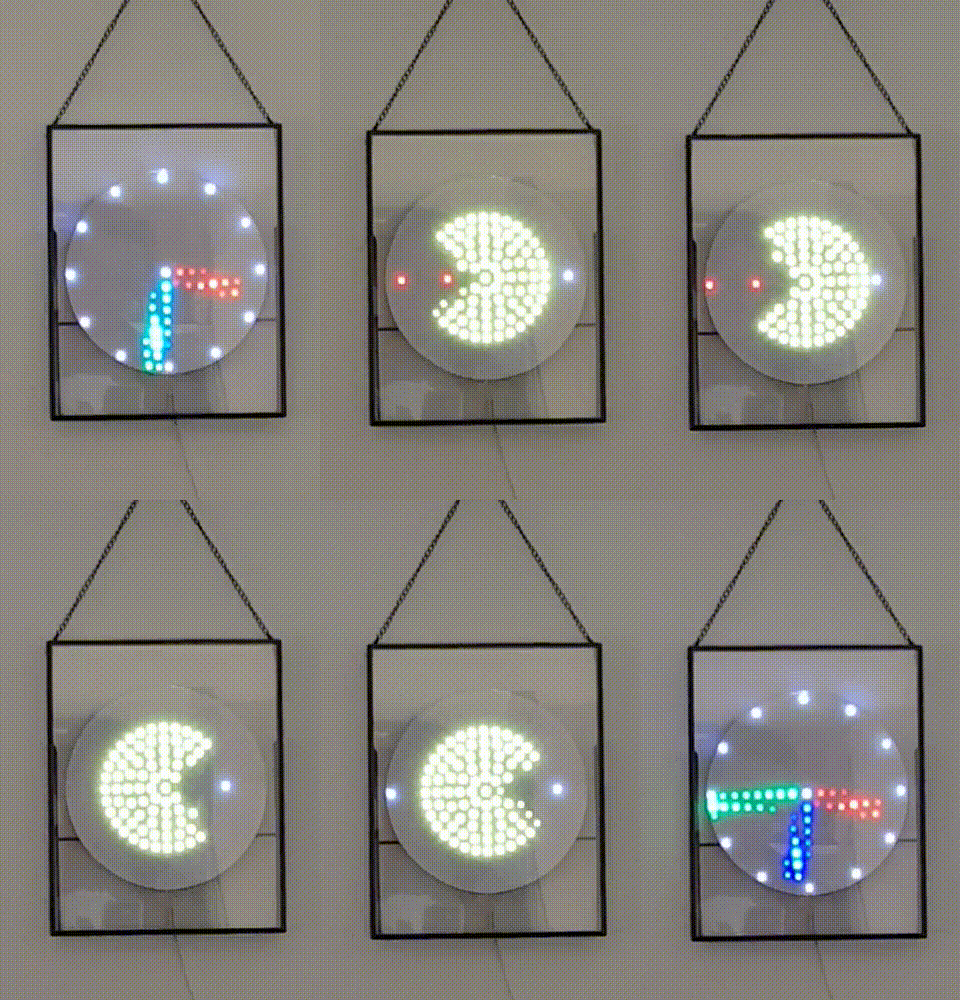
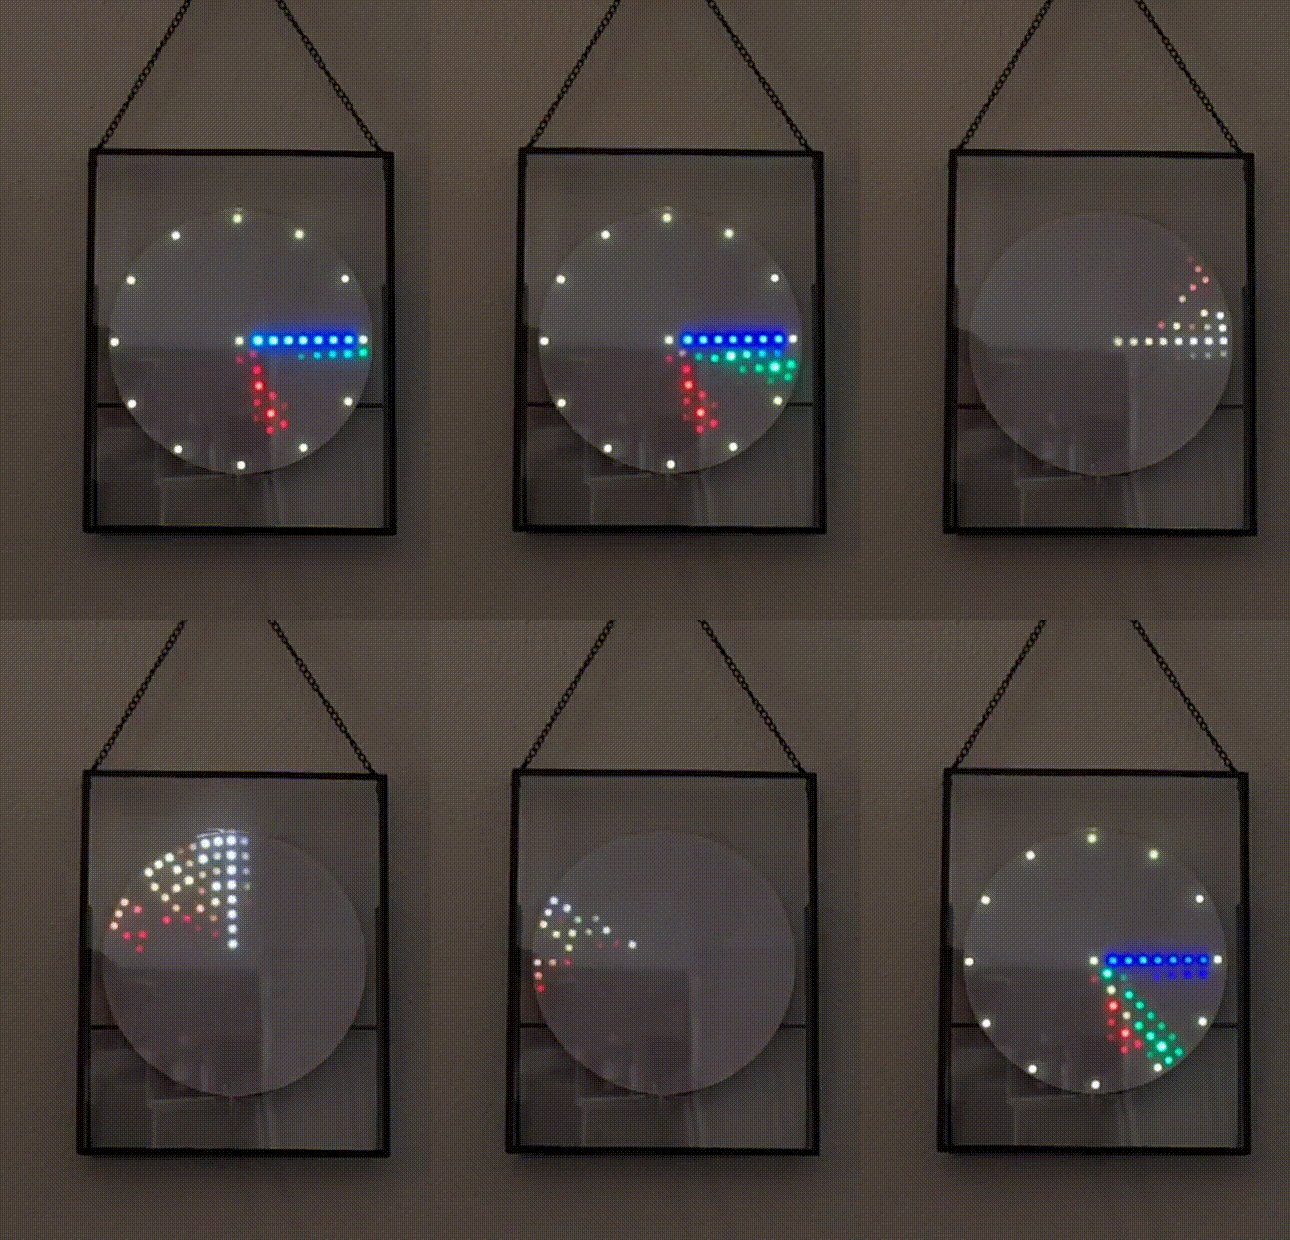
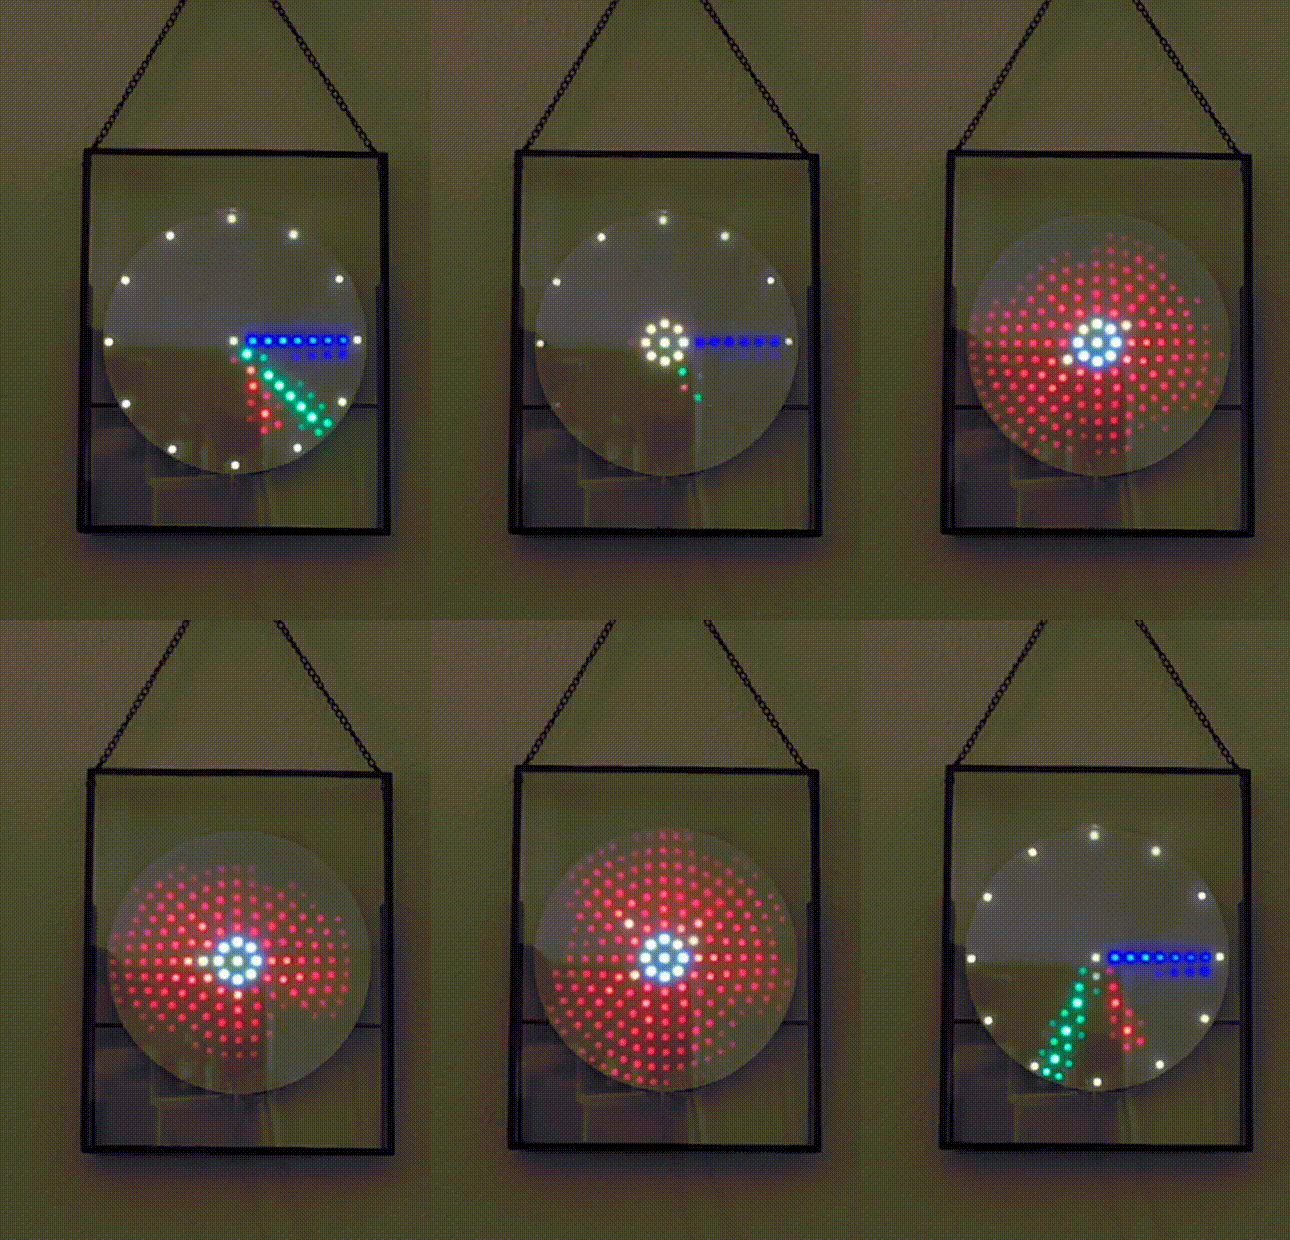
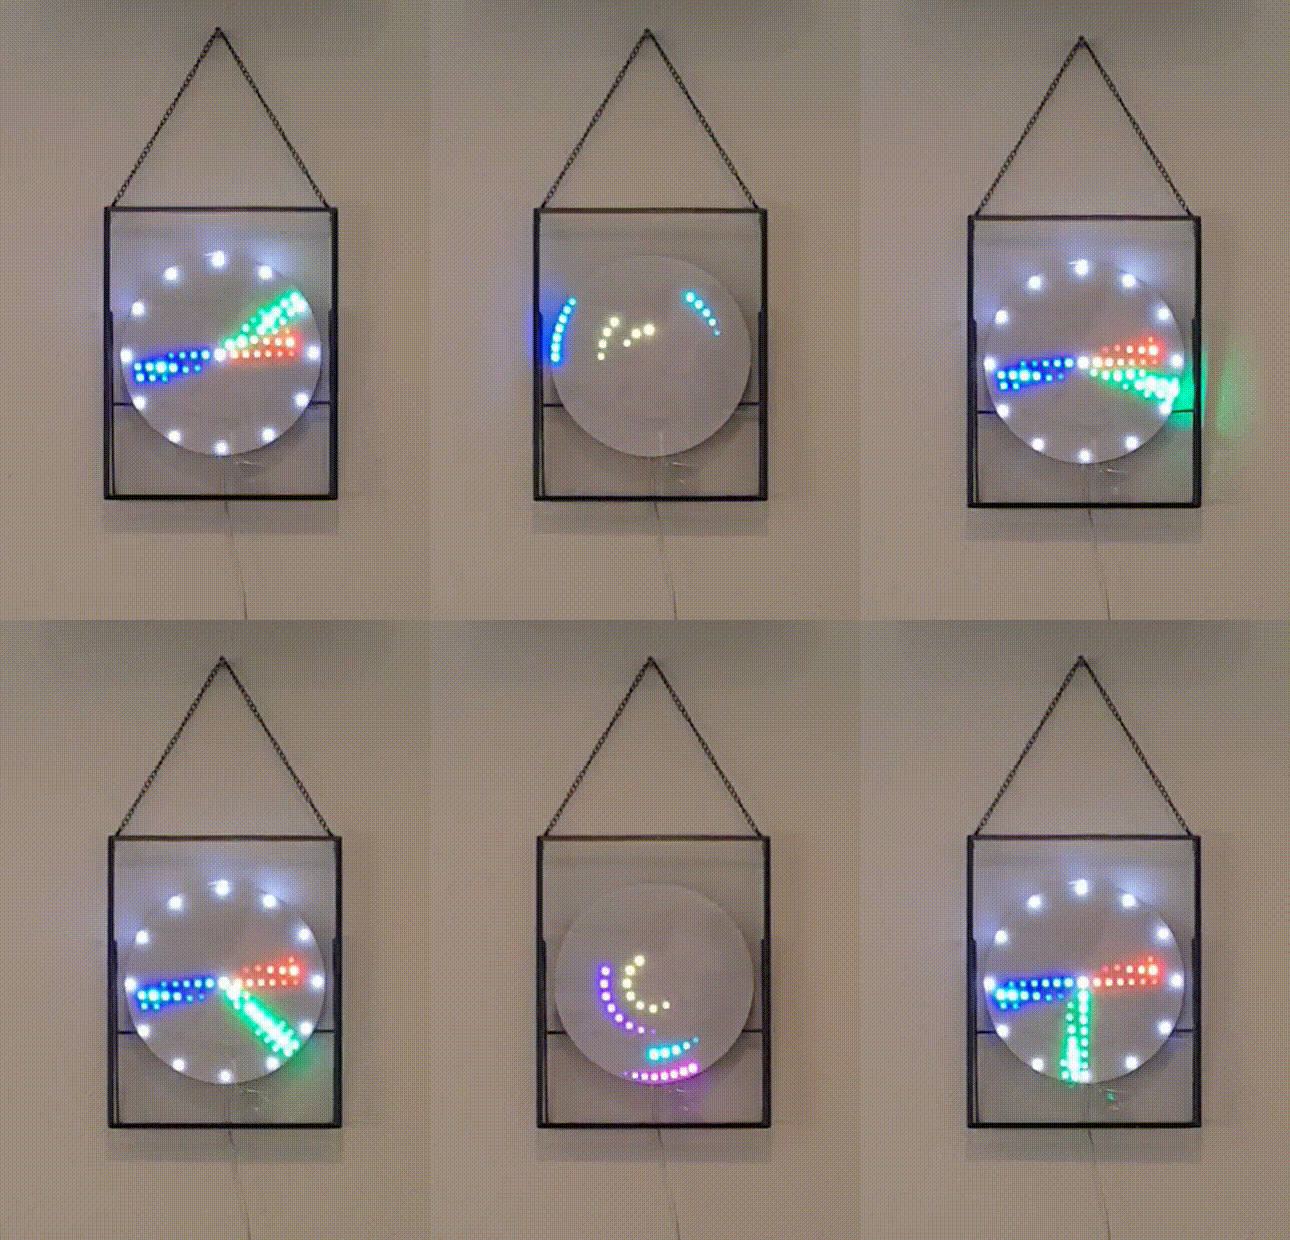
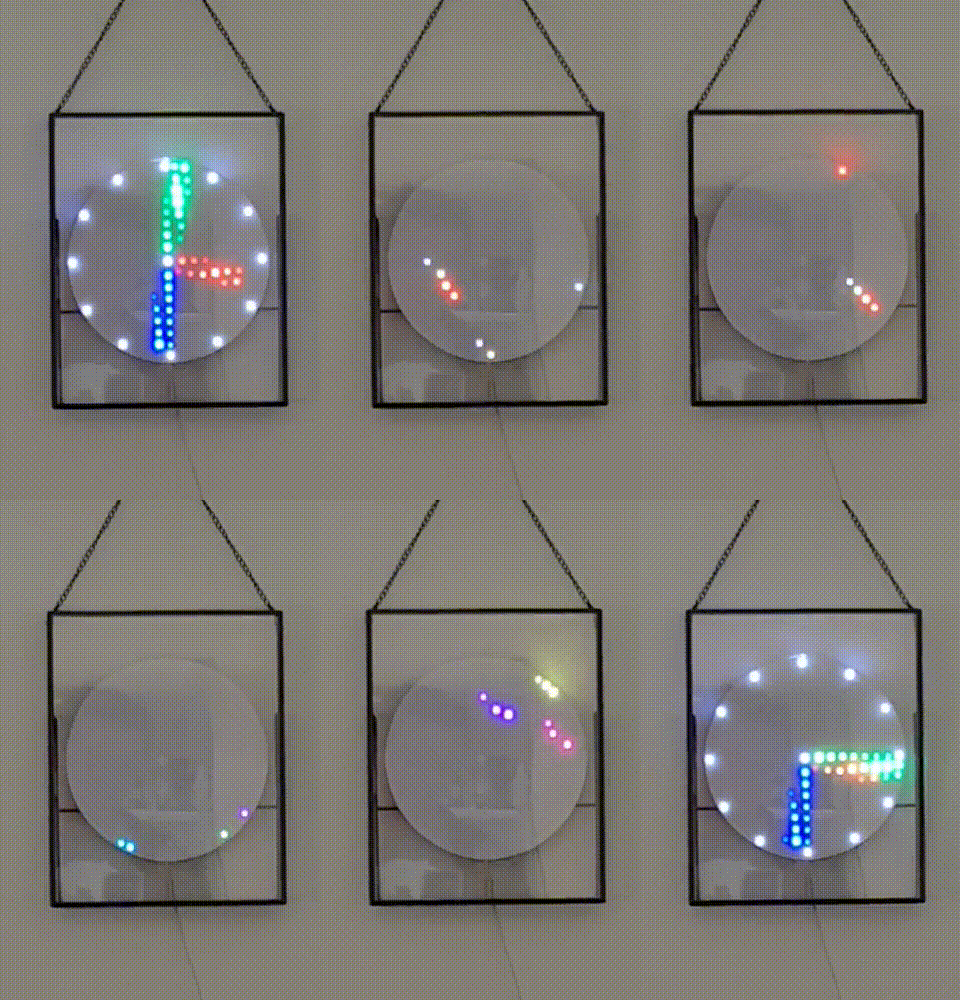
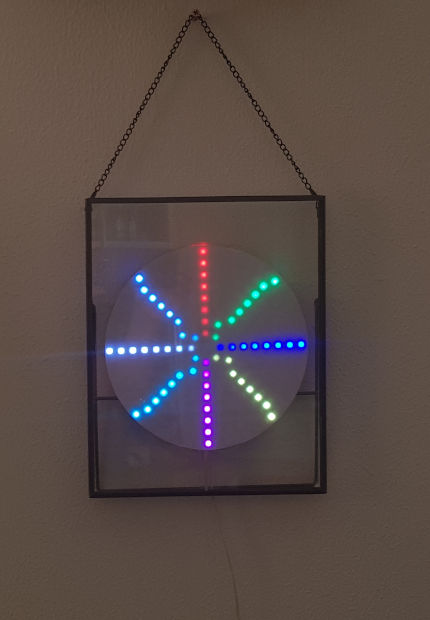
This https://github.com/atkaper/LEDCircleClock is a fork of the awesome project from Milo: https://github.com/MilovdZee/LEDCircleClock
See also my blog post about this project: https://www.kaper.com/electronics/ledcircleclock-revisited/
The original project had 4 effects, next to the analog clock. I (Thijs) have added quite some more. Here's the total effect/animation list:
- Base animation: Analog clock (by Milo, February 2021).
- Sparkle (by Milo, February 2021).
- PacMan (original by Milo, updated by Thijs [March 2021] to be smaller, and eat some moving food), updated by Thijs [December 2022] to be faster, have powerfood, and turn around.
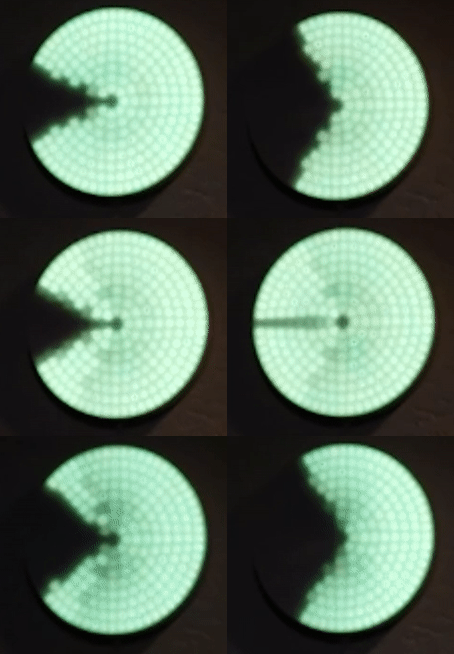
- Scan (by Milo, February 2021).
- Fire (by Milo, February 2021, or he found it somewhere on the internet I think).
- Snake (by Thijs, July 2021).
- Maze (by Thijs, July 2021).
- Digital Clock (by Thijs, July 2021).
- Cartoon Bomb Explosion (by Thijs, July 2021).
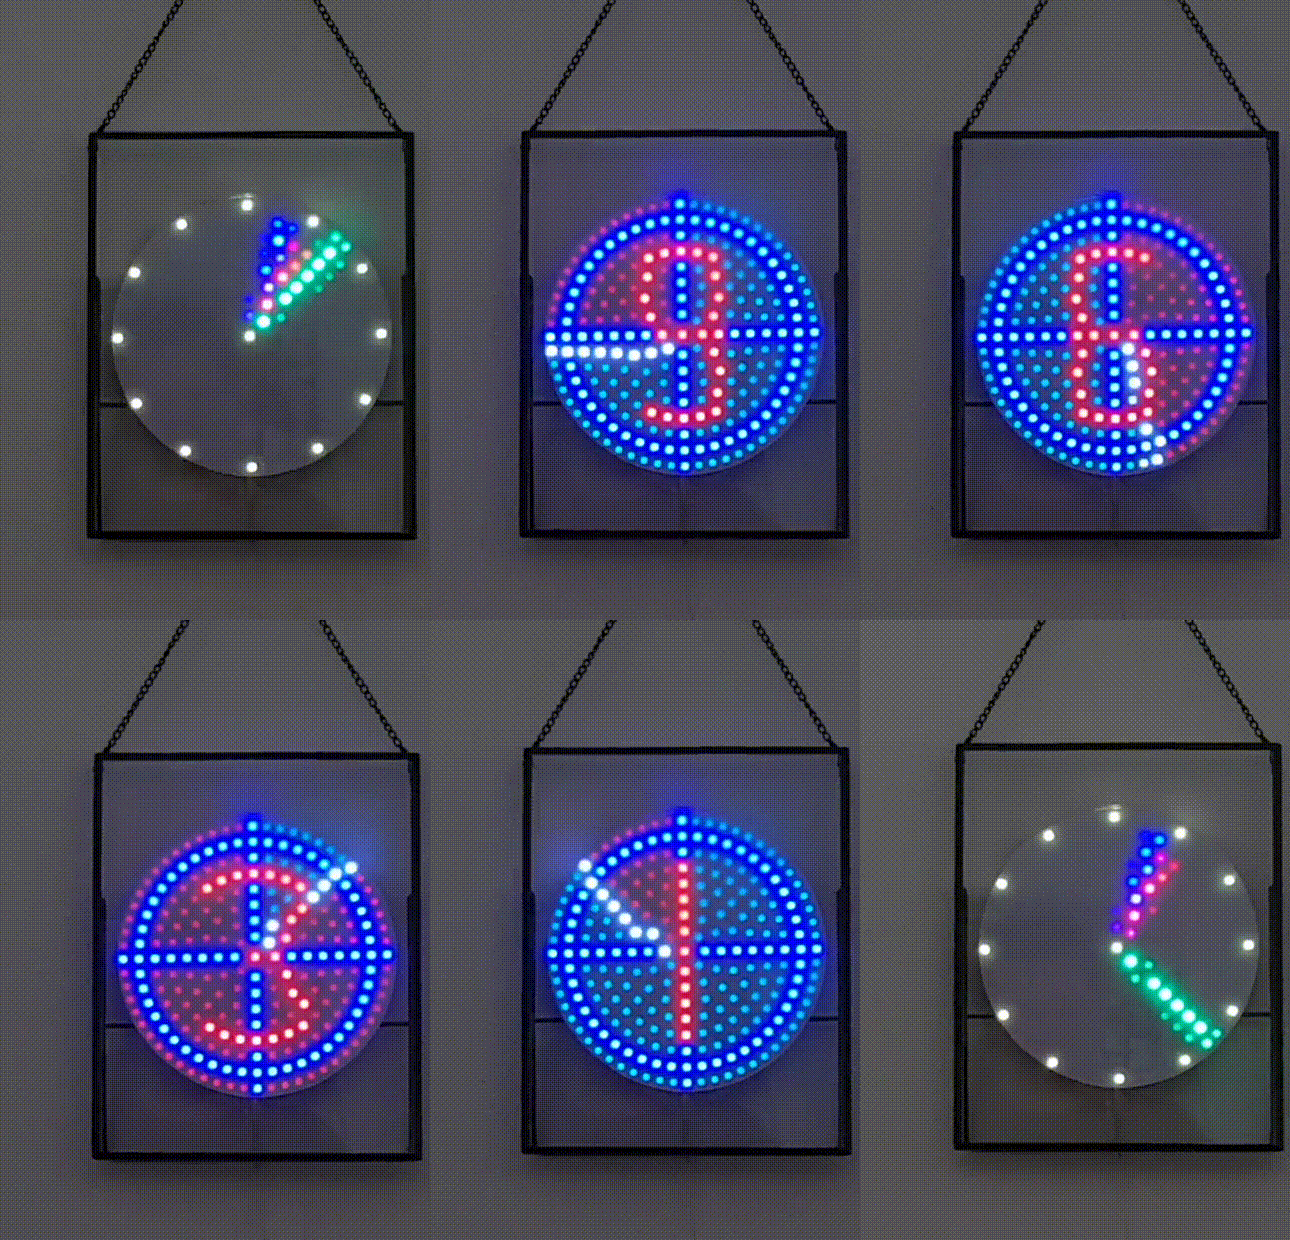
- Tic Tac Toe (by Thijs, August 2021).
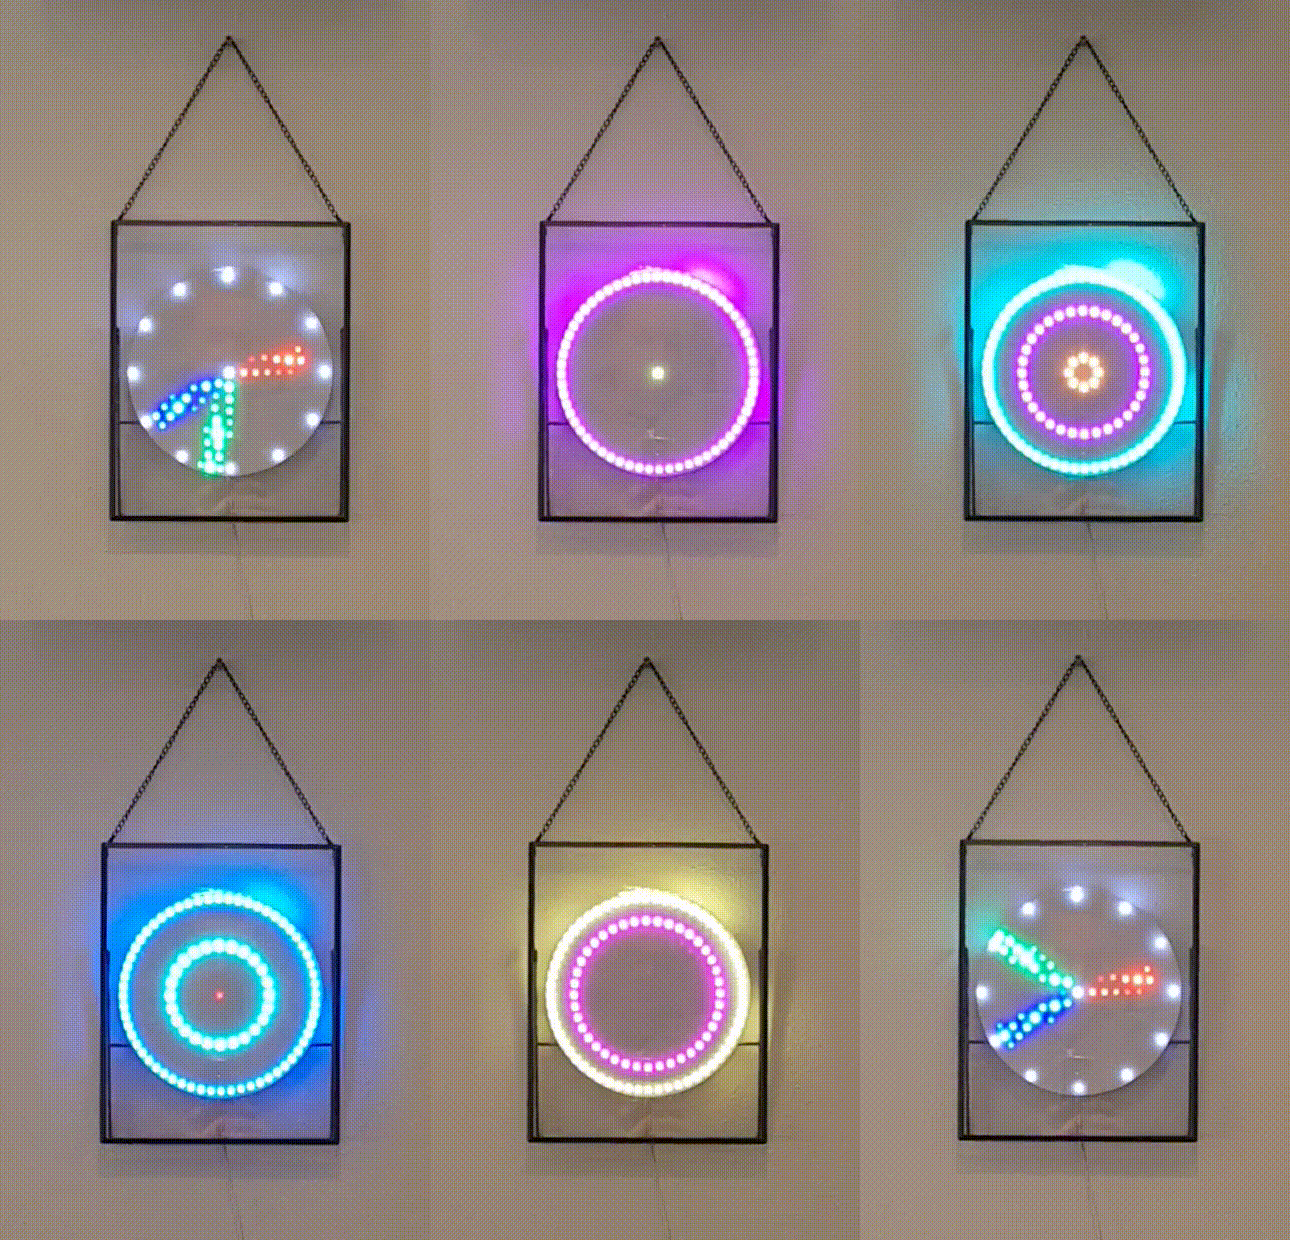
- Down the Drain (by Thijs, August 2021).
- Vault/CodeLock (by Thijs, August 2021).
- HourGlass (by Elly & Thijs, April 2022).
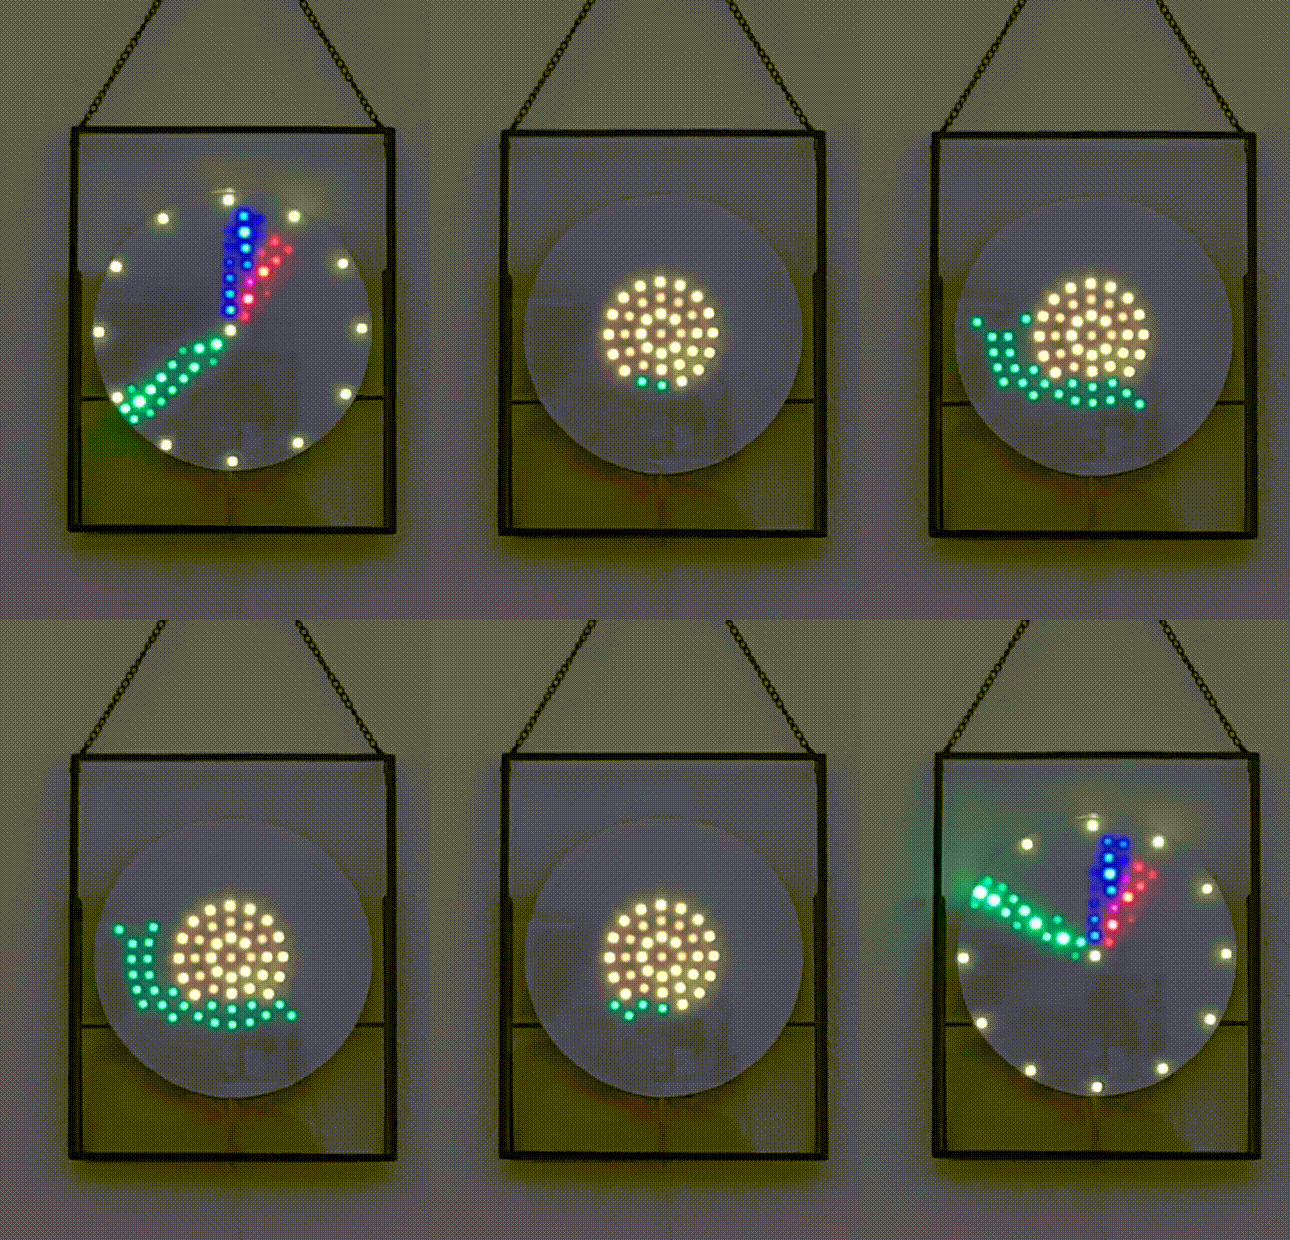
- Snail (by Elly & Thijs, April 2022).
- WordClock (by Thijs, May 2022).
- MovieStart (by Thijs, May 2022).
Hiddenfeature: color picker (by Thijs, July 2021).- WarpTunnel (by Thijs, December 2022).
- Throbber (by Thijs, December 2022).
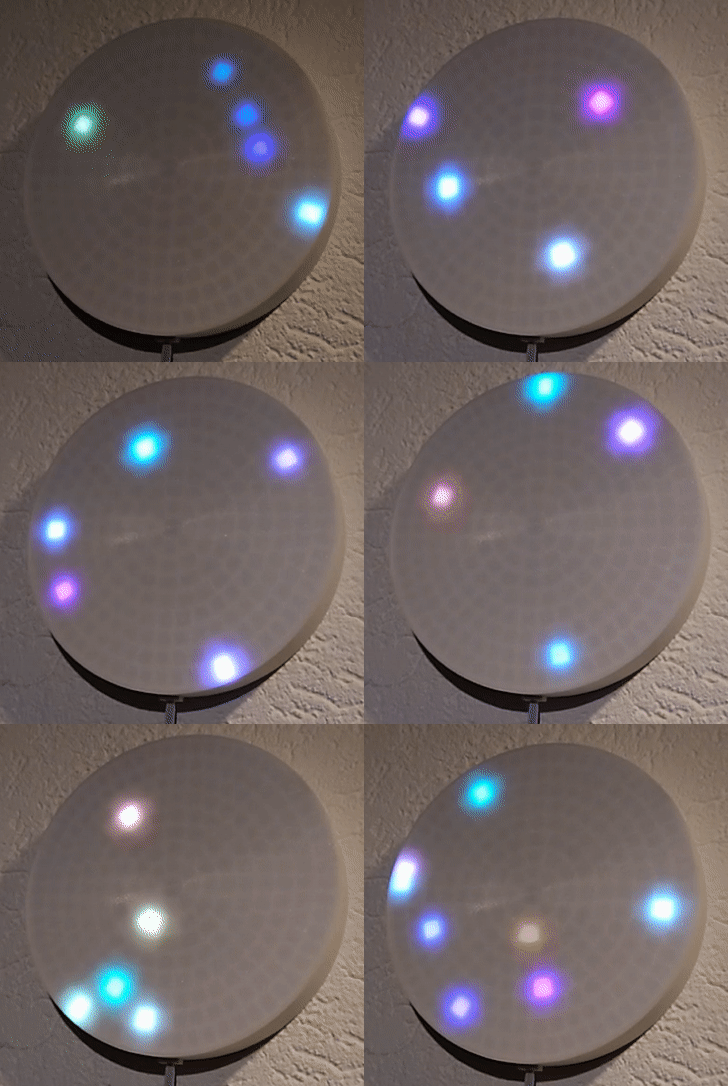
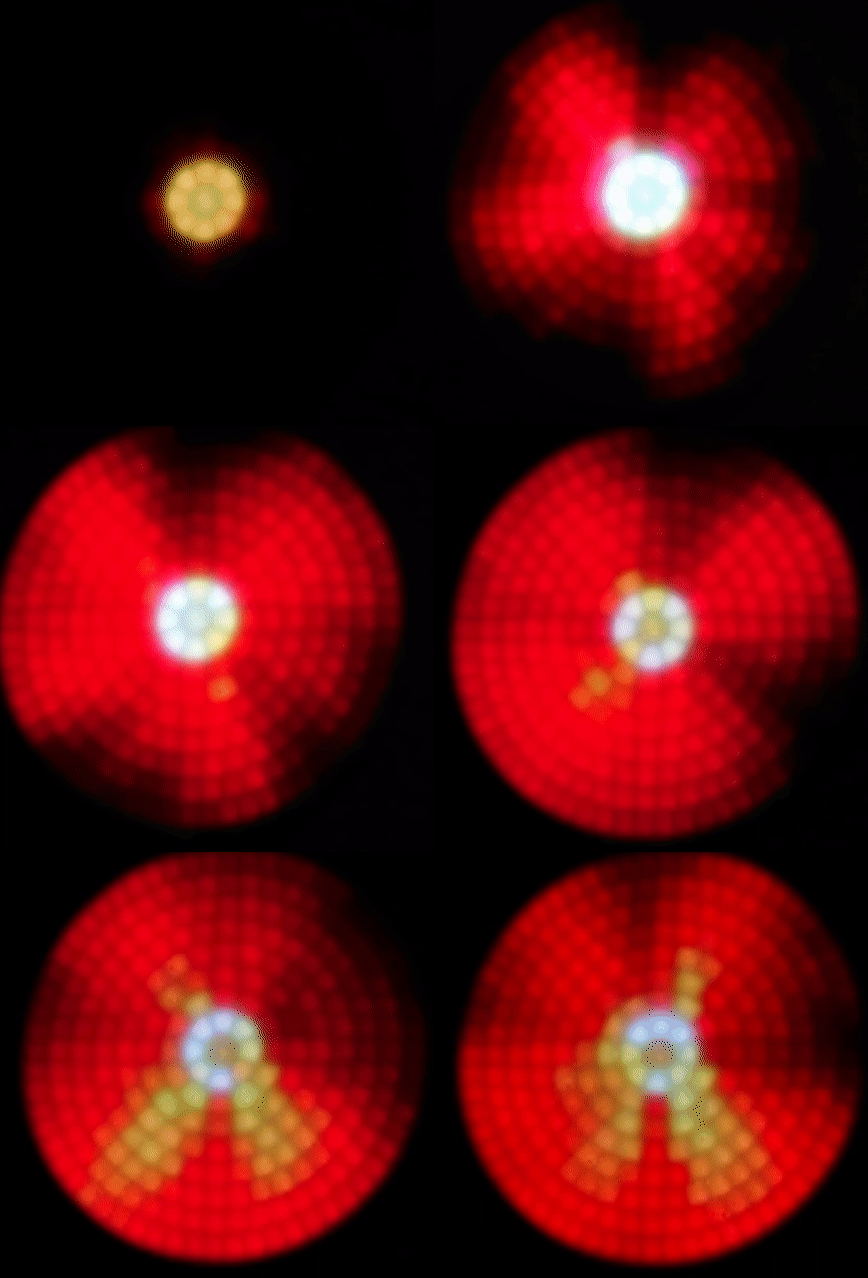
- Meteor Shower (by Thijs, December 2022) - although those also look quite like guppies (fish).
Other changes:
- Automatic following of summer/winter time (in March 2021).
- Refactoring to put the effects each in a separate source file (July 2021).
- Buttons to play one effect on demand (July 2021).
- Demo mode to play all effects in a row (July/August 2021).
- Configurable ota/admin password (July/August 2021).
- Protection of the wifi/ota settings page (March 2022).
- Support unprotected WiFi, by setting a blank WiFi password (March 2022).
- Added effect play/pause/stop button (March 2022).
- Changed web-gui to list effect names instead of numbers (May 2022).
- Refactored all big arrays into PROGMEM, to go from 29K free dynamic memory to 33K (December 2022).
- Refactored the web GUI to use less dynamic memory (December 2022).
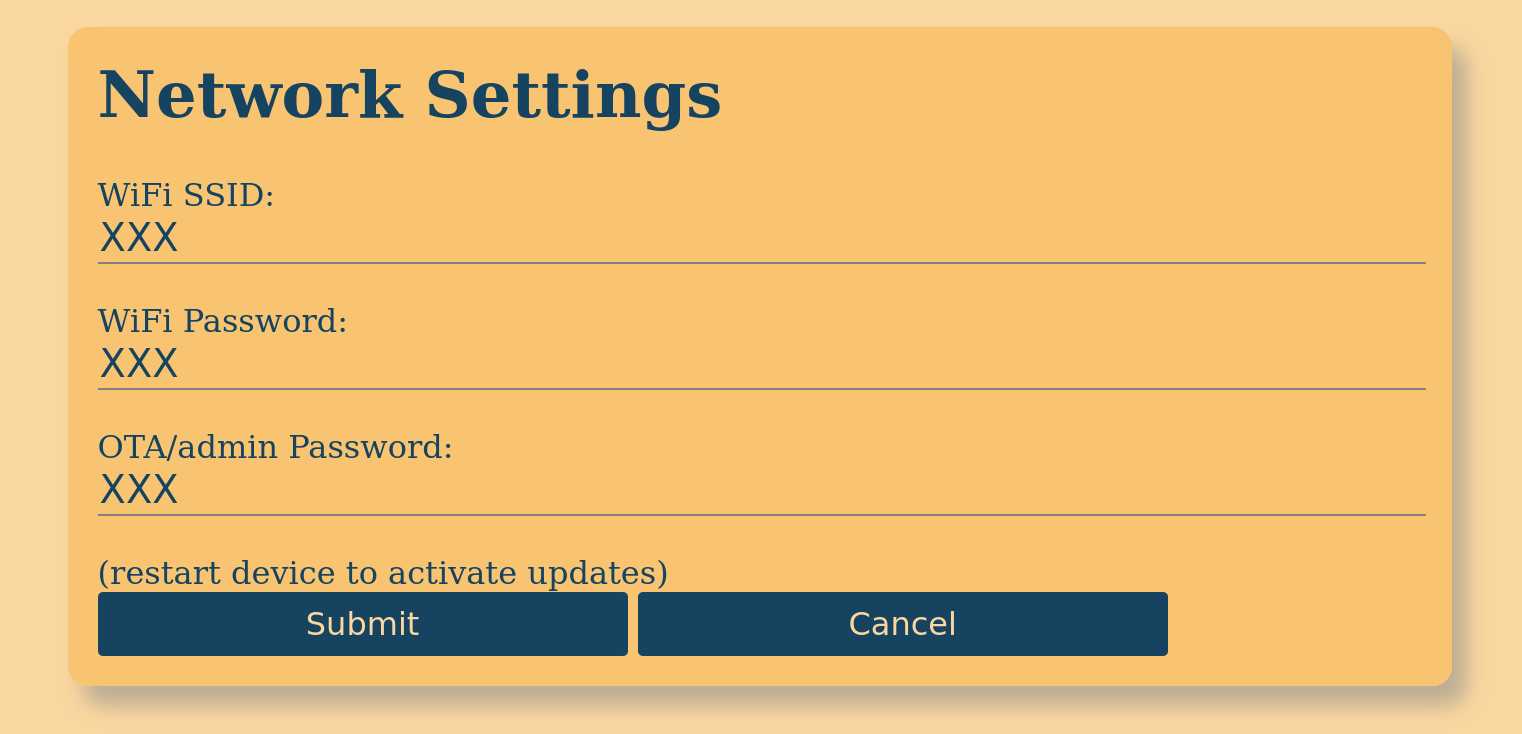
For the wifi-settings page, use user "admin", and the ota password to get in. The initial ota password is "KlokPassword" if you did not set one yet.
I have not yet printed the proper clock case on the 3d-printer. Mine is installed in an IKEA picture-frame called "LERBODA", waiting for me to do the print some day ;-)
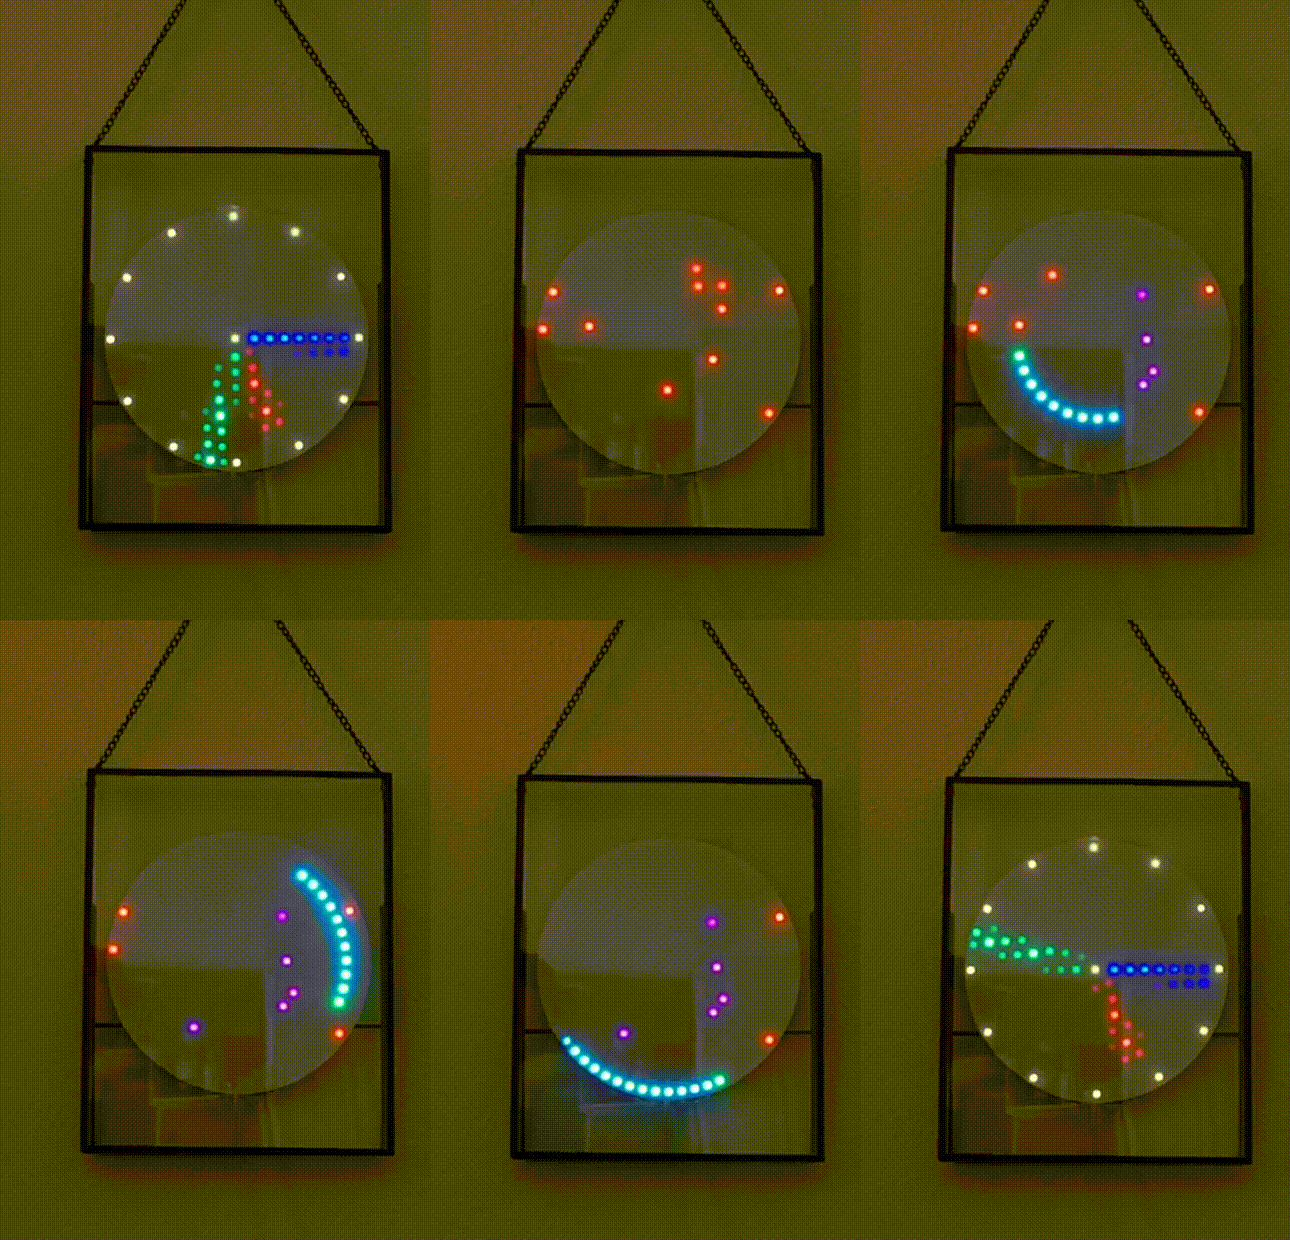
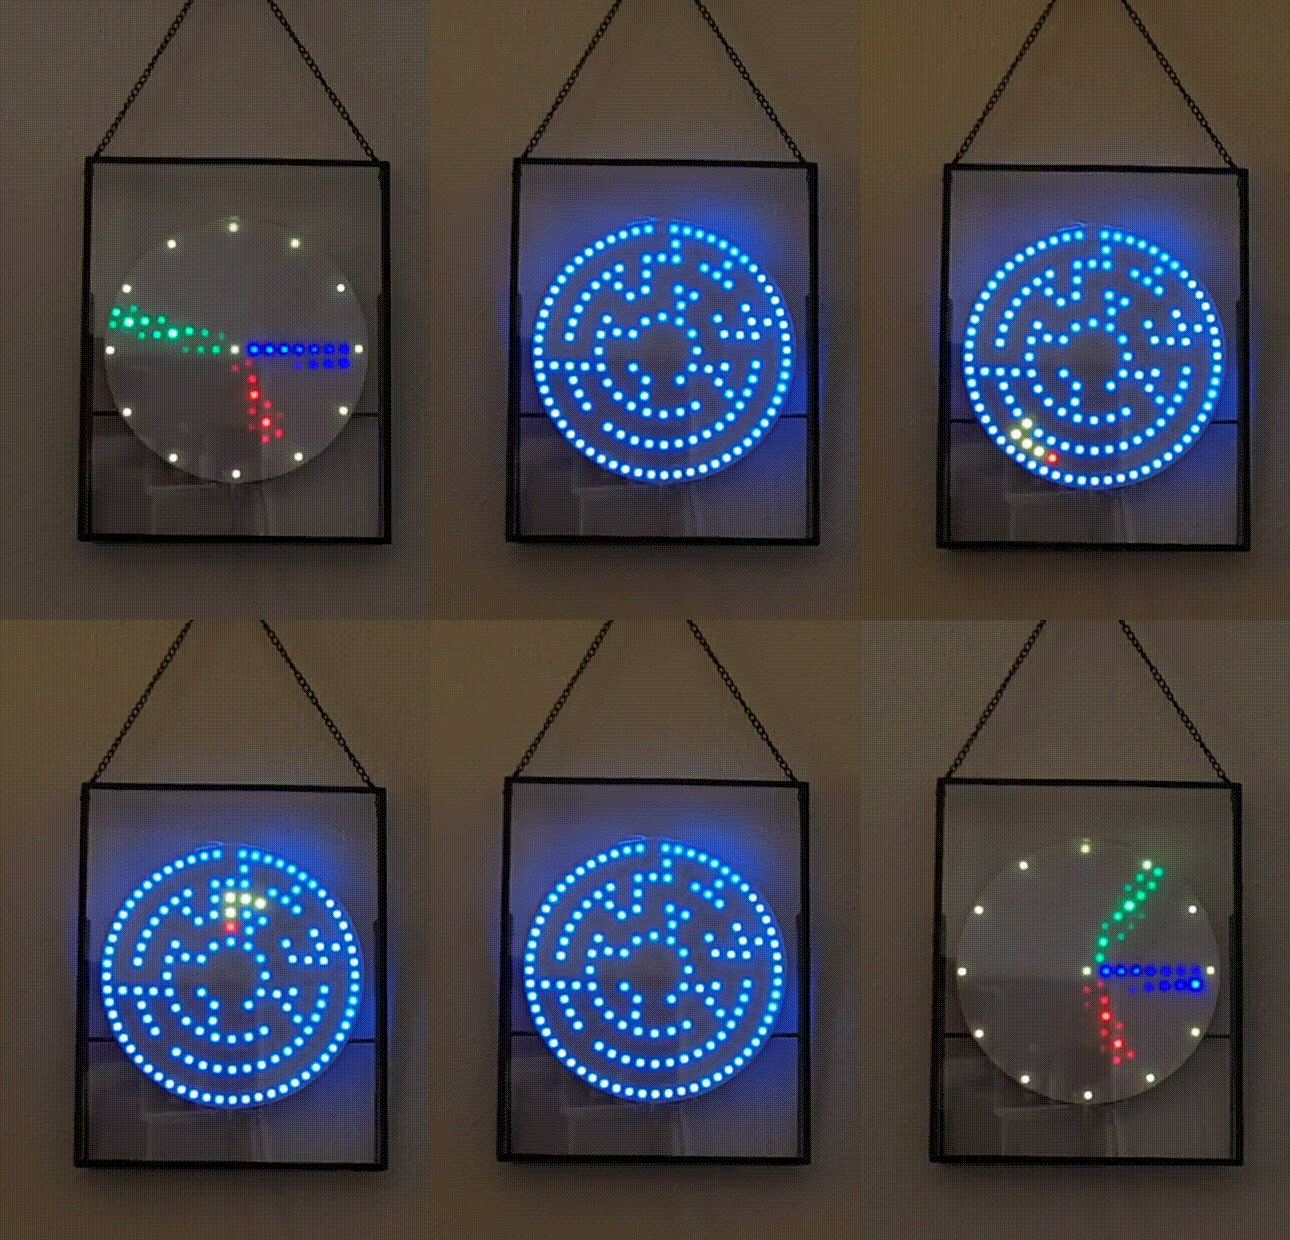
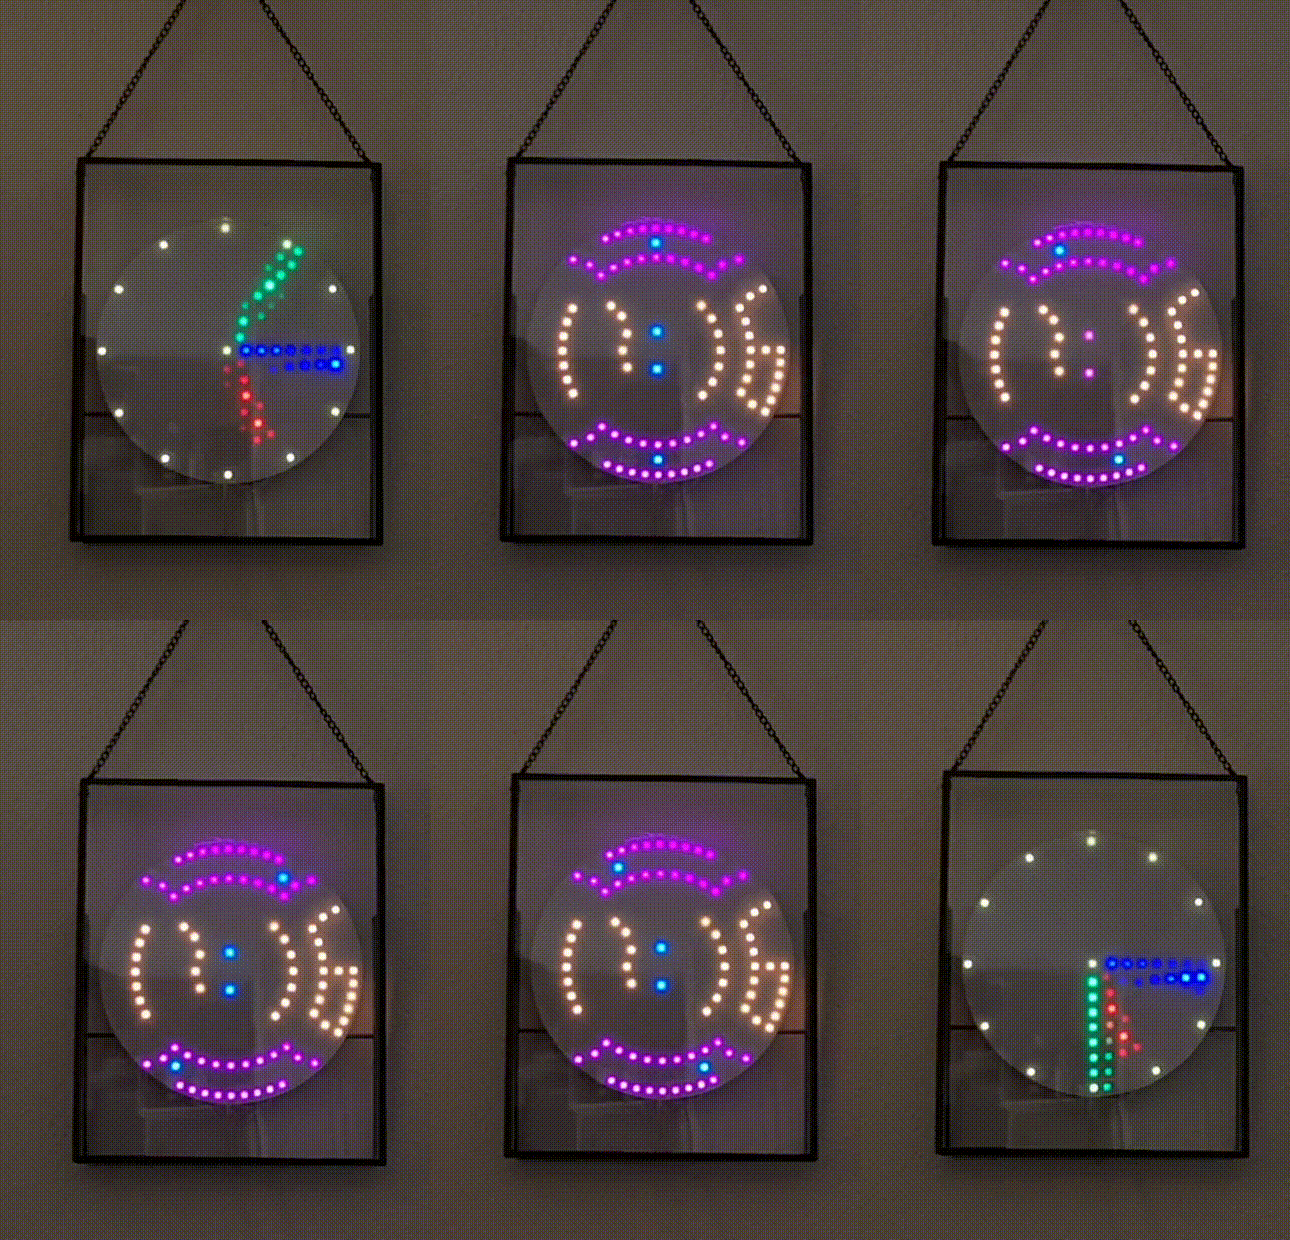
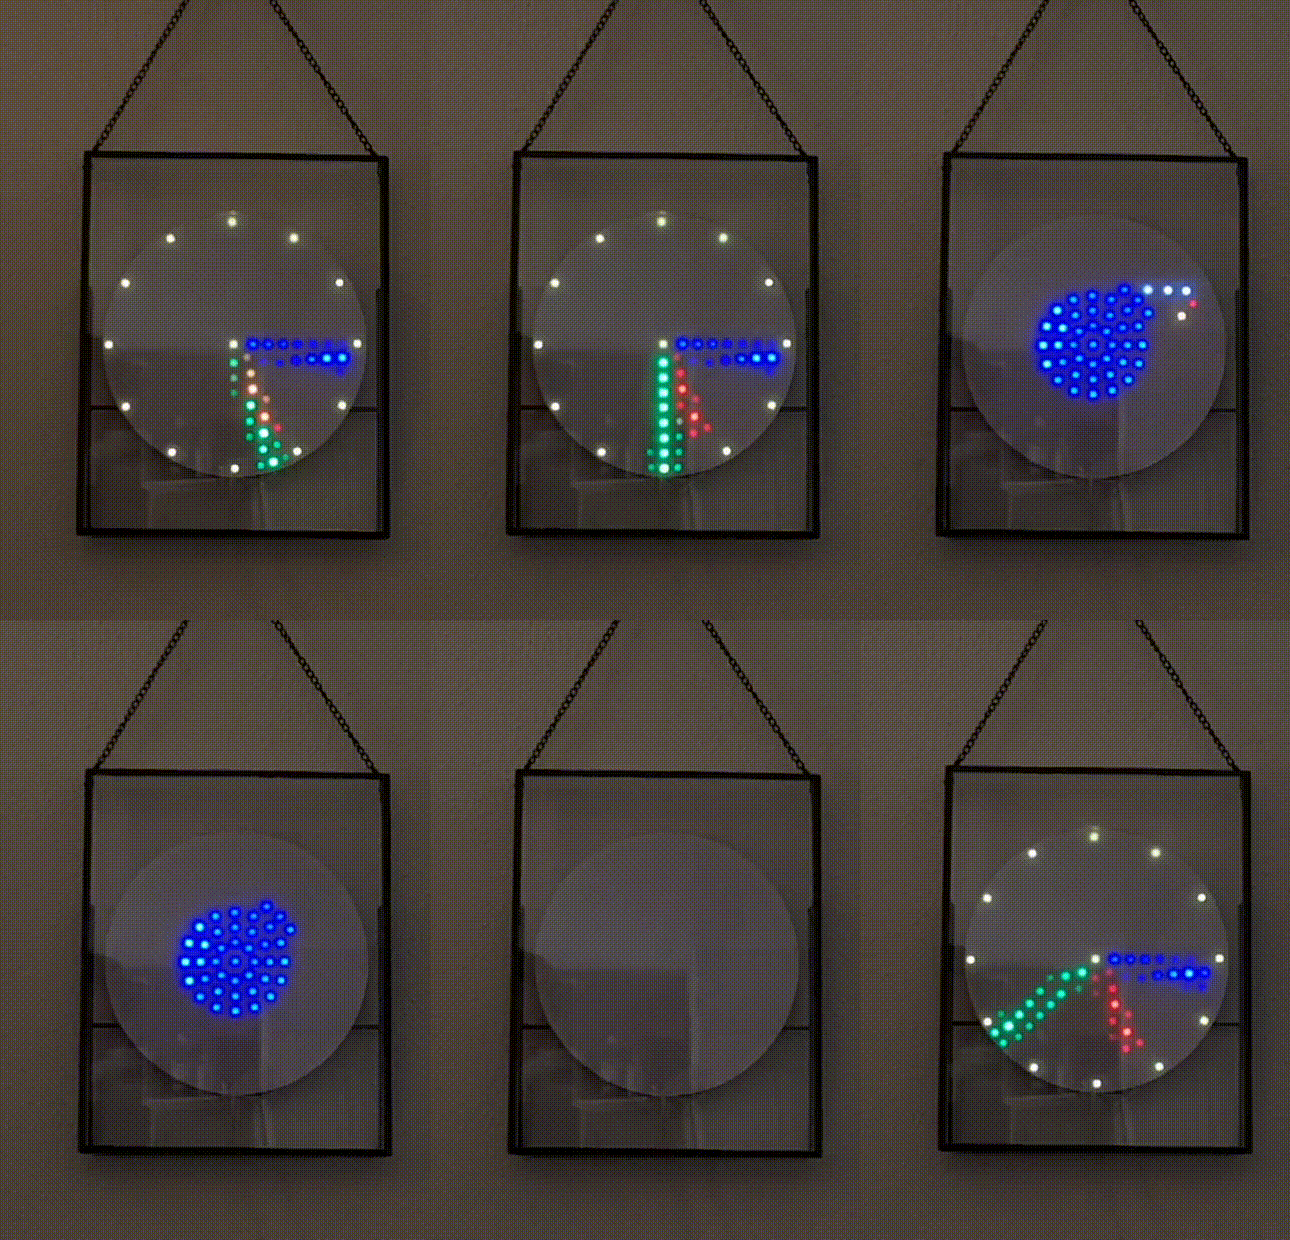
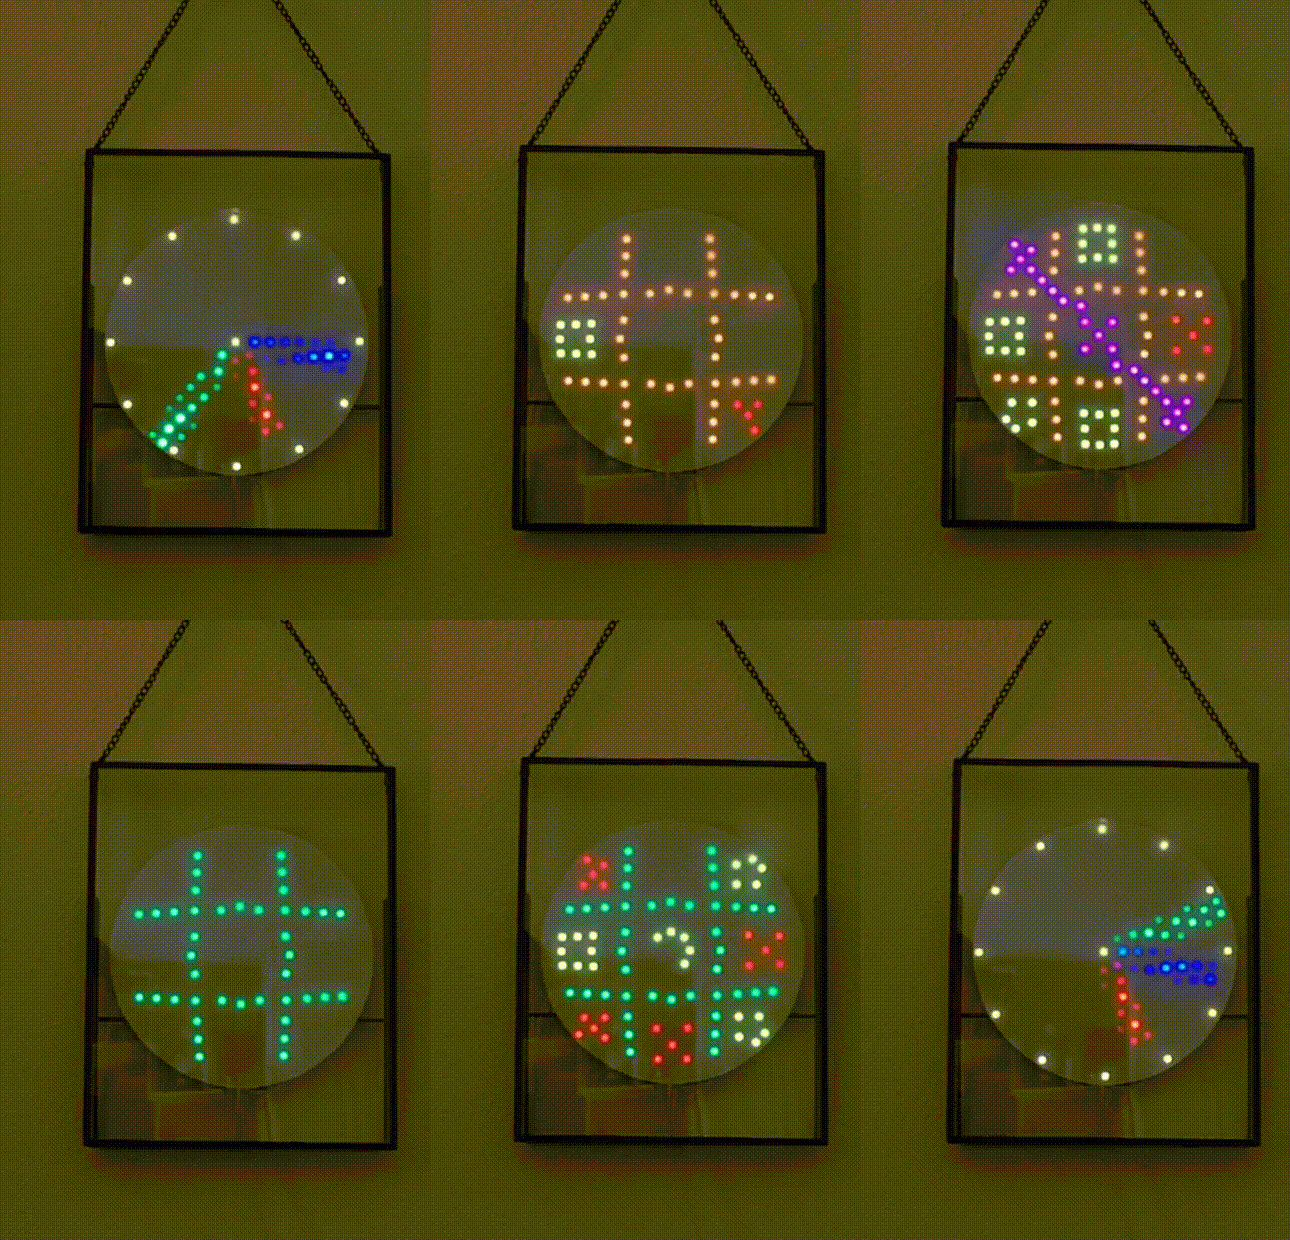
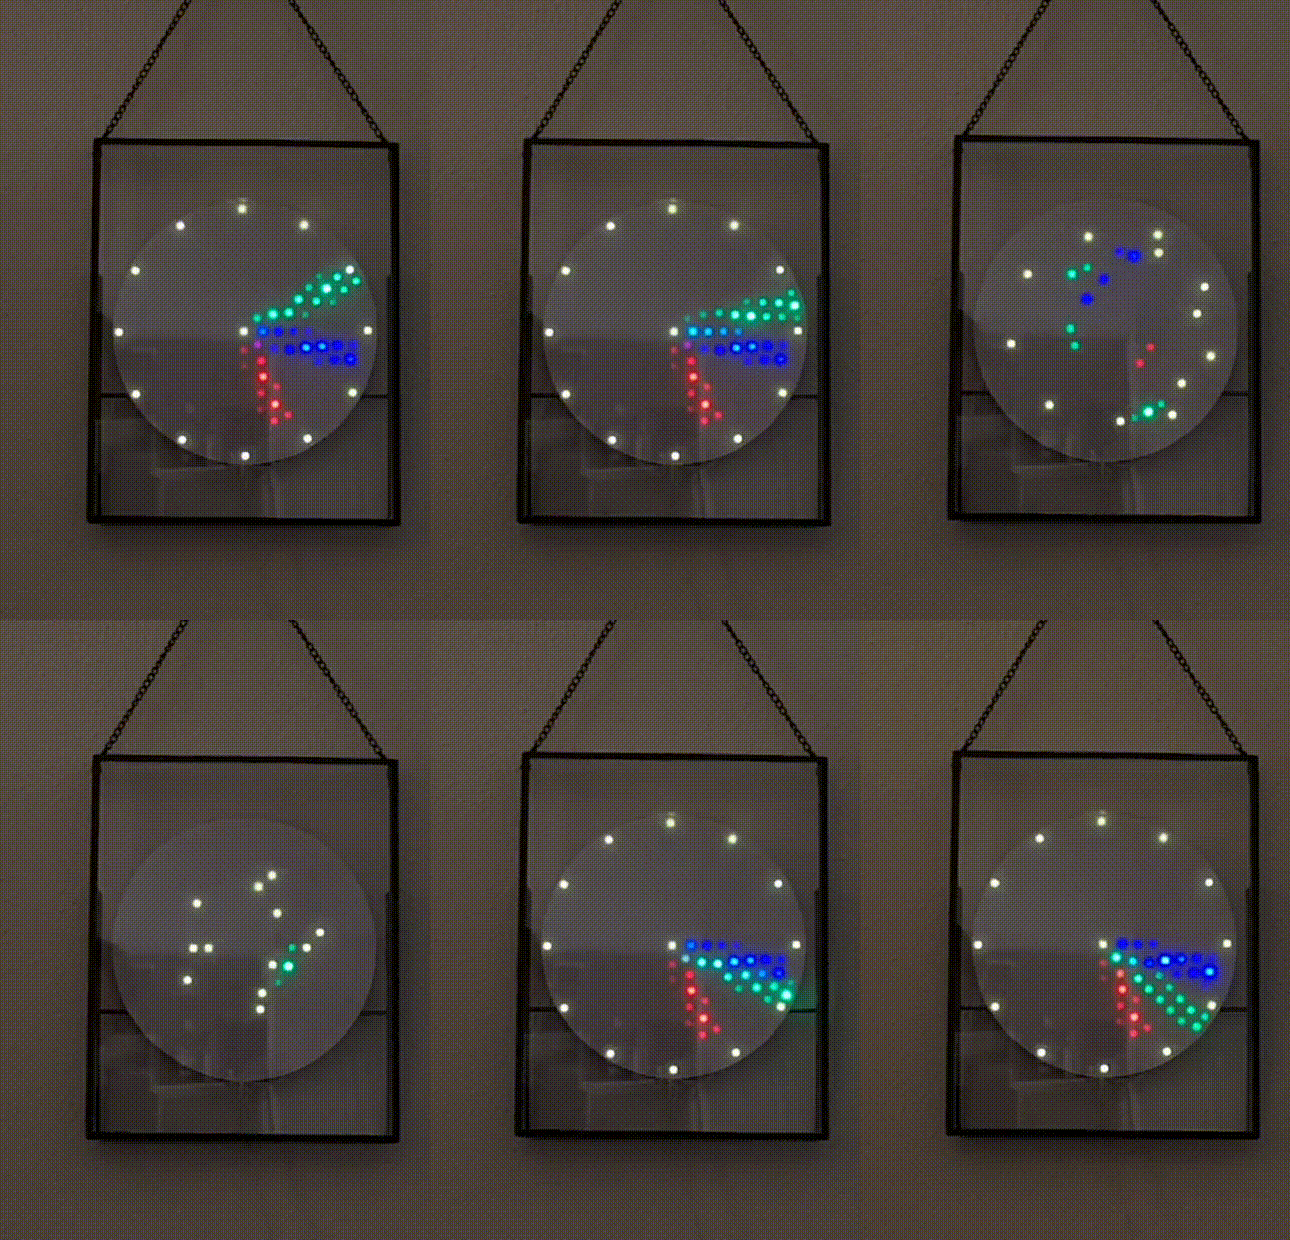
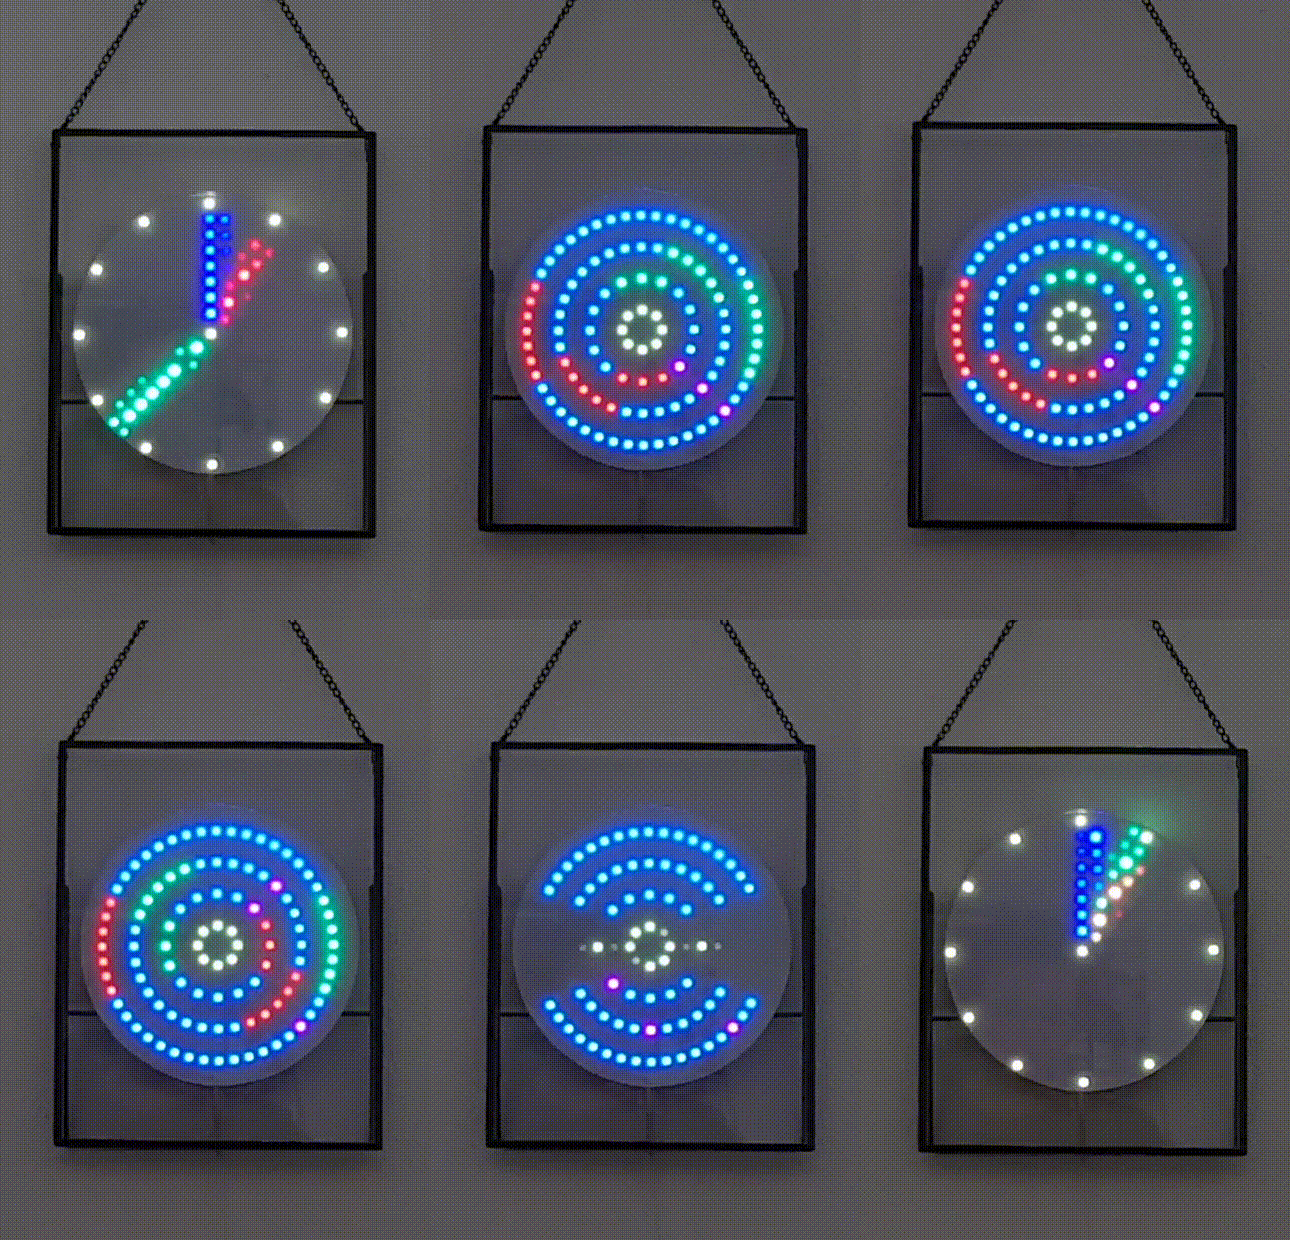
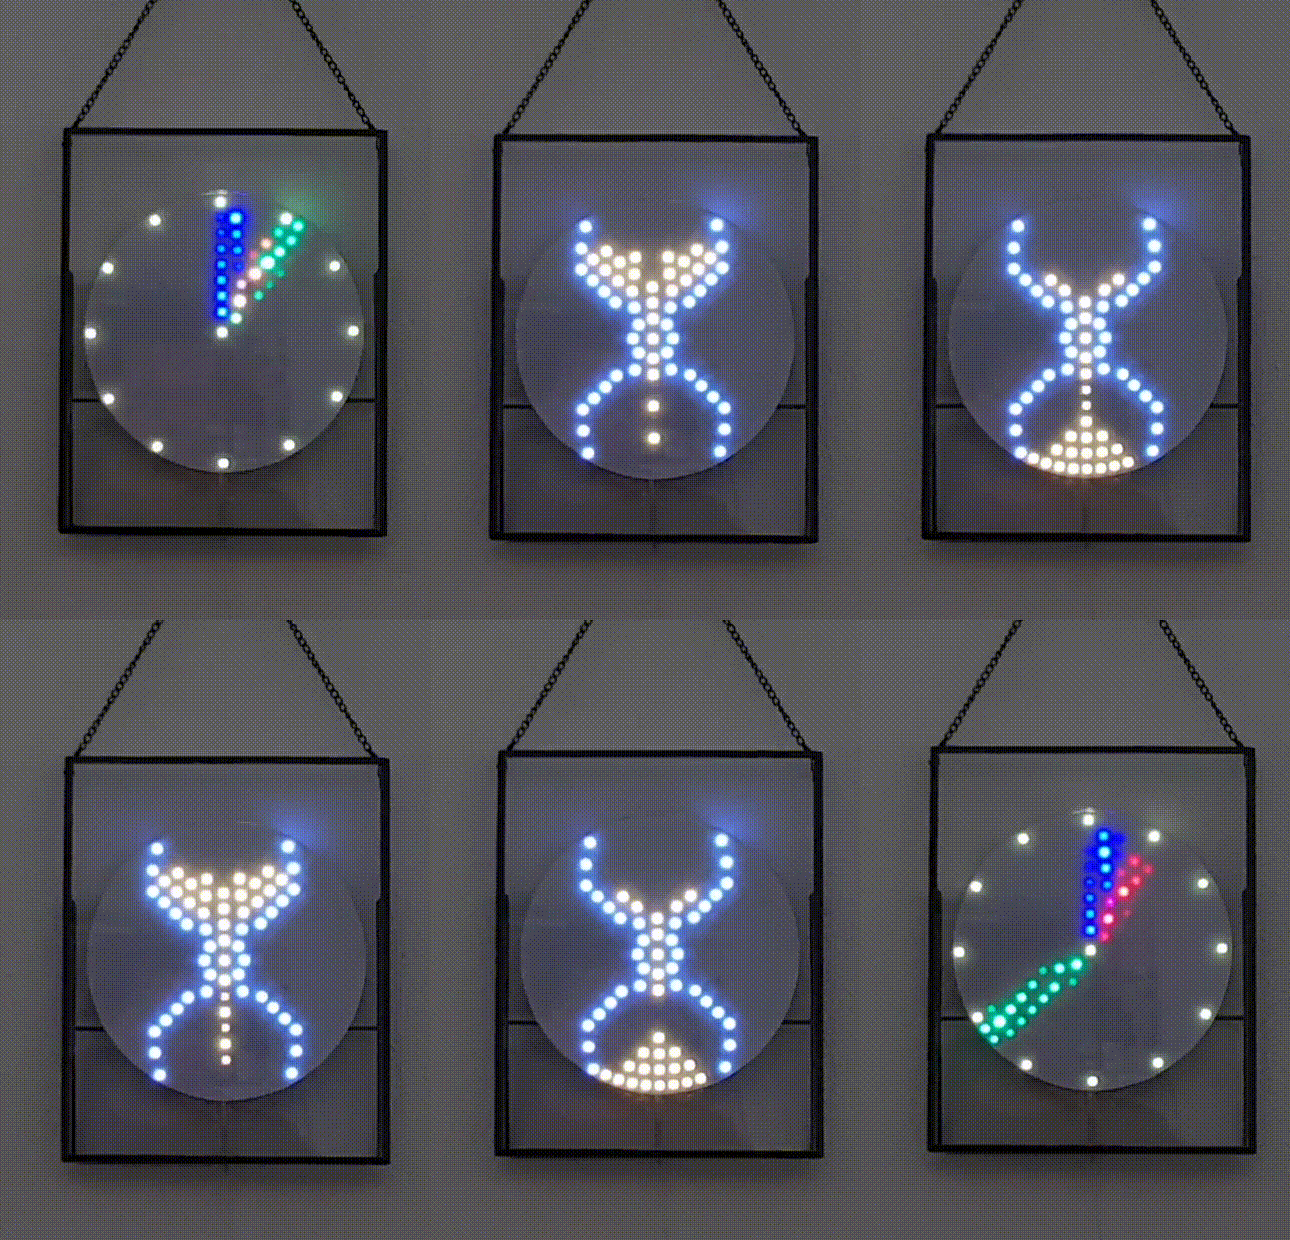
Here are animated gif images of the effects:
Some explanations:
- "PacMan"; I made the yellow body a bit smaller than Milo's original, to make space for the red dots to be eaten. And I added the animated red dots, and PacMan does turn around after eating a blue pill.
- "Snake"; The snake eats all the red dots, and has a 50 percent chance of dropping a purple turd after each bite.
- "Maze"; There are two maze designs, which can appear randomly 0..3 x 90 degrees rotated, or also randomly flipped over the vertical axis. This does make it look like there is more variation. The maze data array used an old "trick", it stores both the maze walls, and the "directions" on how to escape from the maze. The snake (or worm?) reads those instructions to escape the maze (the snake is called Lucifer).
- "DigiClock"; Disclaimer - Not all 7-segment digits look as good, as you can see from the 7 in "17:16" time. But there is no easy way to draw 7-segment digits using led circles ;-) But most digits are readable.
- "Tic Tac Toe"; it always plays two games in a row. One with an orange playing field, and one with a green playing field. The orange one just does random moves, without any intelligence. The green one has some knowledge of basic playing rules. It tries to do the winning move if possible, and otherwise tries to prevent the other player from doing a winning move. For the rest it does random moves.
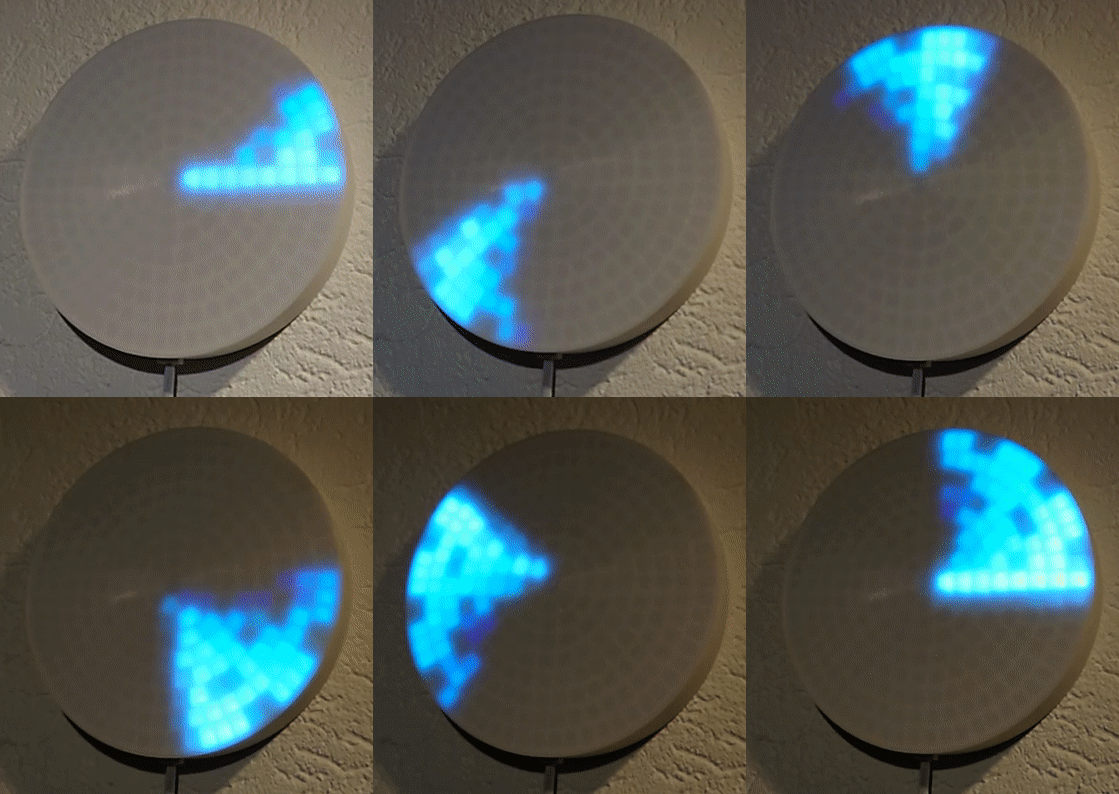
- "Vault / CodeLock"; this is an actual schematic representation/animation of how a code lock works. The purple dots (notches) are placed randomly on the 3 code circles, and signify the code you need to use to open the vault. When turning the inner ring, the purple notches pick up the ring outside of the notch, and the outside one will also start moving until you revert the rotation direction. The goal is to align the green sections at the right, and the red at the left. When done, those open up, and then the "gold" pieces are taken from the vault ;-)
- "Color Picker"; This is NOT an animation. It is mainly a "debug" screen to choose suitable colors for new effects. You configure two color dots (the center dot, and the 10:30 edge one). All others are "fixed" endpoints to which your center color will fade. This way you can choose and mix and match your colors. The edge ones will use R/G/B values of a given "max" value. Going clockwise from 12:00 the edge colors are: R, G, B, RG, RB, GB, RGB, and your own custom edge dot.
- "HourGlass"; I created a drawing program to not have to use paper to make drawings. I handed that program to my daughter, and she drew a static image of an hourglass. I added the rotation and sand animations to it. The whole animation sequence is done on the laptop, and my program could export a special animation output array to copy/paste into my code. After that, I wrote code to show the animation.
- "Snail"; Just as the HourGlass, this one was drawn by my daughter, in this case she did draw the full animation. My job was only putting it in code, and I created the final "fade out" (ring by ring).
- "WordClock"; I tried making as big of a square like dot-matrix area as possible, initially I tried 21 columns next to each other, but the ones to the left and right of the middle became too unreadable (due to the circle shape), so I had to make the area's smaller. So now we have two small area's for dot matrix text, at top and bottom. The rest of the space I filled in a way that the image resembles either the HAL-9000 from a-space-oddysey-2001, or you can think of the game "portal". The dot matrix fields show scrolling time in words, and a random quote from HAL. The font I used, I did copy pixel by pixel from an internet example. See the README file in the tools folder.
- "MovieStart"; for this one I used my drawing program to draw the static images of 9 down to 1. I modified the generated animation array to set an END marker after each image, and calculated the offsets to each digit start. The circle, and rotating arm which paints the background color on each passing is all in code, and not done via the animation routine.
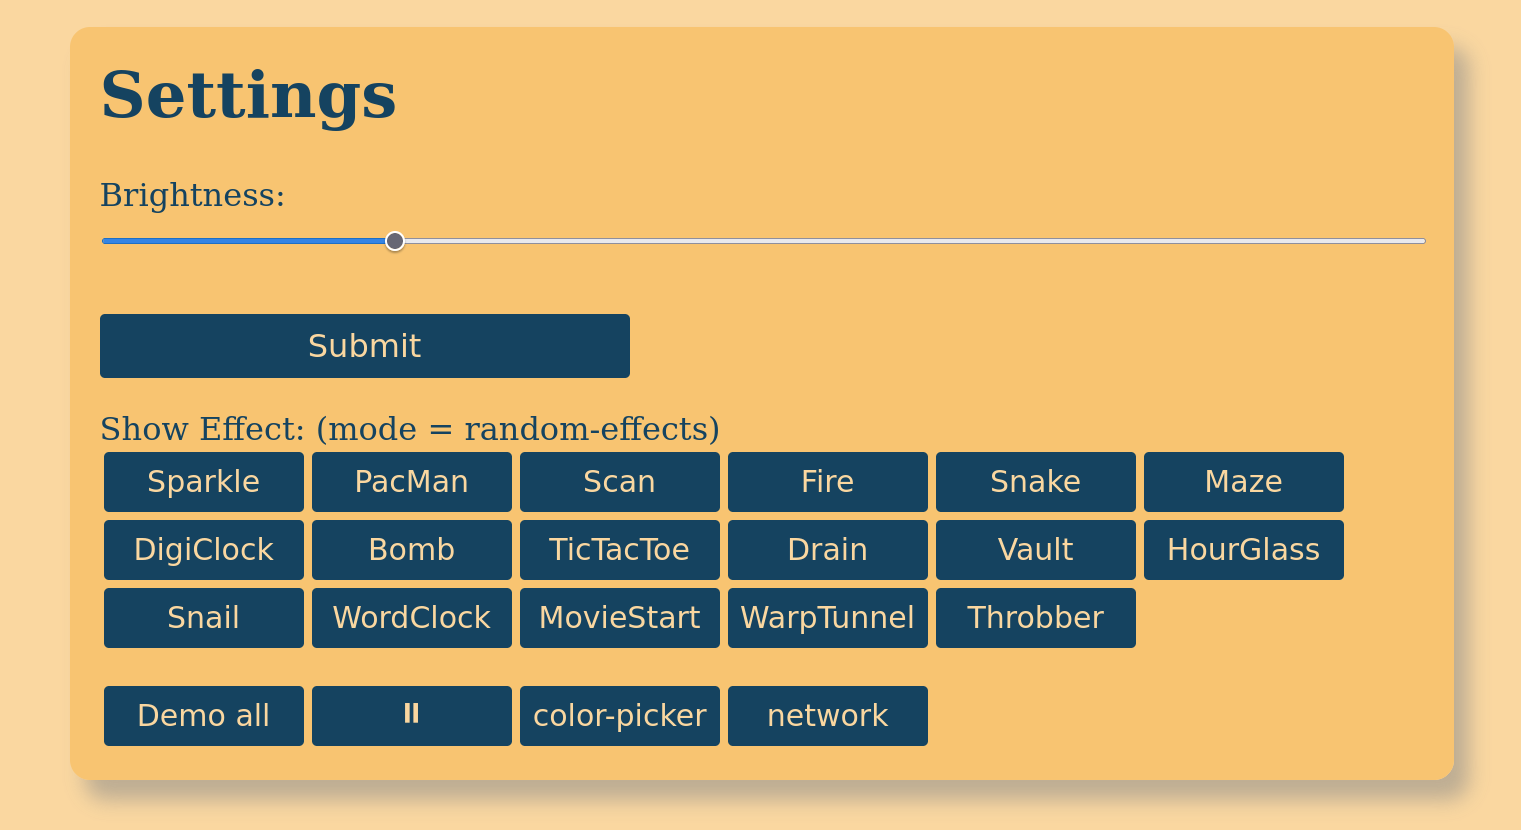
Here the web pages / menus:
The "Settings" page is mostly self-explanatory. Each number button corresponds with one of the effects. The "ALL" button will show all effects in a row (demo mode). The "pause" button has three possible states; The pause symbol will change mode from showing random effects to only showing the clock. This is the same as during the night between 22:00 and 8:00. The "play" symbol will go back to the mode of randomly showing effects. And finally, when you started demo mode (play ALL), you do have a "stop" button there to go back to the standard "random effect" mode.
The "Network Settings" page is protected by your OTA/admin password to prevent abuse. When you enter a wrong password a couple of times, the clock will LOCK the admin functions. Both OTA (over-the-air) firmware update and the network settings page will be locked until you restart (powercycle) the clock.
As described above, the color picker allows you to define two colored dots. The center dot values are labeled "cr", "cg", "cb". The edge (10:30) dot is marked "er", "eg", "eb". And the "max" is used for all other edge dots as value for R, G, B or combinations of those.
TODO/WishList:
- The main settings screen has a "brightness" slider. This is ignored by most effects, and some do use it, but do not use it for linear scaling of the brightness but instead use it as a max value. Would be nice to make it work linearly for ALL effects.
- Perhaps allow to choose ALL effect colors via the web-gui. To tweak them to your taste.
- Finish off the animation drawing program, and publish that for general use.
- Make timezone configurable via the web-gui.
- Make an automatic firmware update service, in case I ever build one of these clocks for someone else.
- And... always try to come up with more animations ;-) (until the memory is full).
For so far my contributions to the LED Circle Clock...
Thijs Kaper, May 20, 2022.
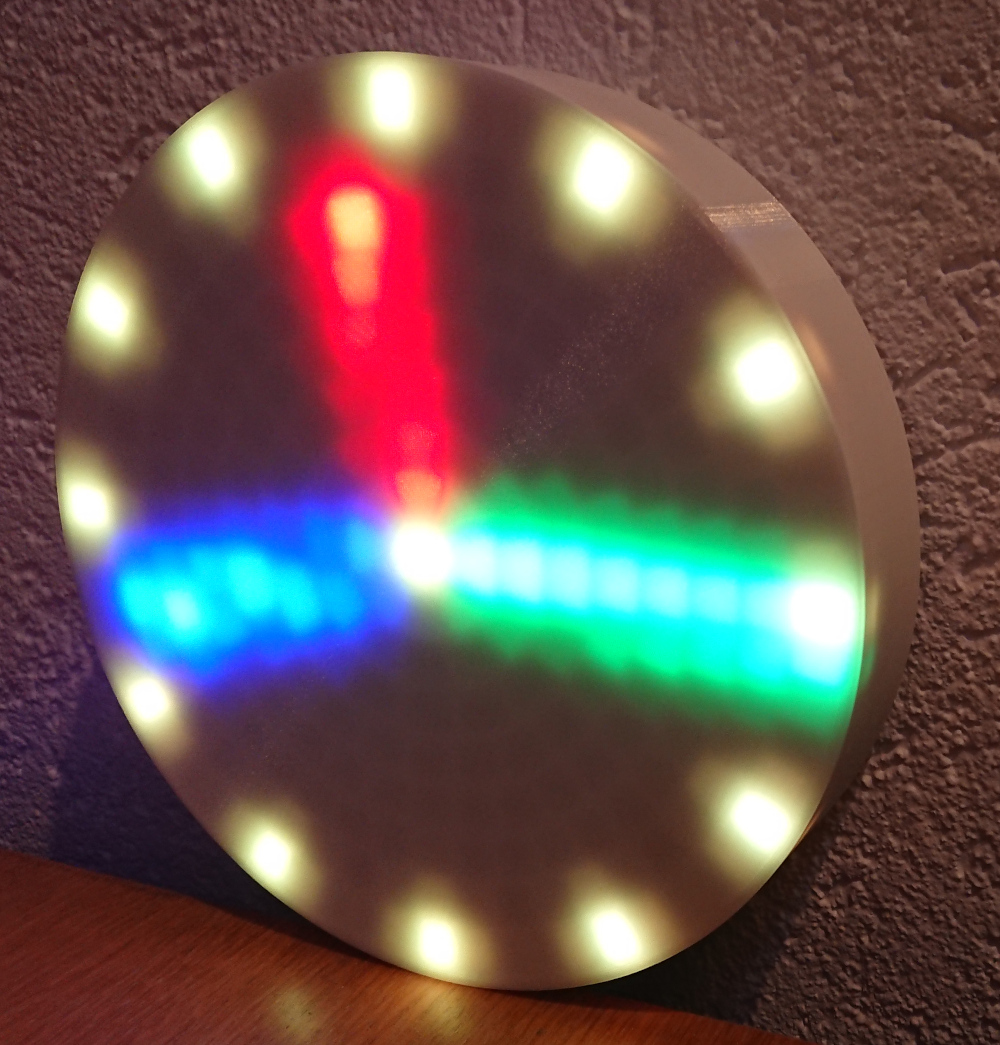
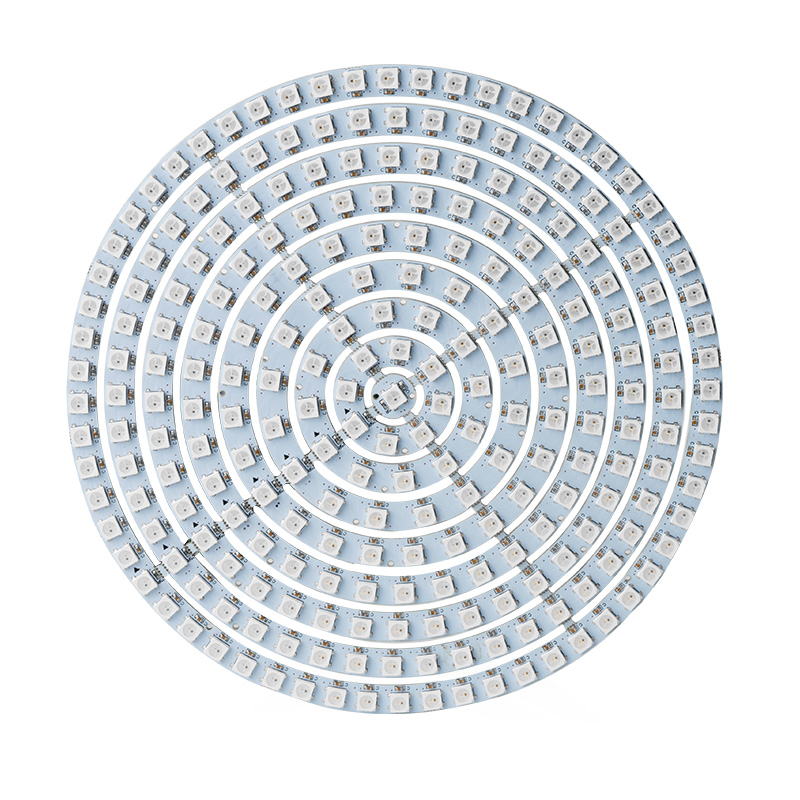
A round clock with 241 RGB LEDs.
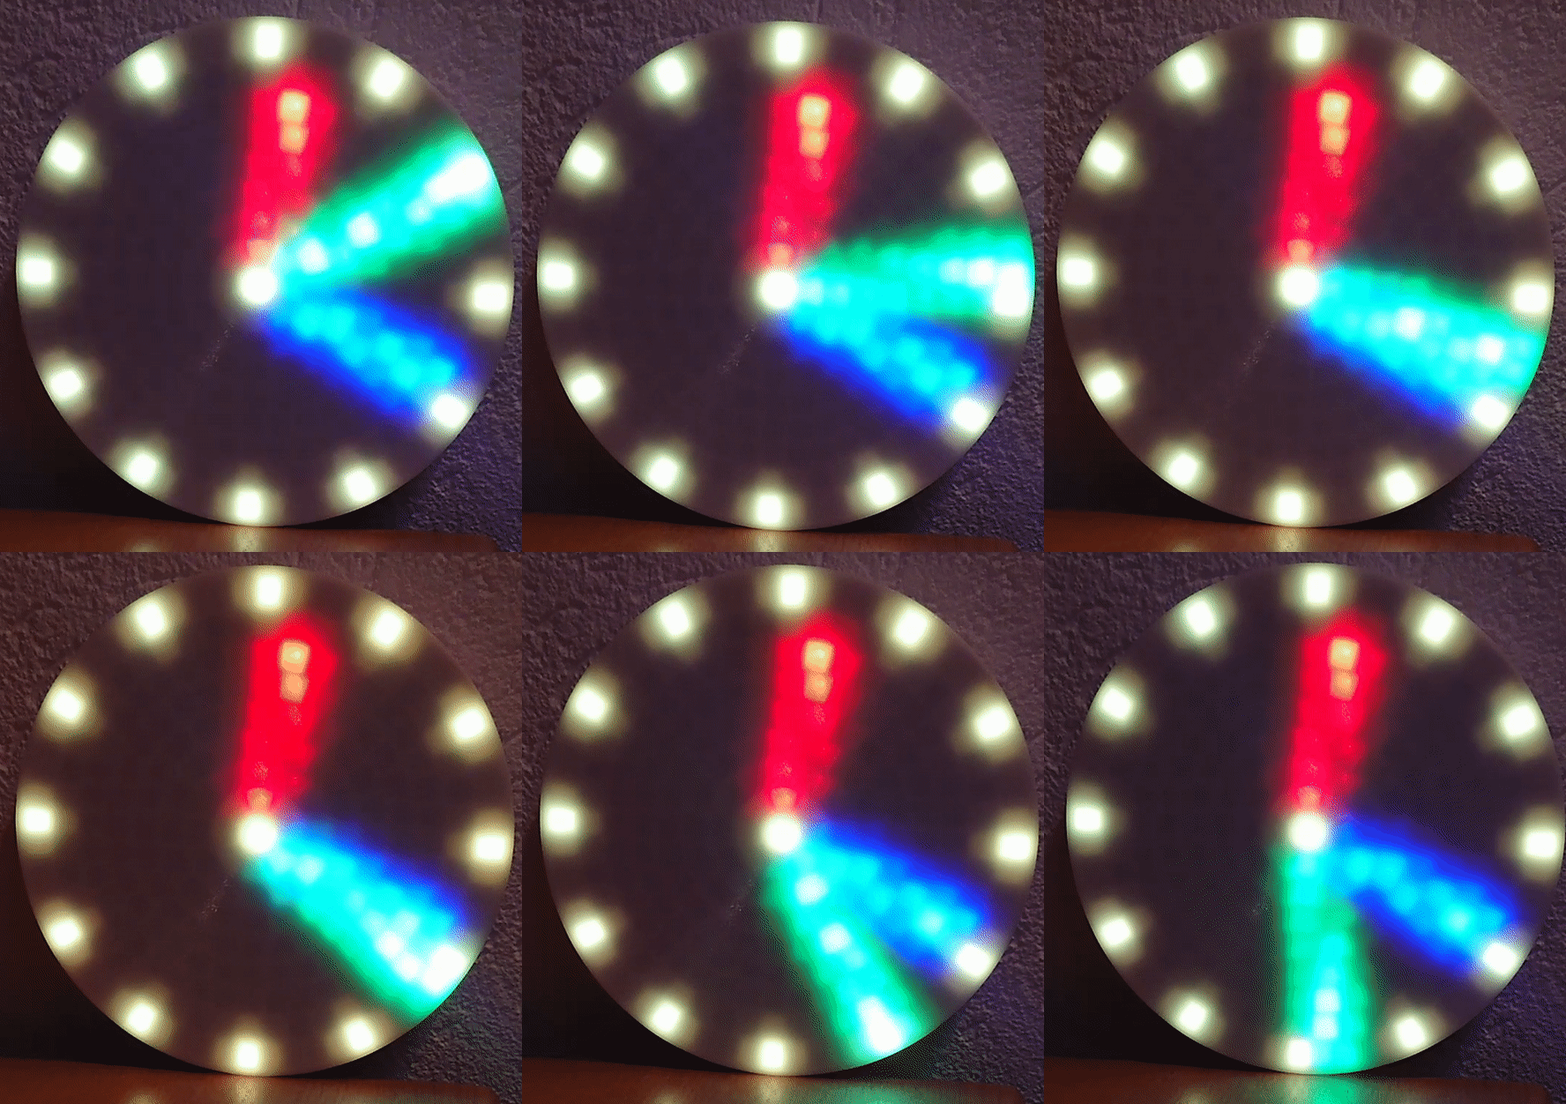
The clock shows the hands in diferent colors on the grid of LEDs. To make it more beautiful hands are antialiased. The brightness of the LED is calculated from the distance to the virtual pixel. I also use the milliseconds clock of the Arduino combined with the NTP clock to have a seconds hand that rotates fluently instead of ticking the seconds.
Filming this does not show the colors I see. It looks a lot warmer and more saturated in real life.
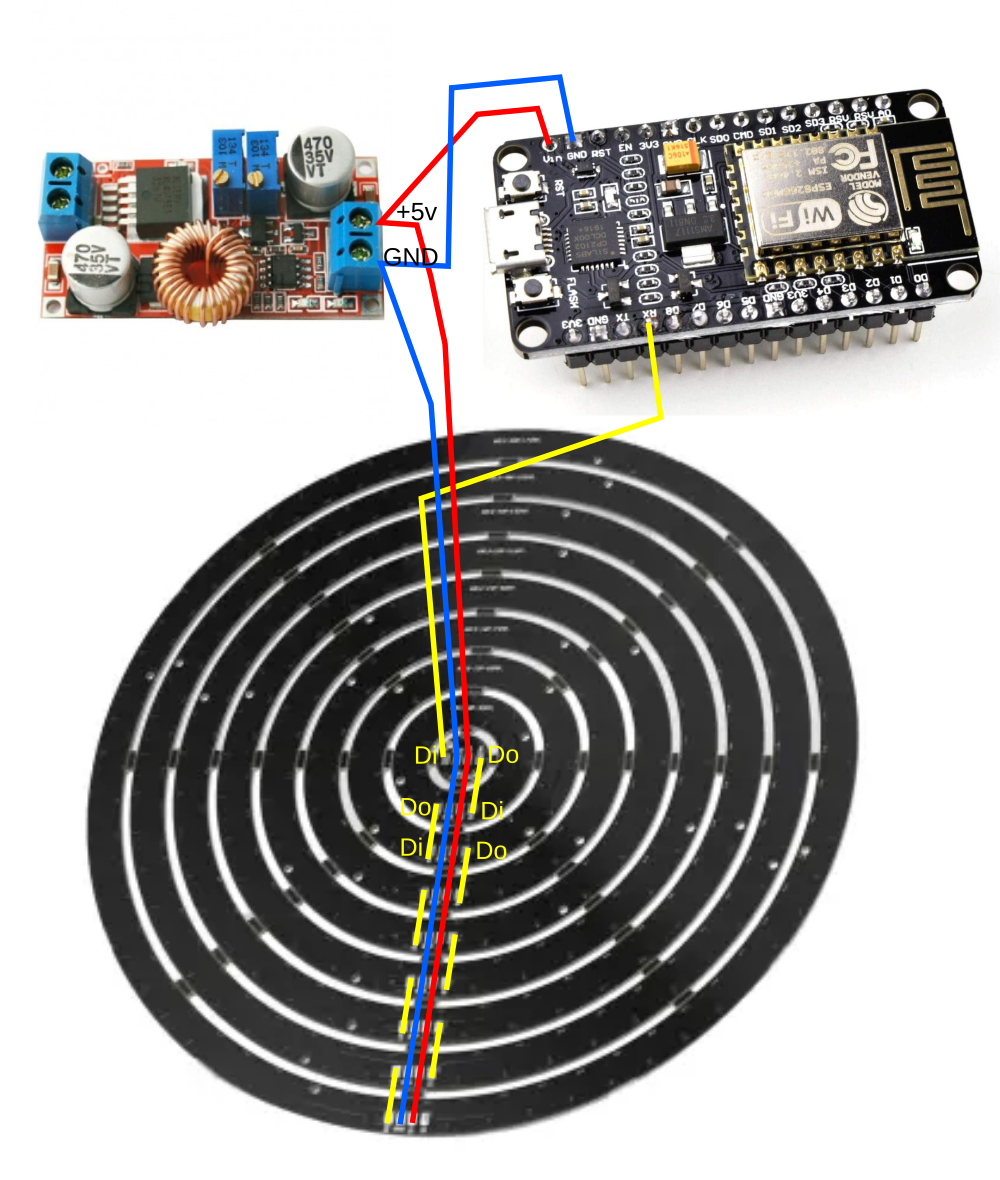
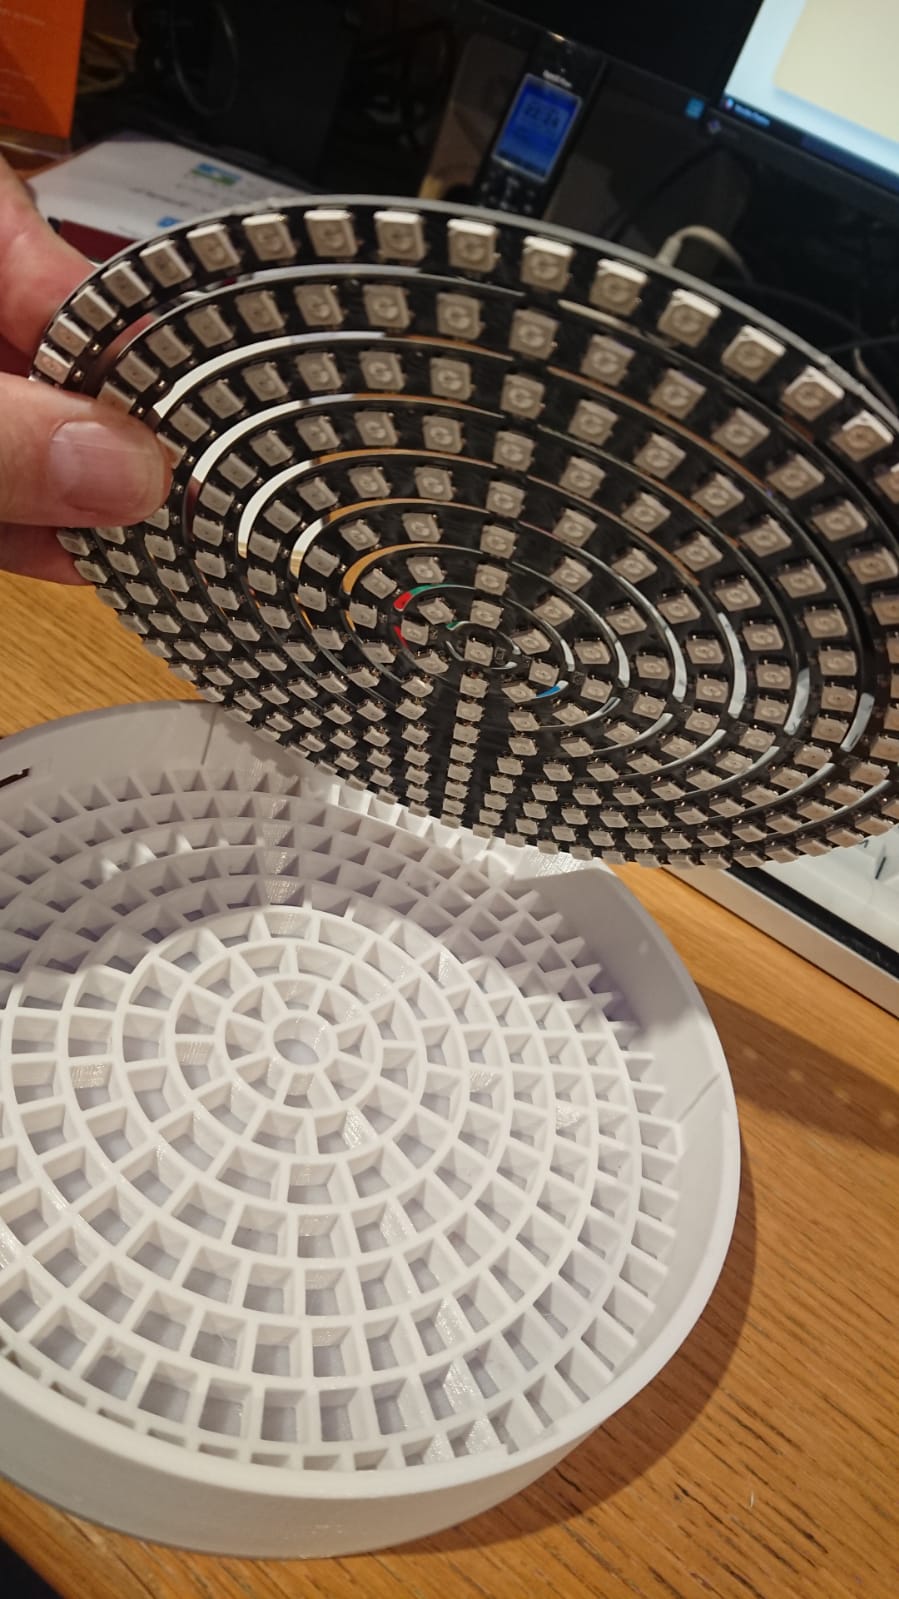
As a sucker for clocks I'm always looking for cool projects surrounding clocks. At our favorite Chinese shop I found a 241 LED ring that demanded to become a clock. So I ordered one and waited the standard couple of weeks for it to arrive. Nice, It looked perfect and very easy to use. Data-in and Data-out were next to each other and could simply be daisy-chained with a short piece of wire. Effectively the ring became a strand of 241 LED's all addressable from a serial bus.
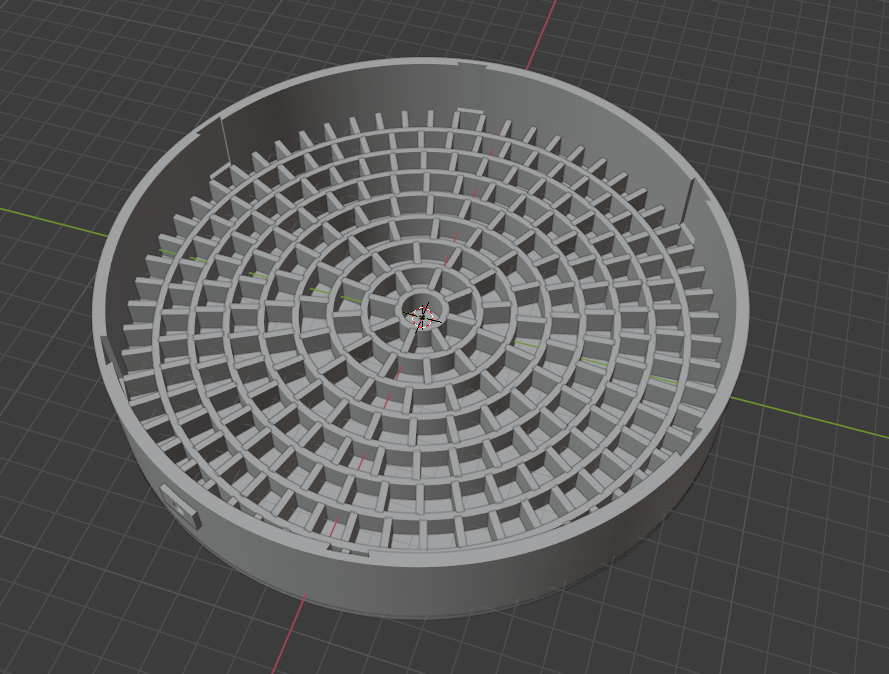
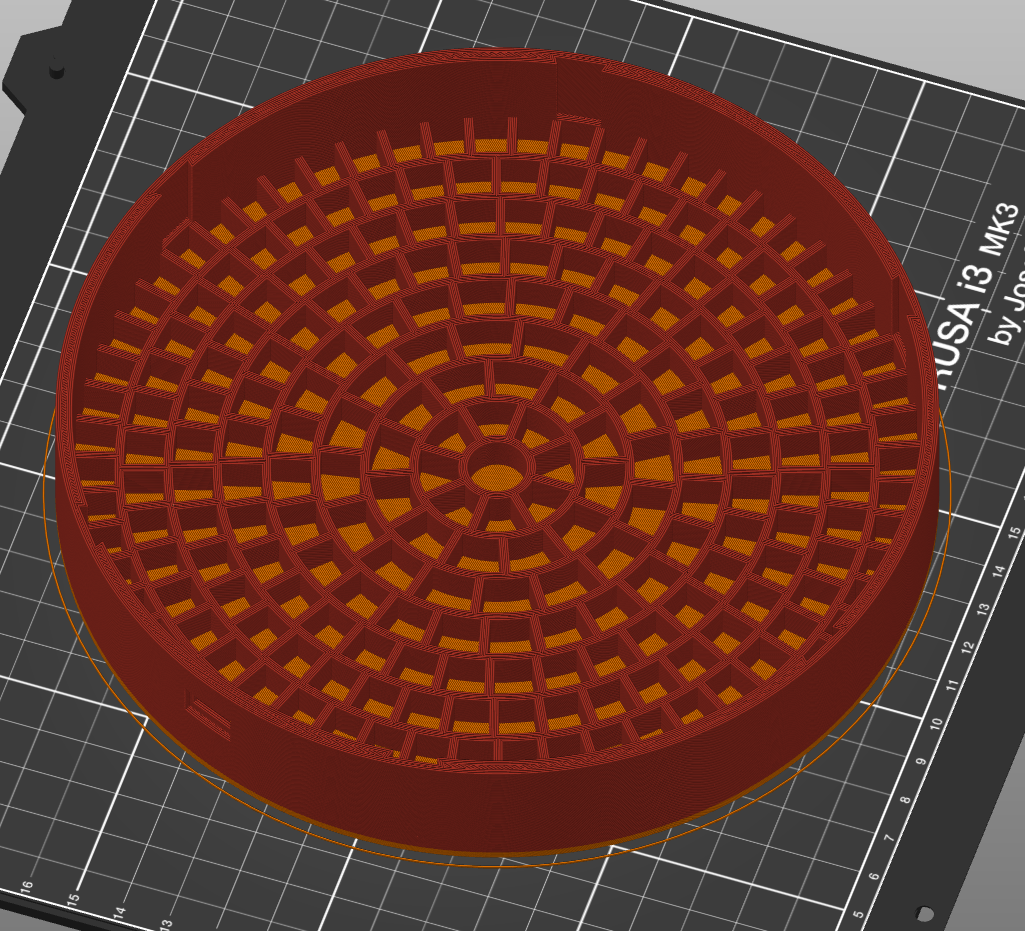
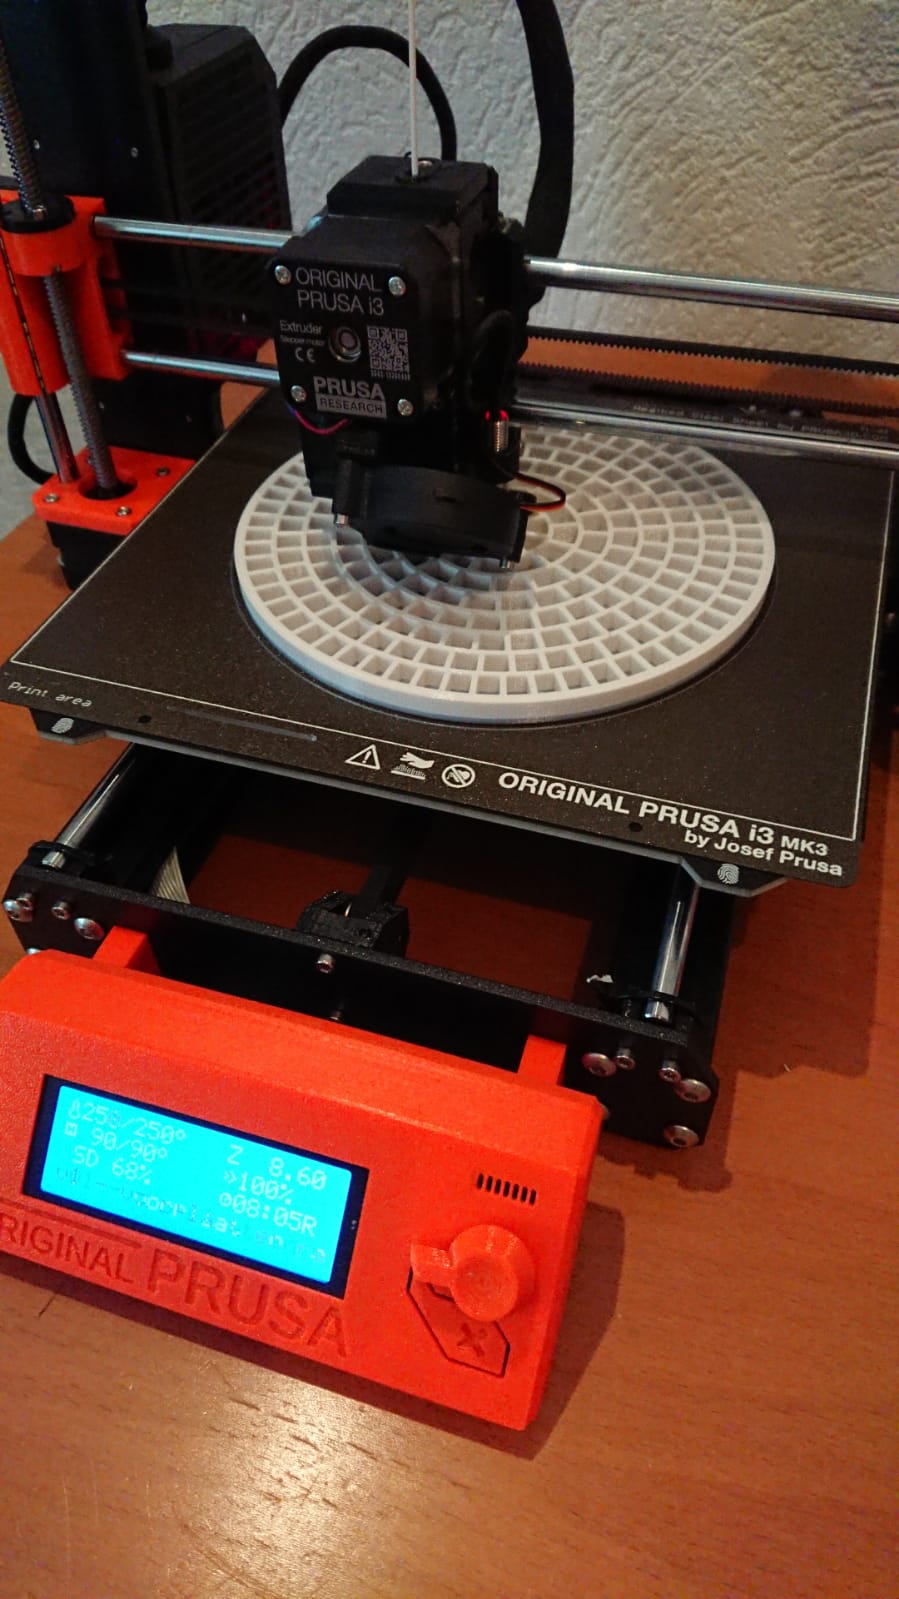
Now I needed to design a enclosure. Each LED needs to be separate from the neighboring LEDs. Some calculations were needed but after a couple of hours I had my 3D design in Blender. 26 hours of printing resulted in an enclosure that perfectly fits the LED ring.
I started by testing with an example program to see if all functions as expected and it did. The current it takes at full brightness is a bit high but that is no problem while the clock in normal operation is not at full brightness and not all LEDs are lit.
After the testing I wrote an Arduino program to show time based on NTP and once in a while shows an effect.
Some trickery was needed. I wanted the seconds hand to move smoothly and so I used the milliseconds as an offset to the seconds.
Calculating the hands uses the 'pow()' function and that is a very CPU intensive operation. That is why I created a function that caches the previous values of the 'pow()' function to make it a lot faster.
After all I'm quite happy with the result :)
At random moments the clock is replaced by an effect. Just for a couple of seconds.
- esp8266 / NodeMCU
- DC-DC converter if you like to accept multiple input voltages. The LED ring contains 241 LEDs and can consume up to 3.5 Amps. An XL4015 version sound like capable of handling this.
- LED ring. Search aliexpress for "241 led ring". The diameter is 170mm.
Not really schematics but more like a wiring diagram. The schematics are not even worth drawing out :)
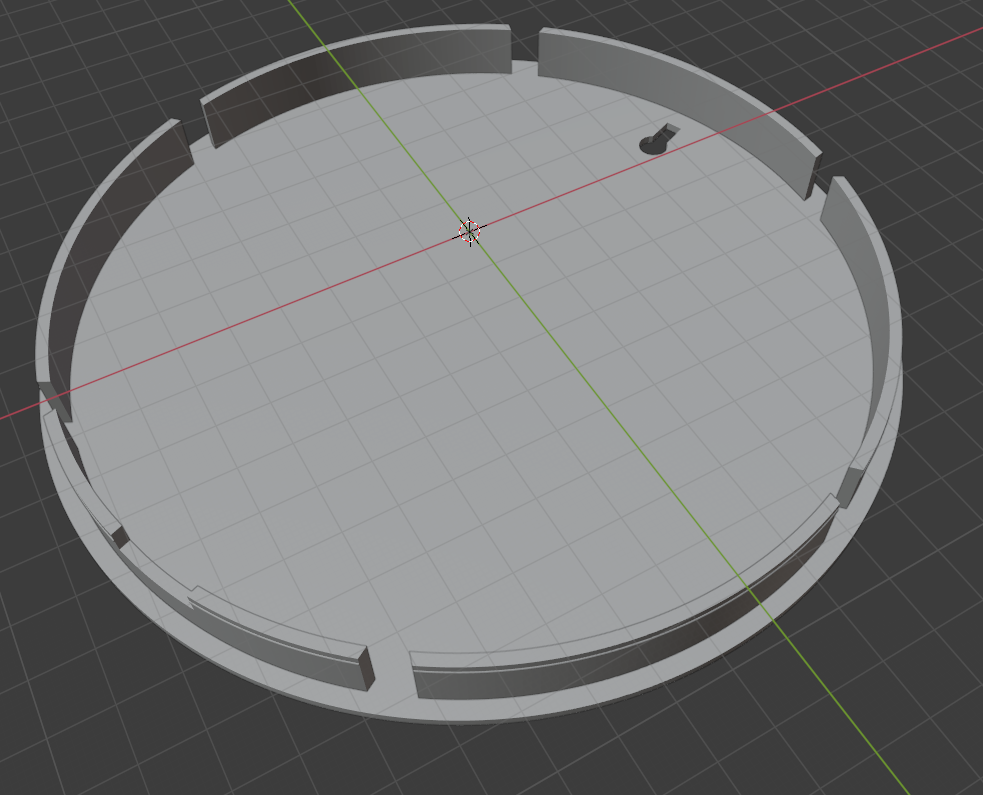
I designed the case in Blender and the files can be found in this project. Together with the STL files. The STL for the front with dividers is in one STL file. Make sure to split it in two materials. One semi transparent first 2mm and the rest an opaque color. Also make sure to print the front first layer in a spiral. This removed the step of the print head to the next ring.
The cable hole was a bit of an afterthought. Originally it was intended to have an USB-C power supply but that ended up being more complicated than benneficial. Still, if you like to use USB-C then you could use the design and expose the USB-C connector.
I printed the case in PETG because this seems to be the only type that has transaparent filament. It took about 26 hours for the grid and front panel and another 5 hours for the back. Electronics holder and cable hole were much quicker. I like to print in .15 mm resolution so this is also a reason why it took that long.
As mentioned, just search for "241 LED ring". The prices varies a lot so make sure to compare them. Mine was about €17,-.
The software is written for the Arduino IDE.
- NTP to synchronize the time
- OTA for wireless code updates. The OTA password as set in this repo is 'KlokPassword'.
- WEB interface to configure brightness and WIFI settings. The ip address is received through DHCP and so should be looked up in the router. Or use the Arduino IDE to find it. It will show up as a port after restarting the IDE.
- If WIFI is not found the esp8266 becomes an open access point. Pointing a browser to http://192.168.4.1/wifi opens the WIFI configuration page. Note: The page is protected by user "admin", and your OTA password. The initial password is "KlokPassword" until you change it.
- At random moments an effect is shown (sparkle, pacman, scan, fire)
- NeoPixelBus by Makuna.
NTPClient(now using native ntp features of esp8266).
The libraries can be installed under "Sketch -> Include Library -> Manage Libraries..."
And additional board manager for the ESP8266: http://arduino.esp8266.com/stable/package_esp8266com_index.json. This must be set under "File->Preferences->Additional Boards Manager URLs".
