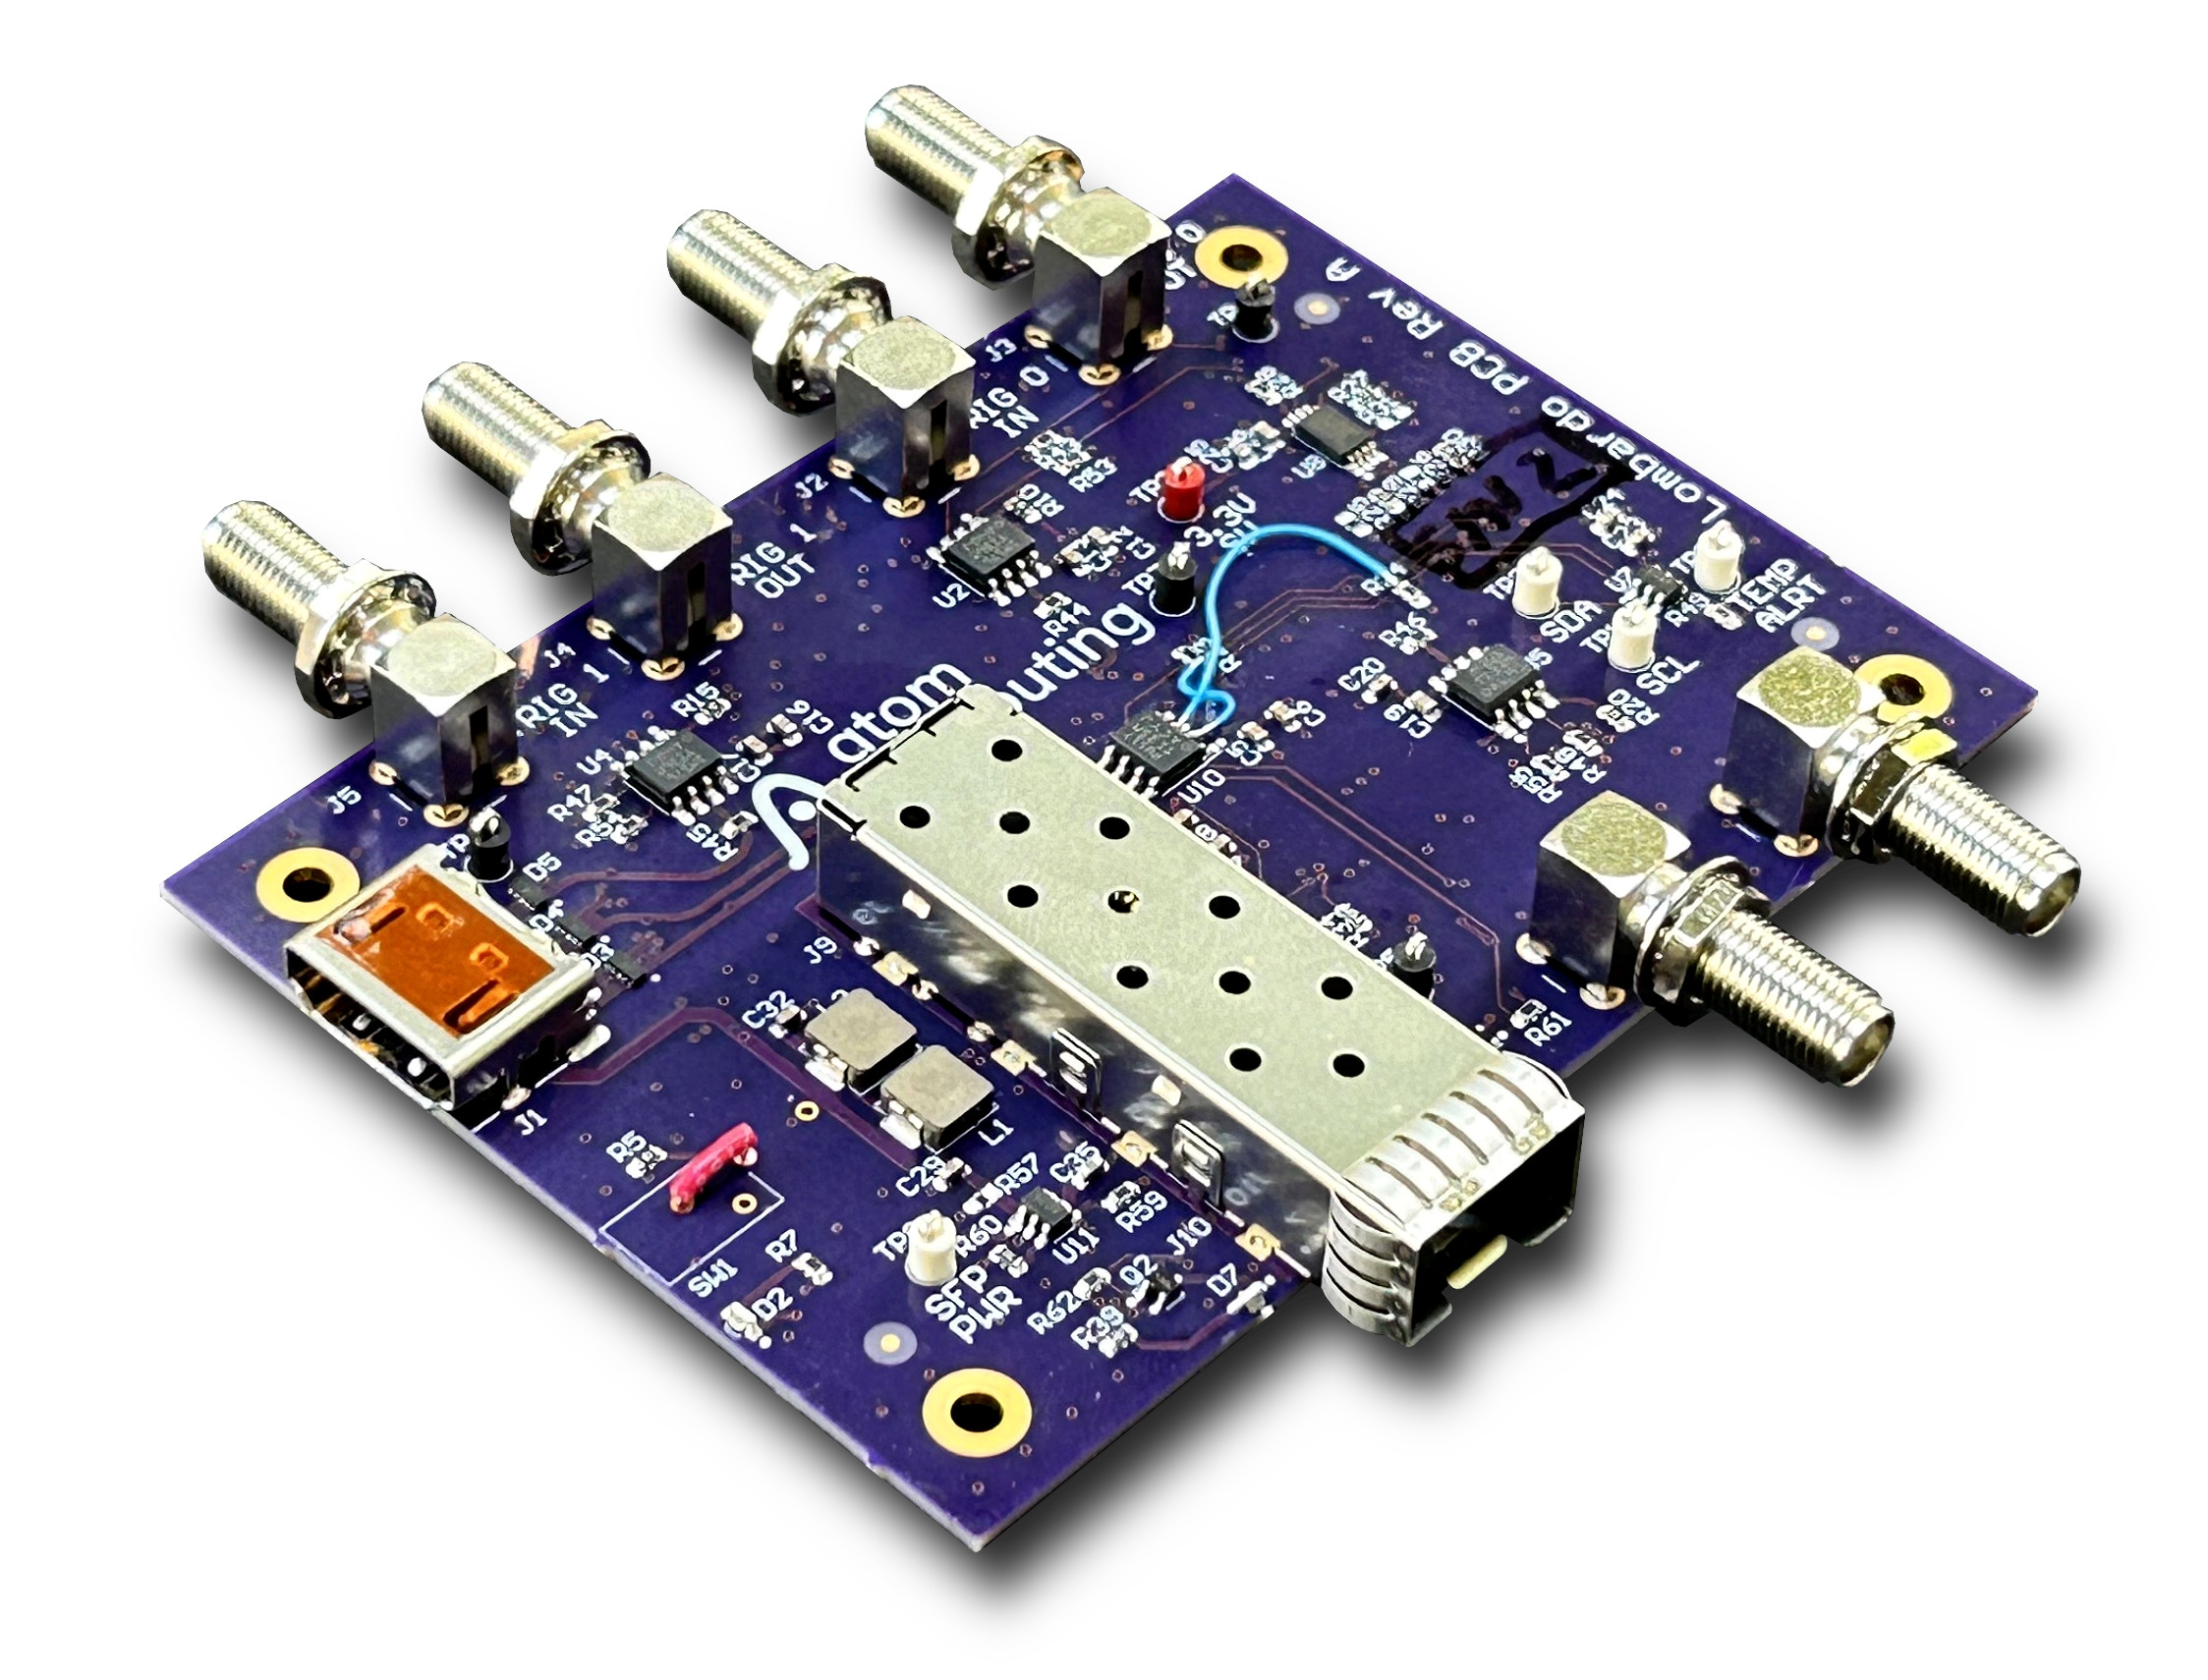
Extender board for the front-panel connector on the DAMC-FMC2ZUP carrier (commercially available at CAEN ELS).
- SFP+ cage, connected to the transceiver pins
- 2 trigger inputs and outputs (direction is SW configurable)
- clock input and output (direction is SW configurable)
- I2C EEPROM to store the identification information of the board
- I2C temperature sensor to monitor the board temperature
Copyright (c) 2024, Atom Computing, Inc.
This project is licensed under CC BY-SA 4.0. See the LICENSE.md file for details.
There are some I2C devices that need to be configured on this board at the startup. The FPGA project on DAMC-FMC2ZUP should include an I2C controller connected to the I2C bus that is connected to the front-panel connector. Please refer to the DAMC-FMC2ZUP - User's Manual for information about the pinout.
Similarly, all the differential pairs that are needed for triggers and clock need to be instantiated.
Connect the board using to the front-panel connector of the DAMC-FMC2ZUP carrier with a Micro HDMI to HDMI cable (see the list of tested cables below) and turn on the switch. Please note that some variants might not have a switch and the board turns on immediately when connected to the carrier.
The LED D2 should turn on, indicating that the board is powered on.
Assuming you are running Linux on DAMC-FMC2ZUP, you can check whether the board
is operational by running i2cdetect command with the appropriate I2C bus
number (use i2cdetect -l to list all I2C buses).
root@damc-fmc2zup:~# i2cdetect -l
i2c-3	i2c       	xiic-i2c [i2c_fplink]           	I2C adapter
i2c-1	i2c       	Cadence I2C at ff030000         	I2C adapter
i2c-4	i2c       	xiic-i2c [i2c_mmc]              	I2C adapter
i2c-2	i2c       	ZynqMP DP AUX                   	I2C adapter
i2c-0	i2c       	Cadence I2C at ff020000         	I2C adapter
i2c-5	i2c       	xiic-i2c [i2c_osc]              	I2C adapter
root@damc-fmc2zup:~# i2cdetect -r -y 3
     0  1  2  3  4  5  6  7  8  9  a  b  c  d  e  f
00:          -- -- -- -- -- -- -- -- -- -- -- -- --
10: -- -- -- -- -- -- -- -- -- -- -- -- -- -- -- --
20: -- -- -- -- -- -- -- -- -- -- -- -- -- -- -- --
30: -- -- -- -- -- -- -- -- -- 39 3a -- -- -- -- --
40: -- -- -- -- -- -- -- -- -- 49 -- -- -- -- -- --
50: -- -- -- -- 54 -- -- -- -- -- -- -- -- -- -- --
60: -- -- -- -- -- -- -- -- -- -- -- -- -- -- -- --
70: -- -- -- -- -- -- -- --
As shown in the example above, there should be 4 devices detected on the I2C bus: 2 GPIO controllers at addresses 0x39 and 0x3a, an EEPROM at the address 0x54, and the temperature sensor at the address 0x49. When the SFP/SFP+ module is enabled and inserted, there should be additional devices detected.
The device tree overlay that describes this board is provided in the
tools/device-tree-overlay directory. To compile the overlay, run make, and
to load it run make load. This will load the drivers for the GPIO controllers,
the EEPROM, and the temperature sensor.
If you need to unload the overlay, run make unload.
The boards produced by Atom Computing have the EEPROM populated with the FRU
information, compliant with the IPMI FRU specification. To read the information,
dump the EEPROM to a file and run the frugy utility on it. Since the EEPROM
does not have a write-protect pin, please be careful when using it in order not
to overwrite the information.
root@damc-fmc2zup:~# cat /sys/class/i2c-dev/i2c-3/device/3-0054/eeprom > fru.bin
root@damc-fmc2zup:~# frugy -d fru.bin

BoardInfo:
  mfg_date_time: 2024-07-08 17:25:00
  manufacturer: Atom Computing
  product_name: Lombardo
  serial_number: '1'
  part_number: '0000'
  fru_file_id: none

ProductInfo:
  manufacturer: Atom Computing
  product_name: Lombardo
  part_number: '0000'
  version: revA
  serial_number: '1'
  asset_tag: none
  fru_file_id: none
If you need to populate the EEPROM with the FRU information, there are a
template and instructions provided in the tools/fru directory.
To enable the power to the SFP/SFP+ module and to enable the I2C communication and enable the transmitter, run the following commands (after loading the device tree overlay described in Device tree overlay):
root@damc-fmc2zup:~# gpioset $(gpiofind lombardo_sfp_power_en)=1
root@damc-fmc2zup:~# gpioset $(gpiofind lombardo_sfp_i2c_en)=1
root@damc-fmc2zup:~# gpioset $(gpiofind lombardo_sfp_tx_disable)=0
After that, you can use the SFP utility to read the information from the
SFP/SFP+ module. The SFP utility is provided in the tools/sfp directory. The
argument is the I2C bus number, the same as the one used to detect the devices
with the i2cdetect command.
root@damc-fmc2zup:~/lombardo/tools/sfp-util# ./lombardo_sfp_info.py 3
  Info:
    Vendor name      : FS
    Vendor PN        : SFP-10GSR-85
    Vendor rev       : A
    Vendor SN        : F2310330129
    Vendor OUI       : 64:9d:99
    Date code        : 2023-09-22
    Wavelength       : 850 nm
    Length (OM2/50um): 300 m
    Length (OM4/50um): 0 m
    Encoding         : 0x06 (64B/66B)
    Baud rate        : 10300 Mbit/s
    Options:         : 0x001a
      Retimer/CDR      : 0
      Rate Select      : 0
      Tx Disable       : 1
      Tx Fault         : 1
      Loss of Signal   : 1
    Diagnostic       : 0x68
      Addr change      : 1
      External calib   : 0
      Internal calib   : 1
      DDM implemented  : 1
  Monitor:
    Temp     : 30.84 degC
    Vcc      : 3.121 V
    Tx Bias  : 6.05 mA
    Tx Power : 0.513 mW
    Rx Power : 0.497 mW
    Status/Control: 0x08
      Tx Disable: 0
      RS1 State : 0
      RS0 State : 0
      Tx Fault  : 0
Rx LOS : 0- UGREEN 8K Micro HDMI to HDMI Cable 3.3FT, 2.1 Aluminum Shell Braided 48Gbps Ultra High Speed 8K@60Hz (Amazon)
- SFP-10GSR-85 (fs.com)
- note: this module does not have a built-in CDR and the signal integrity at 10 Gbps is marginal
